Let’s get started by creating our first plugin with C#:
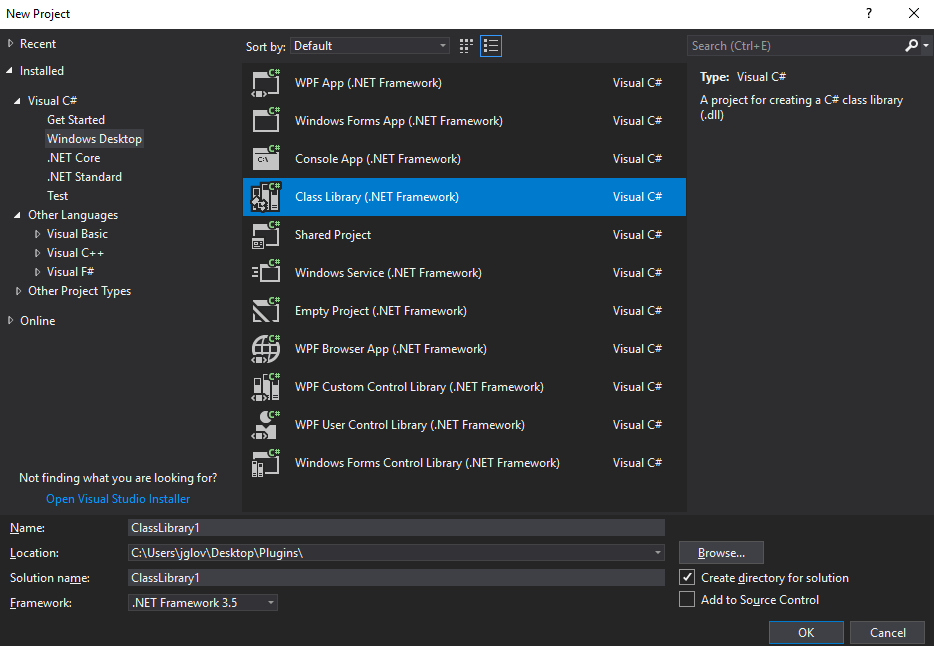
- We need to begin by opening Visual Studio and creating a new project. This new project type will be inside the Windows Desktop subfolder of Visual C# and will need to be a Class Library (.NET Framework):

Project type
- The project name will be CSharpManagedPlugin, and the Framework version will be .NET Framework 3.5. Select the OK button:

Project setup
Making sure to change the Framework version to 3.5 is extremely important, as we need to make sure that Unity can utilize our plugin without experimental support.
- Now that we have created our solution, we can change the class name from Class1 to Addition. Now, add an integer method called addify with the parameters of a and b, and then return a plus b. Your code should look as follows:
namespace CSharpManagedPlugin
{
    public class Addition
    {
        public int Addify(int a, int b)
        {
            return a + b;
        }
    }
}
We can now build the solution that will generate the dll file we need. We can now open Unity and see how we can utilize this plugin with Unity:
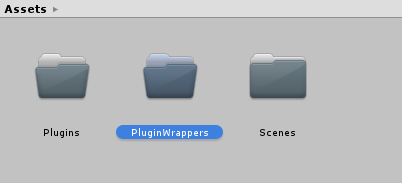
- Load Unity, and let’s begin by creating a new project. The project will be of type 3D, and the name I will give it is Packtpub. I will start by creating two folders; the first one will be called Plugins, and the other will be called PluginWrappers. This will allow us to keep our project organized:

Project setup
- We will start by taking the C# dll file we created and dragging it into the Plugins folder. I named my dll file CSharpManagedPlugin to make it a bit easier to differentiate between the different plugins we have at the end:

Plugin added
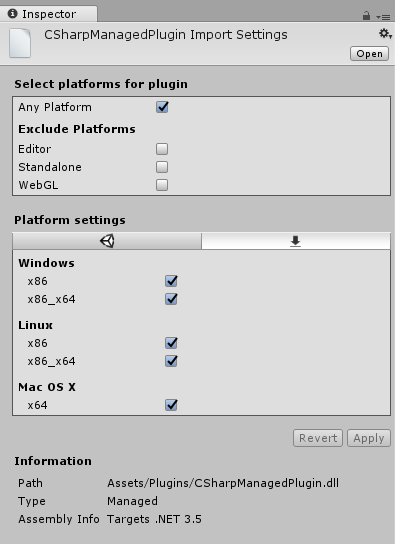
- If you click on the CSharpManagedPlugin, in the inspector, you will see more information:

Inspector
- As long as the target version of .NET is the same or lower than that of Unity, you should receive no errors and should be able to use it in the editor, standalone, in WebGL, Linux, Windows, and Mac OS.
- What we can do now is move over to our PluginWrappers folder and get this bad boy up and running.
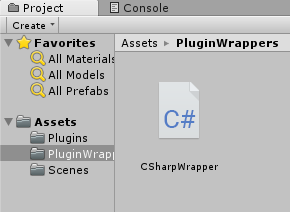
- Create a new script; mine will be called CSharpWrapper. We can now open the script in Visual Studio:

Script
- Managed plugins are the easiest, and all we need to do is call our plugin directly, just as if it were a non-monobehavior script. Your code should look as follows:
using UnityEngine;
public class CSharpWrapper : MonoBehaviour
{
    private void Start()
    {
        var addition = new CSharpManagedPlugin.Addition();
        var add = addition.Addify(5, 2);
        print(add);
    }
 }
As you can see, we called our plugin as if it were just another namespace in the assembly. We can now attach this Unity class to a GameObject, and we will see the results of step 7 appear in the console window of the Unity Editor.