The steps for setting up the project in Mac are nearly identical, with the difference mainly being the software we will use to create the text file, but, nonetheless, this should be gone over, as I expect Mac users will not want to read the Windows section of this chapter. We will need it, as we will be using Vuforia to create this project. Navigate to the Vuforia Developer Portal and log into your account. Now follow these steps:
- In the Vuforia Developer Portal, click on Develop, and make sure the submenu has License Manager selected. We need to create a new Development License Key with the app name of Chapter5:

- After the new key has been created, you should see the License Manager show the VuforiaIntro and the Chapter5 keys we have created:

- Click on Chapter5 to gain access to your license key. You should copy and paste this into Notepad or Notepad++ for later use:

- Click on Target Manager, as we are going to create our own image target for this project:
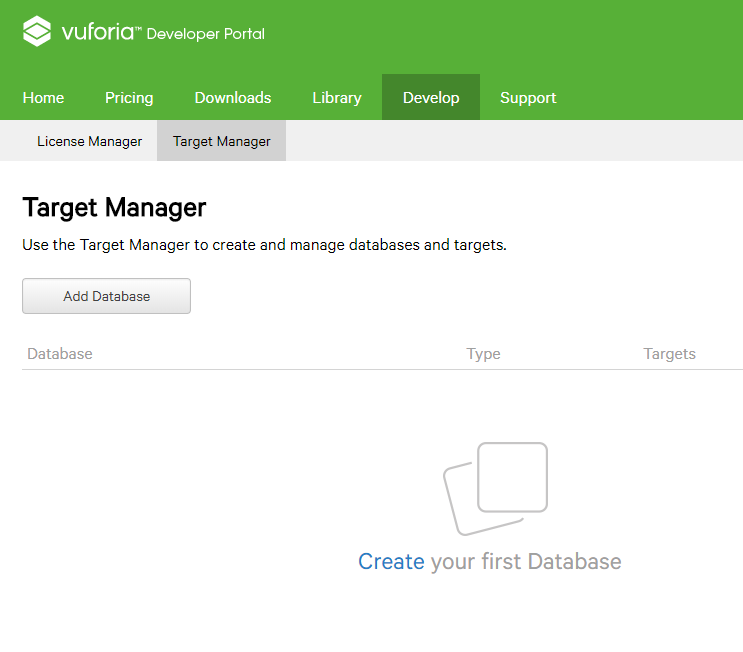
- Click on Add Database to create the brand-new database that we will be utilizing in our project:

- You can name the database whatever you want; in my case, I will call it Words_Pictures, with the Type being Device, and click Create:
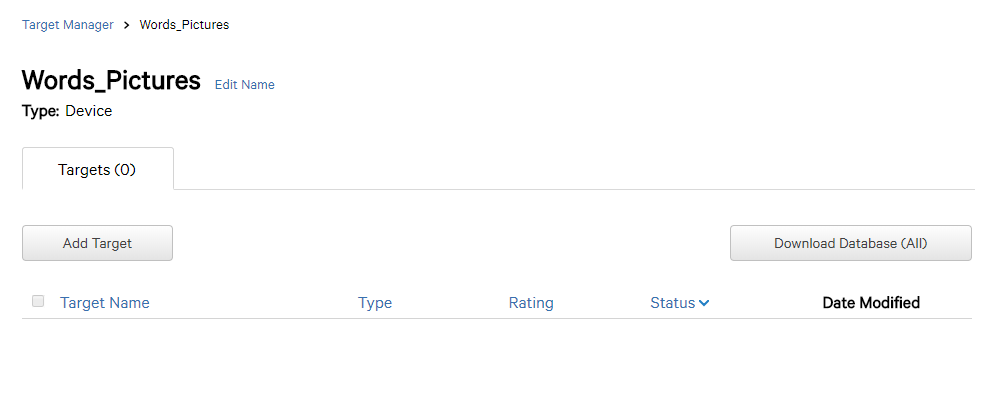
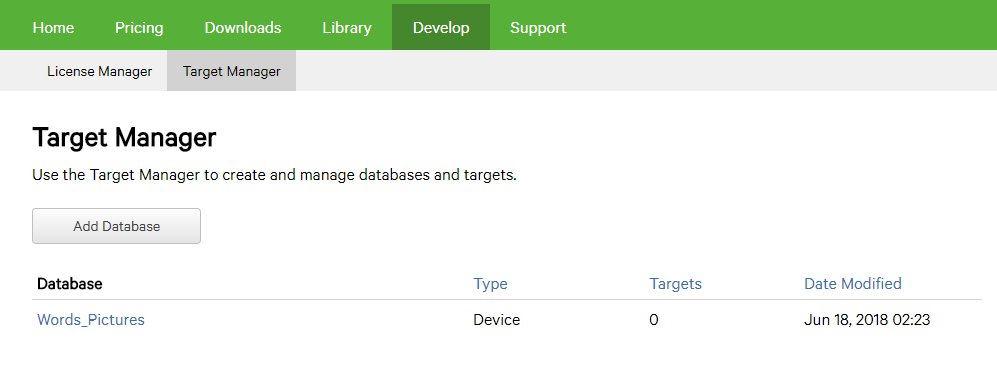
- It should take us back to the Target Manager page and showcase our new Words_Pictures database:
- Click on Words_Pictures to gain access to the database, and then click on Add Target when you see it:

- We will now be able to add a brand-new target to the database. In this case, we want a single image.
- The width should be set to the same width as your image. The name should reflect what the image is:

- Open Microsoft Paint, and we can begin to create the file that we will use for the target:

- The next step is to find the exact size we want to use for this image, and I find the best way to do that is to know what the image is we are going to use. In our case, it will be 72 in font size, have the font name of Bastion, and display the word Tree:

- Resize the proportions to be close around the edges of the word:

- Save the file as a JPG and call it Tree:

- If you look at the bottom of the Paint menu, it will tell you the dimensions of the file we just created. In this case it is 253x106.
- Navigate back to the Add Target web page and choose the Tree file we just created:

- Set the width to be 253 and the name to be Tree, and then click on Add:

- It will take you back to the database, and you should see the word Tree, with the Name as Tree, Type as Single Image, and there should be a three-star rating:

The rating system is designed to tell you whether it is of the proper size to be read correctly by your AR device. We currently have a three-star rating, which means that it should be good, but it could be much better. What can we do to fix this? We can enlarge the image. Let's continue following the steps:
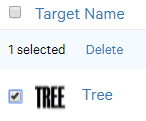
- Let’s delete the image from the database. To do this, click on the little checkbox next to Tree, and above it will appear a very small Delete button:
- Let’s go back to Paint and resize the image. 680 by 480 should be perfect:

- Upload the new target, and the results should have a five-star rating:

- Click on Download Database (All):

- This will open a new window that will ask which development platform we want to utilize this with. We want Unity Editor. Click Download:
It will download a Unity file that we will need to import into our Unity Project—which, now, we can begin to work in Unity, without having to leave the editor to do any other work. Open Unity, and let’s begin building our project.