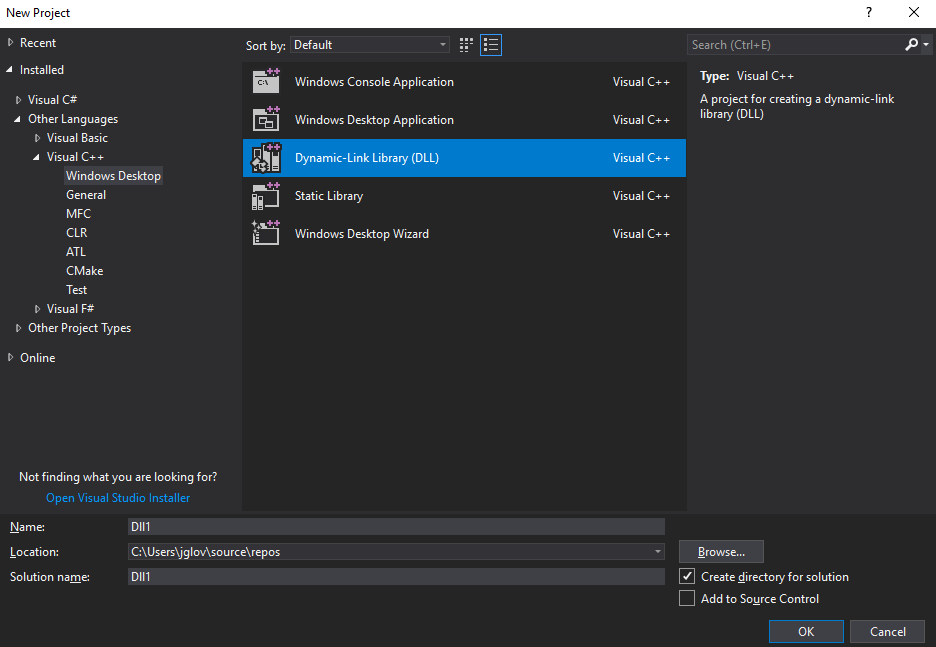
Moving on to C++, we will use Visual Studio once more to create this project:
- This project type will be in Visual C++ | Windows Desktop | Dynamic-Link Library (DLL):

- The name of this project will be NativeWindowsPlugin, and C++ will be slightly different than the managed plugins, due to name mangling, which we will learn how to avoid next.
- So, to get around this problem of name mangling, we need to create a header and cpp file. Take a look at this code:
The header will have the extern c and a preprocessor win32 define along with __declspec, dllexport functions to make sure that name mangling does not occur. Again, we will define our public function of addify, which will be our addition function. Your header should look like this.

 #pragma once
extern "C" {
#if (defined(WIN32) || defined(__WIN32__))
       __declspec(dllexport) int addify(int a, int b);
#else
       int addify(int a, int b);
#endif
}
- Essentially, what is happening when we use the __declspec, dllexport call is that we are avoiding the usage of a .def file.
- Now that our header has been created, we need to fill out the information in our cpp file.
- Make sure to include the header for the native windows plugin, and fill out the function details of addify here. Your code should look as follows:
#include "stdafx.h"
#include "NativeWindowsPlugin.h"
int addify(int a, int b)
{
       return a + b;
}
- Click on Build Solution, and we will be ready to jump into Unity.
Load Unity, and let’s open our Packtpub project:
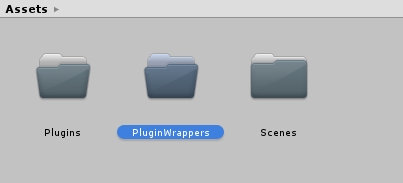
- Like we did previously, we will be using our Plugins and PluginWrappers folders for keeping things organized. Copy the CPlusPlusPlugin into the Plugins folder:

Folder structure
If you take a look at the plugin in the inspector, you will notice that it is only available for Windows. That is because we only had our if directive set for Windows and no other operating system. This is something you should keep in mind when wanting to work with multiple operating systems with C++.
- Now, we can create a new C# class in the PluginWrappers folder called CPlusPlusWrapper:

CPlusPlusWrapper
- The code here will be different than what we used for the native plugin. We will need to import the dll file using a very special attribute called DllImport. This attribute requires the string name of the plugin we used and then underneath the attribute, we need to make sure it is a Public Static Extern Method.
- Public static extern method types designate that the method call we want to use will be static, public, and loaded from an external assembly. To use the DLL Import attribute, we need to use the System.Runtime.InteropServices namespace. Your code should look as follows:
using System.Runtime.InteropServices;
using UnityEngine;
public class CPlusPlusWrapper : MonoBehaviour {
    [DllImport("CPlusPlusUnManagedPlugin")]
    public static extern int Addify(int a, int b);
    private void Start()
    {
        var add = Addify(2, 4);
        print(add);
}
 }
After we do that, the call is essentially the same from there on out. It is a little bit different, and a little more involved, but, overall, it is very easy once you understand how it works. You can now attach this C# script to a GameObject and run it to test the results.