ARToolKit has been depreciated and is now part of the Daqri Vos API. which you can view at https://developer.daqri.com/#!/content/develop
This section has been kept in for incase you want to utilize ARToolkit from the github link https://github.com/artoolkit/arunity5
There are two different ways you can get ARToolKit in a project and ready to develop with. The first option is the easiest, and that is through the Asset Store: https://assetstore.unity.com/packages/tools/artoolkit-6-unitypackage-94863. This is the latest version of ARToolKit in the Asset Store and it will be imported directly into Unity for you. The other option is to go to the main website of ARToolKit: https://github.com/artoolkit/artoolkit5. This allows you to get additional tools and the actual SDK, along with the Unity Package.
For installation into Unity3D, we will go with the second option, since it is less intuitive than the first option:

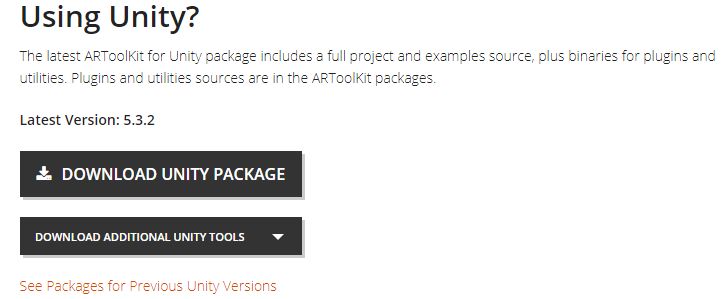
- Navigate to the main website for ARToolKit and click on DOWNLOAD SDK. The macOS, Windows, iOS, Android, Linux, Windows 8.1, and Source Dependencies don't need to be downloaded, but they can be if you want to go deeper into how ARToolKit works under the hood or if you want to use it in a non-Unity capacity. Instead, head toward the bottom of the page and click on the DOWNLOAD UNITY PACKAGE button:
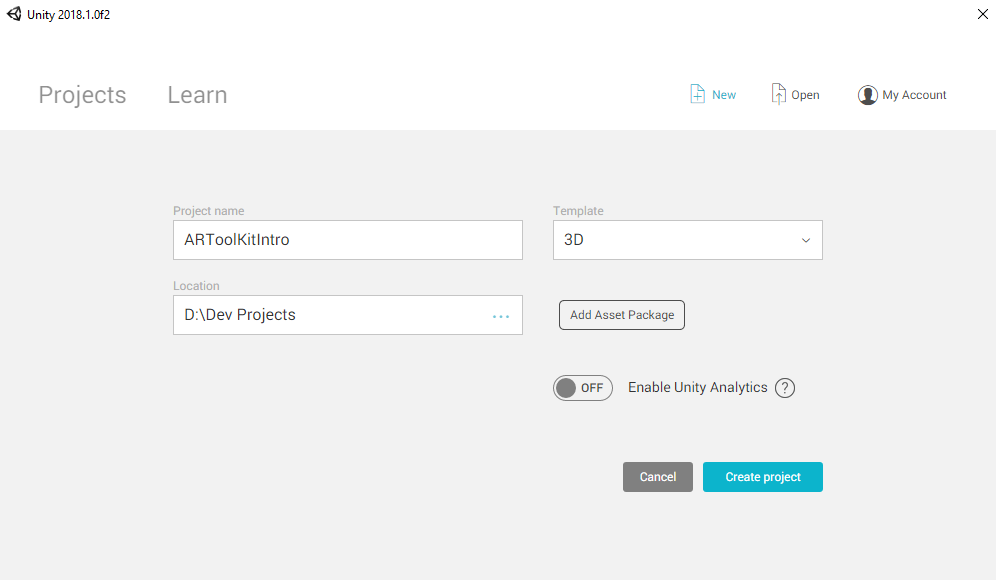
- Now that the package has been downloaded, we need to open Unity3D and create a new project. I will call mine ARToolKitIntro. Keep the settings as default for simplicity's sake:
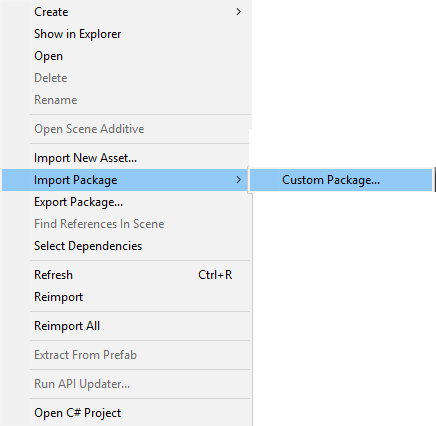
- Now, we need to import the Unity Package into Unity. This is pretty straightforward. Right-click the Assets folder, highlight Import Package, and select Custom Package:
- Navigate to the folder that houses the downloaded Unity Package, click on it, and select Open. You should see a dialog box with checkboxes inside. Click on All and then click on Import:
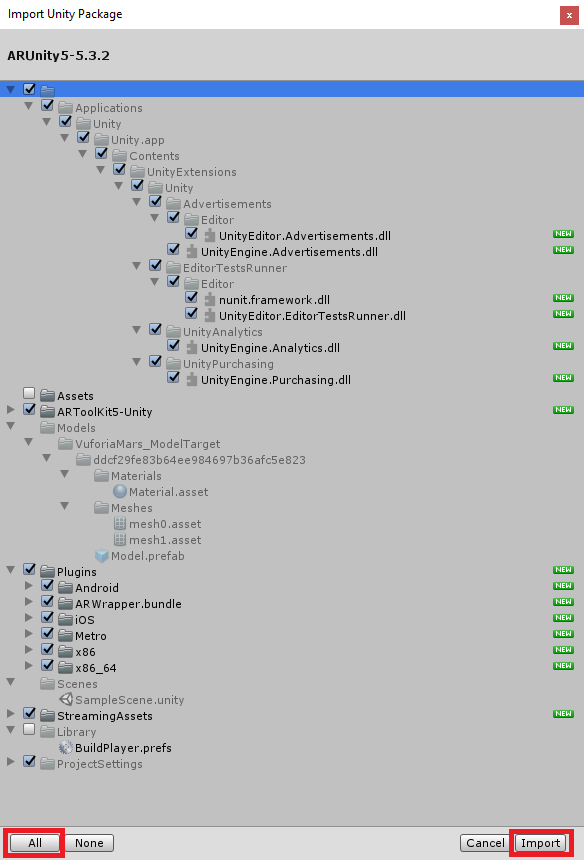
- You will see three folders after the import is complete (ARToolKit5-Unity, Plugins, and StreamingAssets):

Inside the ARToolKit5-Unity folder, there are the Example Scenes, Examples, Materials, Resources, Scripts, Changelog, and Readme files and folders:
- Inside Scripts, we have an Editor folder with the features shown in the following screenshot:

- Inside the Editor folder, we have the following:

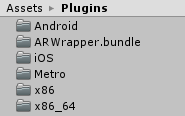
- Next up is the Plugins folder. It has folders listed as follows:
- If you look at the menu bar at the top of the Unity Editor, you will see an additional toolbar item: ARToolKit. The drop-down menu shows several options: ARToolKit for Unity Version 5.3.2, Download Tools, Build, Support, and Source Code:
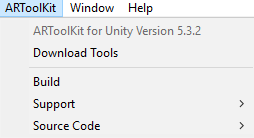
- Support has Home Page, Documentation, and Community Forums:

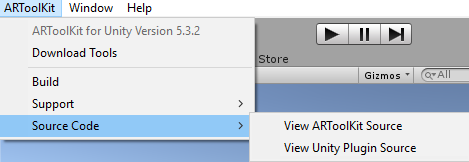
- Source Code has View ARToolKit Source and View Unity Plugin Source:
The basics are out of the way, so we can begin building our "Hello World" with ARToolKit:
- The first thing we need to do is create an empty game object in the Hierarchy pane and rename it ARToolKit.
- The next step is to add the ARController script to the game object and delete the Camera:

- The ARController script handles the creation and management of AR tracking. It automatically adds a camera at runtime and is controlled by the user layers that we provide.
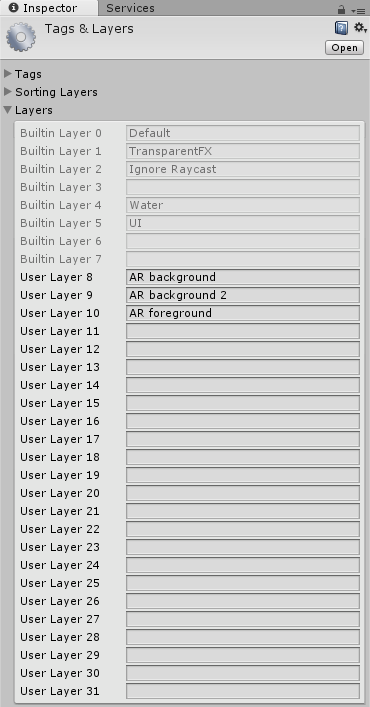
- With this latest version of ARToolKit, the basic user layers are provided for you already: AR background, AR background 2, and AR foreground for User Layer 8, User Layer 9, and User Layer 10, respectively:
- The AR Controller script has a Video Options drop-down menu:

- Since we have so many different options for video, we need to set it up properly:

- If you get errors in the console of the Unity Editor, then you don't have the latest version of ARToolKit with the version of Unity we are using in this book.
Since I am building for Windows, I will go to the first option of Video config and input the following:
 <?xml version="1.0" encoding="utf-8"?>
 <dsvl_input>
 <camera show_format_dialog="false" frame_width="1280" frame_height="720" frame_rate="29.97">
 <pixel_format>
 <RGB32 flip_v="true"/>
 </pixel_format>
 </camera>
 </dsvl_input>
Now, since my computer does not presently have a webcam attached to it, I get an in-game error message, but the code compiles and runs as expected. If you have a webcam attached and it is recognized appropriately, you should have a direct feed from your webcam.
This concludes the Hello World for ARToolKit; we will be revisiting this one later on for more in-depth and fun usage of this SDK.