Let's begin by first downloading the model we will be using with this project. Once again, let's follow these steps:
- Go to turbosquid.com and type scifi as the search parameters:

- Next, change the pricing to Free:

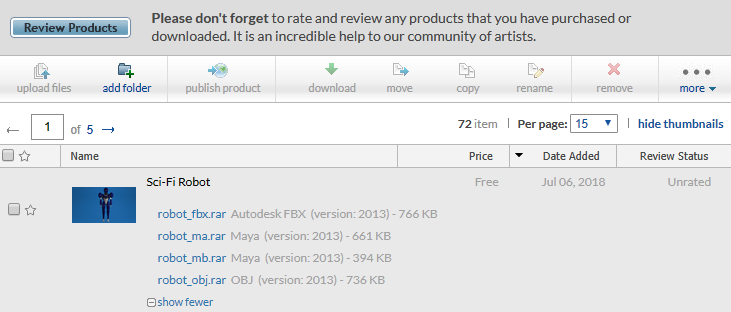
- Find one you like. I like robots and I use FBX format, as I find it easy to use with multiple projects and game engines. So, I will select this one:

- It will take you to a download page, so make sure you select the correct file you want and if it has a textures folder, download that as well:

Download robot
- Go to the folder where you downloaded the zip file and extract it:

- Now we can jump into Unity. Create a new project and I will call this one Chapter8:

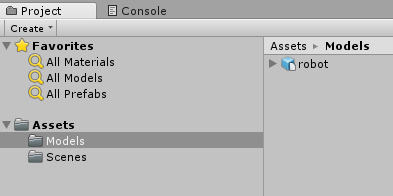
- Create a new folder called Models:
- Import the model into the project:

We now need to go through the steps to install the HoloLens Emulator. I should note that this will only work for Visual Studio, 2015 edition. If you have Visual Studio 2017 or later, you can use the Mixed Reality simulator that is built into the Windows 10 SDK. Let's follow the steps:
- Go to http://go.microsoft.com/fwlink/?LinkID=823018 to download the simulator.
- Click on the installer to begin the installation process:

- It will ask you if you want agree to using the CEIP program; choose your answer and click Next:

- Next up will be the standard Microsoft License Agreement; I would suggest reading it to know what you are agreeing to, and then click Accept afterward:

- Select the features you want to install; I would suggest getting both the emulator and the templates for future reference. Click Install:

Now we can begin to set up the remaining portions of the project.