We will now see how to set up Mapbox:
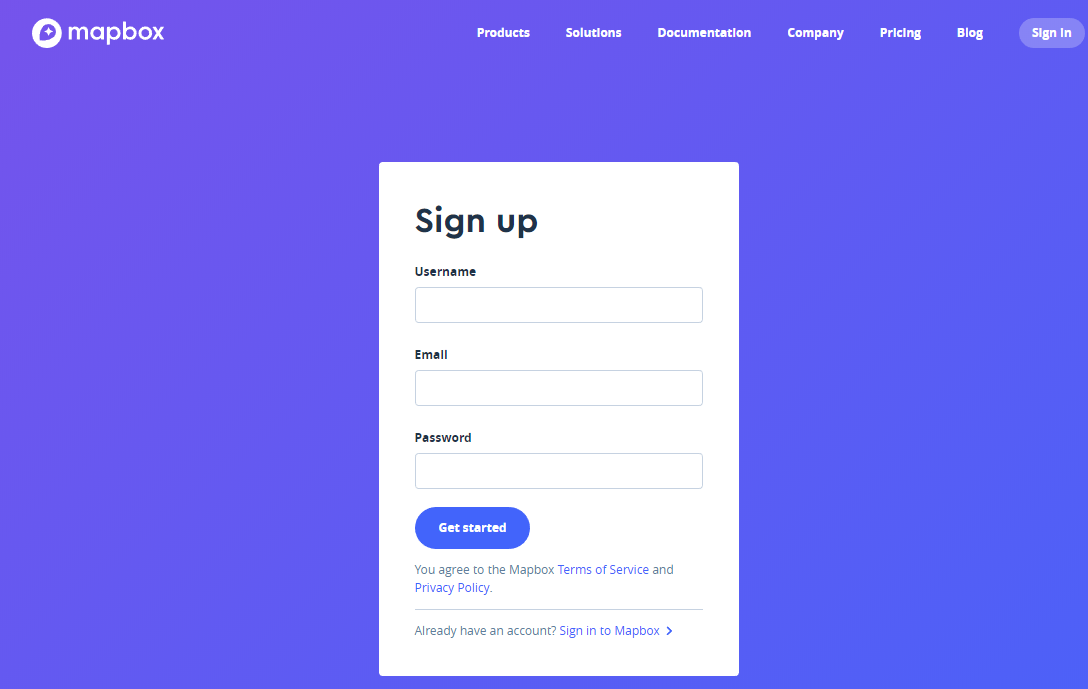
- The very first thing we need to do is sign up for Mapbox. This requires a username, email address, and password:
- After you have signed up and verified your email address, it will take you to a page to find out which version of Mapbox you need. You have the option of iOS, Android, Web, and Unity:

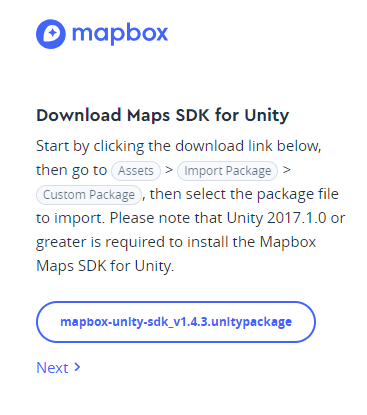
- The version we want will obviously be the Maps SDK for Unity, so be sure to download the Unity package before proceeding:
- As per the following screenshot, you will be given an access token, which will be required to utilize the Mapbox software. Be sure to copy this key and paste it into Notepad for later use:

- Create a new Unity project and call it Chapter6 or Fitness for Fun:

- Import the Mapbox Unity asset file into the project:
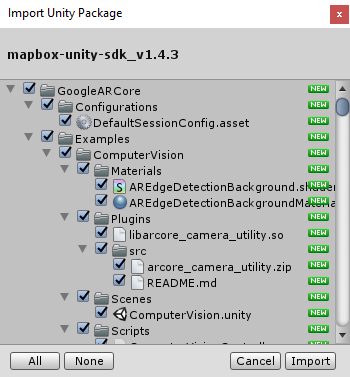
- This will probably take some time to install:

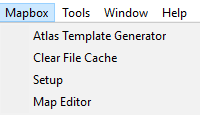
- Right away, after the installation, you should notice a new menu item called Mapbox. This opens up quite a few new features that are exposed for us to play with:

- Mapbox gives us Atlas Template Generator, Clear File Cache, Setup, and Map Editor options:
- The Mapbox Atlas Template Generator is a tool that allows you to create and test custom map atlases:
For every item we look at in this section, exit from it immediately after taking a look at it so we can continue. We will revisit the items we need when building the project.

- The Map Editor allows you to visualize the underlying data structure of the maps you create and use:
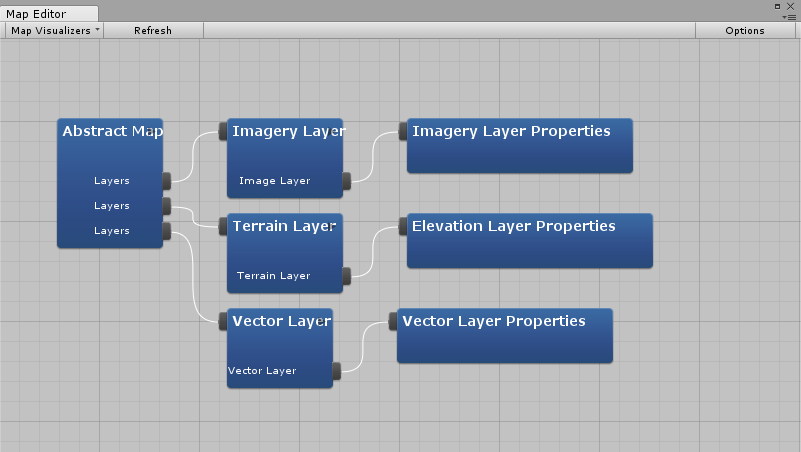
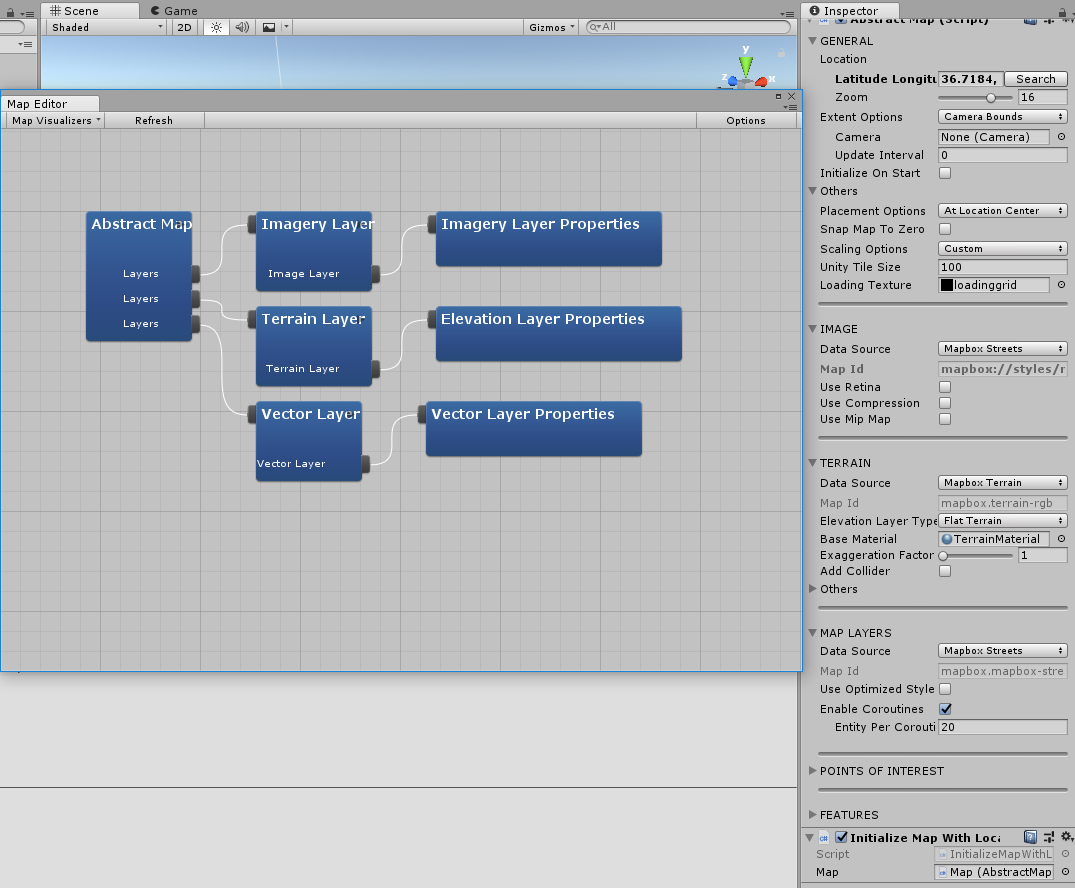
- In addition to that, the Map Editor’s data is tied directly to the Map object’s Abstract Map Script. Any changes you make to the Abstract Map Script data is reflected in the Map Editor, and any changes you make in the Map Editor are reflected in the Abstract Map Script’s data:
- The Mapbox Setup option allows you to select Example scenes or Map Prefabs, however, this can only be accessed after you copy and paste your Access Token and submit the information. This will require you to be connected to the internet for verification:
