Light is where the magic sleeps. It is the most important element to consider when taking a photograph, and once you learn to really and truly see light, to make it bend to your wishes and desires, then you become a part of that magic—it makes you the magician. Light is used not only to illuminate your subject, but also as a compositional element. In this chapter, I will review the most common lighting situations and how to take advantage of them. We will look at the difference between natural light and interior light, and I’ll offer guidance on how to hone your eye to read a lighting situation so that you can shoot with more confidence and, ultimately, more beautiful results.
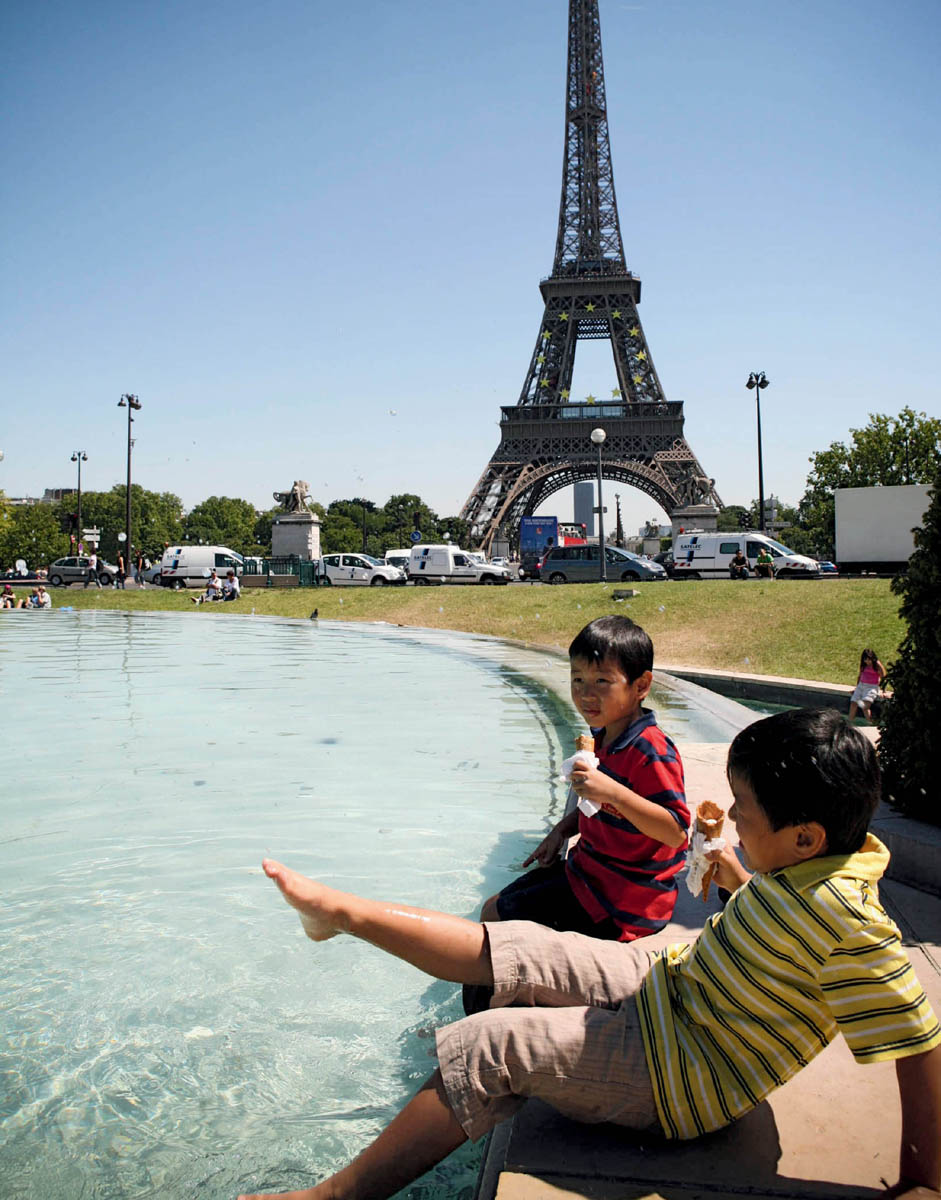
Many people who photograph casually, shooting simply to record moments, may be surprised to learn that direct, midday sun is not your friend in terms of a flattering portrait. The idea seems obvious: more light on your subject equals a better photograph. That is a partial truth, as the type of light is as critical to success as the amount of light. Midday, or full sun can create harsh and unflattering shadows across the contours of your child’s face. There is also little visual warmth to this type of light, and it often creates white spots or washes out your subject. Finally, it’s not comfortable for your subject, especially a child. Your first reaction to harsh sunlight is to squint, so is a child’s—but a child will also instinctively place her hands over her eyes or across her forehead to protect her eyes—probably not the look you were going for in your portrait. If you’re on family vacation and feel the need to capture every moment, you can still achieve beautiful results at midday by finding some shade. Shaded areas during this time of day will vary. Find light shade, preferably evenly shaded, and adjust your settings for the available light. The resulting photograph will be much more flattering, and your child should not be tempted to shield her face. The image in figure 6 was shot in full sun at midday. Notice the subtle shadows across his face. By exploring the angles you are shooting from, you can lessen the appearance of these shadows, but not eliminate them.
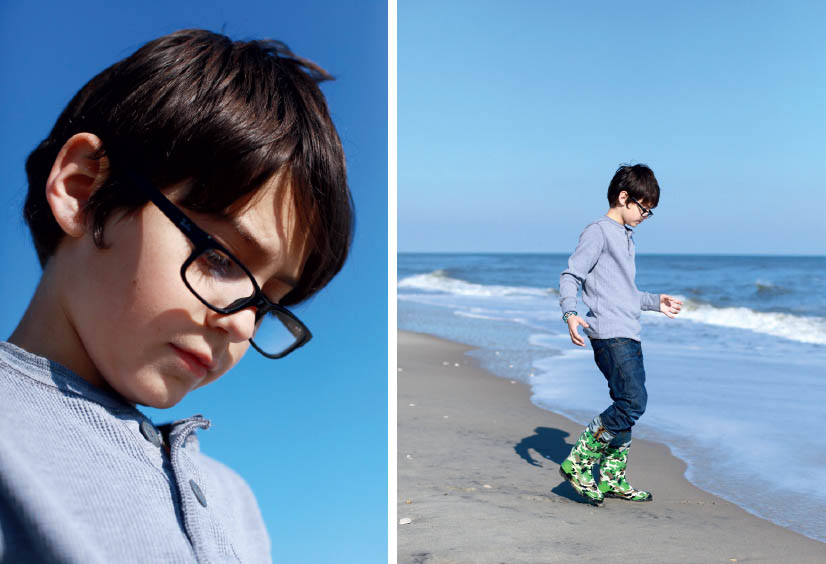
fig. 6
Dappled light (the sun coming through tree leaves, for example) is gorgeous, there’s no question. But while it may be a beautiful compositional addition to a farm table overflowing with a summer feast, it’s not necessarily ideal for portraits. Those little dots of light can create spots all over your child’s face, so be mindful when shooting in these conditions. You can capture this type of light, but do ensure that your child’s face is illuminated evenly.
The best time of day to photograph your child is in the morning or the evening. The light is much softer and more flattering to skin tones, and you will likely have more options in terms of where you place your child in that soft light than you do under a harsh sun. This type of light is commonly referred to as the golden hour, and when you see the beautiful tones in your images, you will know why.
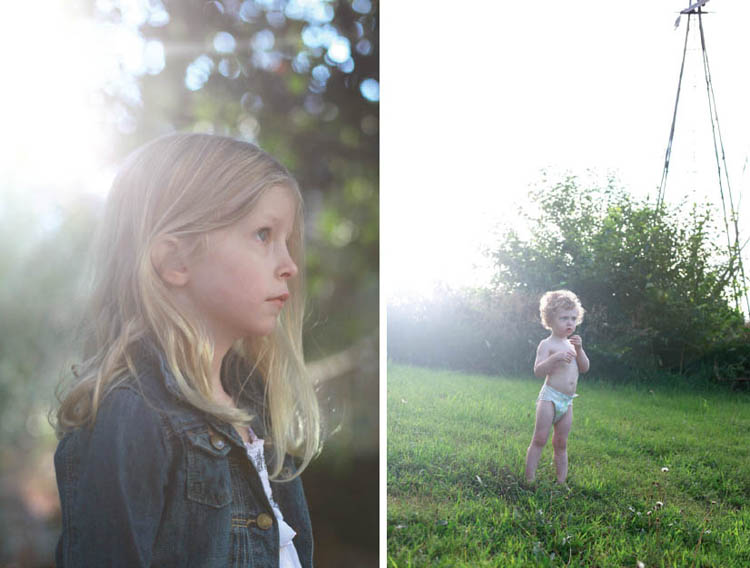
By Irene Nam
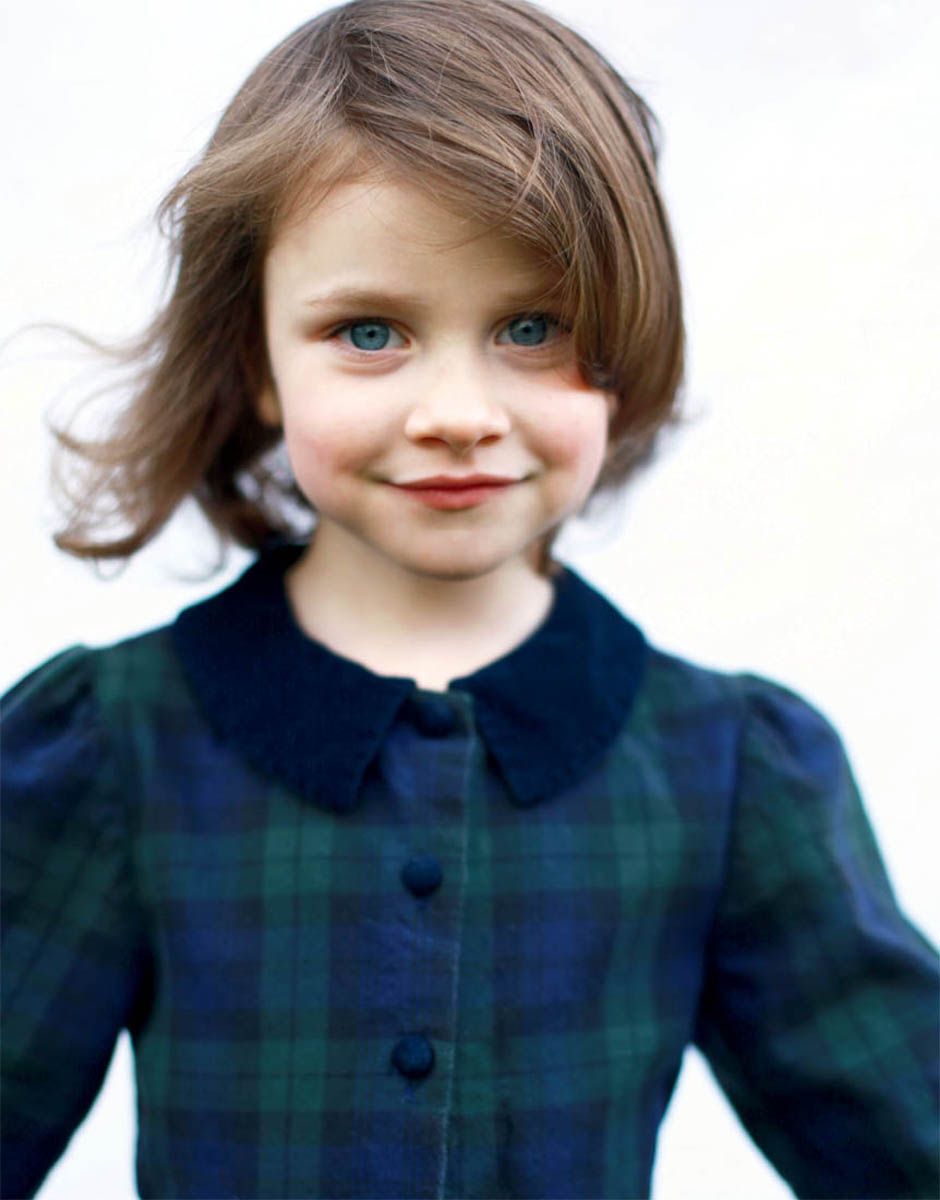
By Deb Schwedhelm
This is also the time to explore shooting into the light to create a bit of flare. Flare is the streaks or bubbles of light that appear on your image when a strong exterior light source (usually the sun) hits your lens directly. A lot has been written about how to avoid flare, but it can be a beautiful compositional tool as well. Flare can best be achieved in manual mode (so do it now!) and with a few considerations . . .
» Shoot into the light. You need to be proactive here and move yourself around a bit. You will know you are in the right position when you see the light burst open a little through your viewfinder. That’s the time to shoot. This is one of those lighting situations where you and your camera will not see eye to eye. Your light meter is sure to tell you that your picture will be overexposed. But go ahead and shoot a few frames, and then adjust your shutter speed until your entire image is illuminated the way you want it to be.
» Ensure that there is still enough light on your child’s face. If you are shooting into the light, then your subject’s back is most likely facing the light source. You need to ensure that the sun is still high enough to adequately illuminate the child’s face.
» Be aware of where your camera is focusing. If you are shooting on autofocus, the camera will be attracted to the light source. It’s best to switch to manual to ensure that the focus remains on your child’s face.
» Be mindful of the rings that flare can create on your image. They can look pretty cool, but if you’d rather not see them in print, take a step back to give yourself enough extra image space to crop them out later. You may also be able to eliminate or downplay the rings by moving the camera just a bit. Play with positioning until you capture what you are looking for.
Another lighting situation you are sure to encounter outside is cloud cover. Do not let this discourage you. Cloud cover gives you a soft, even light that can be beautiful in portraits. In harsh, midday, outdoor light, the sun can create unwelcome shadows across your child’s face. Clouds are your biggest ally in creating beautifully—and evenly—lit portraits.
One more thing to consider. If you are shooting manually, you may notice a significant difference in coloring (K-temp), especially in skin tone, when you move from a full sunlight or indoor lighting situation to cloud cover. Sunlight tends to lend a yellow tint, while cloud cover can read blue. By adjusting your color temperatures in your DSLR’s menu, you can easily correct for this. The laws of color theory apply here. If your images are too blue, add yellow; if your images are reading too yellow, increase the blue. There will be specific instructions on how to access this menu in the instruction manual for your DSLR.
Shooting inside does not necessarily mean no longer shooting with natural light. However, there are significant changes to consider when moving inside. Ideally, you want to seek out pools of natural light. But remember our discussion of harsh, midday light and skin-tone coloring? You will likely face these same issues indoors if your light is not diffused in some way. The simplest way to diffuse light is to move into a slightly shaded area, where the sun is not bright, but the room is still well lit. Your child will be more comfortable out of the heated pockets of sun, and you will have better results when you shoot. Another great way to diffuse light is with sheer curtains. Curtains allow you to make the most of your light source by shooting near the window (for example), while still being able to keep the light soft and flattering.
While the ideal is to always use natural light, you will likely find yourself in situations where this is just not possible. Several factors will affect your photography in this scenario, but all fall victim to the light source itself. One of the first considerations should be the placement of the light source. Just like the sun, light bulbs, whether overhead or tableside, can also create unwanted shadows. Second, the type of light bulb will affect the color cast, which is most noticeable on skin tones. Last, the brightness of the bulbs will be a factor in how you shoot.
Shooting indoors under ambient lighting may teach you rather quickly how important it is to learn to shoot manually. By setting your camera to manual, you will be able to use f-stop and shutter speed to control the amount of light entering the camera; you will also be able to adjust the K-temp. Most light bulbs tend to read yellow or orange in terms of skin tone in digital images. Add blue to achieve more natural results.
Try to keep your children away from overhead lighting and tableside lamps. You will find that, like the sun, these light sources create both shadows across the subject’s face as well as “hot spots” (areas that are completely white). Remember to use your ISO settings in this situation to achieve more light in the image without relying so heavily on your outside light source.
Another common way to deal with these situations is to post-process your photographs in black and white. I still recommend shooting in color for two reasons. The first is that you may have some color shots that work quite well, or can be easily color-corrected. Second, you will have more success editing color images into black and white, because the color tones are easier to manipulate than the gray tones of the black and white setting on your camera.
To create a studio lighting look in your images requires a bit of equipment, but by no means do you need to invest in full-scale studio lighting. If you are trying to achieve a studio look, first try to set your children up by a window using a sheer curtain as a filter. If your light source is coming from one direction, say one window, then you can also use something to “bounce” the light back onto the underexposed portion of your child’s features.
For example, say you’ve set your daughter in a chair in a room with one large window. The window is to her right, and she is facing you and the camera. If you look carefully, you will notice that the left side of her face and body, the side facing away from the window, is significantly darker than the right side. You could turn her to face the light source. However, this is not always ideal because once you move in front of her to take the photograph, you may find that you are blocking a good portion of that light. The better option is called “bouncing.” Placing a large, bright, white, flat surface on the left side of her will effectively bounce the light back into her form. You can purchase light bouncers (called lighting reflectors) and stands from large camera shops. But you can also purchase large white mat boards from craft stores and prop them up with stacks of books. You can wrap these mat boards in tin foil to get that light to really jump back into your frame. At first, the difference in light may not be noticeable to your naked eye, but you will see the difference on the display screen of your camera. You may have to move and tilt the board around a little, but the more you practice with bouncing, the more you will notice the subtle shifts in light as they fall across your child’s form.
If you do not have enough natural light to work with, you can purchase a few types of lights that will help create a studio look. Studio lighting is soft and even. The best way to achieve this is, of course, with a soft box (large diffusers) and a beauty light. However, these can be pricey additions to a makeshift home studio. Instead, try these tricks:
» Use a minimum of two light sources to avoid shadows and uneven lighting.
» Try using daylight bulbs, as they are softer than traditional light bulbs and will not affect skin tones as harshly.
» Purchase inexpensive workshop lights from your local home improvement store. They come both on stands and as portable units. The portable lights often come with a clip that allows you to secure them on a bookshelf or chair. Look for a light that will allow you to swivel the head to adjust where the light falls.
» Diffuse! Drape an ultra sheer cloth over the lights to soften the look. Just be mindful of two things here: first, that the bulbs are bright enough to illuminate your subject through the fabric, and second, that you NEVER leave the covered lights unattended because of the risk of fire.
» Regardless of the type of bulb, it’s still a bulb, so be sure to adjust your color temperature accordingly.
» Set your child down before adjusting the lights. It is important to have the child in place so that you are able to adjust the light to fall most flatteringly across his face.
» Check the Resources section in the back of this book for websites dedicated to do-it-yourself photography. There are some great tutorials on building your own lighting kit.
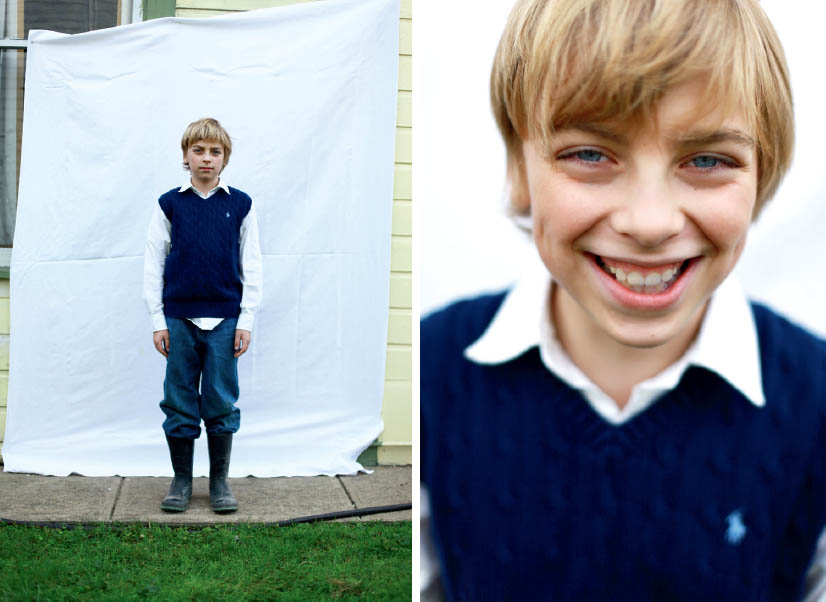
The final consideration in setting up a quick home studio setting is background. If you have a blank white wall, that’s a perfect start. I painted one of the walls in our kitchen nook with blackboard paint, and it’s proved to be my favorite area in the house to shoot. If you have the ability, you can also hang a bar almost flush to the wall and ceiling over the area you plan to shoot in; this will allow you to hang different fabrics up for varying backdrops. Do not discount wallpapers, fabric, and even paint. Covering large mat boards or even old doors in these materials will give you a nice variety to choose from when you want to set up a shoot.
You can also take the studio outside. Pin or nail a sheet against your house, garage, or even between two trees, and you’re good to go! Just be sure to adjust your K-temp settings for the change in light for the bounce the sheet or backdrop is likely to create.
As we’ve discussed in this chapter, lighting is paramount to a successful photograph and never more so than in a portrait. As you continue to shoot and experiment with different lighting situations, you will find not only your knowledge base, but also your confidence, growing. You will know that you can shoot a beautiful photograph of your child under any circumstances—and what a wonderful power to possess.