One of the most highly trafficked areas of the home, the living room should be a warm and welcoming space where you can unwind and entertain. Having handmade elements in this room not only gives your home distinctive visual identity but also becomes a great for topic of discussion when friends and family stop by.
WALL ART, THREE WAYS
Art doesn’t just add instant color and life to your walls—it transforms a whole room! In fact, when you move to a new place, I suggest hanging art as soon as possible to make yourself feel more at home. (Even if you have to move pieces later, it’s totally worth it—just use removable adhesive hanging strips instead of nails if you’re concerned about damaging the walls.) Whether you keep it minimalistic with a single statement piece or go all-out with a gallery wall, I guarantee your space will feel much more inviting after putting up pieces that make you happy.
Best of all, it’s easy to do yourself! Just because professional paintings or sculptures aren’t in your budget, or you don’t consider yourself an artist, doesn’t mean you have to go without. When paired in a repeating pattern, even simple shapes become a work of art! With painted dots, colored paper, and the right palette, your work will look way more upscale than kids’ art (even though it’s easy enough for a kid to make).
If you’re looking to go beyond traditional canvas or paper mediums, try using acrylic sheets. You can fill an entire piece with paint or leave sections blank to work with negative space. Thanks to the transparent material, you needn’t be a trained artist to get professional results (hellloooo, tracing!). No matter which option you choose, all you need to make something beautiful for your walls is a bit of skill, a little time, and a few inexpensive supplies.
POLKA DOT ART
MATERIALS
Watercolor or BFK paper (available at art supply stores)
Picture frame with mat and glass in your choice of size
X-Acto knife
Cutting mat
Pencil
Ruler
Painter’s tape
Acrylic paints
Foam pouncer (available at craft stores and online)
Plastic palette or paper plate
INSTRUCTIONS
1 Cut your paper to fit your frame. Use a pencil to mark the area within the mat (so you know where to paint).
2 Measure and mark guidelines with painter’s tape before painting: Decide how many rows of dots you would like, then use the ruler and pencil to measure and mark evenly spaced lines on the paper. Use a strip of painter’s tape to connect each set of markings across to create horizontal guidelines. Repeat for the vertical columns.
3 Now it’s just a matter of dabbing your pouncer in paint and making dots! Pour paint onto your paper plate or palette and dip your pouncer in, then press the pouncer gently against the paper to make a dot. If you’ve never worked with a pouncer, make some test dots on scrap paper until you get the hang of it—it should take only a couple tries.
4 Just keep dabbing until your design is complete. Let dry, remove painter’s tape, gently erase any visible pencil marks, and then frame to display.
Making polka dots for this project is especially easy because the foam pouncer is already a circle. (Martha Stewart makes them in a number of sizes.)
PAPER CUT-OUT ART
MATERIALS
Watercolor paper
Colored/patterned paper
Scissors
Rotary tool, cutting mat, and ruler (optional)
Mod Podge
Foam brush
Picture frame with mat and glass in your choice of size
INSTRUCTIONS
1 Cut the watercolor paper to fit the frame so that the resulting artwork aligns perfectly. It’s amazing what a picture frame can do to elevate a project. Even this simple paper collage will look modern and chic.
2 Create some stripes! Stripes are easy to make, and they look great when paired with the painted dots from the previous project. Use scissors to cut your colored paper into strips. Or, if you can’t cut a straight line to save your life, try this trick: use an inexpensive ruler, cutting mat, and rotary tool to cut perfectly straight lines. (Keep in mind that a rotary tool is dangerously sharp, and you should always protect your hands when using one.)
3 Once you’ve cut your strips, arrange them on the watercolor paper in a pattern you like. Use the foam brush to apply a thin layer of Mod Podge on the back of each strip and glue in place. Let dry completely. Then frame, hang, and enjoy.
You can use any paper for your base, but thicker art papers (instead of printer sheets) have a nice texture and color. Also experiment with patterned scrap-booking paper or fancy wrapping paper sold by the sheet.
ACRYLIC ART
MATERIALS
Clear acrylic sheet, ⅛″ thick
Power drill, picture-hanging nails, and mounting brackets (optional)
Acrylic paint
Paintbrush
Paper plate or palette
Painter’s tape or washi tape
Removable picture-hanging strips or hook-and-loop fasteners (optional)
INSTRUCTIONS
1 If you’d like to eventually hang your artwork, use the power drill to make holes in the acrylic sheet for the mounting hardware before you start painting.
2 Plan your design. Use the tape to mark where you’d like to paint. If incorporating letters or numbers into your design, keep in mind they will appear backward when you flip over the acrylic sheet to display because the side of acrylic that you’re painting will end up being the back of the art, closest to the wall. Also, if you plan to mount your piece on a wall (instead of propping it on a shelf or vanity), consider where you’ll attach the hanger or picture-hanging strips—you may want to use a darker color or a more solid line in that place so that it doesn’t show through the front.
3 Paint! To keep things very simple (mainly because my painting skills aren’t the strongest), I used washi tape in different widths and paint to create simple geometric patterns. Because the acrylic sheet is clear, you can easily trace any design you want. Again, remember to reverse the image so that it will appear the correct way once flipped over.
4 Let the paint dry, then display your artwork. You can use removable hanging strips or hook-and-loop fasteners on the back if you want the piece to hang seamlessly, or nails and mounting brackets if you drilled holes.
I was able to find Plexiglas on the internet, but acrylic sheets are sold at hardware stores, too. There are many sizes to choose from (you can even get it cut in a circle!), so start small to see if you like working with this material before investing in a larger size.
PARTY ANIMAL COASTERS
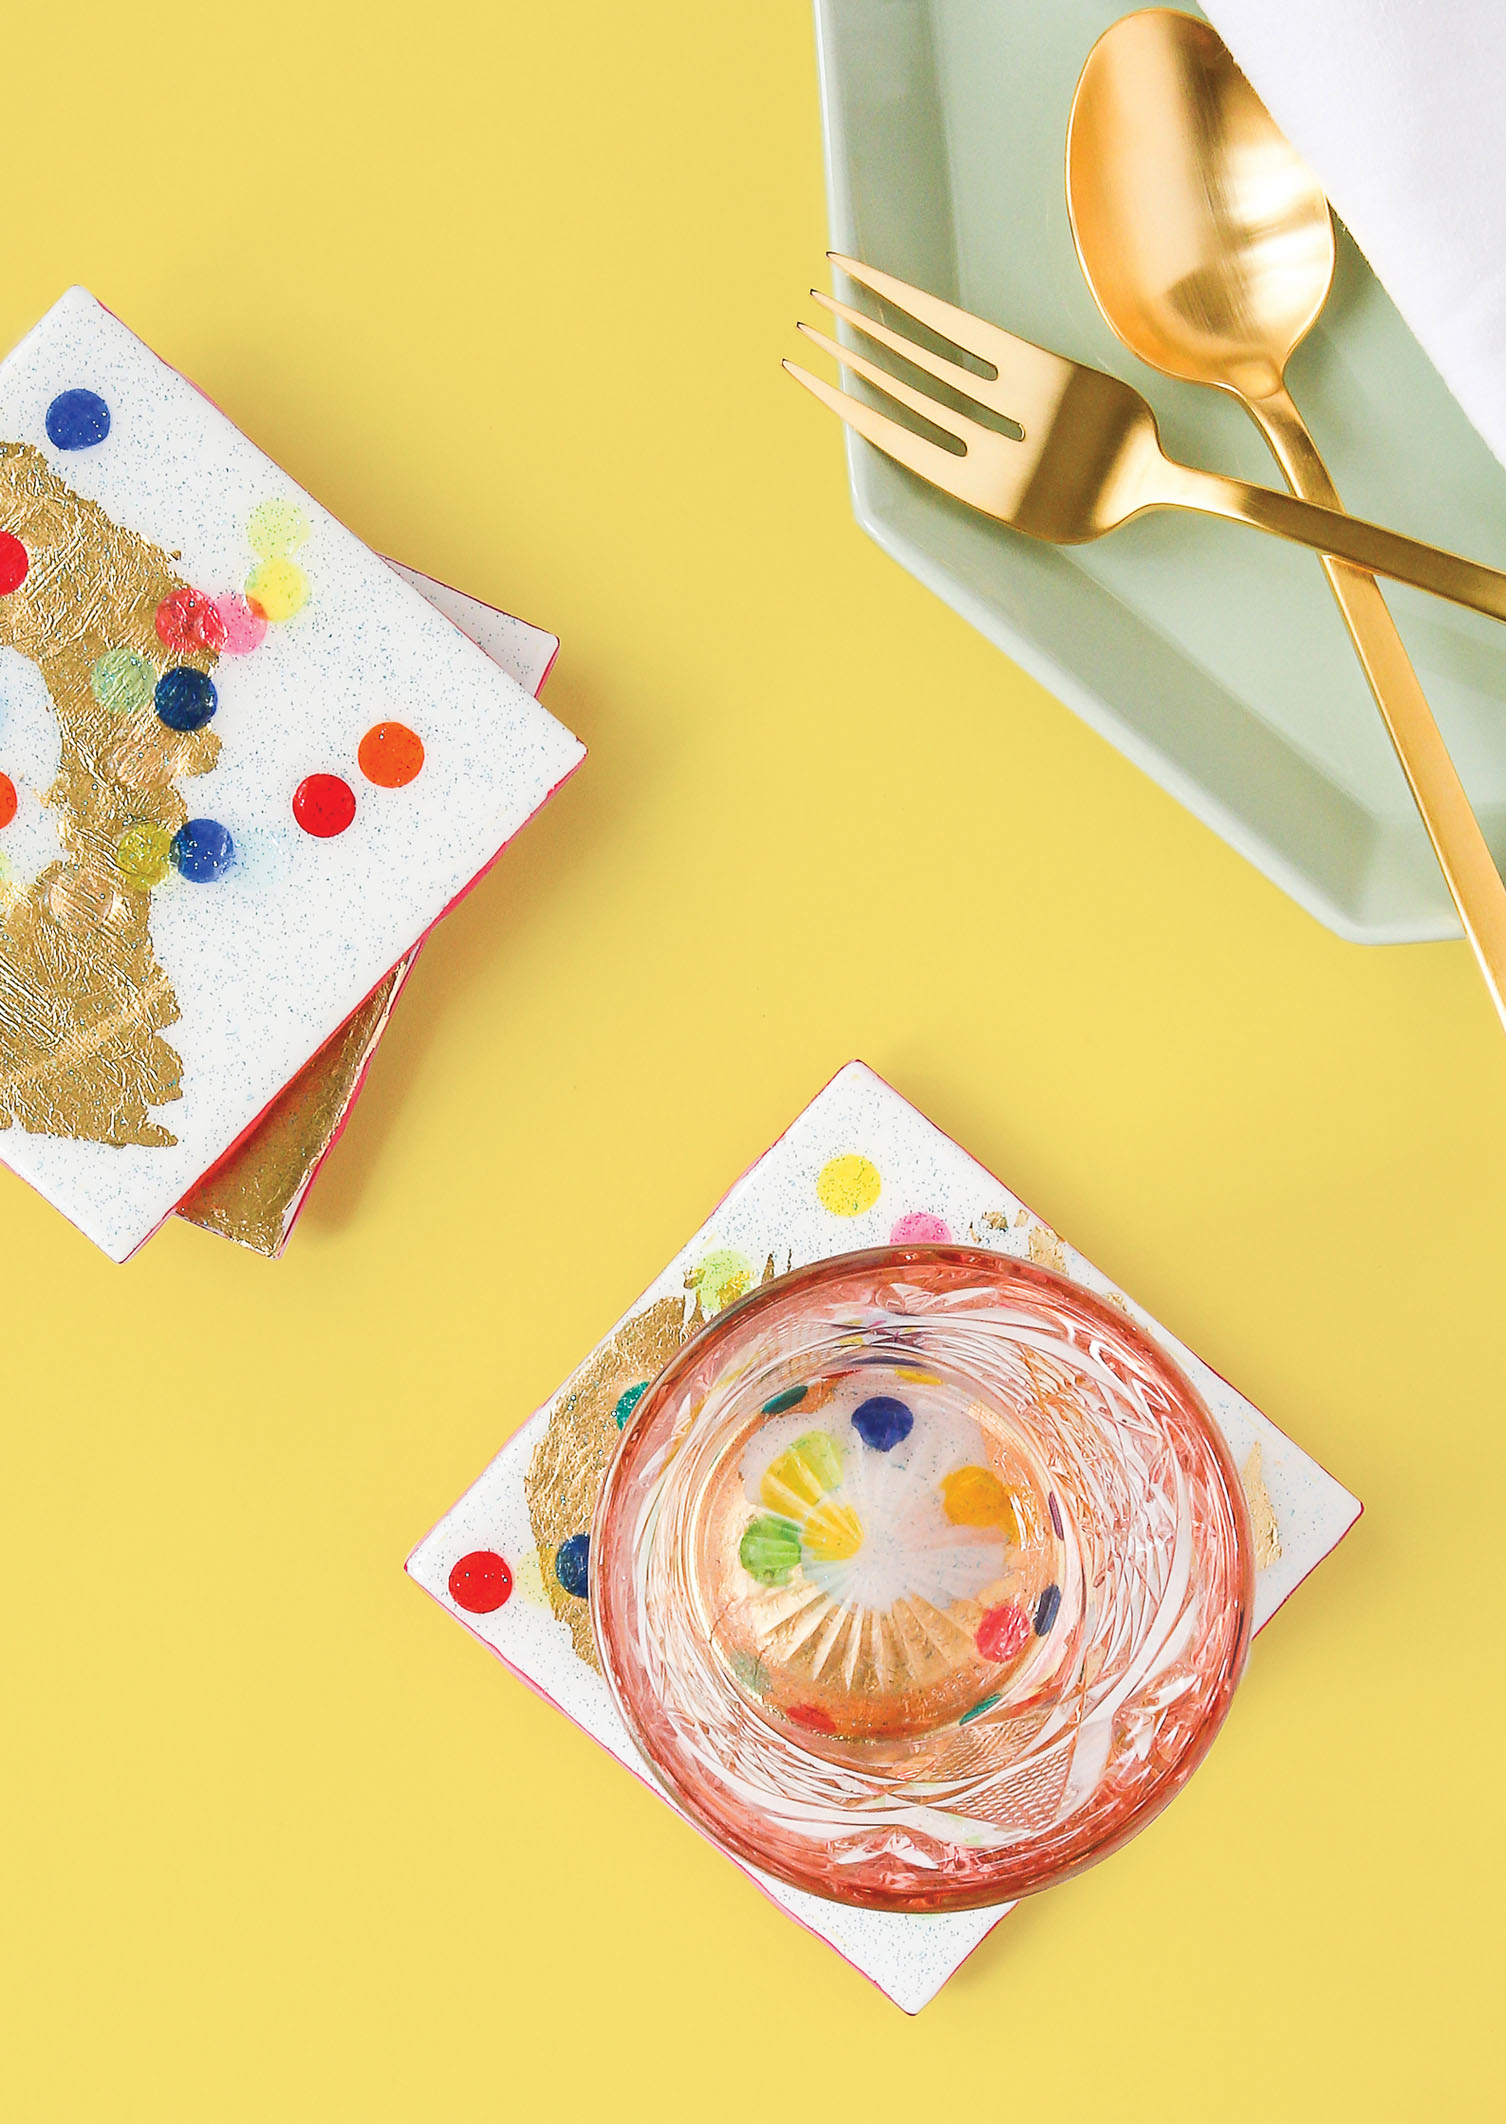
You may be a party animal at heart, but deep down you know you don’t want any water rings (or, okay, wineglass stains) on the top of your nice coffee table. Don’t worry! Let everyone know you’re still the life of the party by handing out these cute confetti coasters.
MATERIALS
Foam poster board
Ceramic bathroom tiles
Acrylic paint and brush (optional)
Wooden block, slightly smaller than the tiles
Gold leaf and glitter (optional)
Colorful confetti
Clear casting epoxy resin (see tips here)
Craft sticks
Plastic cups
Gloves
Drinking straw
Small self-stick foam circles
INSTRUCTIONS
1 Prep your work station. Choose a well-ventilated area and cover your work surface in case of spills or drips. Lay the poster board on top of the covered, flat surface (this is the key to making sure your coasters dry evenly).
2 For an extra pop of color, you can paint the tile edges with bright acrylic paint if you’d like. Tape off the tops of the tiles to avoid getting paint on the surface (unless your tiles are glazed, in which case any excess paint should wipe right off) and paint. Let dry before continuing.
3 Place the tiles in the center of the wooden block. When you pour the epoxy over the tile in step 6, the block will allow excess liquid to drip off the sides and onto the poster board, leaving your coasters with smooth edges.
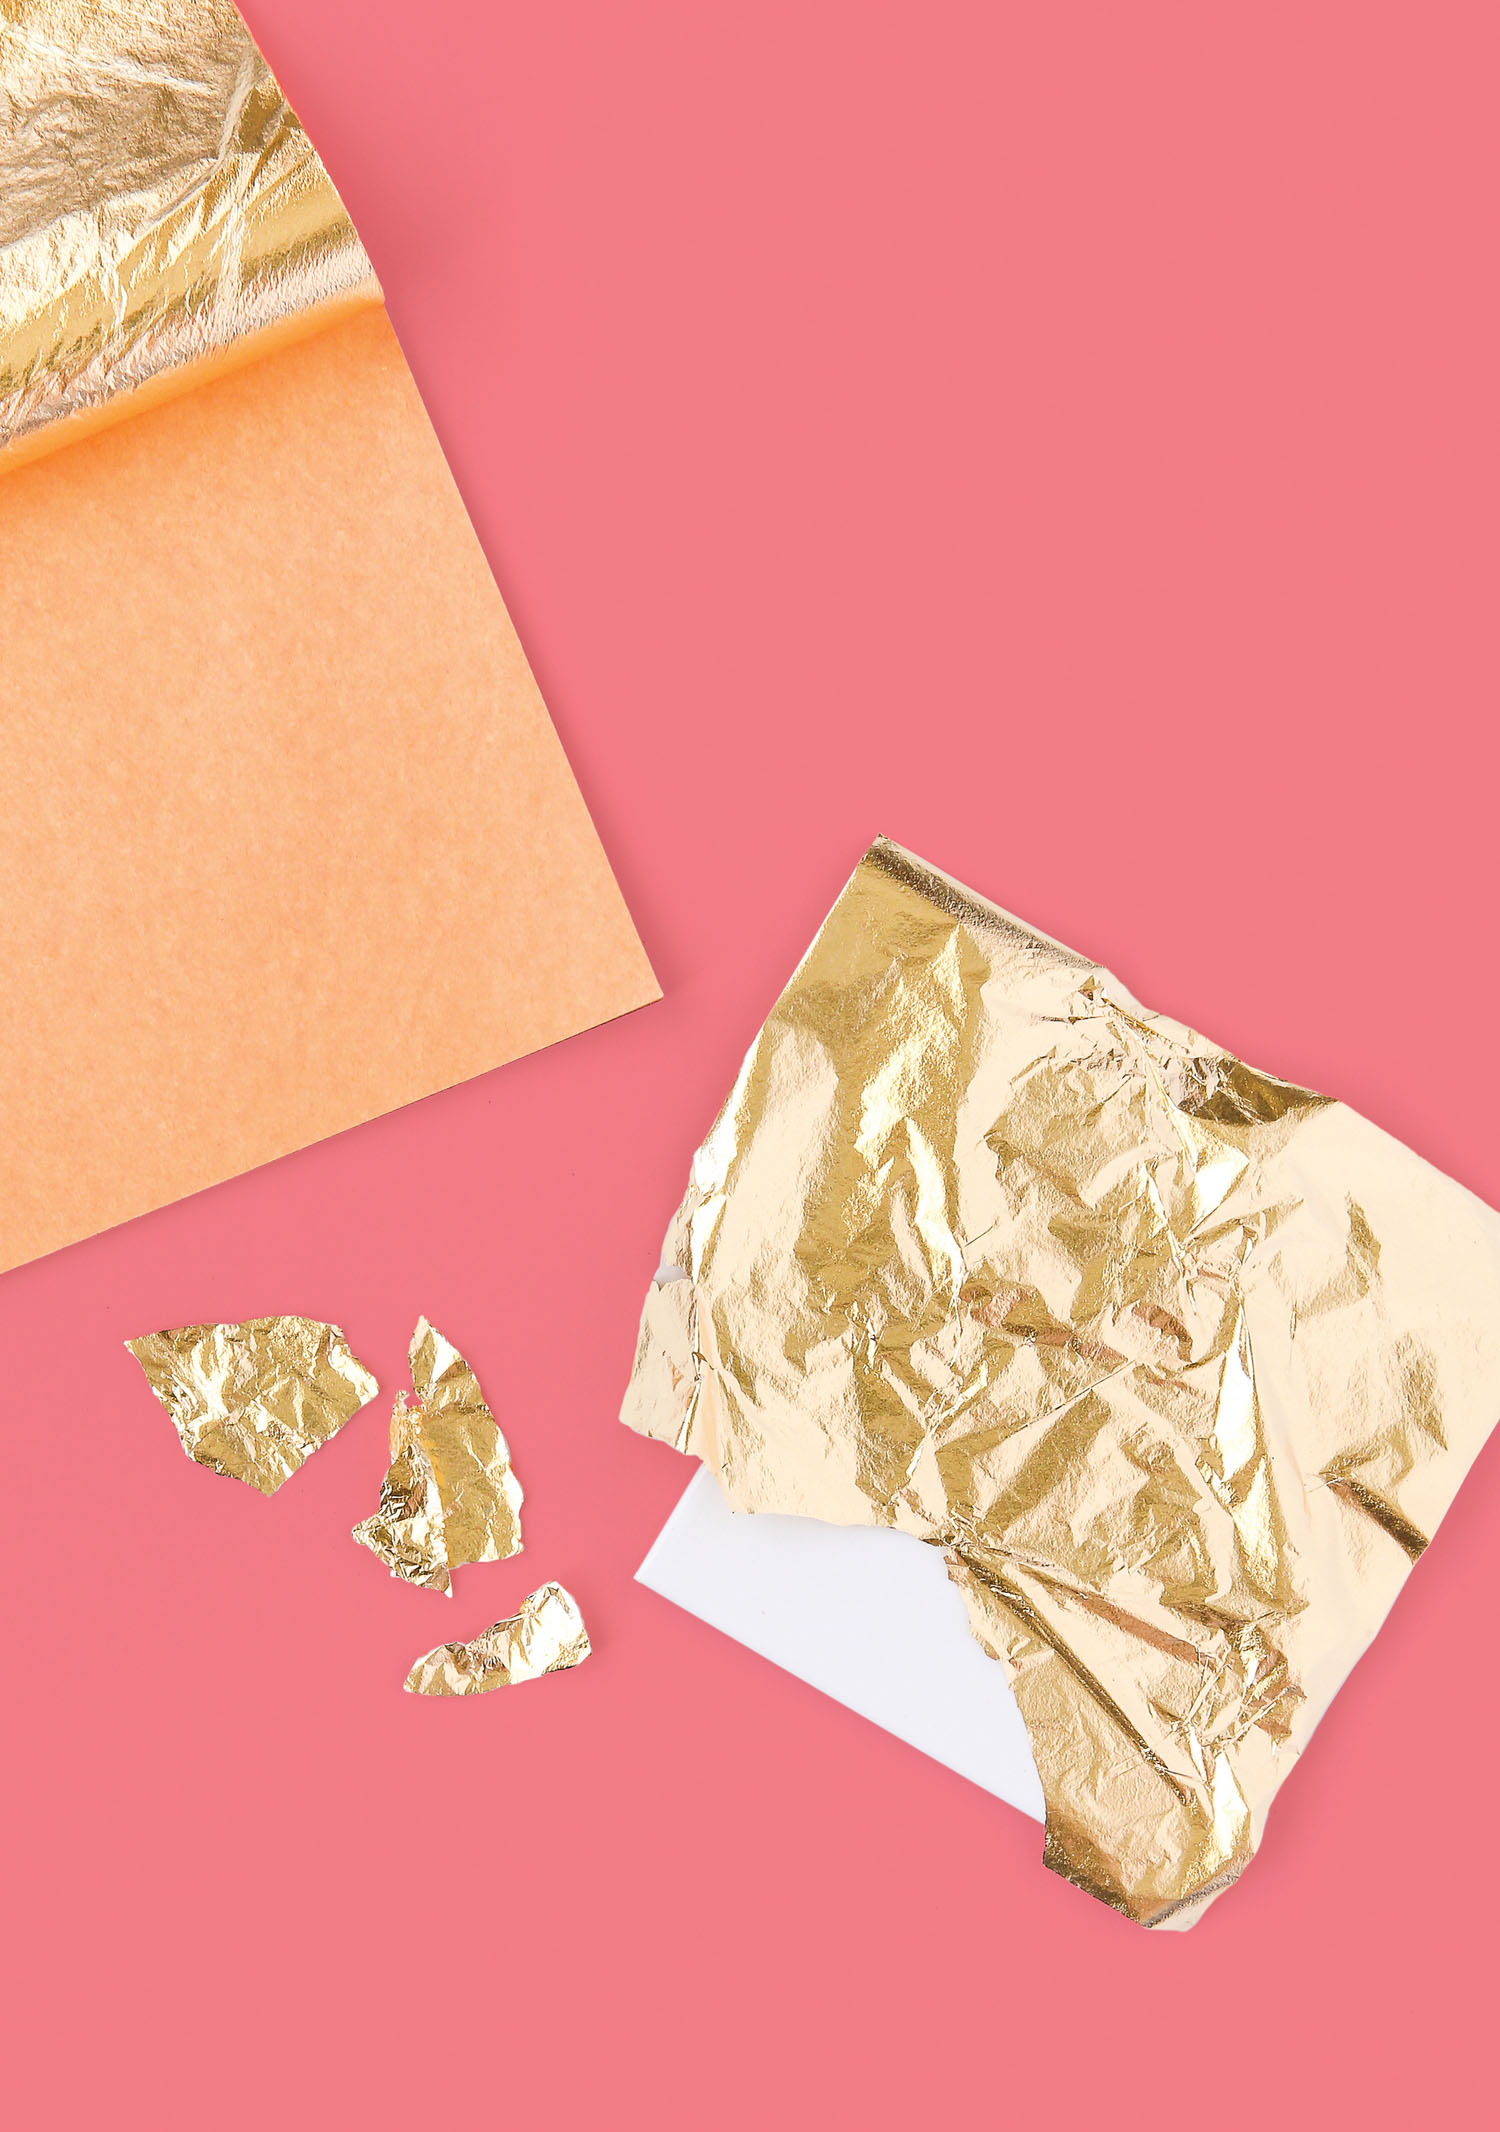
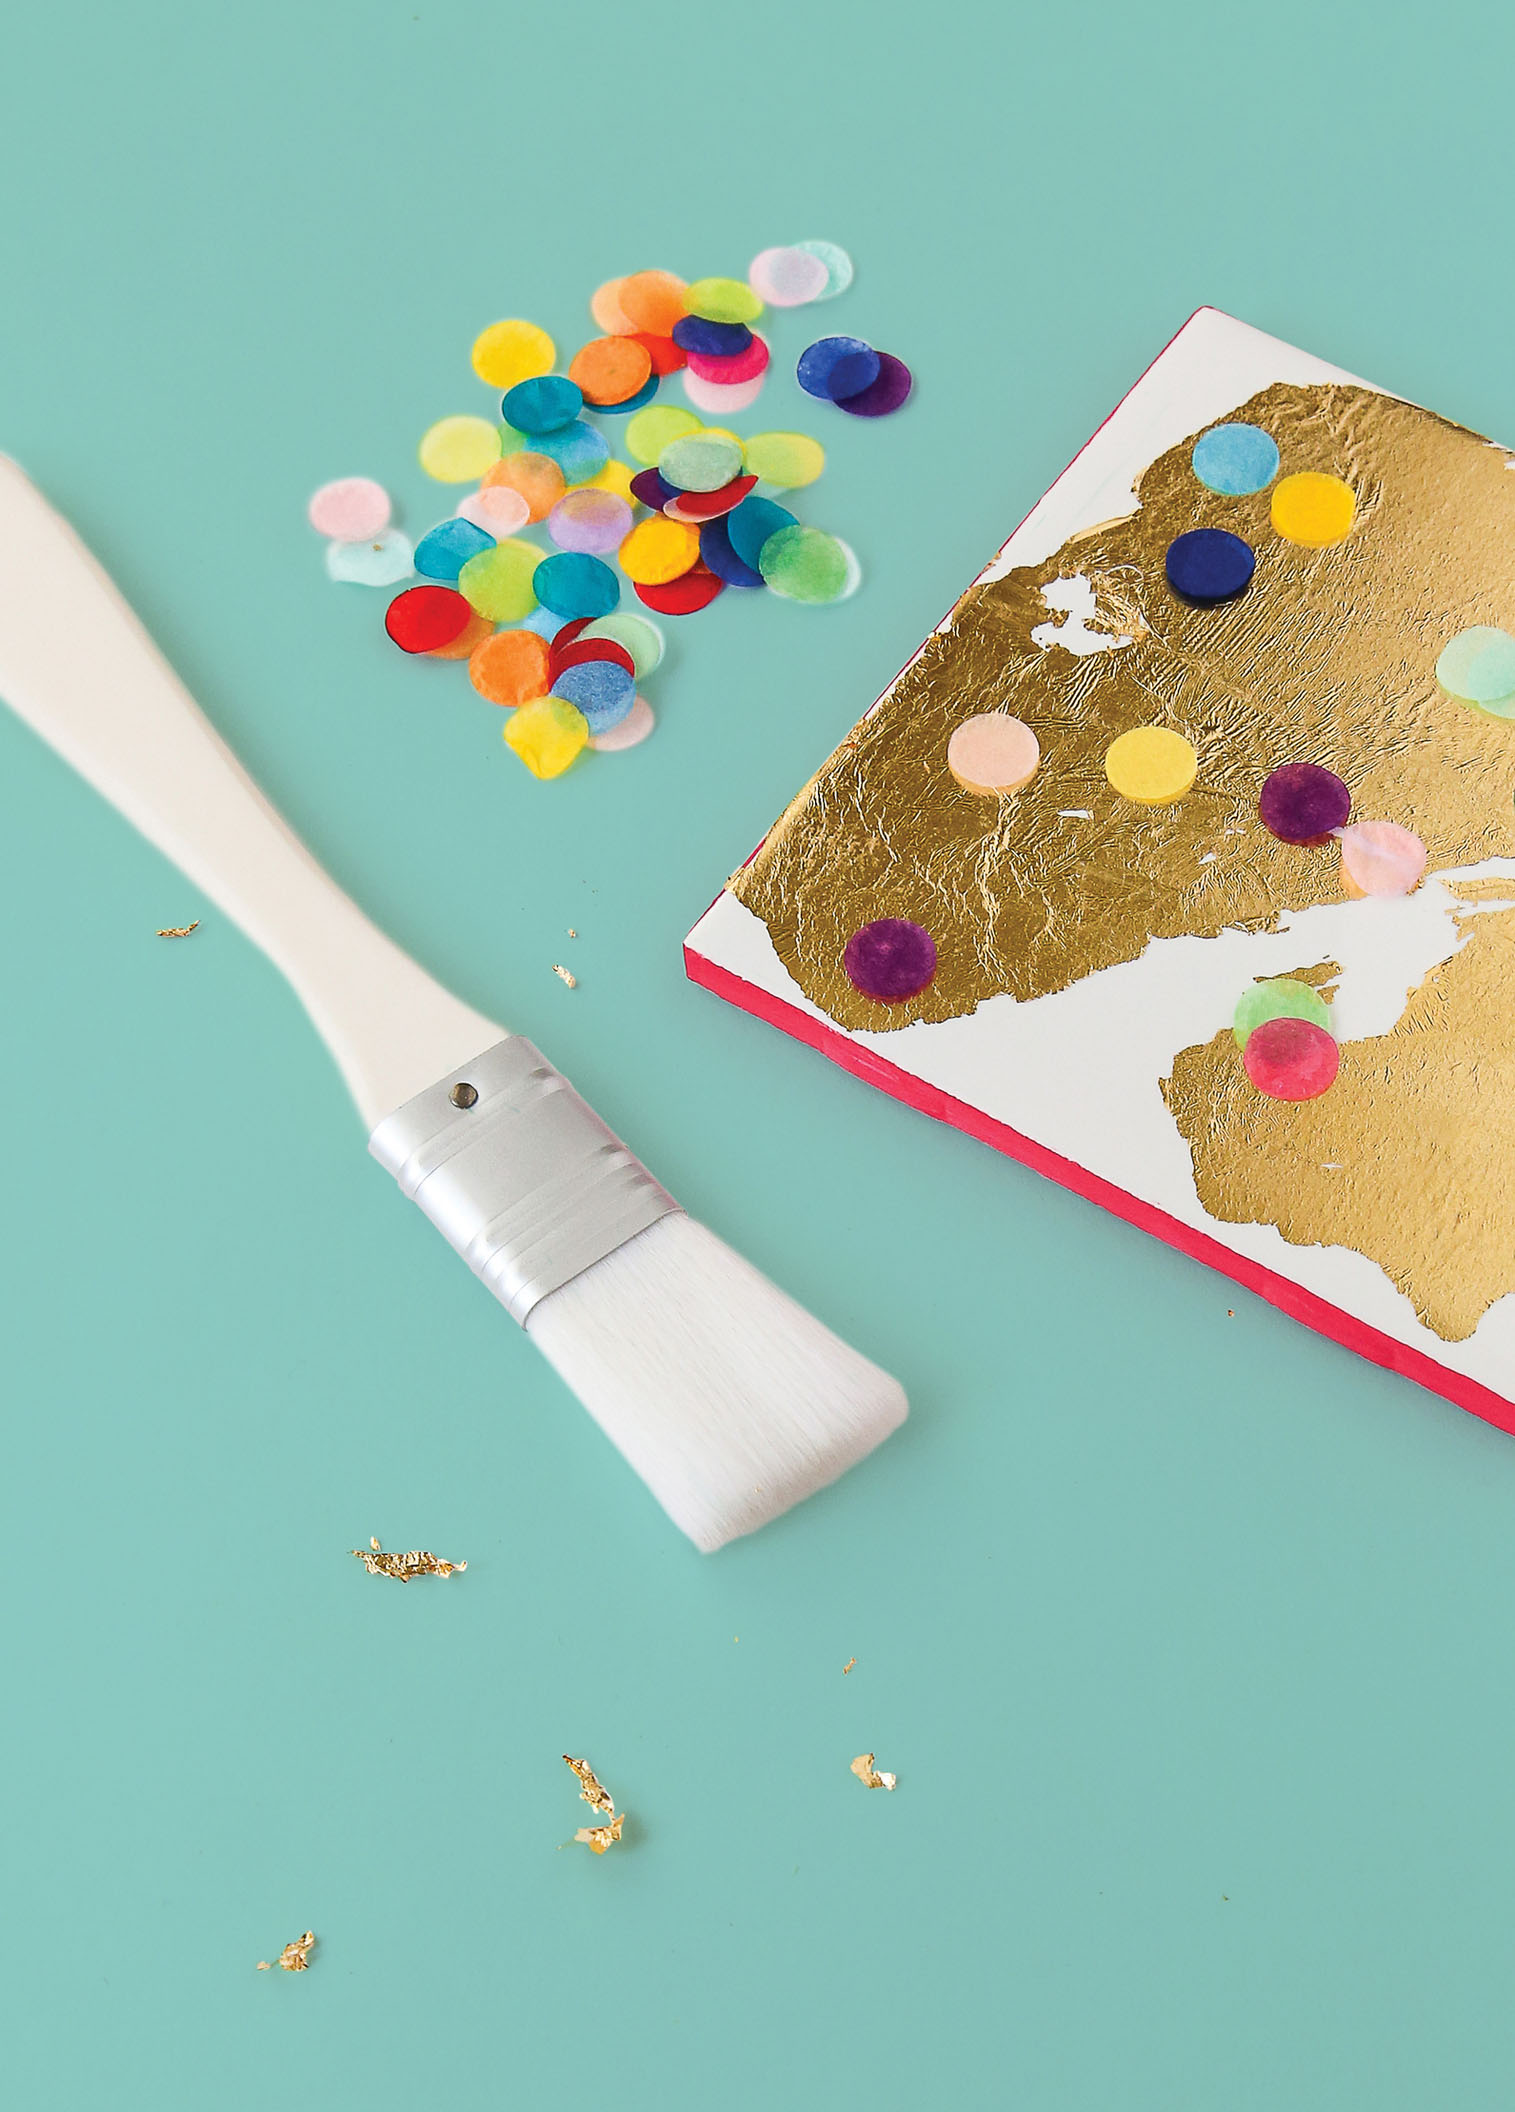
4 Apply gold leaf to your tiles, if desired: brush water onto the tile, leaving some patches dry, then press leaf sheet on top. Any leaf not stuck to the water should flake off, creating a loose, organic look. Alternatively, you can tear the leaf sheet into pieces, then brush the tile with water and press torn pieces in place. (Gold leaf may come with special adhesive, but there’s no need for it in this project since the epoxy will seal the leaf in place.)
5 Arrange confetti on your tiles. The confetti will move slightly when the epoxy is poured, so leave space around the tile edges to keep the pieces from running off. For more shimmer and flair, add a sprinkle of glitter! Make sure everything is lying flat (avoid layering confetti) so that the epoxy dries smooth.
6 Put on gloves for this step! In a plastic cup, use the craft sticks to mix epoxy according to the manufacturer’s instructions. Most call for a 1:1 ratio and a double-pour mixture, but it’s best to follow the exact instructions. (See tips.) Pour mixture over tiles. A little goes a long way and you have plenty of time to work, so don’t rush and coat the entire surface immediately. Excess epoxy will drip off the tiles and form bumps (and it will harden this way). If you notice that happening, wipe off excess from the tile edges while wearing gloves.
7 Once your coaster is completely covered and has settled a bit, pop air bubbles on the surface by blowing on them through a straw. (Caution: Epoxy is a harsh chemical, so do not inhale during this step!) It will be obvious when the epoxy starts to harden. Set tiles aside for 24 hours to harden completely.
8 Apply the self-adhesive foam circles to the tile bottoms, one on each corner. Now your coasters are ready for a glass of water (or wine)!
The key to this project is picking the right confetti. All confetti is wonderful for throwing in the air, but some kinds work better when mixed with epoxy. Use a flat type (round tissue-paper confetti instead of zigzag packing confetti) so that it hardens smooth on the tile. Or try making your own. All you need are tissue paper and scissors. Cut the paper into strips and then into smaller squares/triangles. Fringe scissors speed up the process.
TIPS FOR WORKING WITH EPOXY RESIN
From home decor pieces to jewelry to trinkets galore, you can create just about anything with epoxy resin, even as a beginner! (There are many types of resin, but epoxy resin is easiest to work with and the best choice for beginners.) If you’ve never worked with epoxy, here are a few simple tips to ensure the best results for you and whatever you’re making.
 Always work in a well-ventilated space and wear gloves. Fumes from epoxy resin can be harmful, so please take safety precautions! Plus, it can be really sticky and hard to remove if you come into contact with it, and who wants that hassle?
 Follow manufacturer instructions—but like, really follow them. Stick to the set ratios and do the double pour as directed. I know you think you’ll save time if you skip it, but do it anyway. If the resin isn’t mixed properly, it may not set correctly and you’ll have to redo the entire project, which isn’t saving time at all. You’ll have about 15–20 minutes to work before the resin hardens, so there’s no need to rush.
 When mixing the hardener and resin, stir slowly, keeping the stir stick at the bottom of the cup. The faster you stir and the more you lift the stick, the more air bubbles you’ll whip into your mix. Air bubbles will harden in the resin, and your piece will not come out as clearly or as smooth as you want it to.
 You can remove air bubbles by blowing on them through a straw. It’s important not to inhale the fumes during this process! You can also try a heat gun, but use for a limited time to avoid damaging your mold.
 If you need to smooth the edges of your final resin object, fill a container with water and sandpaper it underwater. This method will keep you from breathing in the dust that comes off when sanding.
CATCH-ALL MINI TRAY
Between kicking off our shoes and changing into sweatpants after a long day, we can—and often do—lose our keys in the post-work shuffle. To save you hours of searching, create a dedicated place in your home where, when you walk in the door, you can set down everything you’re carrying (keys, phone, wallet). To wrangle it all in one place, and to help you establish a routine so you can find things easily, make yourself a catch-all tray in a bright eye-catching color scheme! Because no one has time to ask their loved ones (or their pets) “Have you seen my keys?” every time they leave the house!
MATERIALS
Small wooden tray
Cardboard or newspaper
Spray paint in varying shades
Clear acrylic sealant
Stickers
Ruler
INSTRUCTIONS
1 Working in a well-ventilated area, lay out cardboard or newspaper to protect your work surface. Spray-paint your tray. For a gradient look, paint the entire piece one color, then spray with a lighter hue in one corner and a darker hue in the opposite corner (dividing the tray into thirds). Let dry.
2 Seal with a coat of clear acrylic and let dry.
3 Arrange your stickers. It helps to use a ruler to align everything evenly (particularly if you’re using letters to spell something out). You may also want to place them lightly at first—meaning not fully stuck on, in case you need to reposition them. Once you’ve settled on the placement, run your fingernail over the letters to secure them.
For this project I used a plaque from the wood hobby section of the craft store, but you could use just about any tray or dish you like. I recommend one with a raised edge that will keep loose items in place.
COLORFUL PLANTER, THREE WAYS
There are few things in this world I love more than rhinestones (okay, that may be a bit of an exaggeration, but my love for all things sparkly is very real). Though I’m happy wearing rhinestones in my day-to-day outfits, I also found the perfect way to bring them into my home decor as well: putting them on a planter!
Even if rhinestones aren’t your thing, you can do better than that boring plastic pot most plants come in. You don’t have to be a professional painter to make a lovely abstract planter—in fact, all you really need to be able to do is hold a brush and paint a few basic shapes. The nice thing about working abstractly is that there’s no right or wrong way to do it. So get ready to brag about how great an artist you are—it can be our little secret that it was actually very simple. Finally, adding little wooden feet is a great way to make a pot stand out—literally!
BEJEWELED PLANTER
MATERIALS
Terra-cotta planter
Spray paint
Clear acrylic sealant (optional)
Assorted rhinestones
E-6000 glue
Plant (see here)
Potting soil
INSTRUCTIONS
1 Working in a well-ventilated area and on a covered surface, spray-paint your planter the color of your choice and let dry.
2 Glue the rhinestones to the planter in the design of your choice. Here are three to try:
TEXTURED: The easiest way to add dimension to your planter. Glue on rhinestones, let dry, and then spray-paint the entire surface. You can create just about any pattern with the stones and the results will look great.
AROUND THE RIM: Simple and sweet. Depending on the plant, you may see only a bit of the rhinestones peeking out. This is definitely the safest bet if you’re a little nervous about adding flair to your home decor.
SHAPES: Cover the entire planter in shapes, or keep it simple with a single statement shape. First, spray-paint the planter; then, with a pencil, lightly draw your shape. Fill it with rhinestones and let the glue dry. Erase any visible pencil marks.
3 Use the potting soil to pot your plant in its sparkly new planter. Ta-da!
You can totally invest in fancy rhinestones—I’d never stop you!—but if you’re looking for something more cost efficient, buy the cheap plastic ones from the craft store (yep, the “jewels” that look a little cheesy) and hit them with some spray paint. They’ll lose a bit of their shine but you’ll be left with fun textured stones that look nicely sophisticated. If you want to keep some sheen, coat them with gloss spray paint instead of matte. Seal with clear acrylic spray to avoid chipping when gluing them on.
ABSTRACT PAINTED PLANTER
MATERIALS
Terra-cotta planter
Spray paint
Acrylic paints
Paintbrushes in varying sizes
Paper plate or paint palette
Pencil
Clear acrylic sealant
Plant (see here)
Potting soil
INSTRUCTIONS
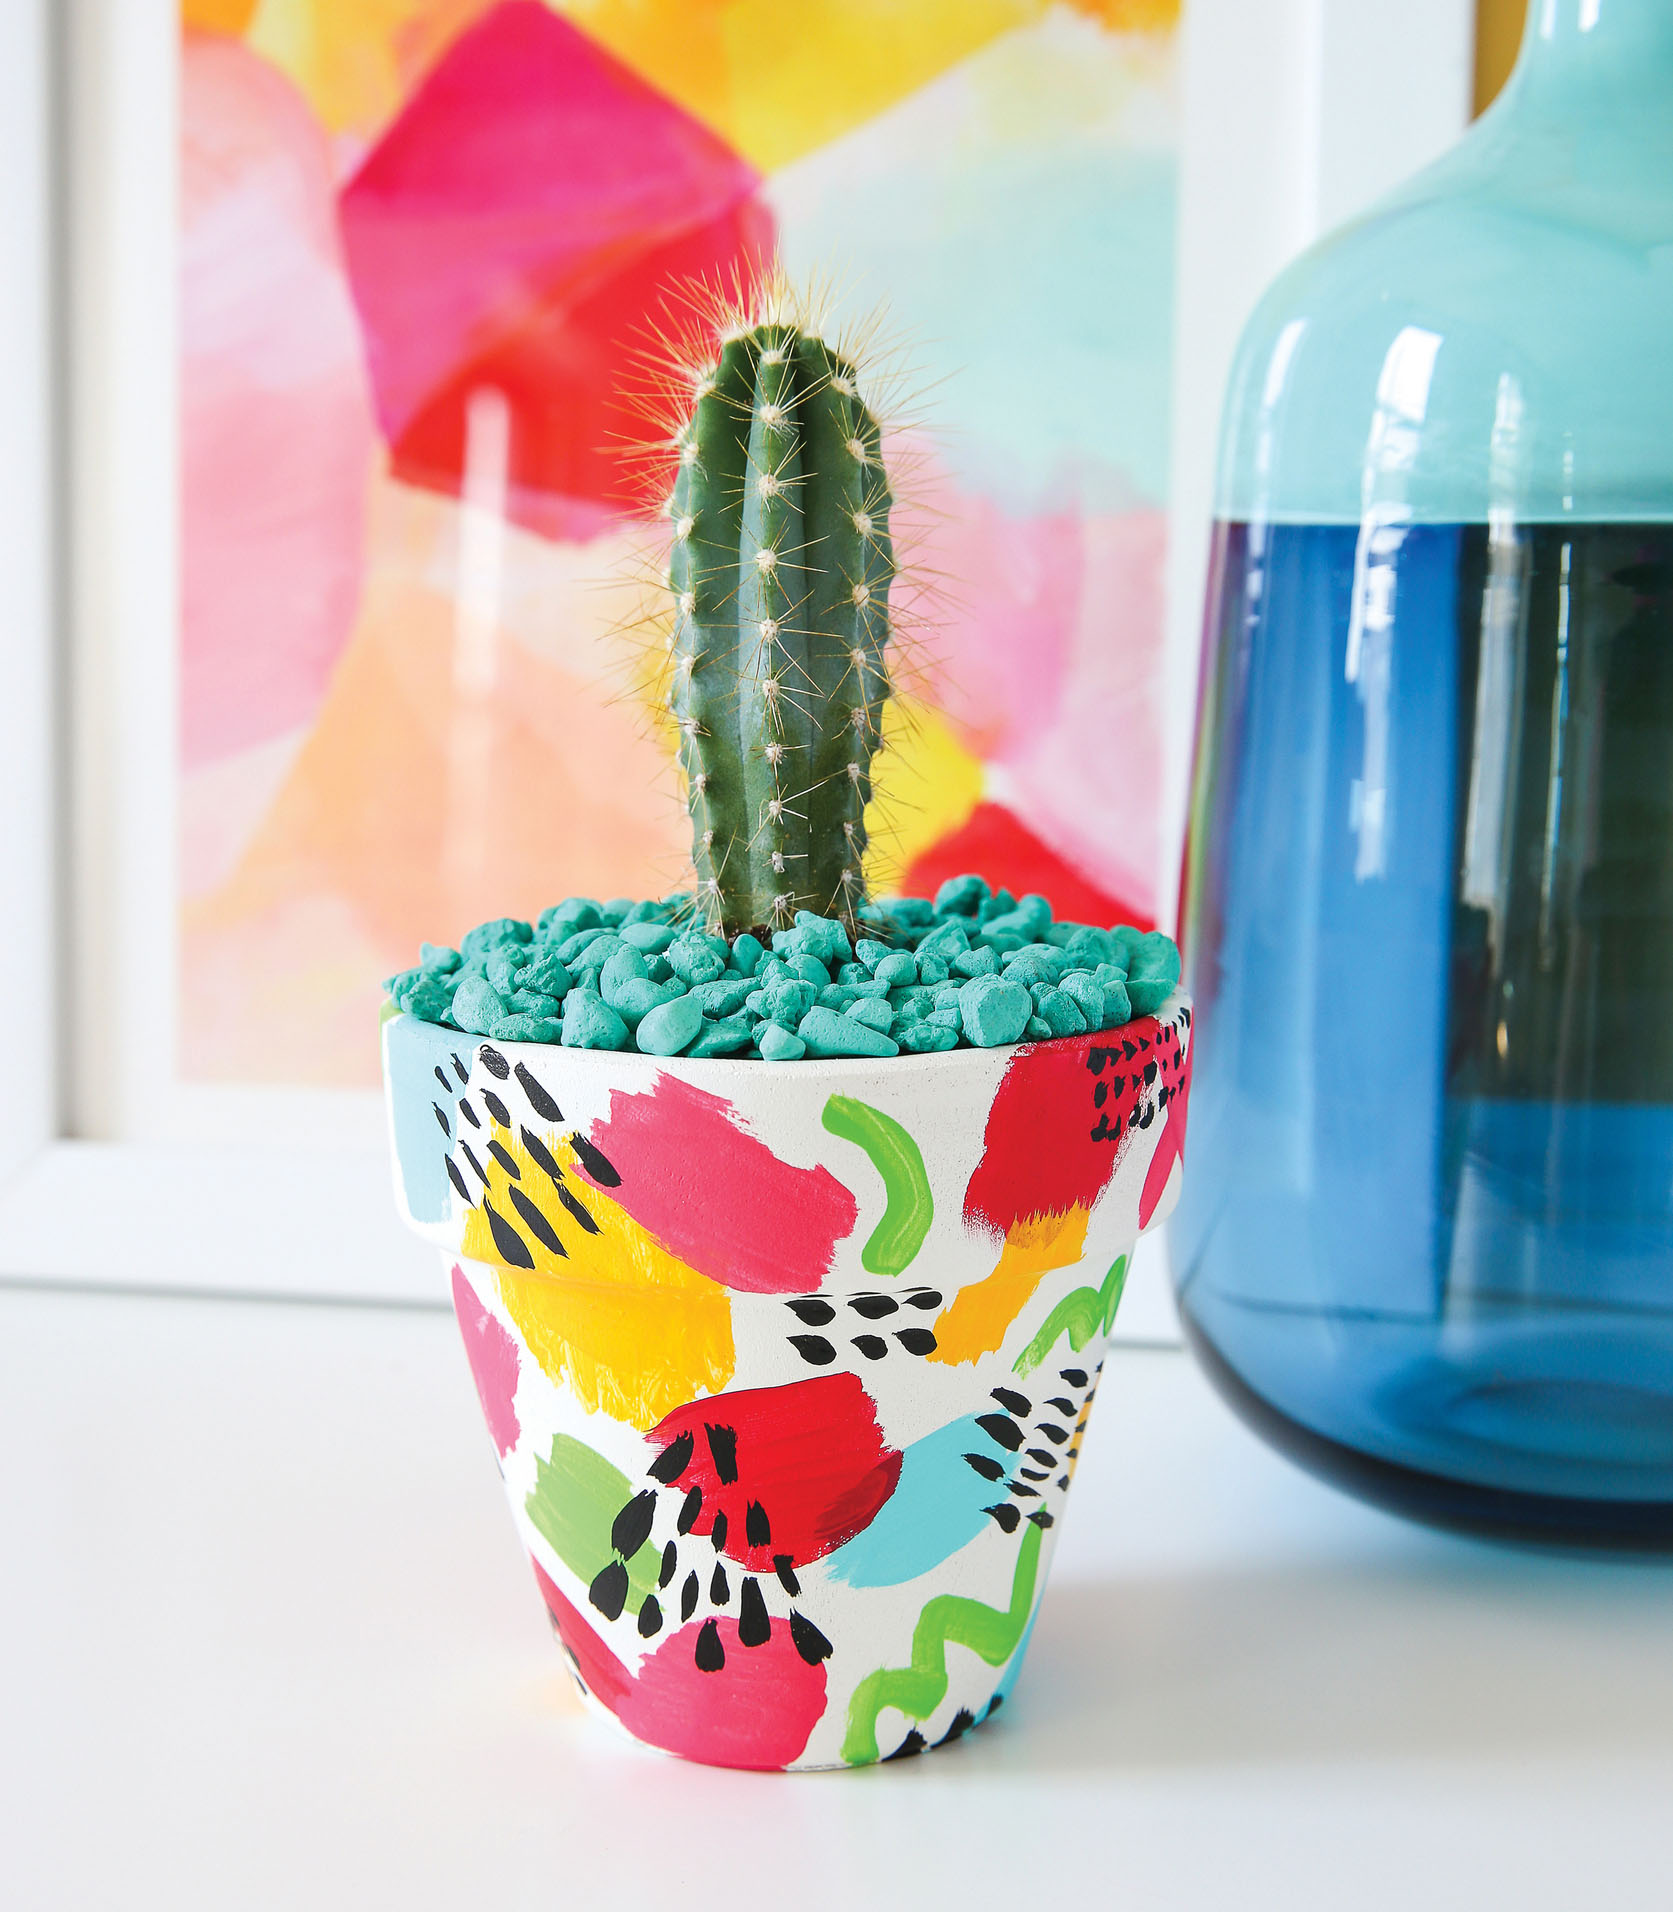
1 Paint your planter one solid base color. For a smooth, even coat, spray paint works best, but you can also use acrylic paint and a brush. White is perfect if you plan to use a lot of colors throughout (you won’t have to worry about clashing). Be sure to paint over the rim and a few inches inside the planter so that some color peeks out after your plant is potted. Also, when you don’t limit yourself to painting just below the exterior rim, you can go even bolder with your design!
2 Once the base color is dry, it’s time to create your design. If you’re nervous about working freehand, use a pencil to lightly draw the shape/location of your patterns. Think of the planter as an oddly shaped canvas.
3 Get painting! It helps to have all the colors poured out on your palette or paper plate, with a brush for each color. If you plan to overlap colors, let each color dry before you paint over it with another so that you don’t muddy them. Consider adding a small pattern detail, like a cluster of dots or dashes, for variety. Keep painting and creating shapes until your planter is covered or until you’re happy, whichever comes first!
4 Spray the planter with acrylic sealant, let dry, and then pot your plant.
I’ve found that paint easily chips off plastic planters, so to keep your hard work intact, opt for terra-cotta. The porous surface will absorb the paint, making it less likely to flake off. It also helps seal your planter to extend its life.
FOOTED PLANTER
MATERIALS
Planter
4–8 wooden beads
E-6000 glue
Spray paint
Plant (see here)
Potting soil
INSTRUCTIONS
1 Turn your planter upside down and arrange the wooden beads where you’d like the “feet” of the planter. Play around, testing different approaches with the beads before gluing down—you’ll want to place them on the edges, with equal space between them. I used 4 total to create equal balance, but you could try a different way. For example, you could use 5 to 8 beads, depending on the size, and arrange them side by side in a ring around the bottom. When you’re satisfied with placement, affix the beads to the bottom of the planter with the glue. Let dry.
2 When glue is dry, turn planter right side up, and spray paint the entire thing. Small quick strokes will help you create a nice even application without drips or bubbles. (I also recommend applying two coats for the best coverage.) Let the paint dry completely.
3 Fill with your favorite plant and the potting soil and you’re all done!
This DIY raised planter adds a little bit of unexpected height to a traditional pot. Painting the planter one color overall will make it look sleek, like it was manufactured that way. But! If you want an extra kick of color, paint the beads a different color from the planter before attaching them..
FIVE HARD-TO-KILL HOUSEPLANTS
Houseplants are the easiest way to add warmth and life to any room. Not only do they help clean the air, but they also make just about any space feel instantly calm. (Seriously, whenever you’re in doubt about how to fill a blank space, add a plant and thank me later.) And every new plant needs a nice new planter, which is an easy way to sneak a colorful DIY into your decor!
But if plants tend not to thrive under your care, you might be hesitant to make the investment. And rightly so! They’re not always cheap, and it’s such a bummer when they die. (The number of plants I’ve accidentally killed over the years is well into the double digits, so I completely understand.) The good news is that there’s hope for those of us who lack a green thumb. These five hardy houseplants can survive occasional periods of neglect, and they look great to boot.
 SANSEVIERIA (aka snake plant or mother-in-law’s tongue): Don’t let the common names fool you! This plant, with its bold, bladelike leaves, is extremely easy to care for and can be left to its own devices for weeks at a time.
 CHLOROPHYTUM COMOSUM (aka spider plant): Easy to grow and maintain, it even produces little flowers if given enough daylight!
 ALOE VERA: This spiky succulent is great for displaying in a sunny kitchen window, and it’s wonderful to have on hand in case of burns.
 ASPIDISTRA ELATIOR (aka cast iron plant): As the common name suggests, this is one tough plant. It’ll do just fine even if it doesn’t get a lot of light.
 POTHOS (aka devil’s ivy): This pretty vine has lovely variegated leaves and looks superb in a hanging basket.
A WORD OF CAUTION: Although these plants look great in any home, they are not necessarily pet friendly. Please check with your vet before purchasing!
Check labels for water and sun schedules when placing plants in your house. If you’d like other types of plants in your home than those listed here, visit a greenhouse and talk to the staff gardener about plants that have similar watering needs. Have one watering day for all instead of having to keep track of multiple schedules will help reduce the risk of killing your plants.
FANCY FOOTED VASE
If you want to make your vases unique without using traditional glass paint, try adding a colorful base instead. It adds unexpected height and another texture, creating more visual variety. Plus, the woodgrain and flowers are a match made in heaven!
MATERIALS
Wood rounds (available at craft stores or online)
Wood glue and clamps (if gluing rounds together)
Acrylic paint
Paintbrushes
Paper plate or paint palette
Clear shellac
E-6000 glue
Glass vase
INSTRUCTIONS
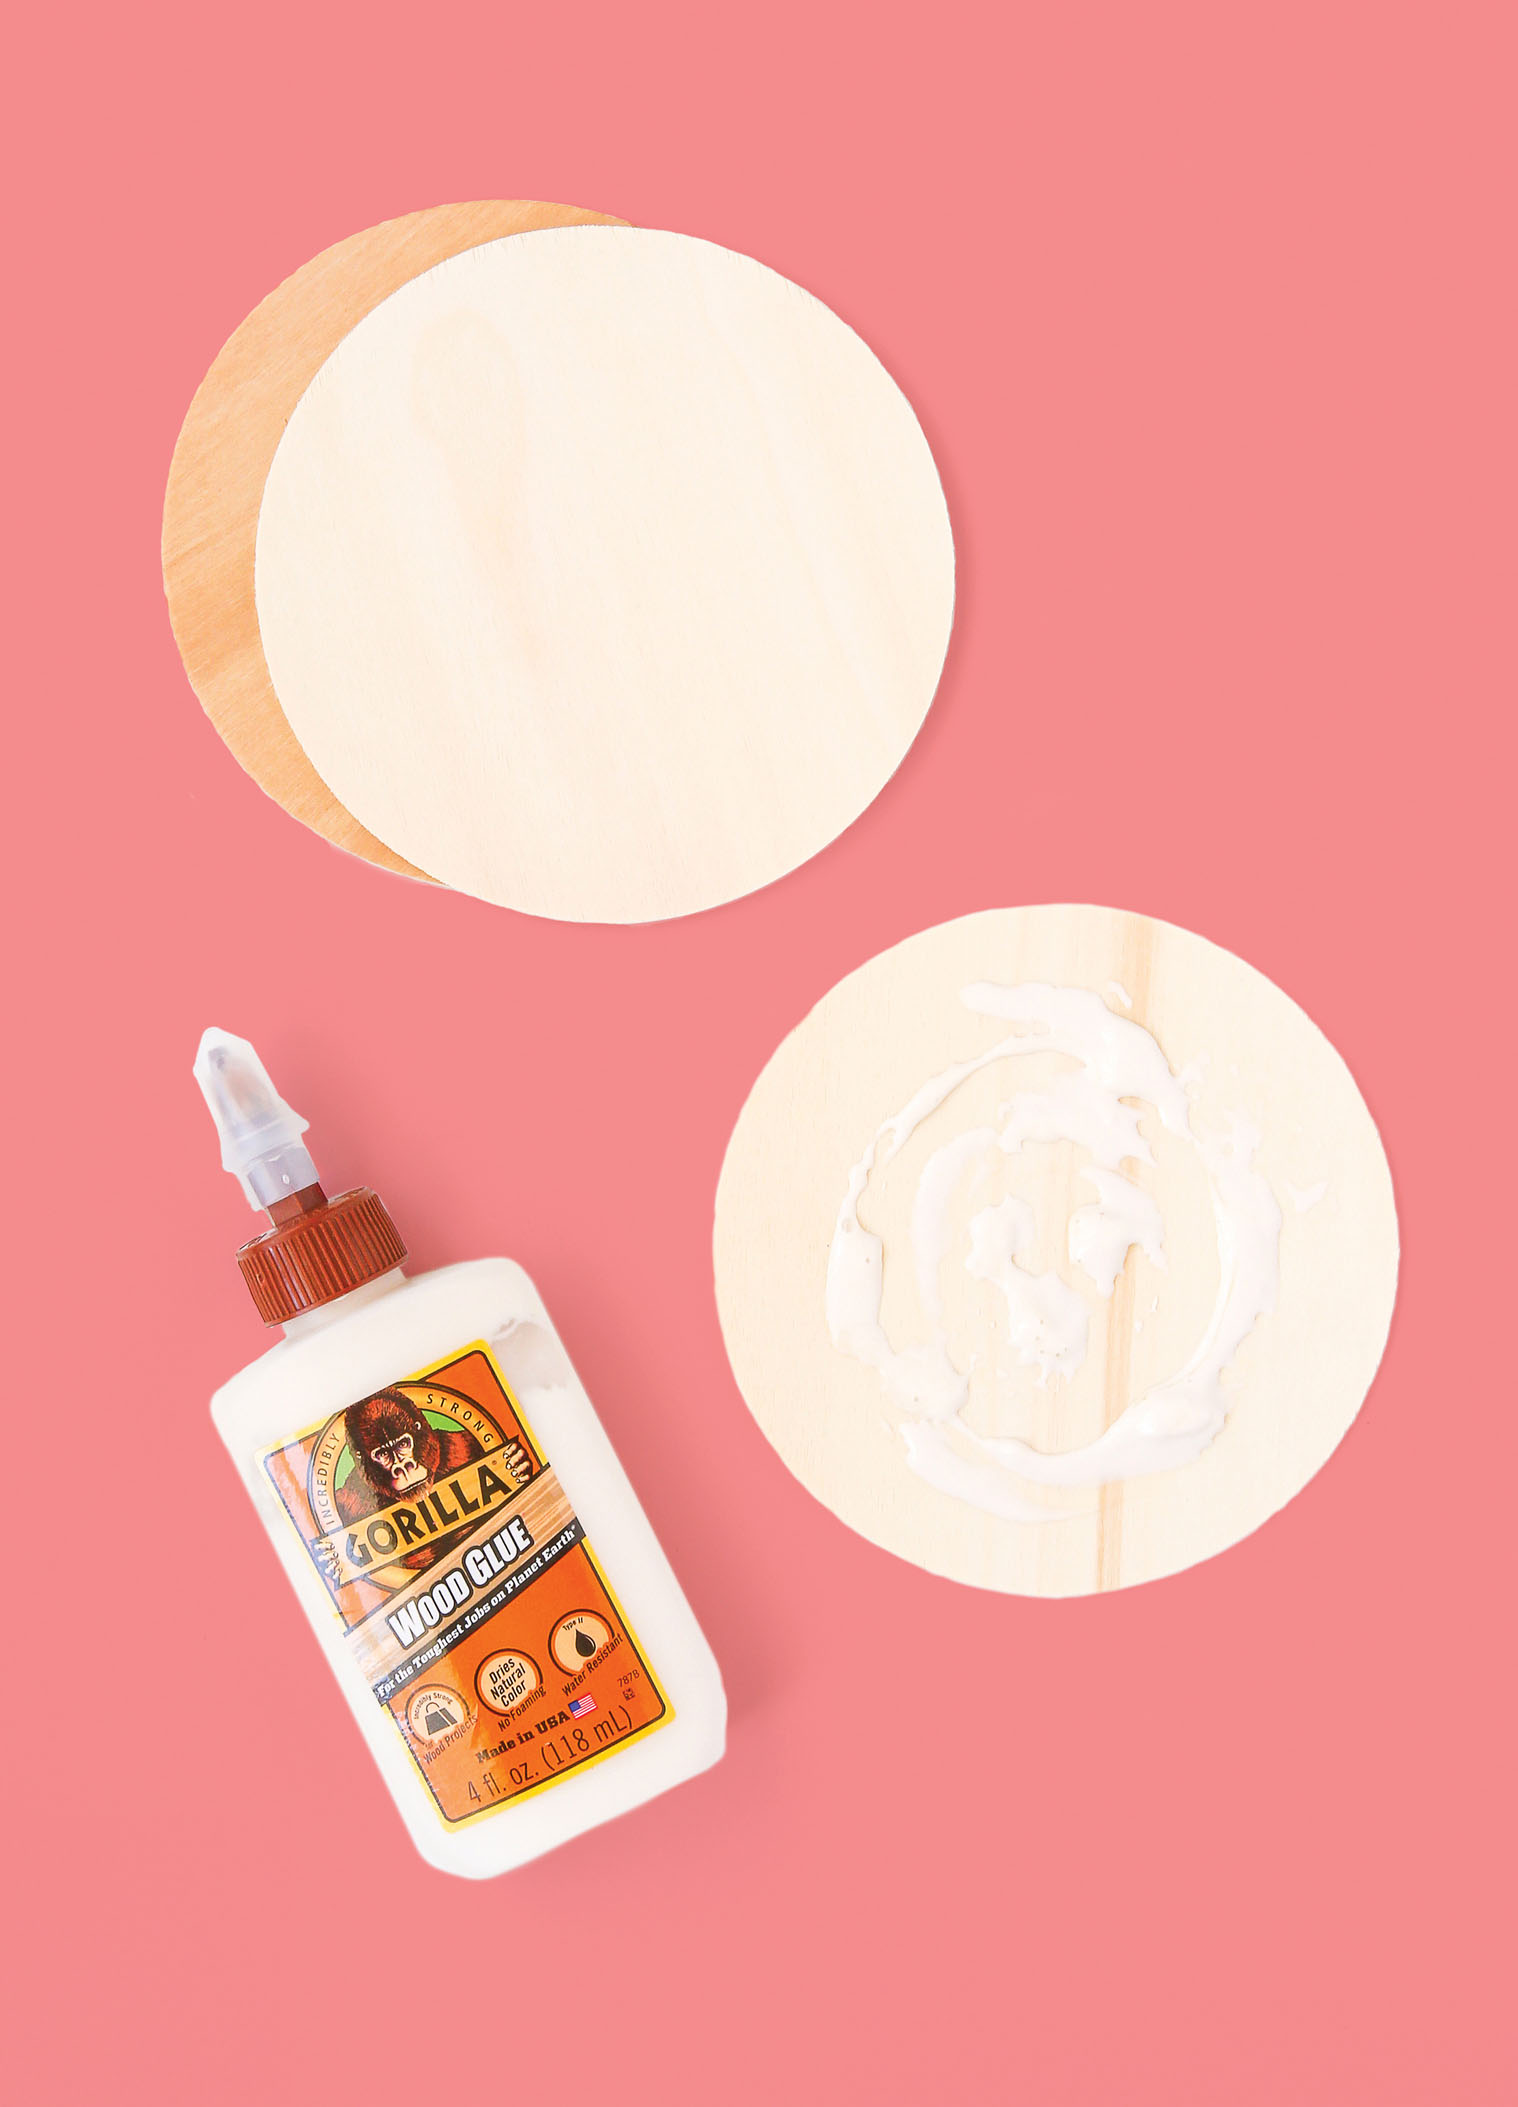
1 If you can’t find a thick wood round, glue together multiple thinner rounds (which is what I did here): Apply wood glue to one round and lay it on top of a second round. Repeat as necessary to desired thickness, then use the clamp to hold the rounds in place. Wipe glue from the sides with a damp cloth. Let dry.
2 Paint time! Use the paintbrush to cover the wood round with your color of choice, then let dry. Because the bottom of your vase is clear, the color on the top round will reflect a little through the water. Once the round is dry, seal with clear shellac.
3 Apply a thin ring of E-6000 glue around the top edge of your wood round and affix your vase to it. Allow to dry upright, with the wood on bottom and vase on top. You may need to hold it in place for 2–3 minutes to ensure that the round and vase dry directly on top of each other.
4 When the glue is completely dry, fill your vase with flowers and enjoy! To maintain the quality of the vase, spot-clean with a damp cloth and avoid submerging in water.
You can choose a vase and wood round of any size, but they should have the same diameter. For this project, I chose a 5-inch vase and 5-inch wood rounds.
POM-POM BASKET
The last thing anyone wants to do mid-movie is get up and search for a blanket in the dark. For easyaccess storage without compromising on closet space or good looks, cover a blanket basket with playful homemade pom-poms. It will help keep your space tidy and allow you to quickly tuck away those throws at a moment’s notice. Unexpected guests will never know you just spent the past six hours napping on the couch.
MATERIALS
Yarn in various colors
Pom-pom maker (available at craft stores or online)
Scissors
Pin backs or safety pins
Woven basket
INSTRUCTIONS
1 It’s time to learn how to make a pom-pom! With a plastic pom-pom maker (yup, that really is the name of the tool), you’ll be able to crank out a batch in no time at all. Although you can make poms without it, this specialized tool is great for getting them all roughly the same size. If you want variety, pick up a few makers in different sizes.
Open the arms of your pom-pom maker, starting with the two tabs that face the same direction. Wrap yarn around both the arms (don’t wrap the arms individually; wrap them together) until they’re completely covered, then close. Repeat on the other side. The more yarn you add, the fluffier your pom-pom will be.
2 Using sharp scissors, snip the yarn along the center path of the tool until you’ve gone all the way around.
3 Cut a separate length of yarn. Slip it through the center path and knot it around the middle of the tool to secure the pom.
4 Remove yarn from the tool, trim the ends to make them even, and fluff out the pom. Then repeat, repeat, repeat until you’ve got all the poms you want.
5 Once you finish making pom-poms, it’s time to pin them in place. Holding a pom, loop one arm of a pin back around the pom’s center loop, then fasten the pin on the basket. Repeat until the basket is covered to your liking. Fill your pom-pommed basket with throws and enjoy!
Attaching the pom-poms with pins provides flexibility that hot glue just does not. You can change the color scheme for a fresh look (or to match a new piece of decor), replace damaged poms (instead of hiding the wonky section against the wall), upgrade to a new basket, or just start from scratch and do something completely different!
BASKET CASE
Baskets come in so many varieties that even if you and your BFF do this project together, you’ll still end up with completely different results. The basket material you choose is up to you; just make sure you can pierce it with a pin to attach your pom-poms! Here are a few suggestions:
 SEAGRASS BASKET: A woven basket made of this natural and easily braided material.
 BELLY BASKET: Also typically woven from seagrass; folds up and stores easily.
 ROPE BASKET: Made from sewn cotton rope; comes in a variety of colors, including white. The white can be dyed to work with your color palette.
Whether you’re serving cocktails or mocktails, a bar cart is the perfect way to bring a social element to any room. Before you can knock your guests’ socks off with your mixology skills, the first thing they’ll see is your great styling. You want to create a space where you can welcome people and offer them a drink—it doesn’t have to be traditional or expected.
First things first: the cart. You can buy a dedicated piece of furniture, but you don’t need one to have a home bar. Try reserving a small section atop an entertainment center (I recommend displaying bottles on a nice tray if you take this route), or mounting shelves on the wall. (Open shelving can be tricky because you can’t hide the clutter, but there are a few easy tips that are sure to help you impress.) Bar carts come in tons of styles, from romantic to sleek to midcentury modern and beyond, so if you have the space (and funds) for one, you’ll surely find a style that fits seamlessly with your decor.
Once you have selected and cleared off your space, it’s time to stock it! Here’s how.
DRINKS
Because, really, what’s a bar without booze?! Wine and beer are staples, and I highly recommend having them both on hand (meaning, in the fridge), but your cart is all about fun cocktails. To be able to make a variety of drinks, grab one bottle of each basic liquor:
| RUM |
VODKA |
| WHISKEY |
TEQUILA |
| GIN | |
You don’t have to spring for top-shelf spirits; start with small bottles, and build up to nicer brands once you find the ones you like. For a safe bet, local distilleries will likely have the cutest packaging, plus you’ll be supporting businesses in your community. You can wait to buy specialty drink ingredients like bitters and simple syrups until you know which recipes you plan to make.
As far as mixers go, seltzer and tonic water are must-haves; they’re great for both cocktails and mocktails and will be used time and again. Sparkling juices and specialty mixers will also help you create a delicious drink for designated drivers and friends who do not consume alcohol. To be a top-notch host, and to channel your inner Martha, think of what your friends and family members like to drink as well as your own tastes when stocking supplies, even if that means picking up bottles you wouldn’t ordinarily buy.
TOOLS
Some cocktails require more effort than pouring liquid over ice, so stock your bar with the tools of the trade. You can typically buy these items in sets to eliminate the guesswork, or you can build your own kit piece by piece. Here’s what you’ll need to conquer making any drink in style:
| SHAKER |
STRAINER |
| JIGGER |
JUICER |
| ICE BUCKET |
MUDDLER |
| BOTTLE OPENER |
CORKSCREW |
GLASSWARE
Here’s where you can be playful and throw rules out the window. Since you won’t use these glasses daily, try something special, like a funky pattern or bright color. Vintage and antiques stores will have gorgeous pieces, though they might be a bit pricey. Take your time investing and building your collection. And remember to store glasses with the opening facedown so they don’t collect dust.
PUTTING IT ALL TOGETHER
To send your styling over the top, attend to the details of your bar cart, even when it comes to the basics. For example, patterned straws in a cute container are not only functional and organized but also fun and unexpected. Consider these styling tips as you finalize your drinks station:
• If you’re new to making drinks, PICK UP A FEW COCKTAIL BOOKS. Try to get one with the basics and one with more adventurous concoctions. Not only will these help you learn a new skill, but you’ll also have pretty covers to display by your cart.
• CLUSTERING BOTTLES near a serving tray or marble slab makes for a practical and pretty presentation.
• Setting out a GROUP OF SIMILAR, NON-BOOZE BOTTLES (like seltzer water) creates order and flow. Plus, it’s a cheaper way to fill space than with additional liquor.
• If your favorite liquor has an ugly label, DISPLAY IT IN A DECANTER. To add a pop of fun, DIY yourself some drink tags!
• To soften the look, ADD A VASE with faux or real flowers. You can buy gorgeous silk flowers or preserved eucalyptus (my go-to), which not only smells great but also lasts much longer than a fresh bouquet.
• Place or prop ART ABOVE OR ON YOUR CART. Try the projects here for an additional conversation starter.
• For garnish and even more color, KEEP A BOWL OF FRUIT NEARBY. Oranges, lemons, and limes are often called for in drinks. If you don’t entertain frequently, display faux lemons for the same citrusy twist of color.
Above all, remember that you don’t have to be a bartender to have a well-stocked and functional bar cart. Have fun! Learn what you like, the recipes your guests enjoy, and the drinks your guests request, and go from there. Cheers!
If you’re new to adding color into your home and want to dip your toe in the rainbow pool, the best place to start is by playing with neutrals. Neutral colors tend to be a safe bet, especially when purchasing larger furniture pieces, because you can mix and match them with different colors throughout the seasons and over the years. Then you can weave in color until you feel more comfortable pulling the trigger on that vibrant sofa you really want but aren’t sure you can pull off. (You can totally pull it off. But we’ll work up to that!)
Want to pair neutrals with something unexpected? These foolproof pairings can help you step up your color game.

GRAY
Gray is a softer neutral that pairs nicely with school-bus yellow, coral, and green. A lighter gray will help make colors pop while taking wear and tear (and spills!) better than white.

WHITE
Really, what color doesn’t look good with white? For a bold look, pair it with brights like aqua, red plum, and orange, instead of softer pastels. A white rug can brighten a space and make it feel larger, thanks to its light-reflecting qualities.

BROWN
Many furniture pieces have wooden elements in a shade of brown, so you’ll probably end up having to match it at some point. When picking browns, opt for wood with warmer undertones, then pair it with a deeper blue, chartreuse, or rich pink.

NAVY
This dark blue is perfect if you want to shy away from black—it’s still a deep, rich color, but it reads a little less harsh. Pair with brighter colors and shades of pink, yellow, and teal to help the deep hue pop.
HOW TO APPLY
If you’re building slowly on neutrals, start with accessories and other pieces that are easy to swap out. Pillows are a quick and easy way to make over a couch without changing everything. Invest in affordable inserts with removable covers to test new colors. If your couch is a solid neutral, this is also a fun way to bring in an unexpected and playful pattern without overwhelming the space.
Lamps can also bring color into an otherwise neutral room. Not sure how a specific color will look in your home, but want to give it a shot? Find a lamp at a thrift store (just make sure the wiring is in good condition), and give it a fresh coat of paint! Once you find the ideal base, invest in a shade that looks good with it.
And, of course, you can always paint the space itself. That’s right, paint those walls! If you want most of the room to stay neutral, then all you really need is an accent wall. I know it sounds bold, but think of it this way: it’s cheaper, easier, and faster to paint over just one wall. If you’re nervous about the change (or need to change back before you move out), try a color that complements the neutrals but will be easy to cover up, like a peach or pastel pink.
GO GEOMETRIC
Just because you aren’t working with bright and saturated color doesn’t mean you can’t have a bold design. Combining high-contrast neutrals (like, say, black and white) creates a visual pop without any hue whatsoever. This patterned carpet makes a strong statement without clashing with the rest of the room. Balancing it out with bright white walls keeps the look from being overwhelming and allows for little bursts of accent colors to peek through and shine.
BOUNCE OFF BASIC WALLS
Whether an intentional choice or just the result of a landlord who won’t let you repaint, neutral walls can provide an excellent backdrop to colorful accessories and even allow you to broaden your scheme to the entire rainbow if you want. Show off brightly hued supplies (or other full-spectrum collections of accessories) against a tame wall color.
BE BRIGHT WITH WHITE
Whites, off-whites, and eggshells do not have to be blah! Against clean bright walls and carpet, a bold, saturated piece, like this royal-blue couch, demands attention and contrasts nicely. The vibrant accent yellow shines even brighter thanks to the reflected light of the white.
