The kitchen is the perfect place to channel your inner Martha Stewart. It’s an essential part of your home, whether you love to cook or not. And even if the latest recipe you’re testing is a flop, at least you’ll be surrounded by successful craft projects when you call to order a pizza!
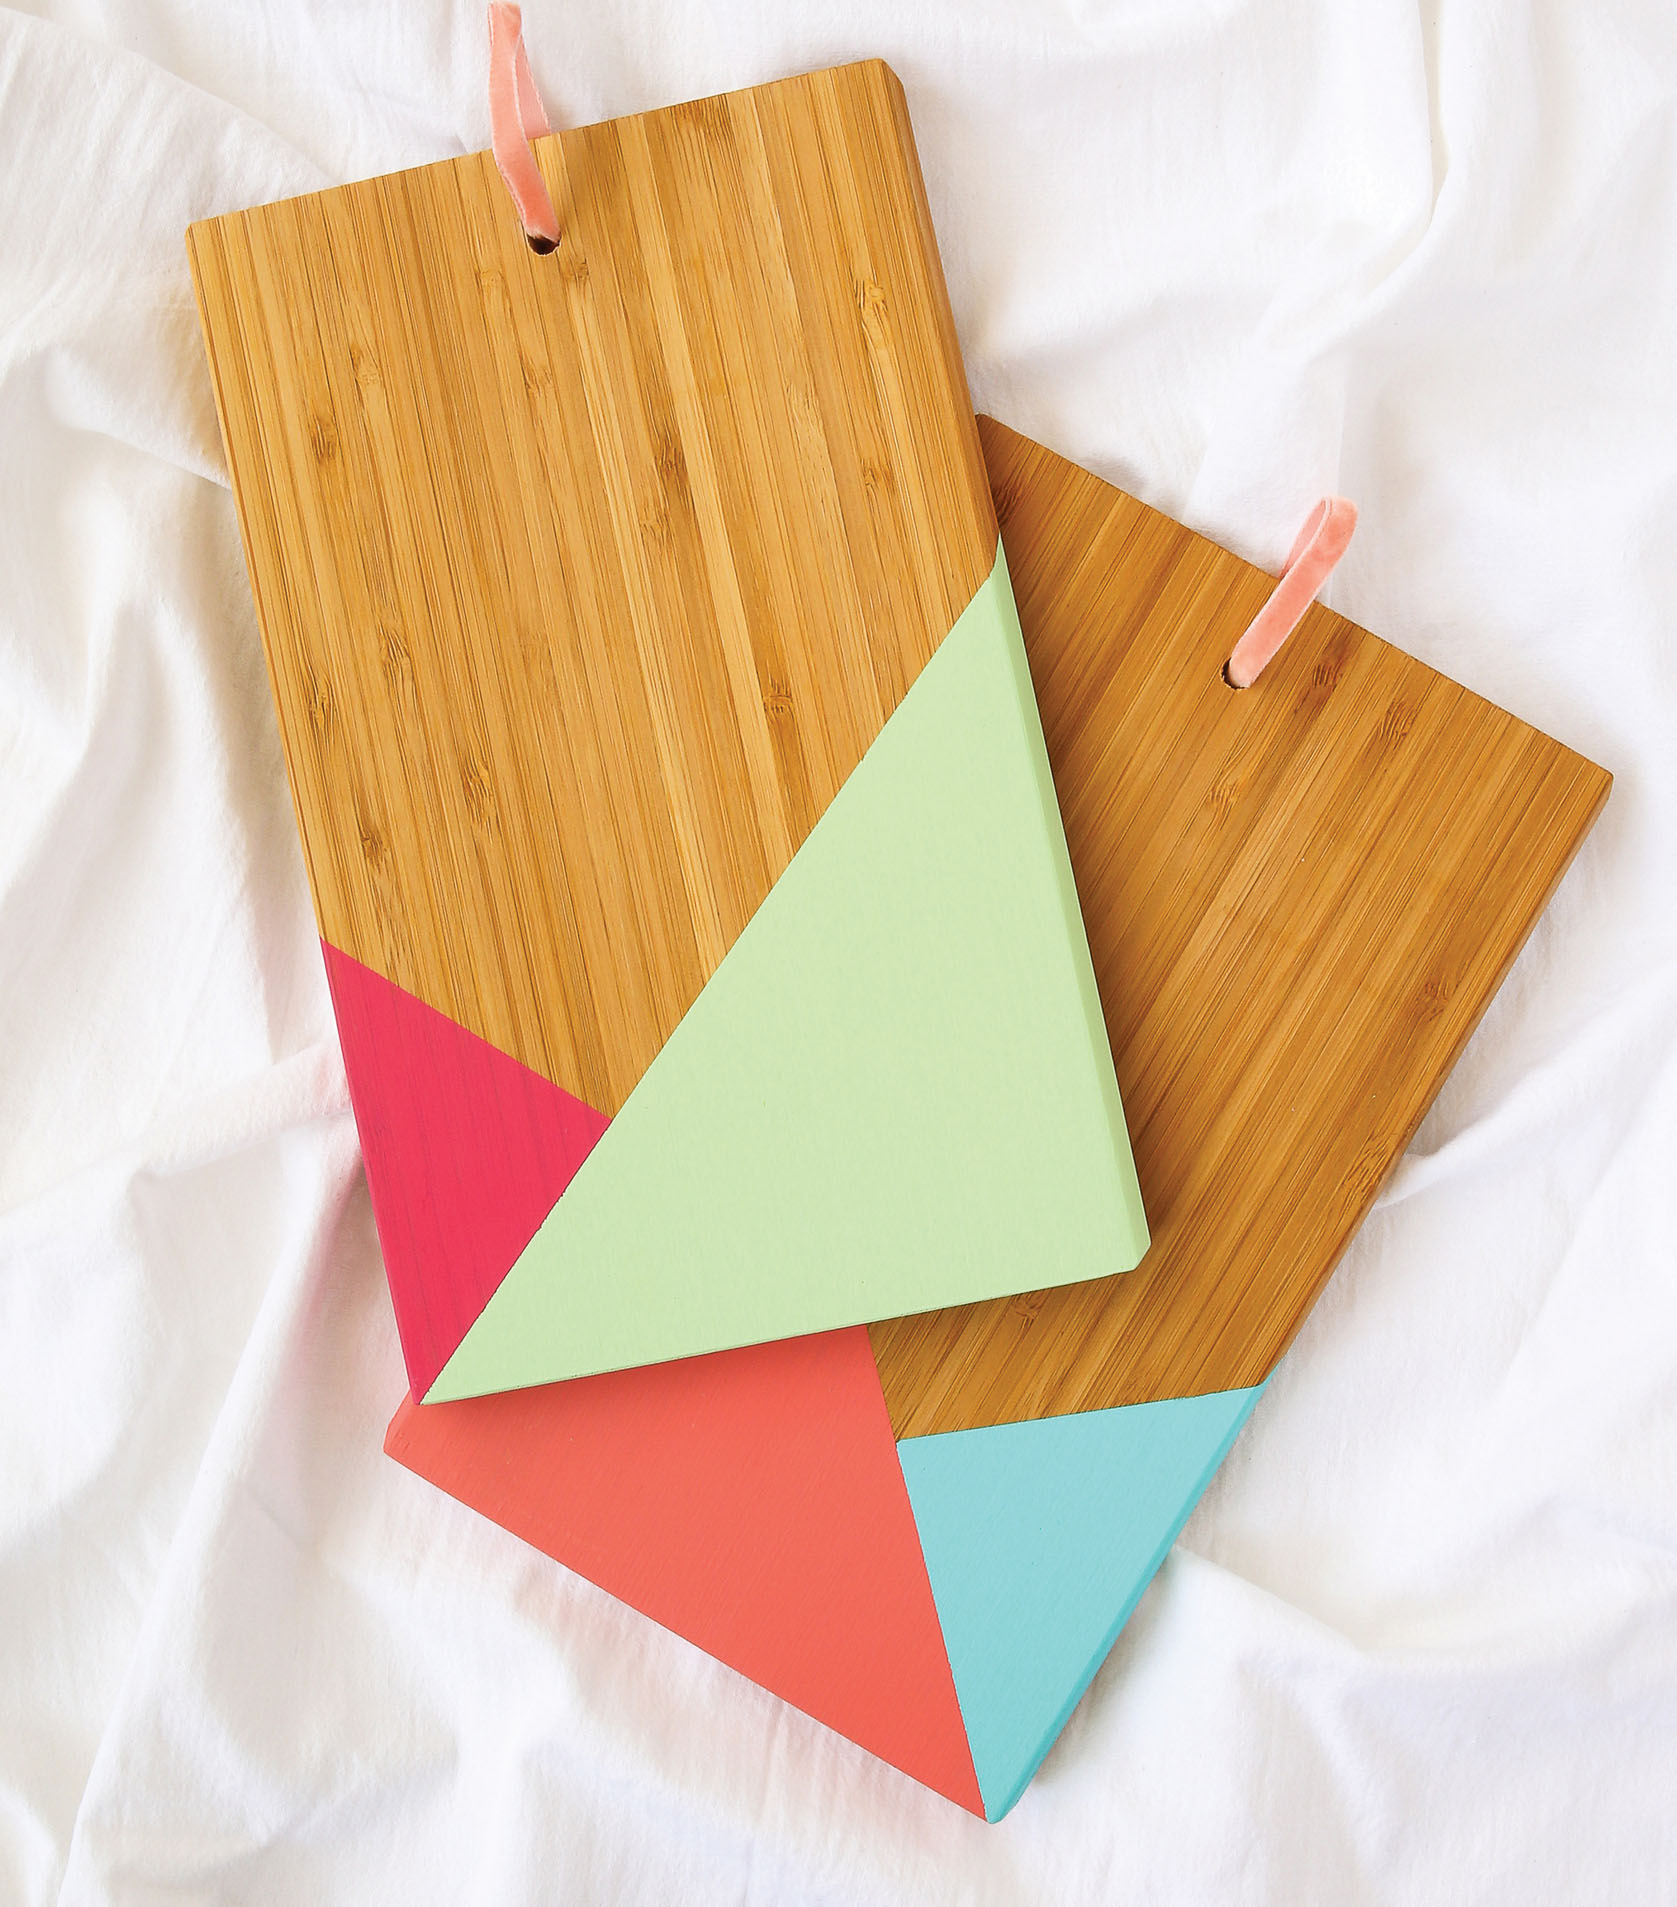
COLOR-BLOCKED TRIVETS
Let’s be honest: when it comes to cooking, things in the kitchen can get hectic. More often than not, I find myself taking something out of the oven right before it burns and grabbing the nearest towel or pot holder to protect my counters. The good news is that I found a fun and easy DIY solution (and no, it’s not just ordering takeout instead).
These color-block trivets are cute enough to hang on the wall or set directly on the countertop so you don’t have to fumble with hot pots and pans. Plus, if you’re cooking for guests, they can also double as table decor. It’s a win-win, my friends, and takes only a few simple steps to complete!
MATERIALS
Small wood slab or cutting board
Measuring tape
Pencil
Scrap wood
Power drill and safety goggles
Painter’s tape
Acrylic paint
Paintbrush
Paper plate or paint palette
Clear acrylic sealant
Cording or ribbon
INSTRUCTIONS
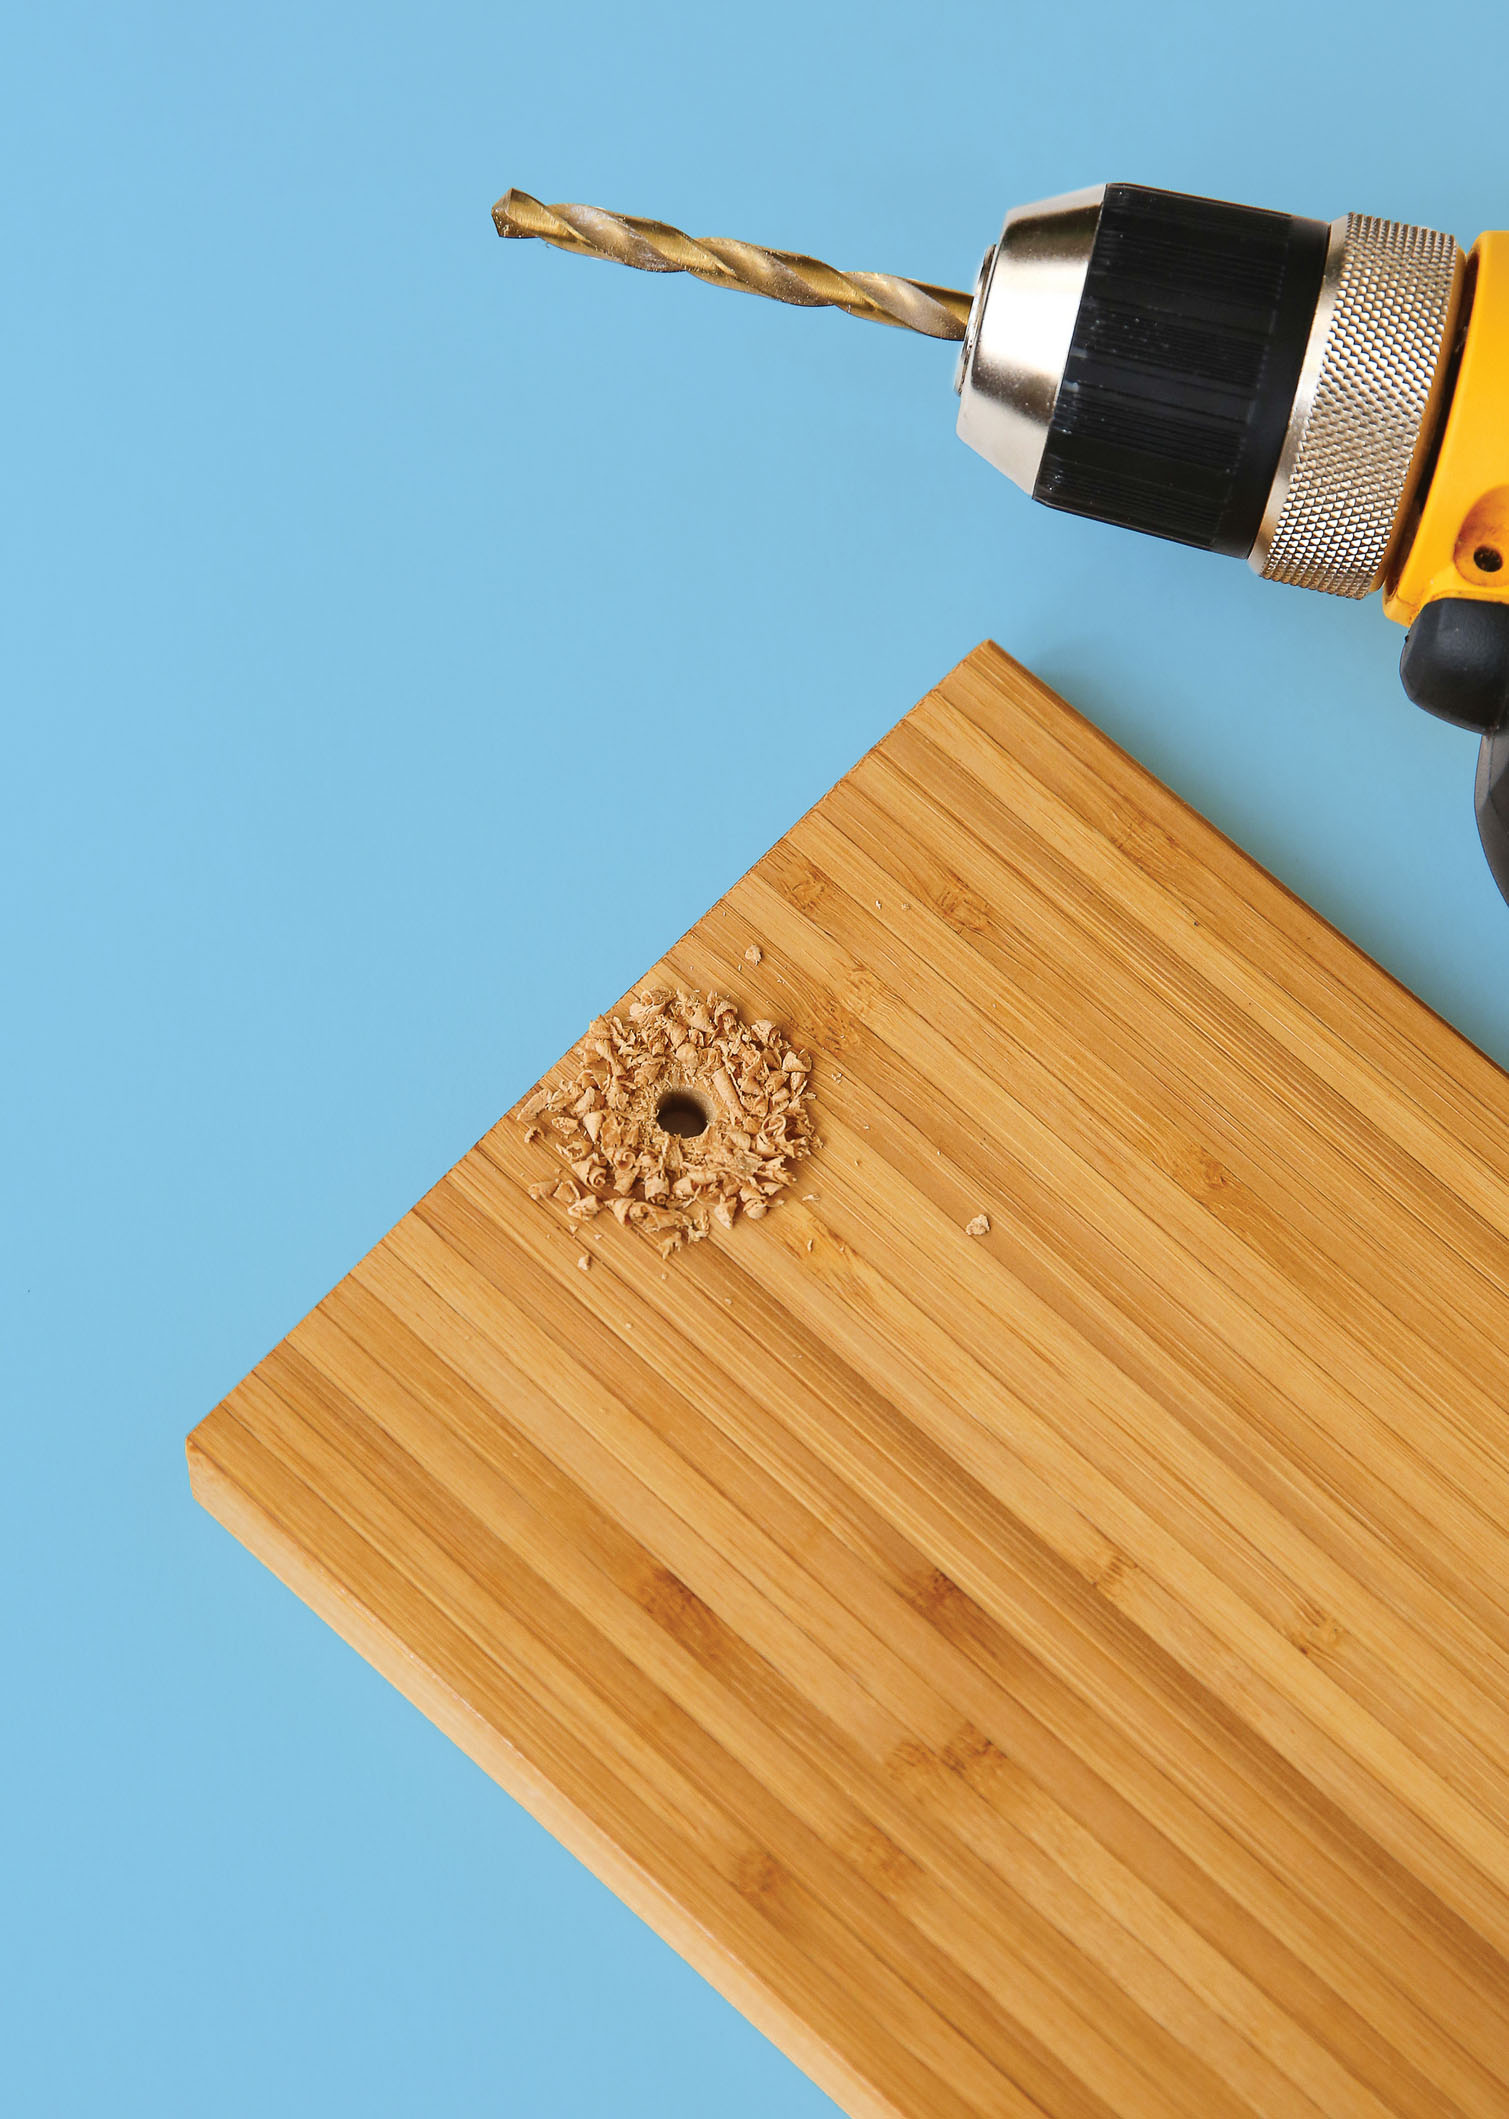
1 Measure and mark with a pencil a place in the center of the wood, near the top, about an inch from the edge. This is where you’ll drill a hole for your cord loop.
2 Select a drill bit that will create a hole large enough to thread your cord through (I used a ¼-inch bit). Place a thick piece of scrap wood underneath the board to avoid puncturing your work surface. Drill a hole all the way through your board where you marked it, stopping when you hit the scrap wood. (Remember to wear safety goggles when drilling.)
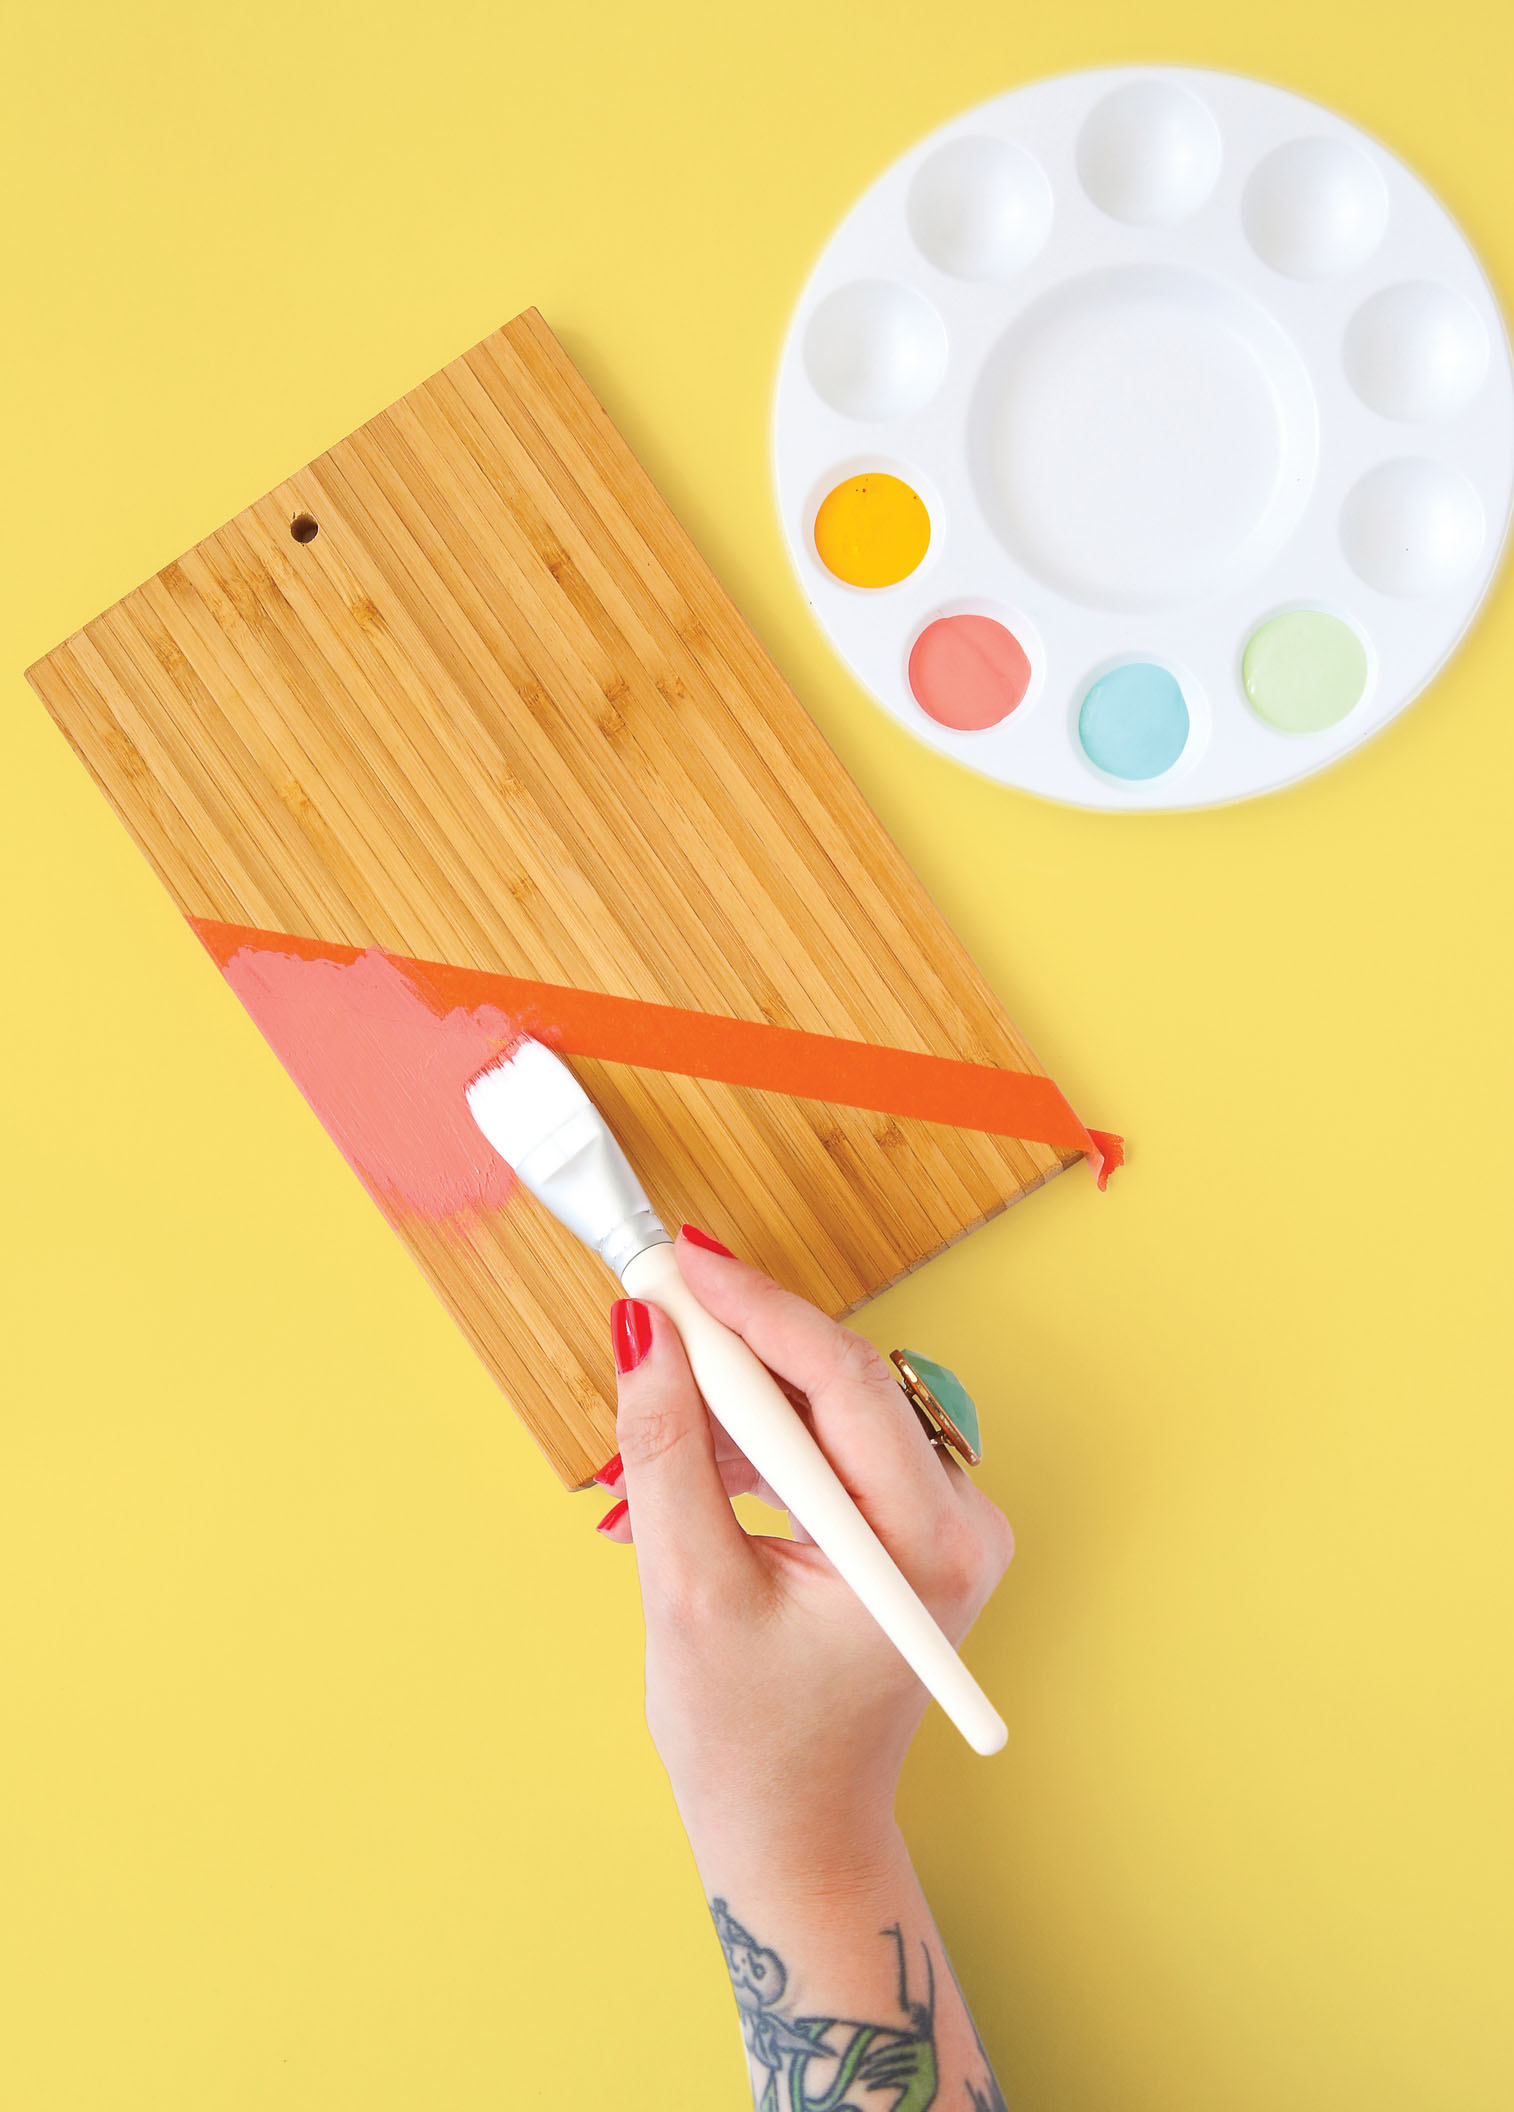
3 Starting in one corner, tape off an angle. Don’t forget to wrap around the sides! (For an extra-crisp paint line, run your fingernail over the tape after it’s in place.) Paint the taped-off section, starting at the tape and brushing away from it. Let dry for a few minutes, then remove the tape.
4 Repeat step 3, taping off a second area and painting with another color to create a blocked look.
5 Once all the painted areas are dry, spray the board (front and sides) with a coat of clear acrylic sealant and set aside until dry.
6 Tie a length of cord or ribbon through the hole, knot it to form a loop, and you’re done!
You can buy a piece of wood, cut it to size (or have it cut), and sand it, but if you’re looking to save time, use a cutting board instead. As far as drilling, this is as easy as it gets! If you’re inexperienced with power tools, buy scrap wood to practice on. Be sure to wear safety glasses and take your time—there’s no rush!
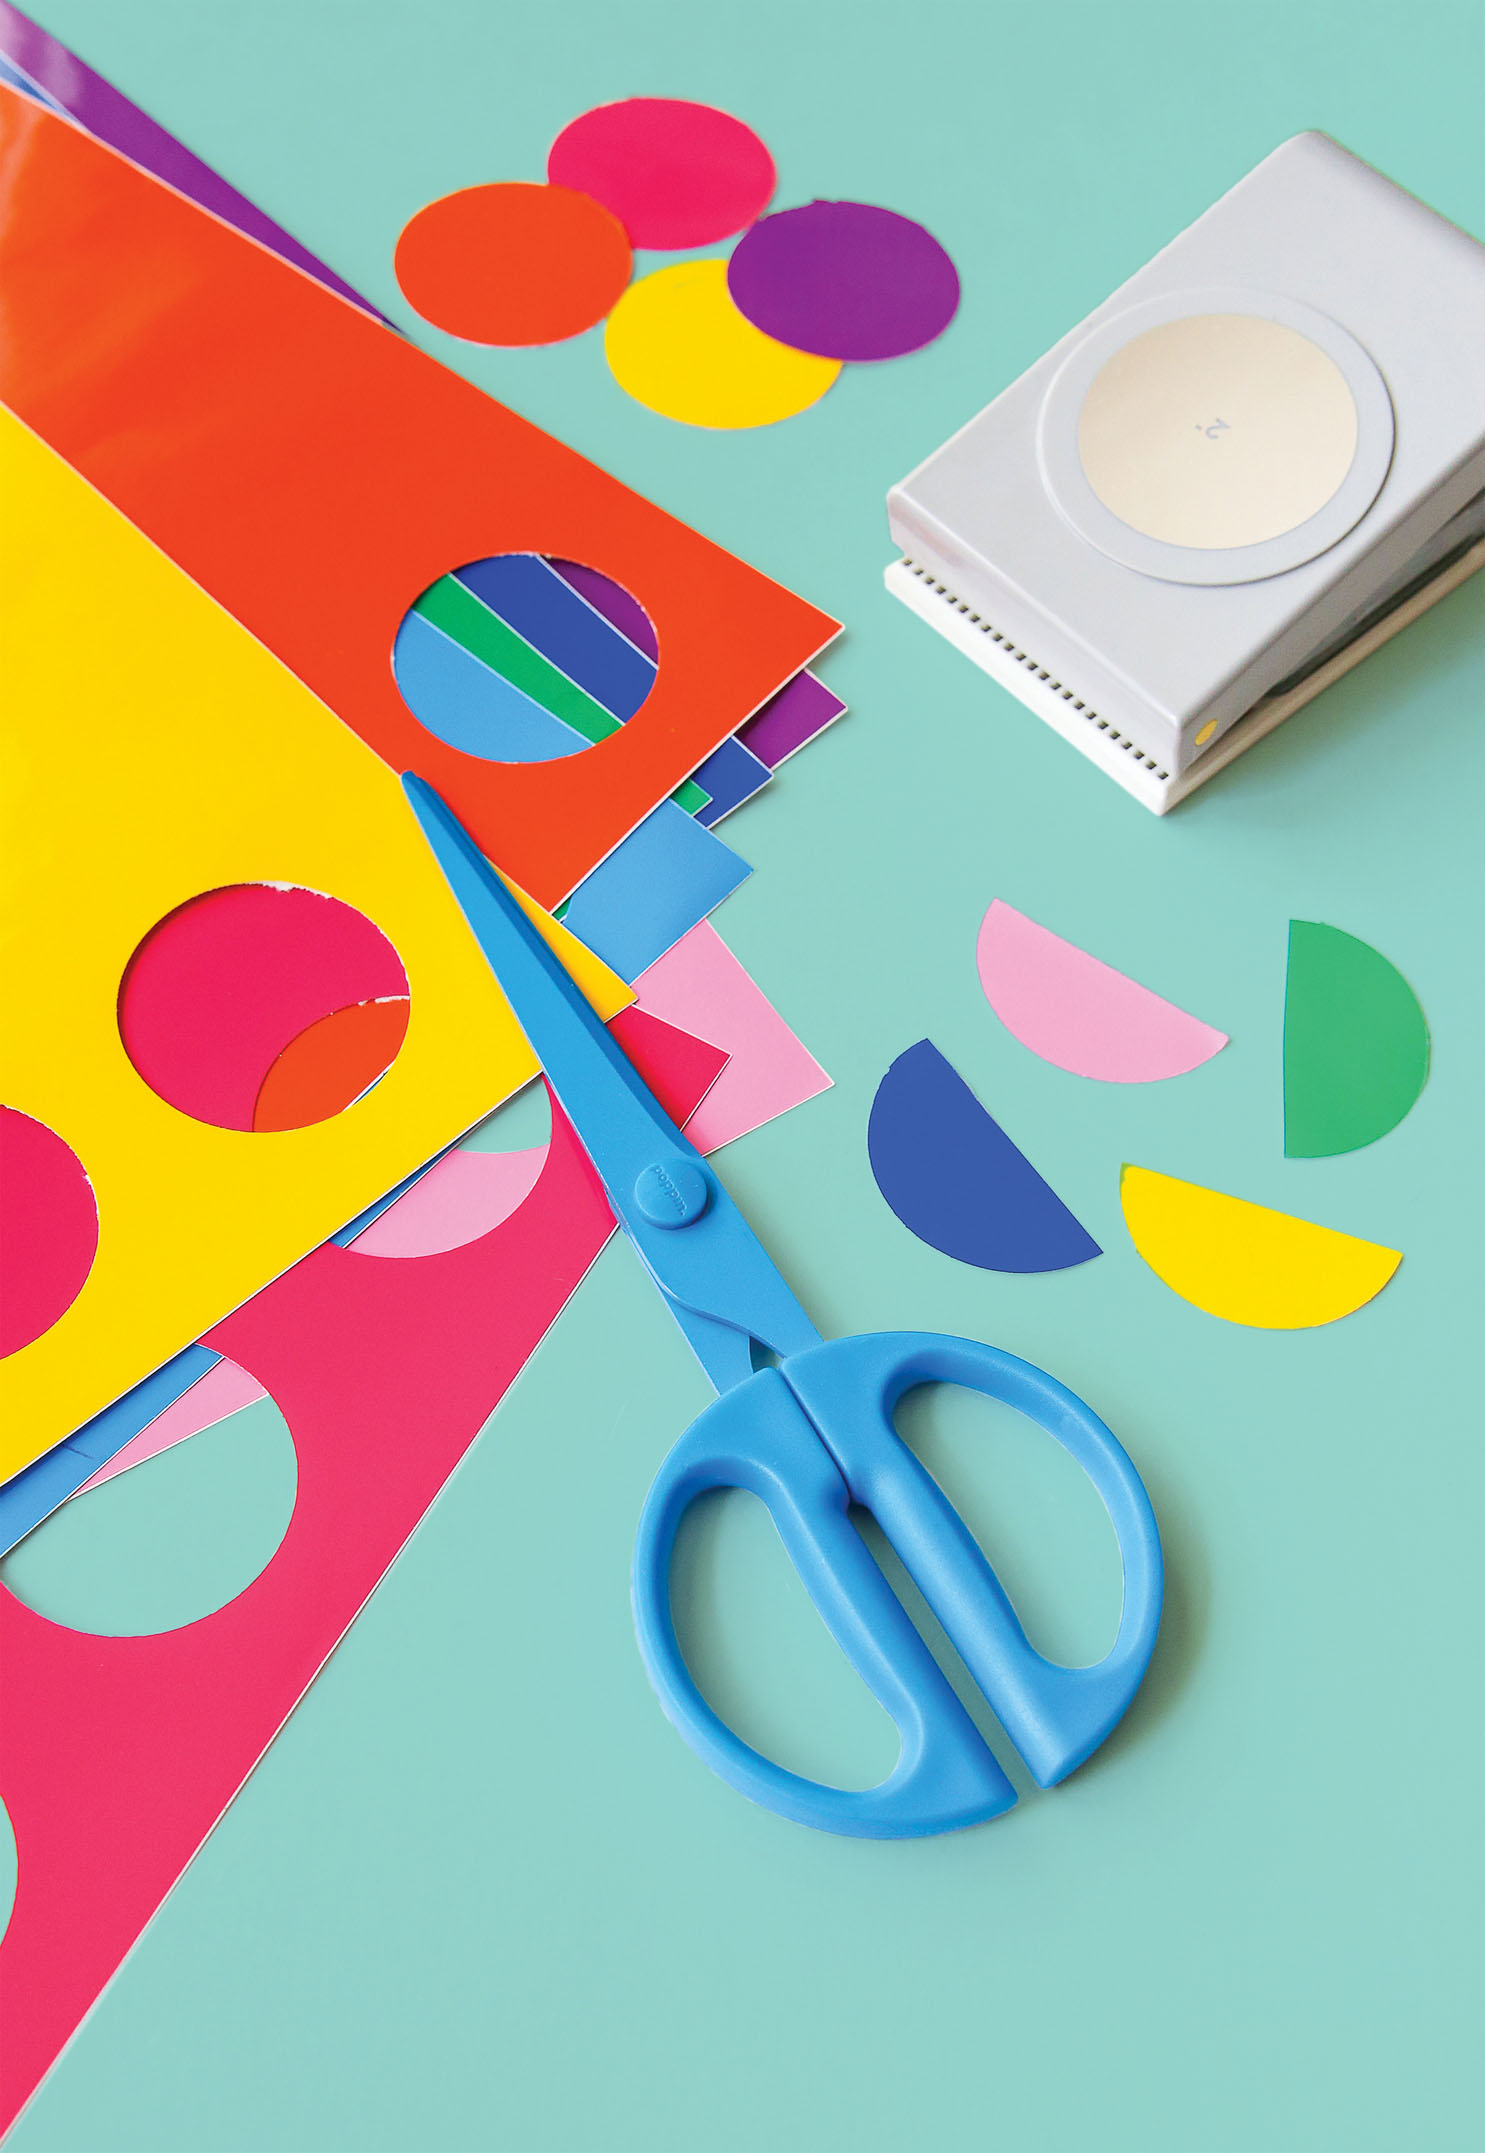
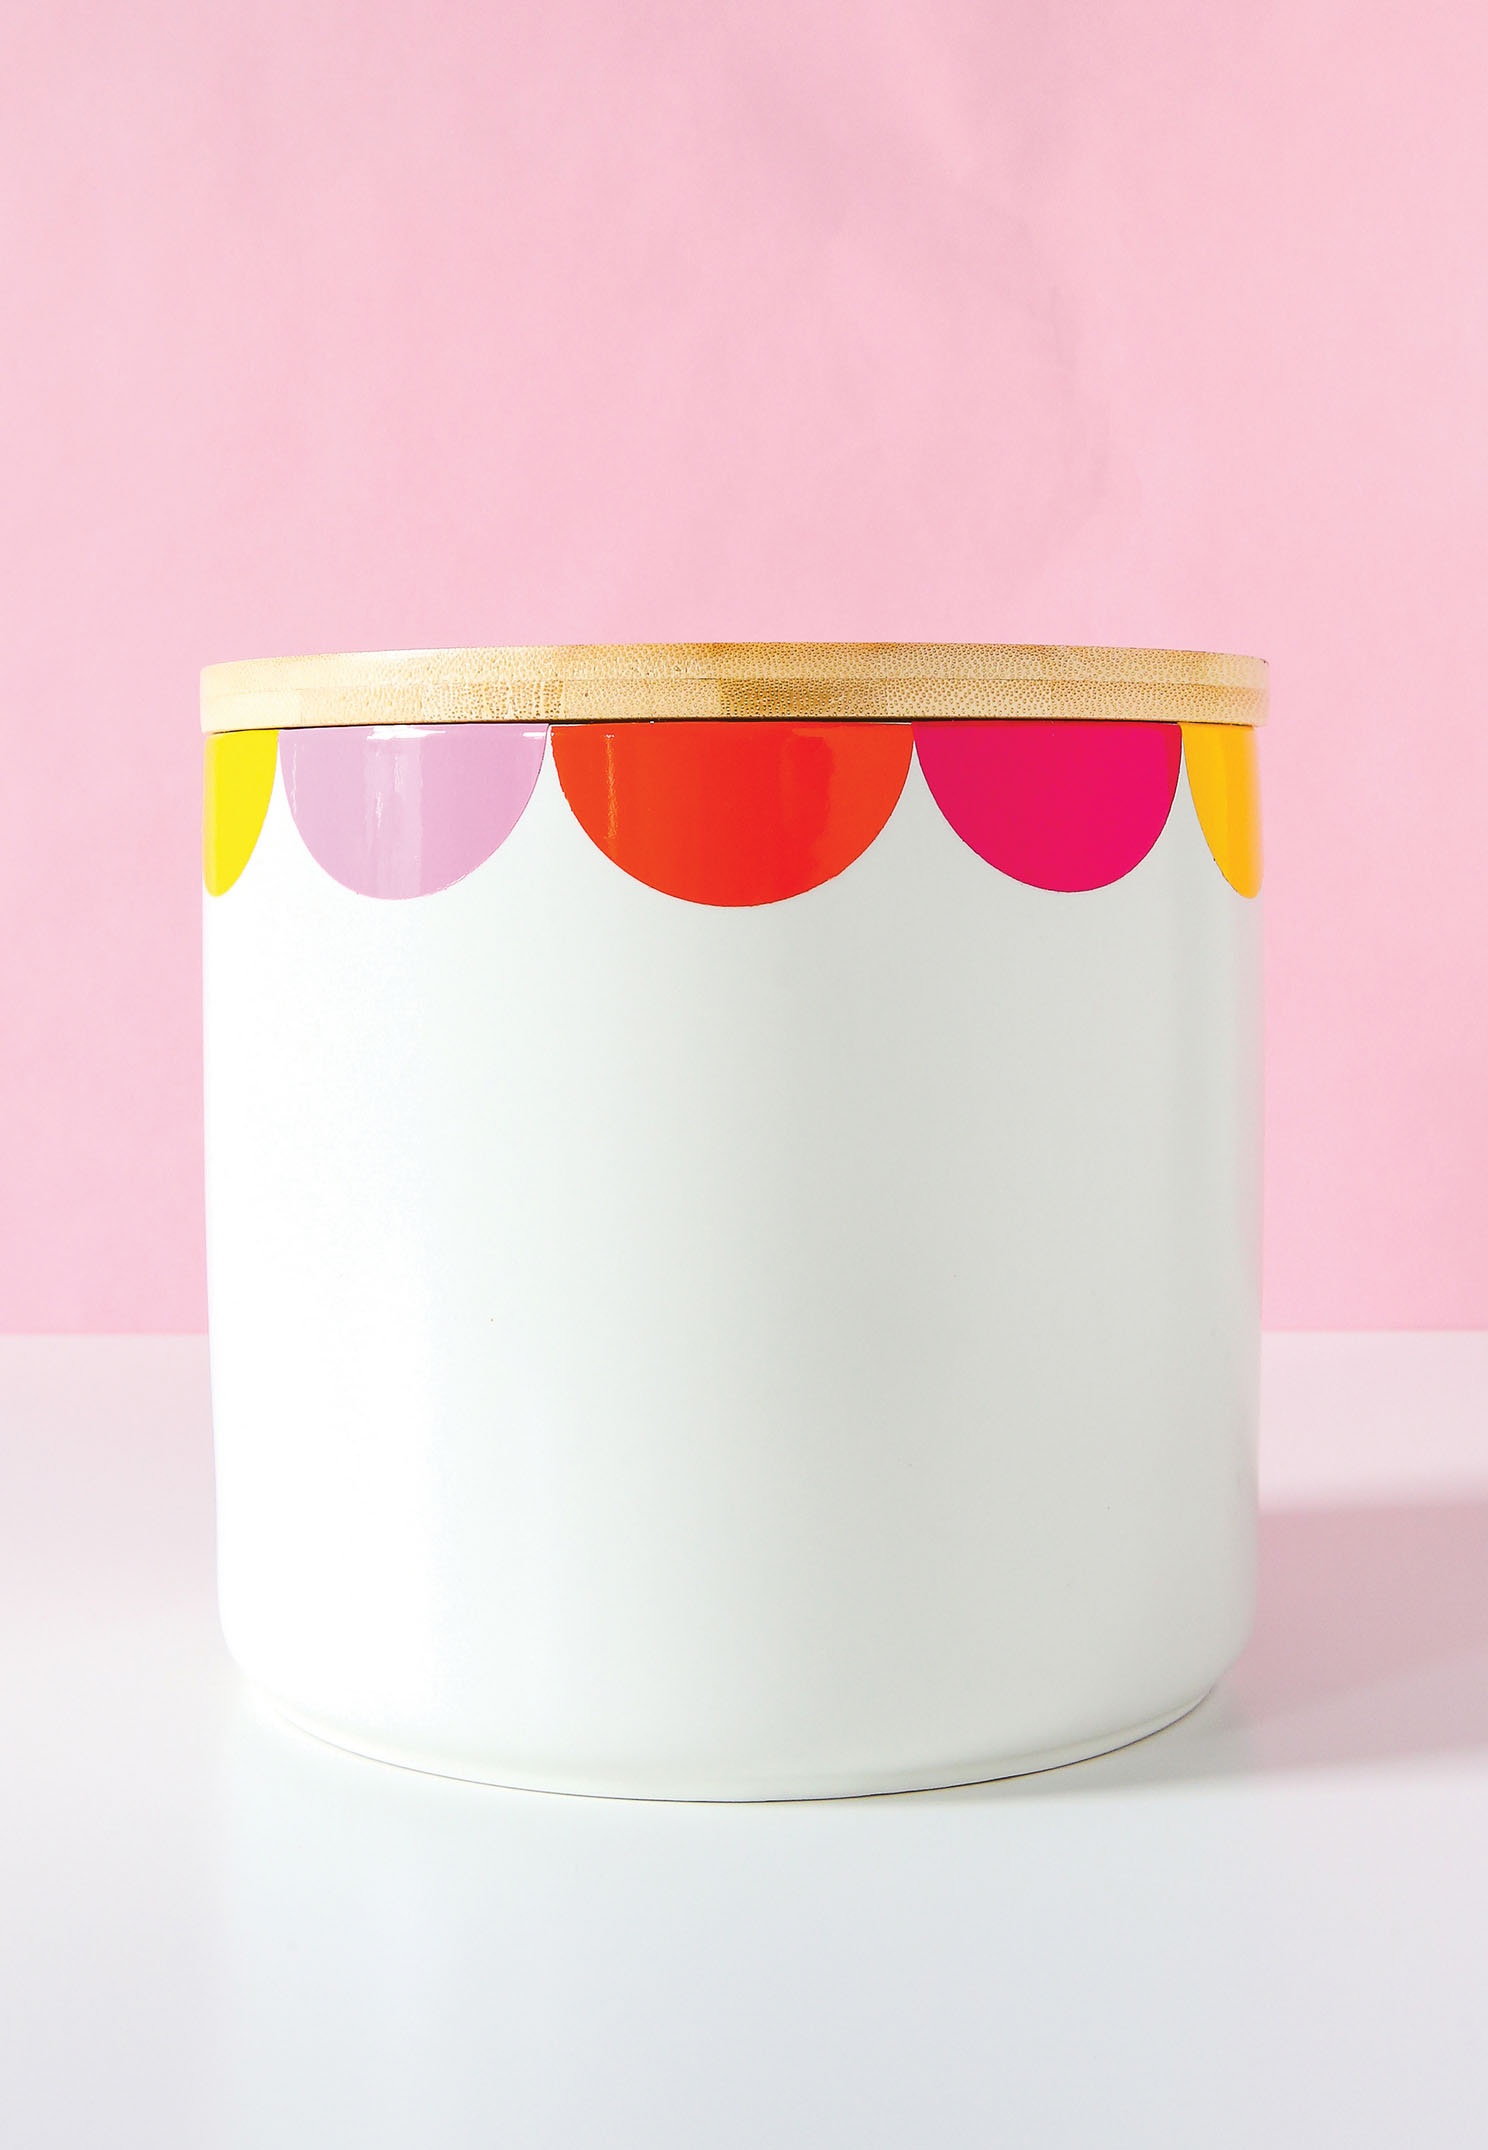
RAINBOW-SCALLOPED SUGAR AND FLOUR CANISTERS
When sweets are waiting to be baked (and, more important, eaten), who has time to spend on a project? Nobody, that’s who. That’s why this quick craft is perfect! You can update your sugar and flour containers in minutes with no paint and no mess. In just a few simple steps, your kitchen will be a little more colorful and you’ll be on your way to dunking a warm chocolate chip cookie into milk, as you should be.
MATERIALS
Containers for storing sugar and flour (ceramic or plastic work great)
Permanent adhesive-backed vinyl
Large circle hole punch
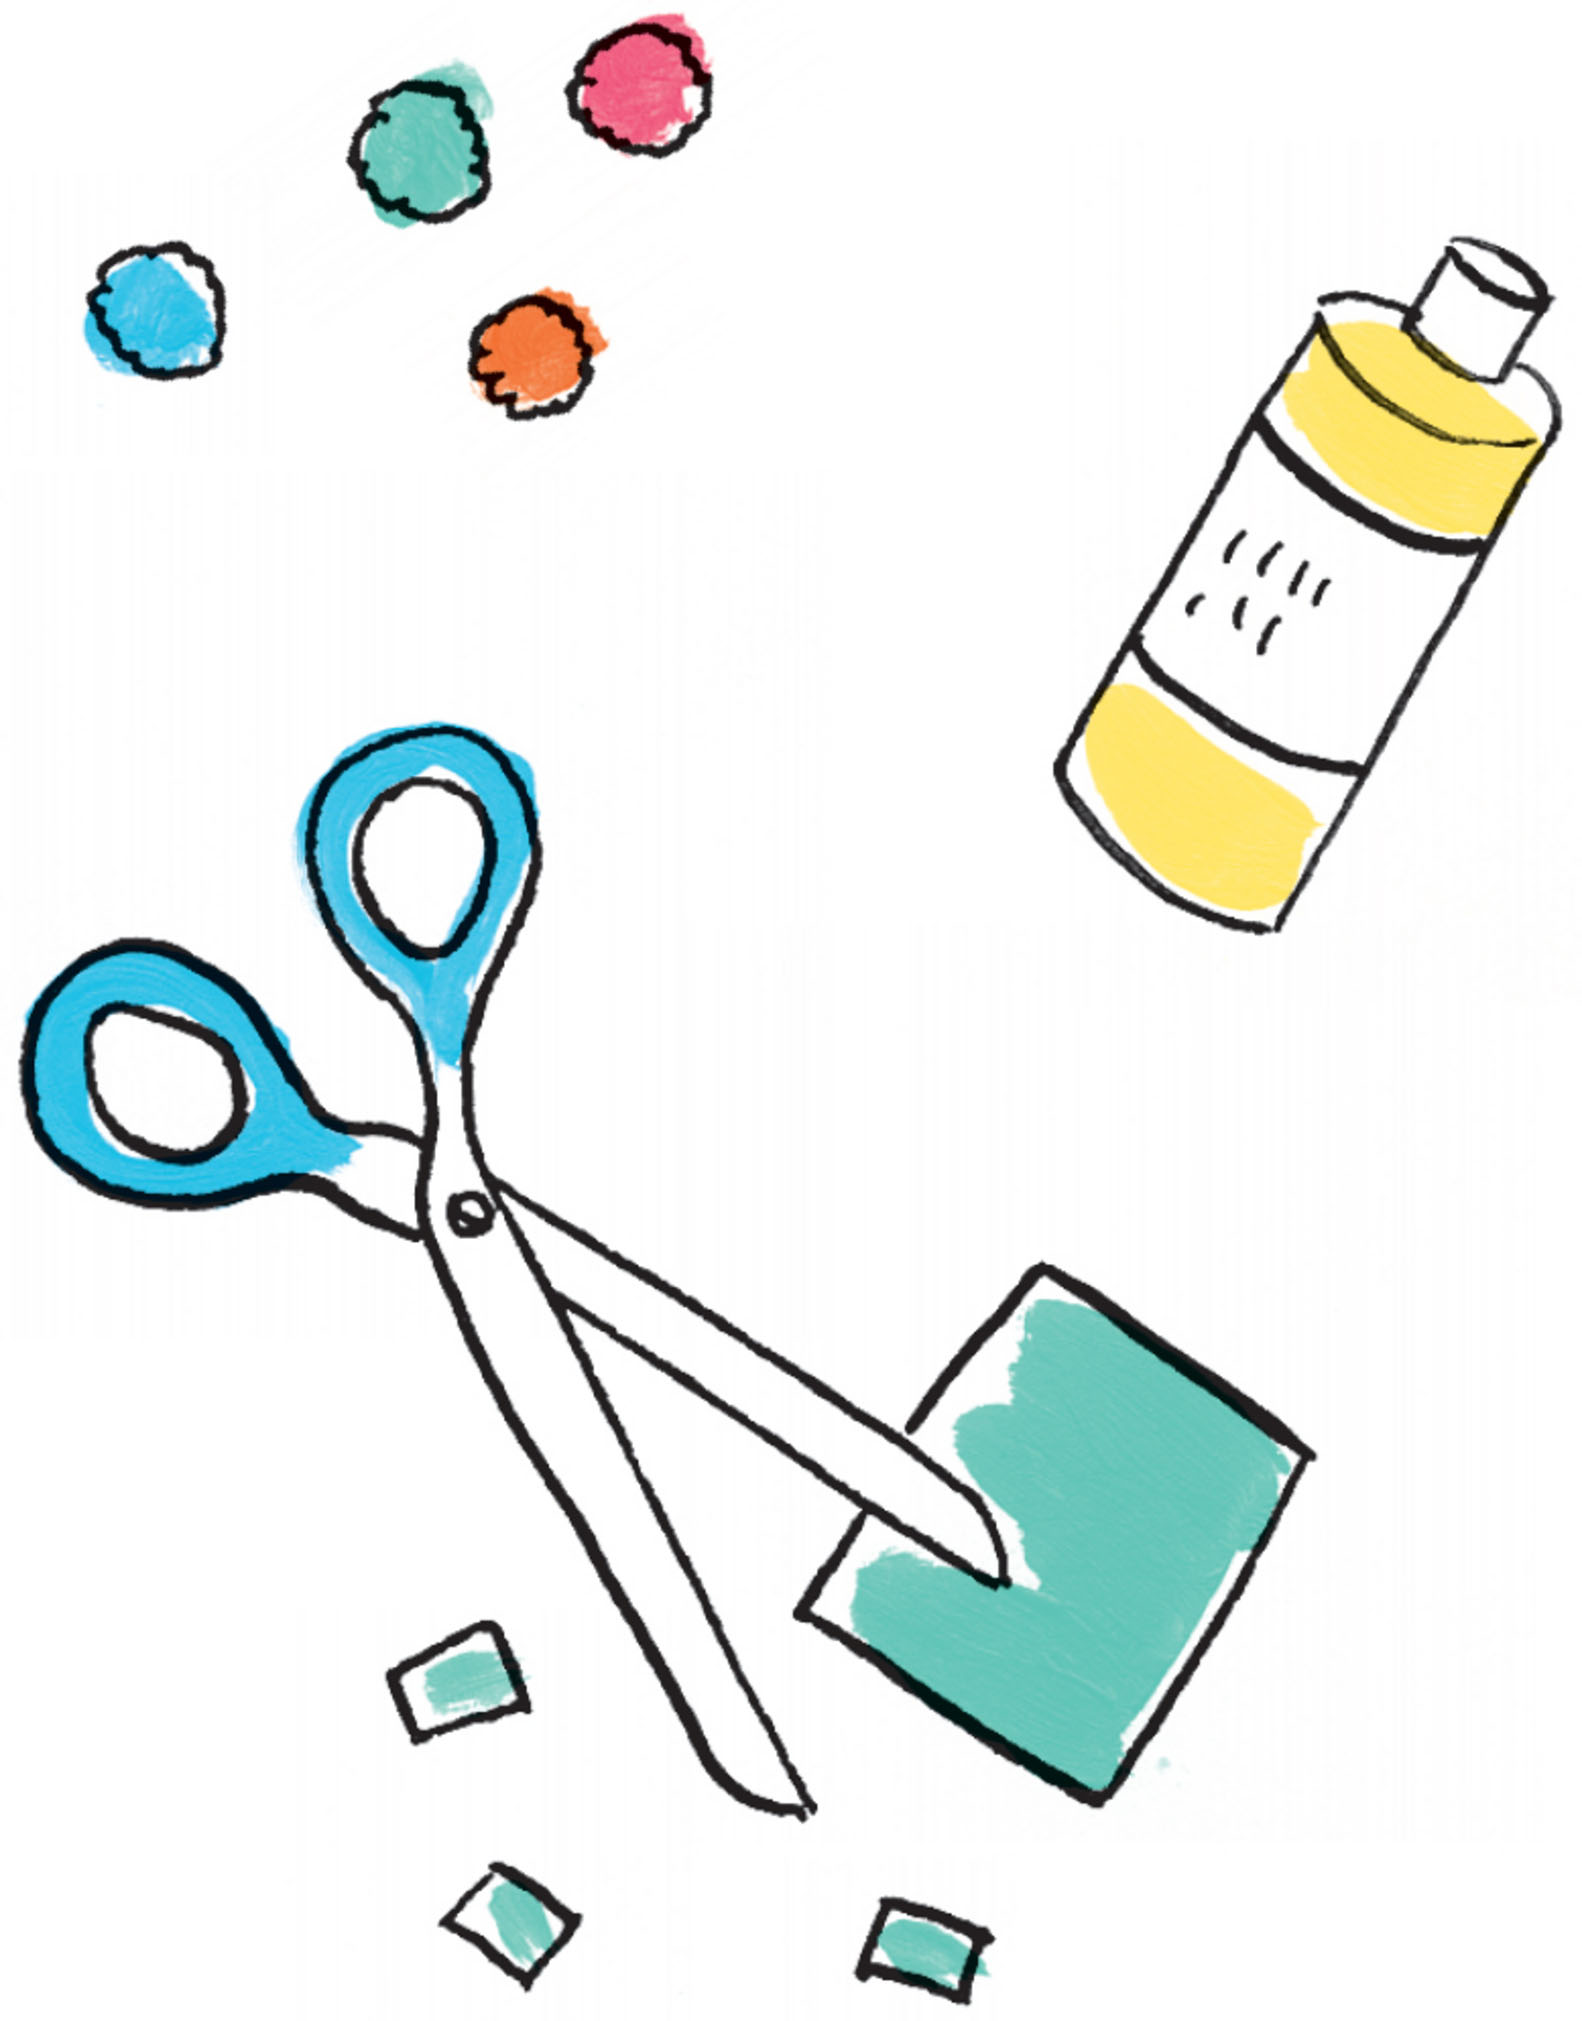
Scissors
INSTRUCTIONS
1 Using the hole punch, punch circles out of your vinyl. Cut each circle in half using the scissors to create a scallop.
2 Peel the backing off the vinyl and affix a half circle to your container, keeping the flat edge of the vinyl against the rim and smoothing with your finger to remove air bubbles.
3 Continue applying half circles until you’ve gone all the way around the container—and that’s it! Although the vinyl is permanent, I suggest hand-washing your containers to preserve the design.
Instead of writing sugar and flour on your containers, try using different color palettes for each one to distinguish which is which. To create the colorful shapes that make up the scalloped pattern, you’ll want a hole punch that’s nice and sharp to pierce through the vinyl.
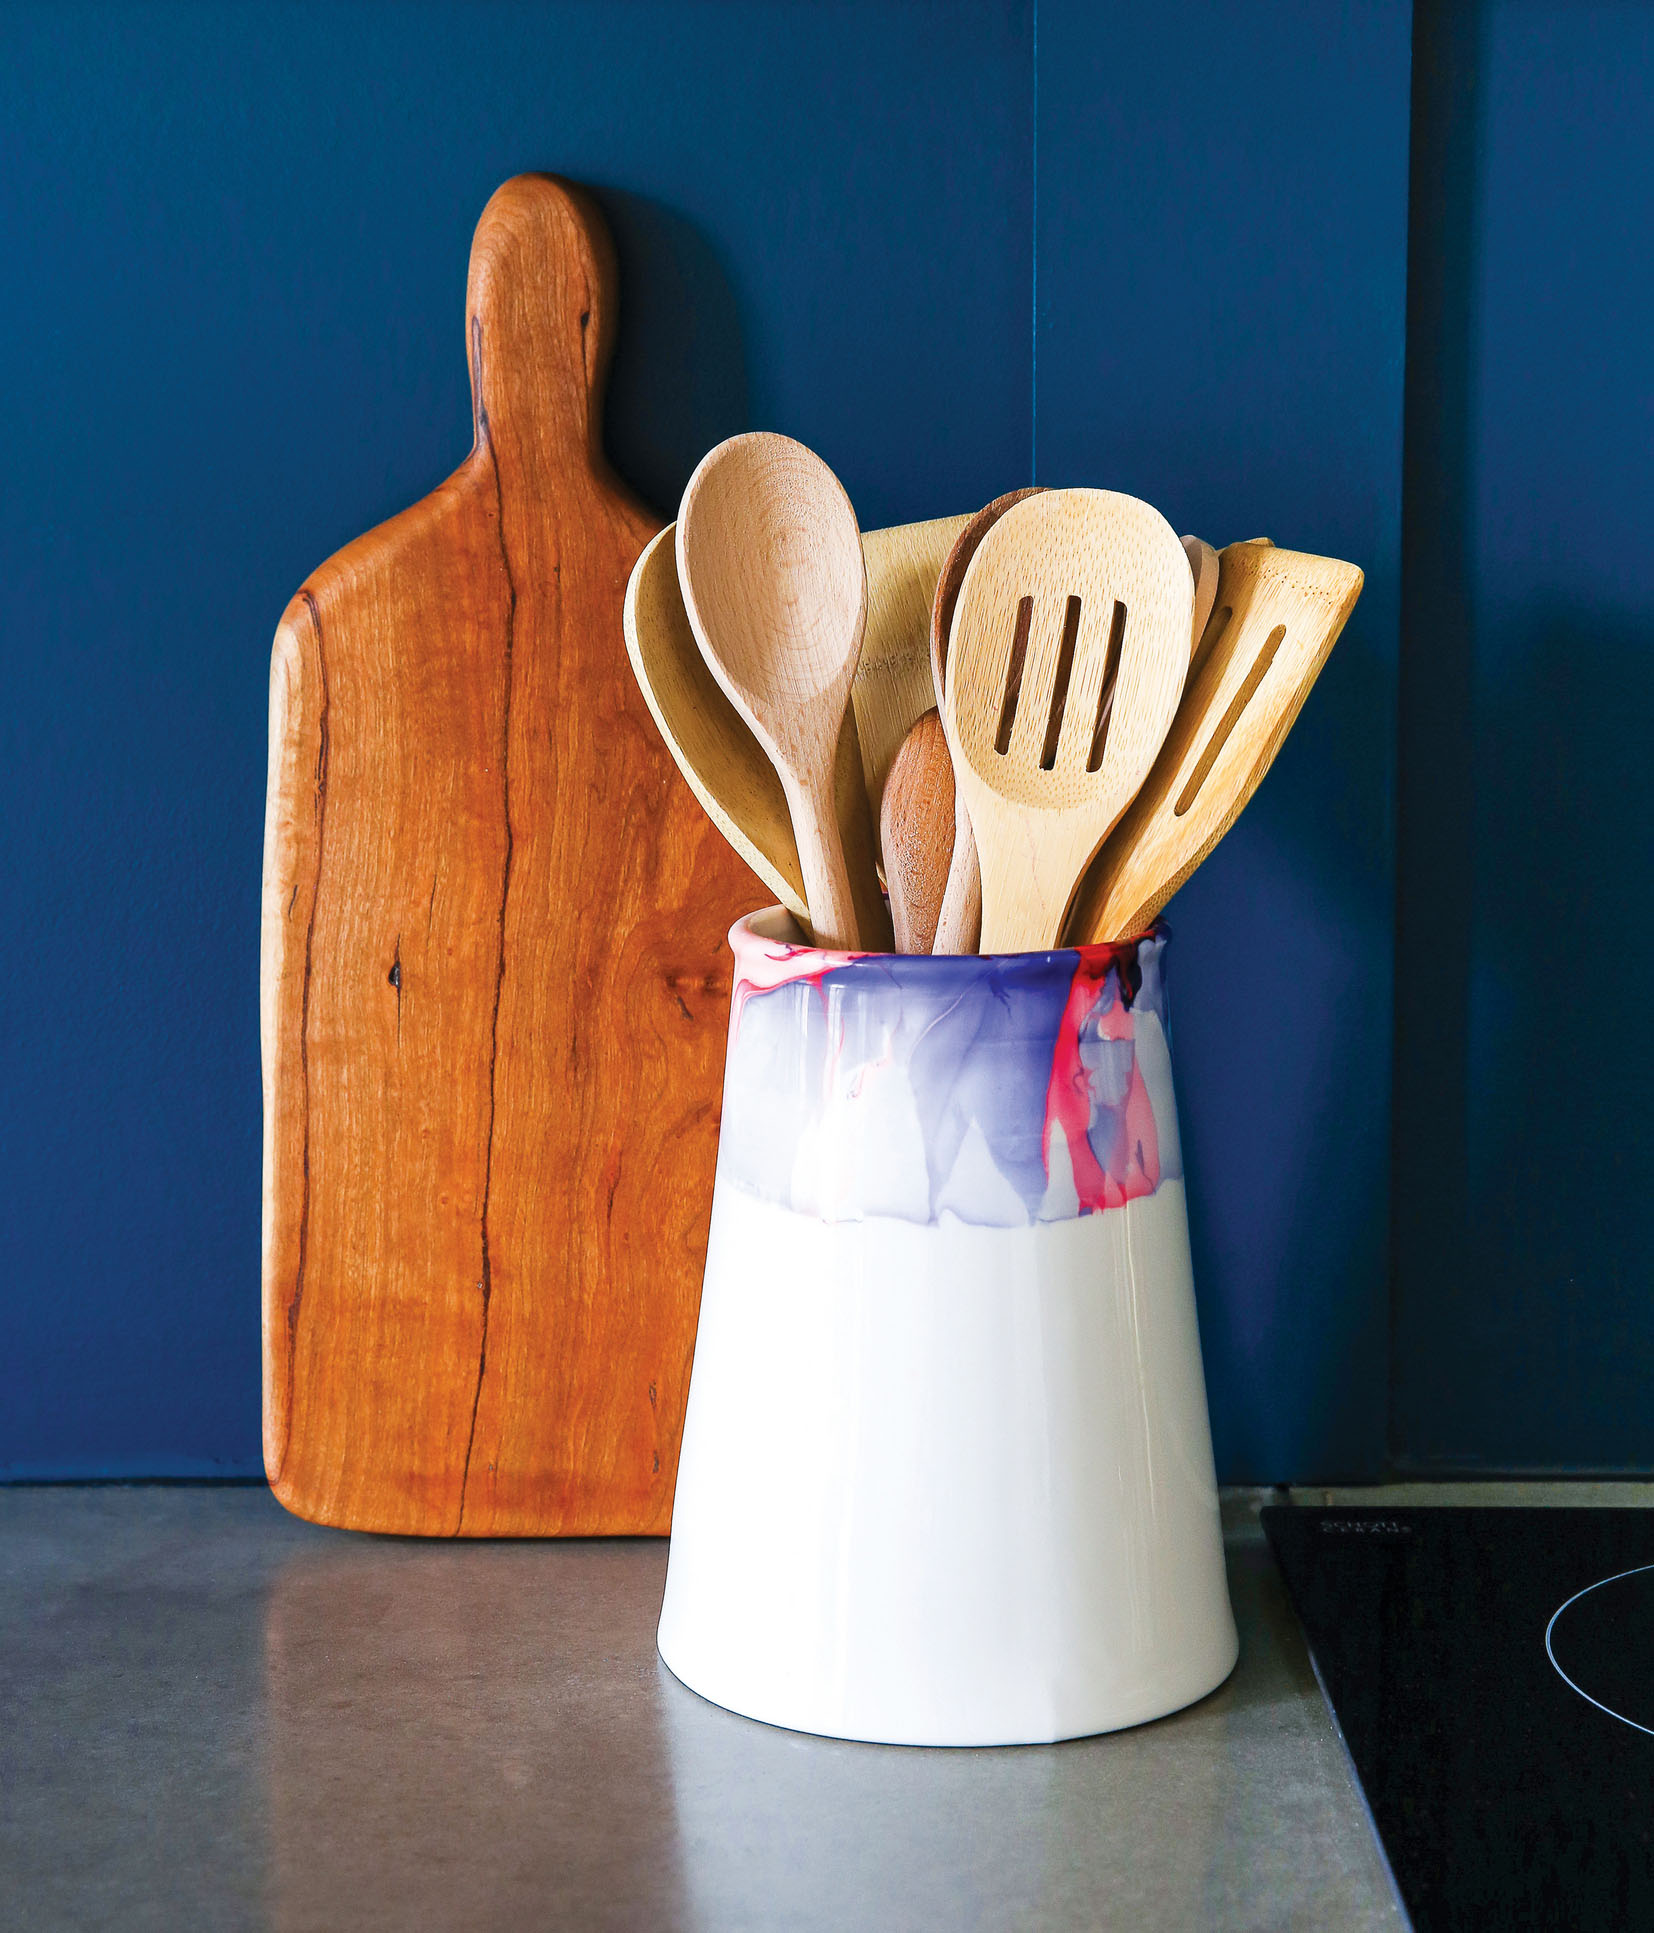
MARBLE-DIPPED UTENSIL HOLDER
Everyone has a utensil holder on the kitchen counter, and for the most part we think nothing of them. But just because they serve a purpose doesn’t mean you have to settle for a plain, colorless container! If you want to add some unexpected color to your countertops, then this project is the way go. Plus, once you learn to marble, it’ll be really hard to stop!
MATERIALS
Deep tub, bowl, or bucket
Ceramic utensil holder
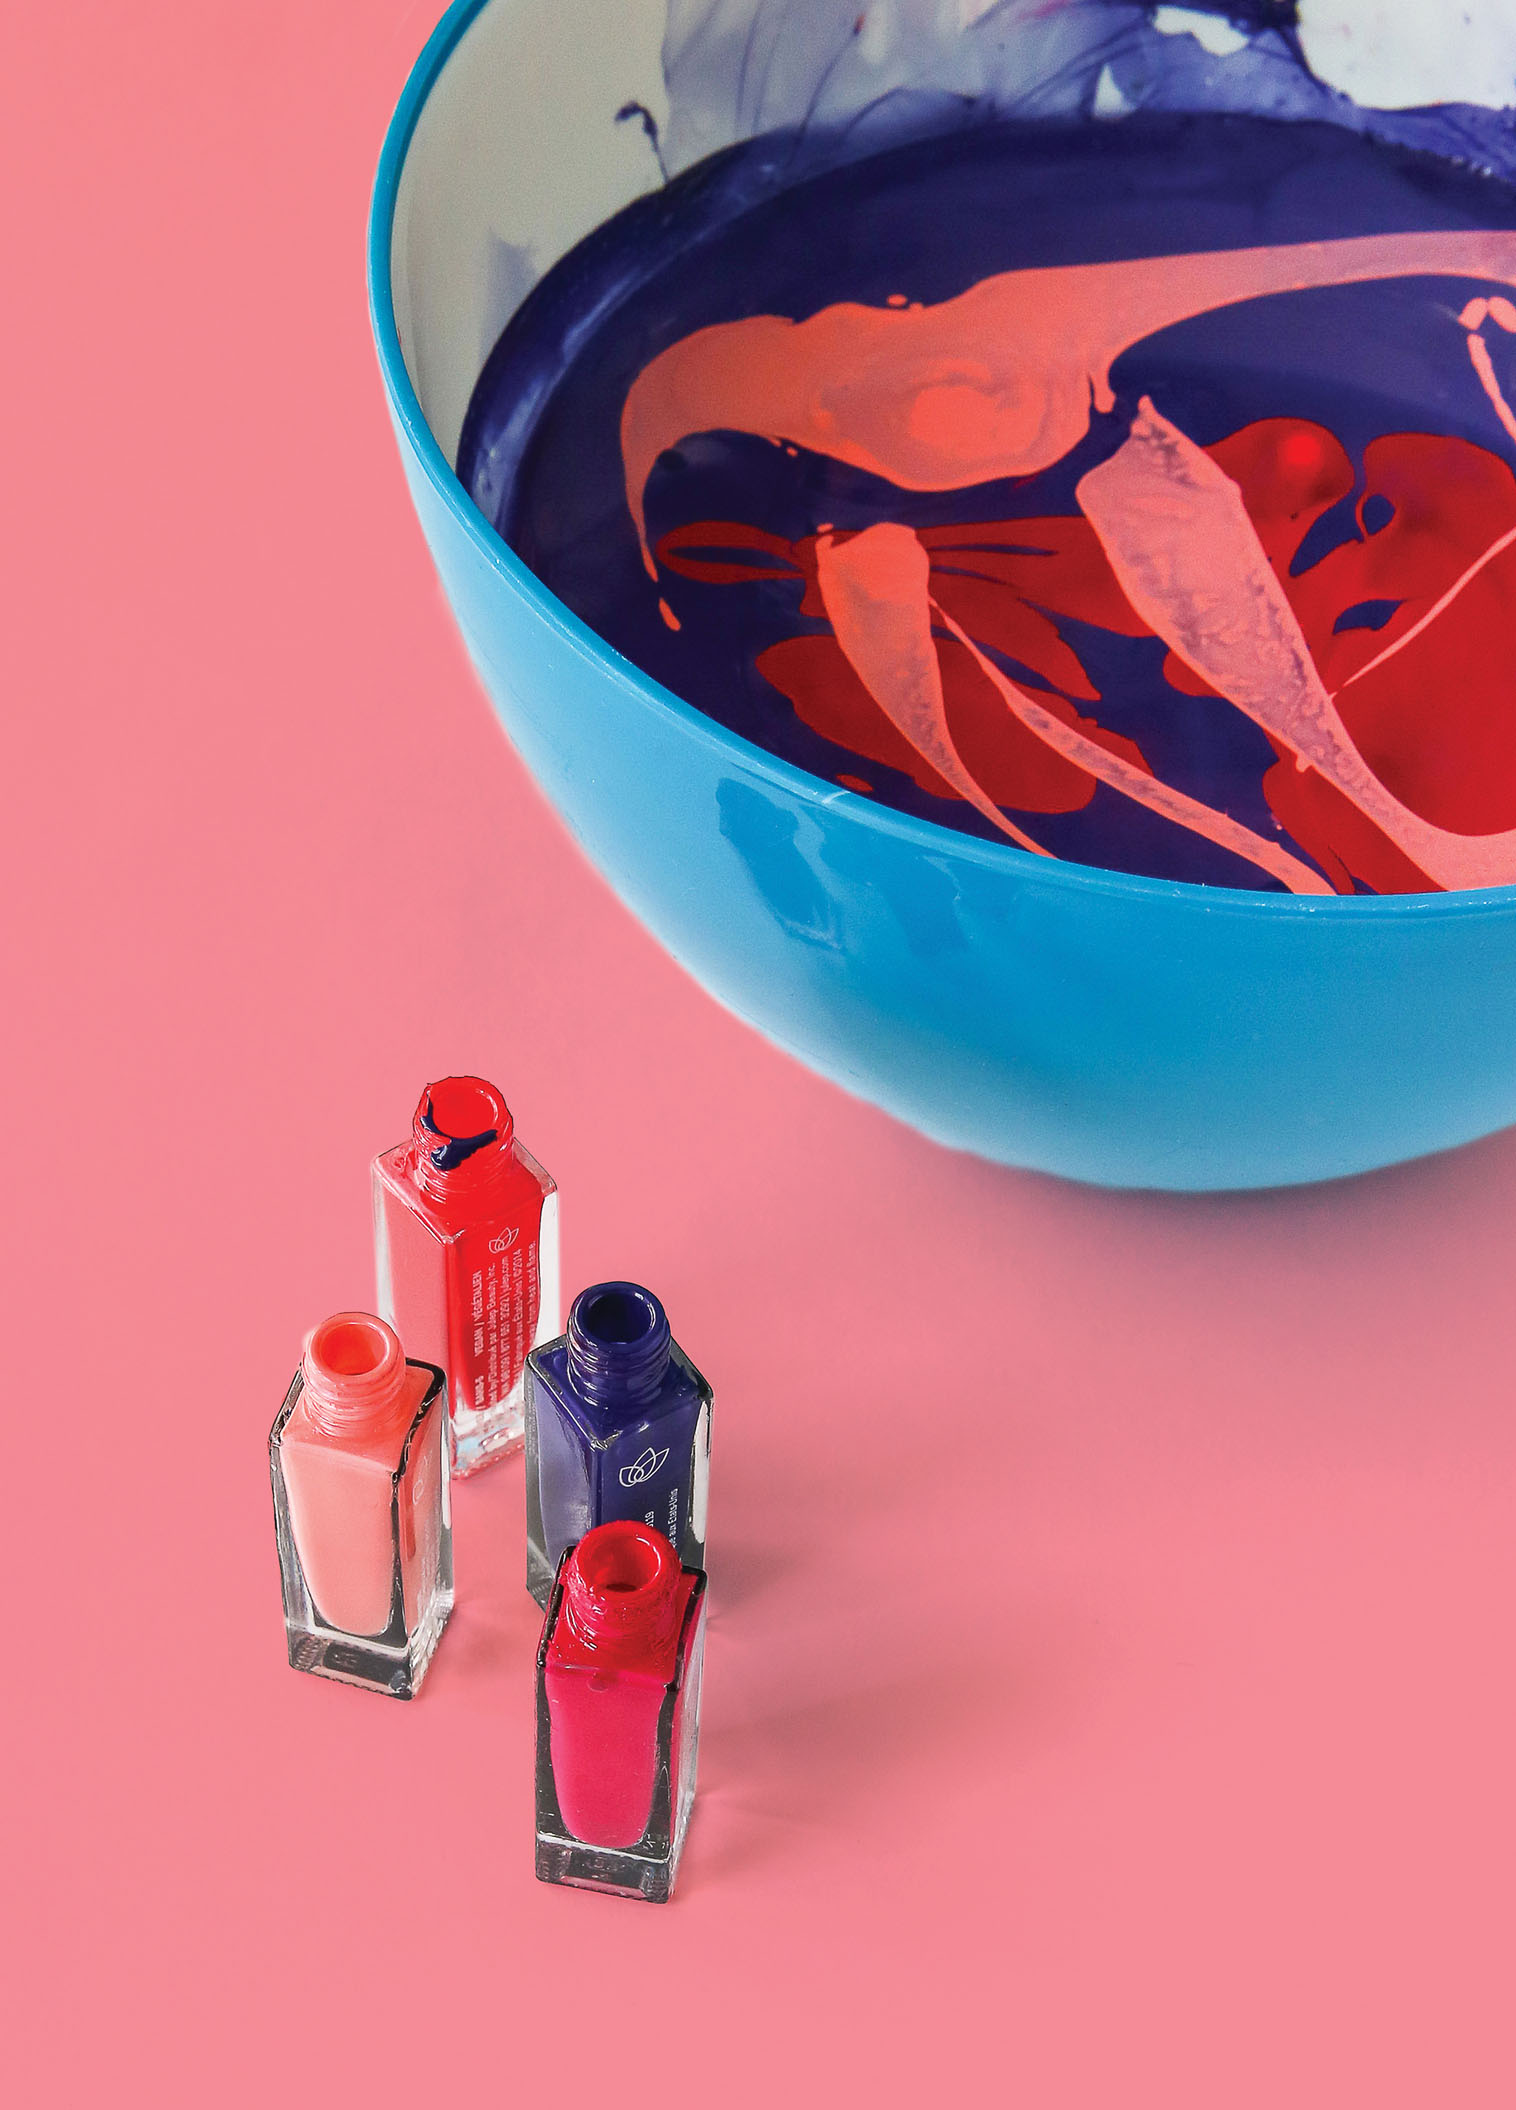
Nail polish in various colors (not quick-dry)
Craft stick
INSTRUCTIONS
1 Fill the tub, bowl, or bucket with hot water. Whichever vessel you use, make sure it’s deep enough to cover as much of the utensil holder as you want to marble. (If you’re marbling flatter objects, you’ll need something that’s only a few inches deep. Keep in mind for future projects!) Note that in the future you can use this container only for marbling/painting since the nail polish will drop to the bottom and stick there—so don’t use your nice baking bowls!
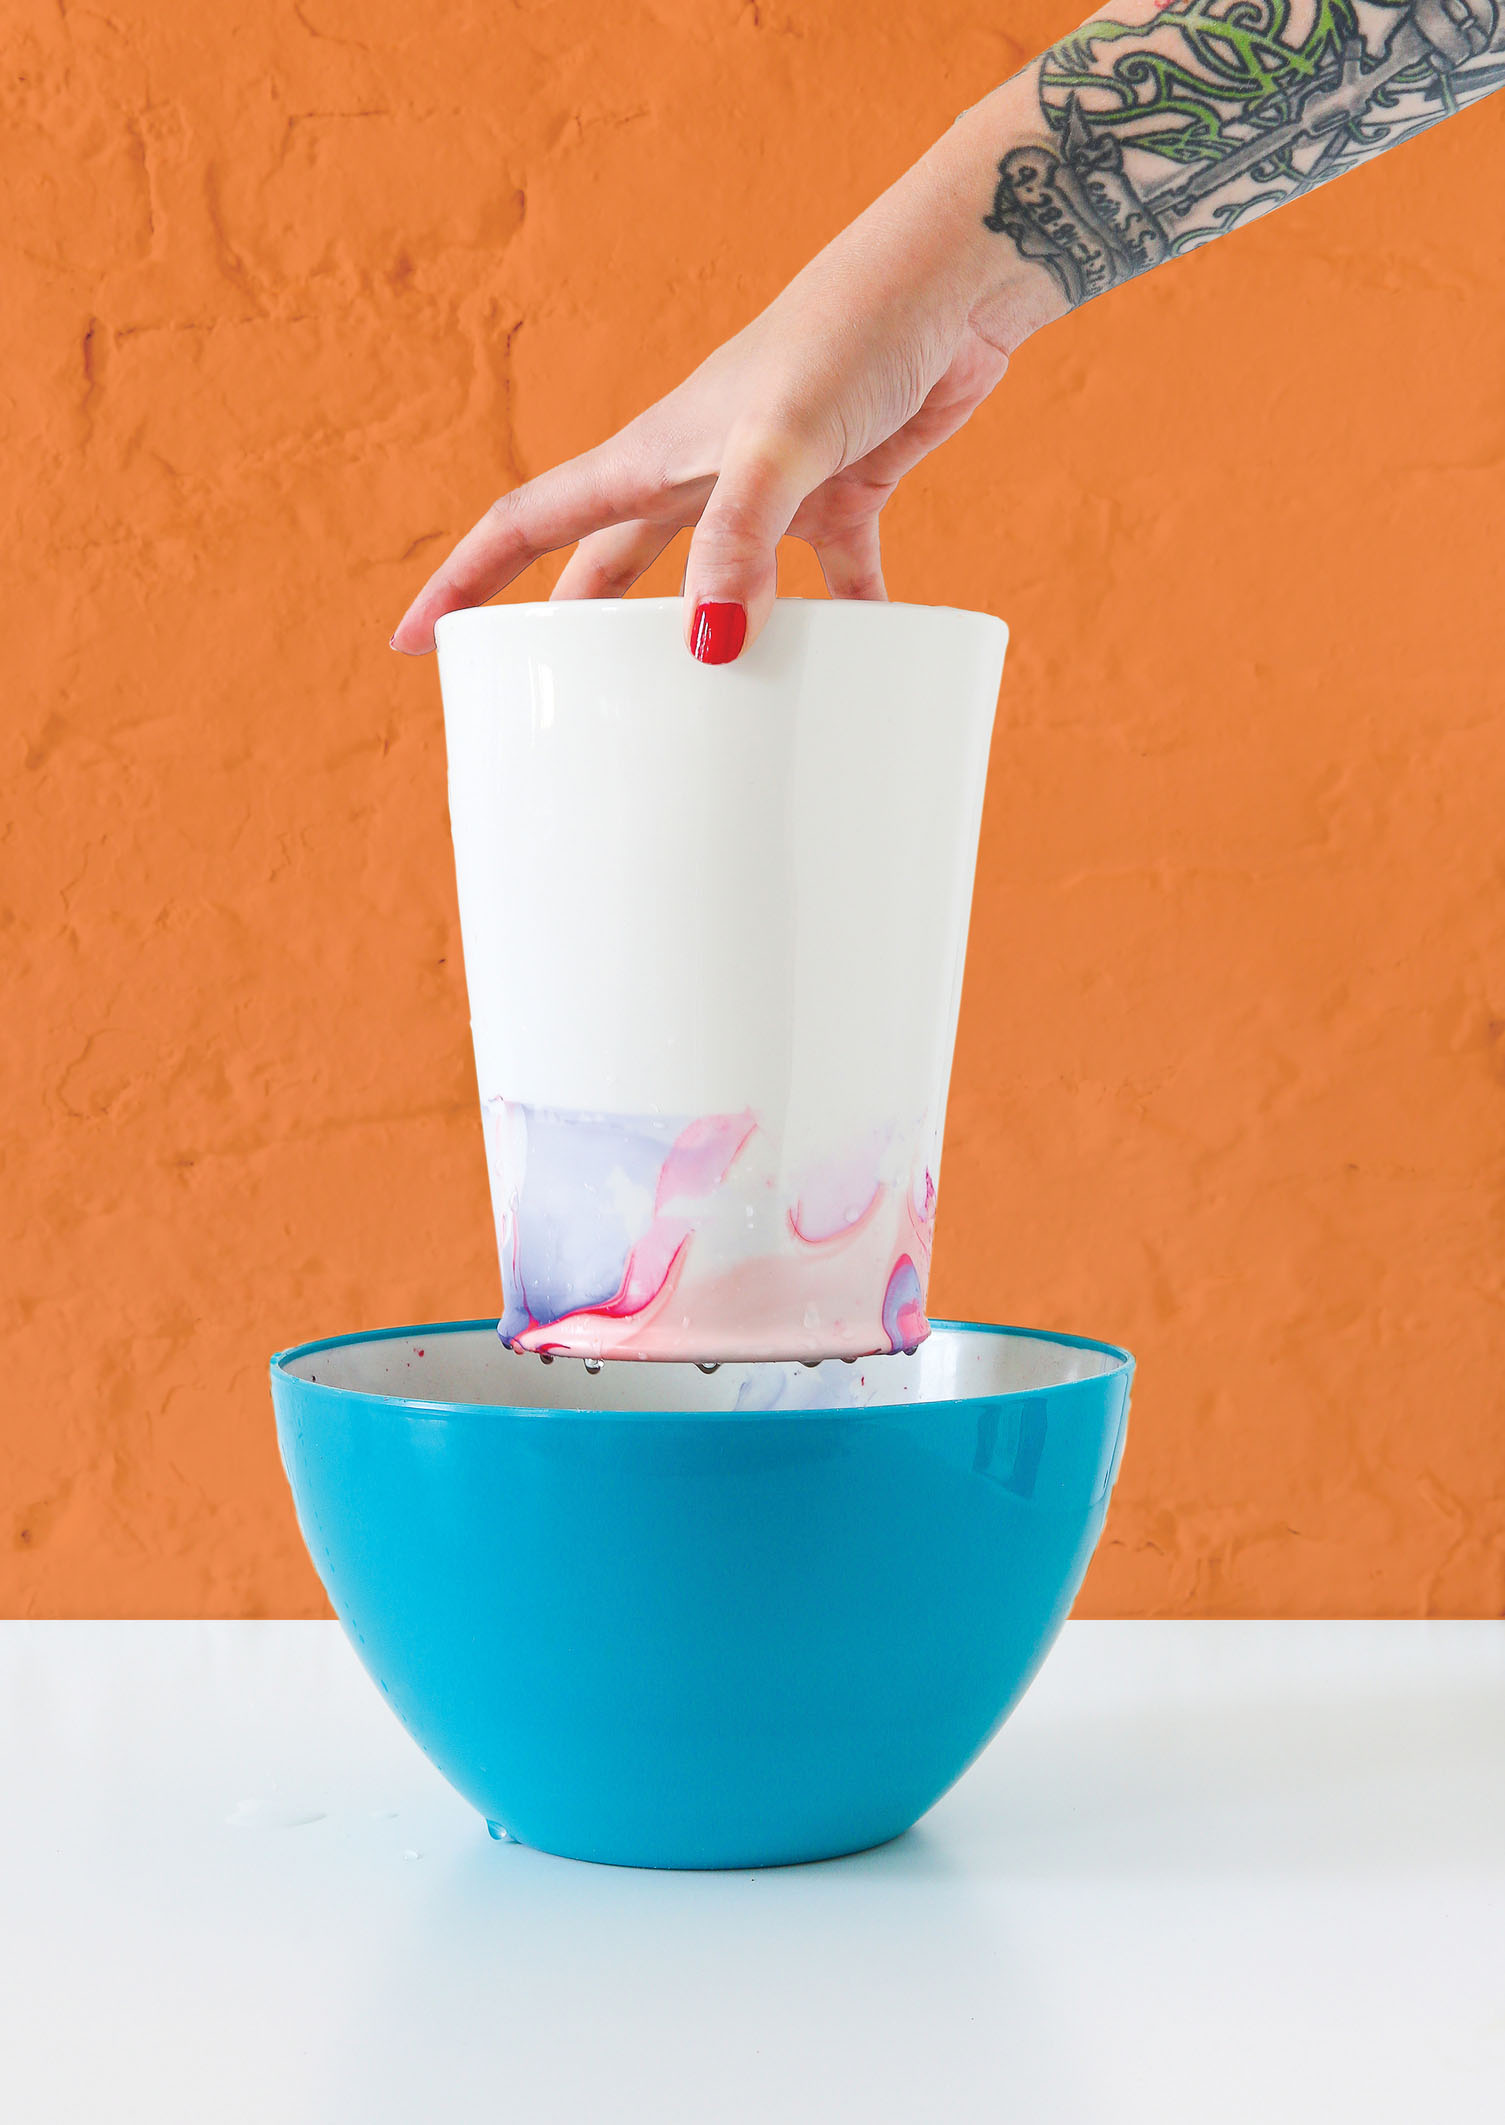
2 Pour the polish in the water and use your craft stick to gently stir and mix the colors to create a marbled effect. Immediately dip in your utensil holder. I suggest going straight down from the center of the polish bath to evenly coat all the way around.
3 Pull the utensil holder out of the water and let dry. You can dab off excess water, just be careful not to smudge the design.
4 Let the container dry completely, then fill with utensils.
The trick to successful marbling is working fast. I’ve found that it helps to take the cap off all the nail polishes, then pour them into the hot water at the same time with one hand as you swirl a pattern with the other. I suggest doing a couple test runs before marbling your utensil holder. Finally, be sure to work in a well-ventilated area because there will be fumes!
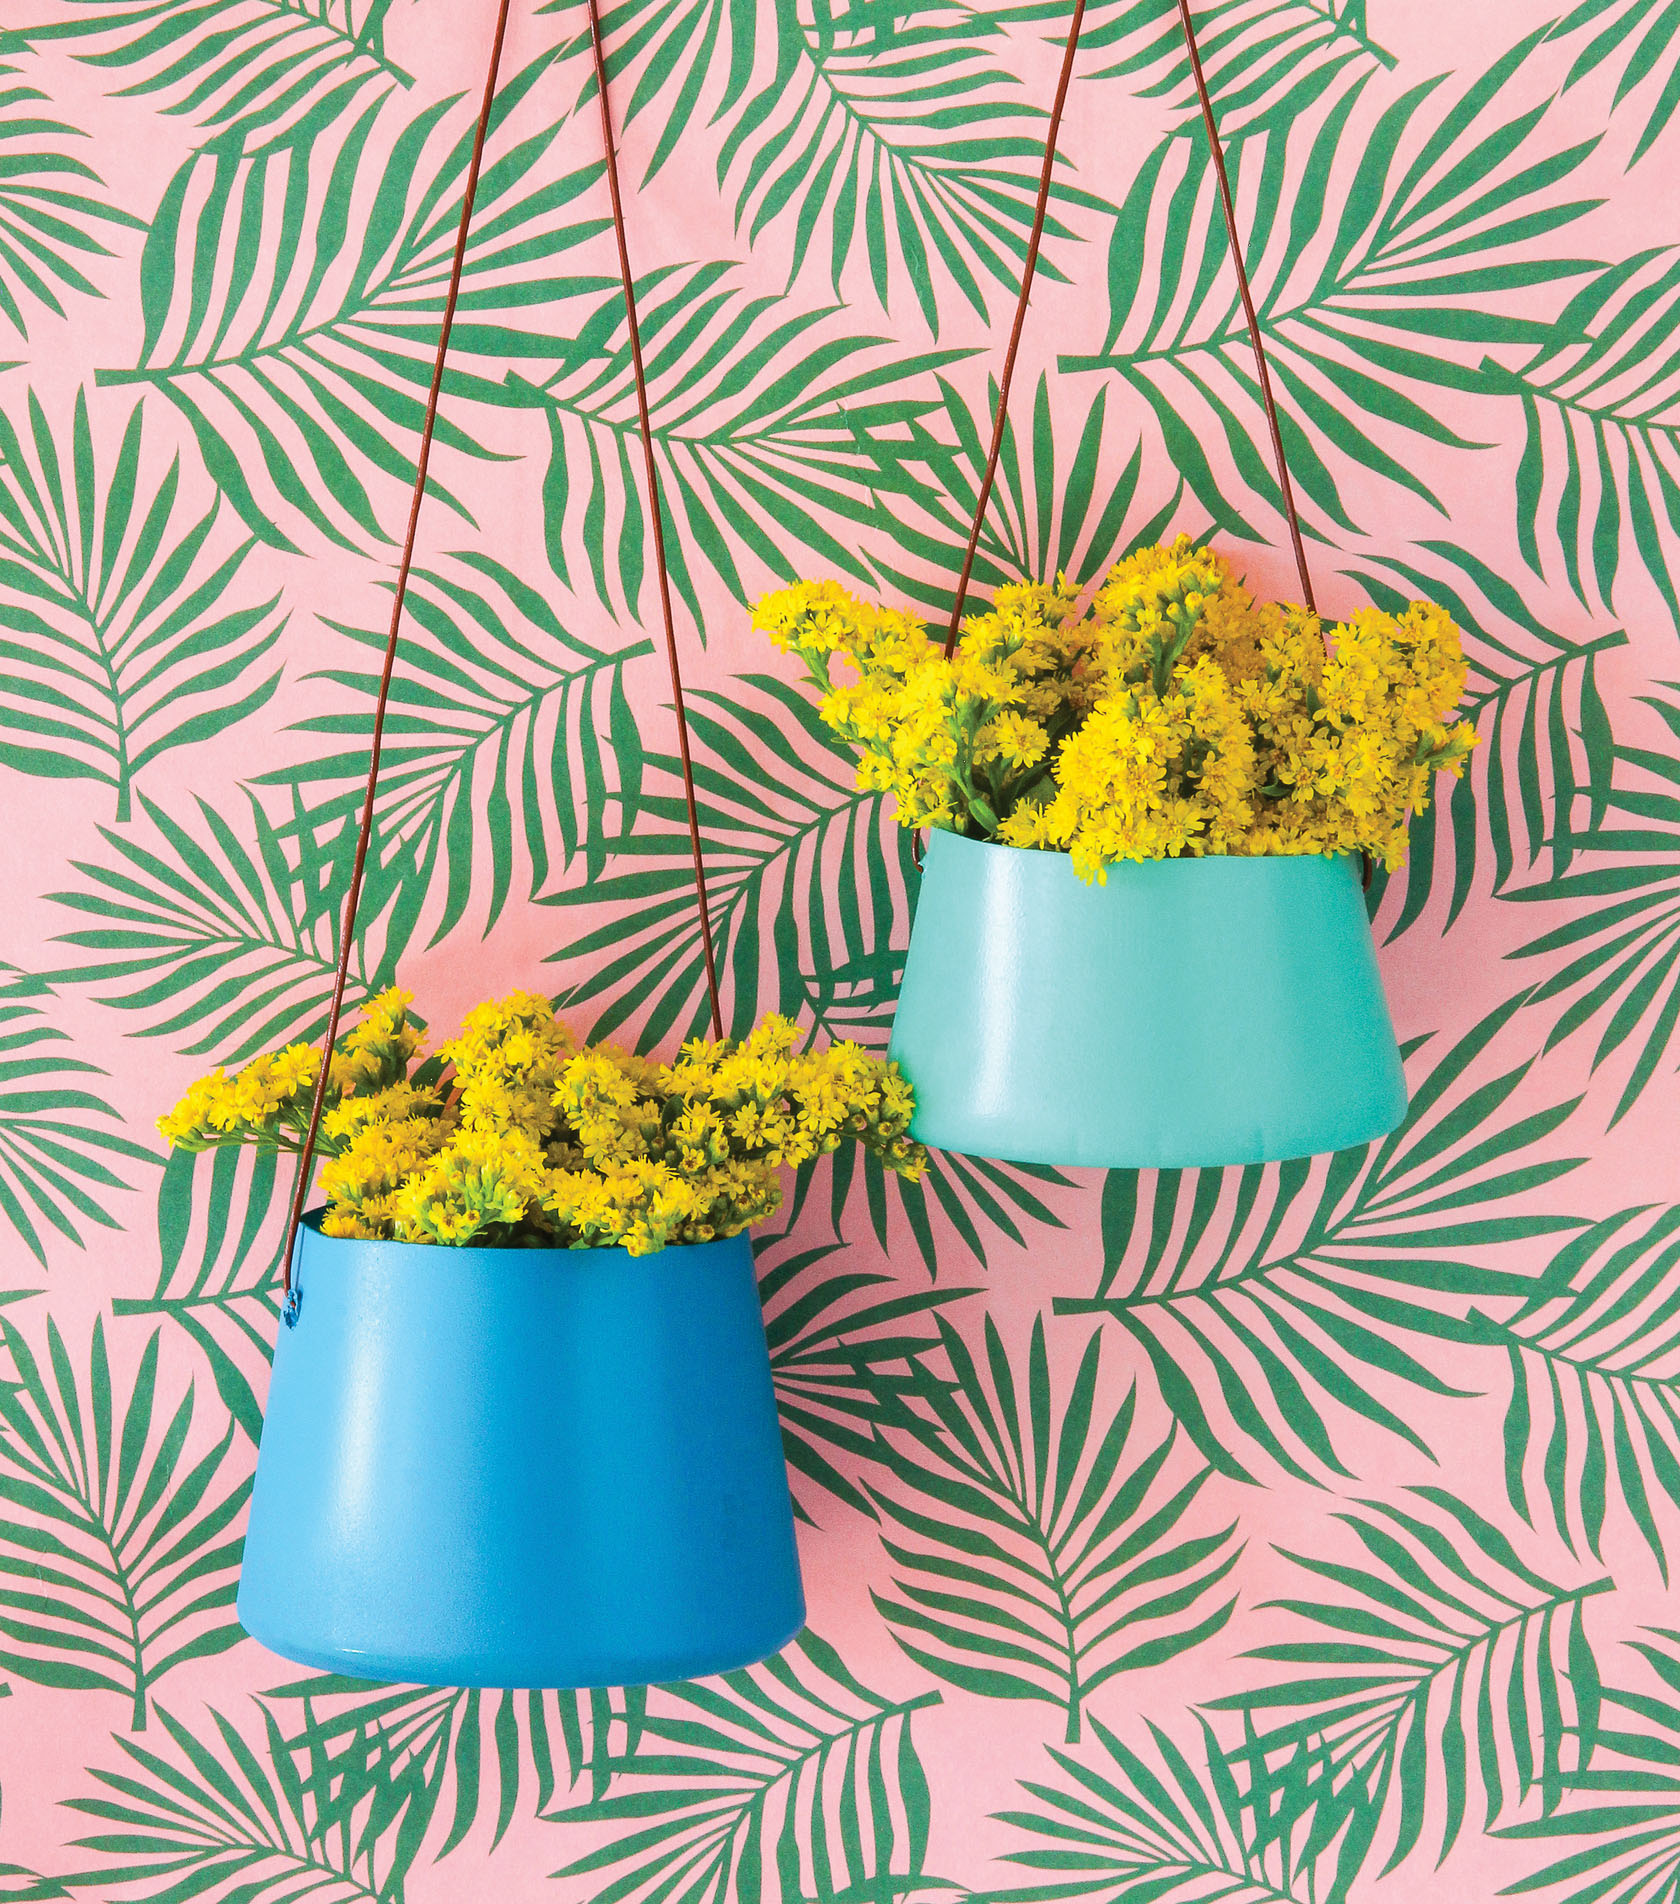
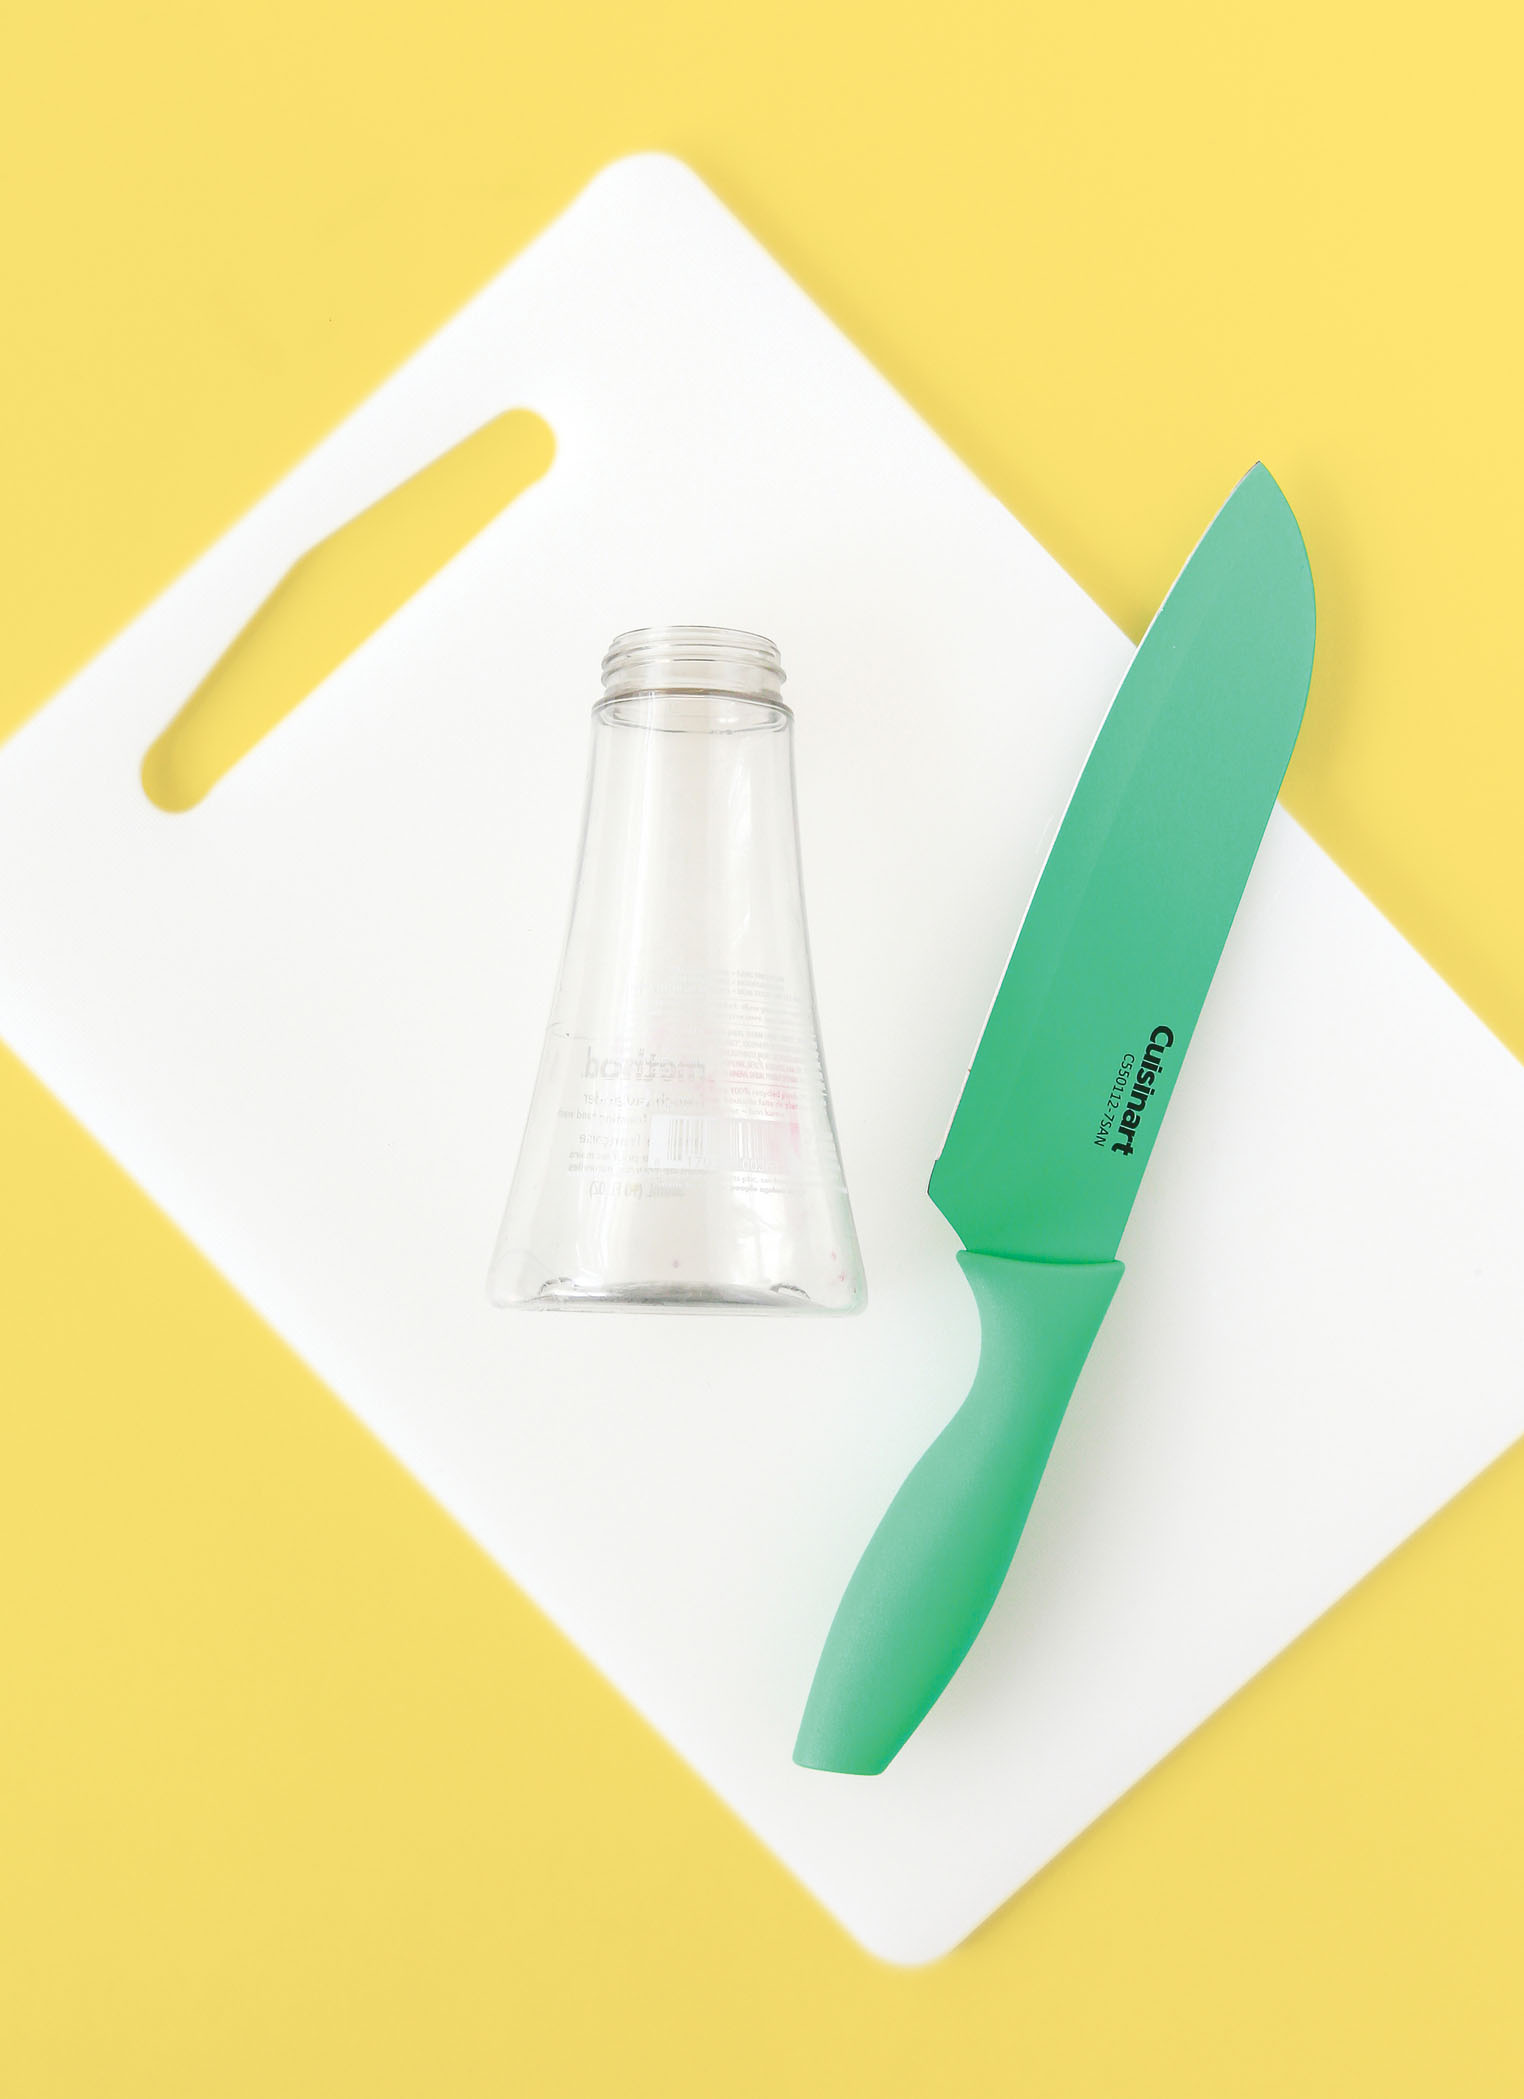
BRIGHT HANGING PLANTER
Aside from a few food splatters on the wall, my guess is that your kitchen doesn’t have a ton of color. And though you probably want plants in there (because where doesn’t a plant look great?), countertops are usually dedicated to appliances and food prep. That’s where this hanging planter comes in to save the day! It can decorate your space without giving pets tasty foliage and flowers to chew up. Make one for your favorite plant, or whip up an entire set for an indoor vertical herb garden. The materials are everyday items you likely already have on hand.
MATERIALS
Plastic container
Goo Gone (if needed)
Scissors
Spray paint
Cardboard or newspaper
Knife
Cutting board
String/cord for hanging
Plant and potting soil
INSTRUCTIONS
1 Wash and dry your container, then peel off any labels. If necessary, remove sticky residue with Goo Gone so that it doesn’t show under the paint.
2 Using sharp scissors or a knife, cut the top off the container so that you’re left with an open base.
3 Puncture two holes in the container near the top, one opposite the other: use the tip of a knife to pierce the plastic on a cutting board, expanding the holes as necessary so the cord will pass through.
4 In a well-ventilated area, lay down cardboard or newspaper. Place container on the covered work surface and spray-paint it inside and out. Let dry.
5 Thread the cording through the holes and knot on the inside of the container. Trim excess cord, fill the container with your plant and soil, and enjoy!
You can use just about any plastic container for this project—just make sure the plastic is thin enough to cut and punch holes in. (I used an old dish soap container.) And whenever you’re using sharp tools, please use caution and protect your hands!
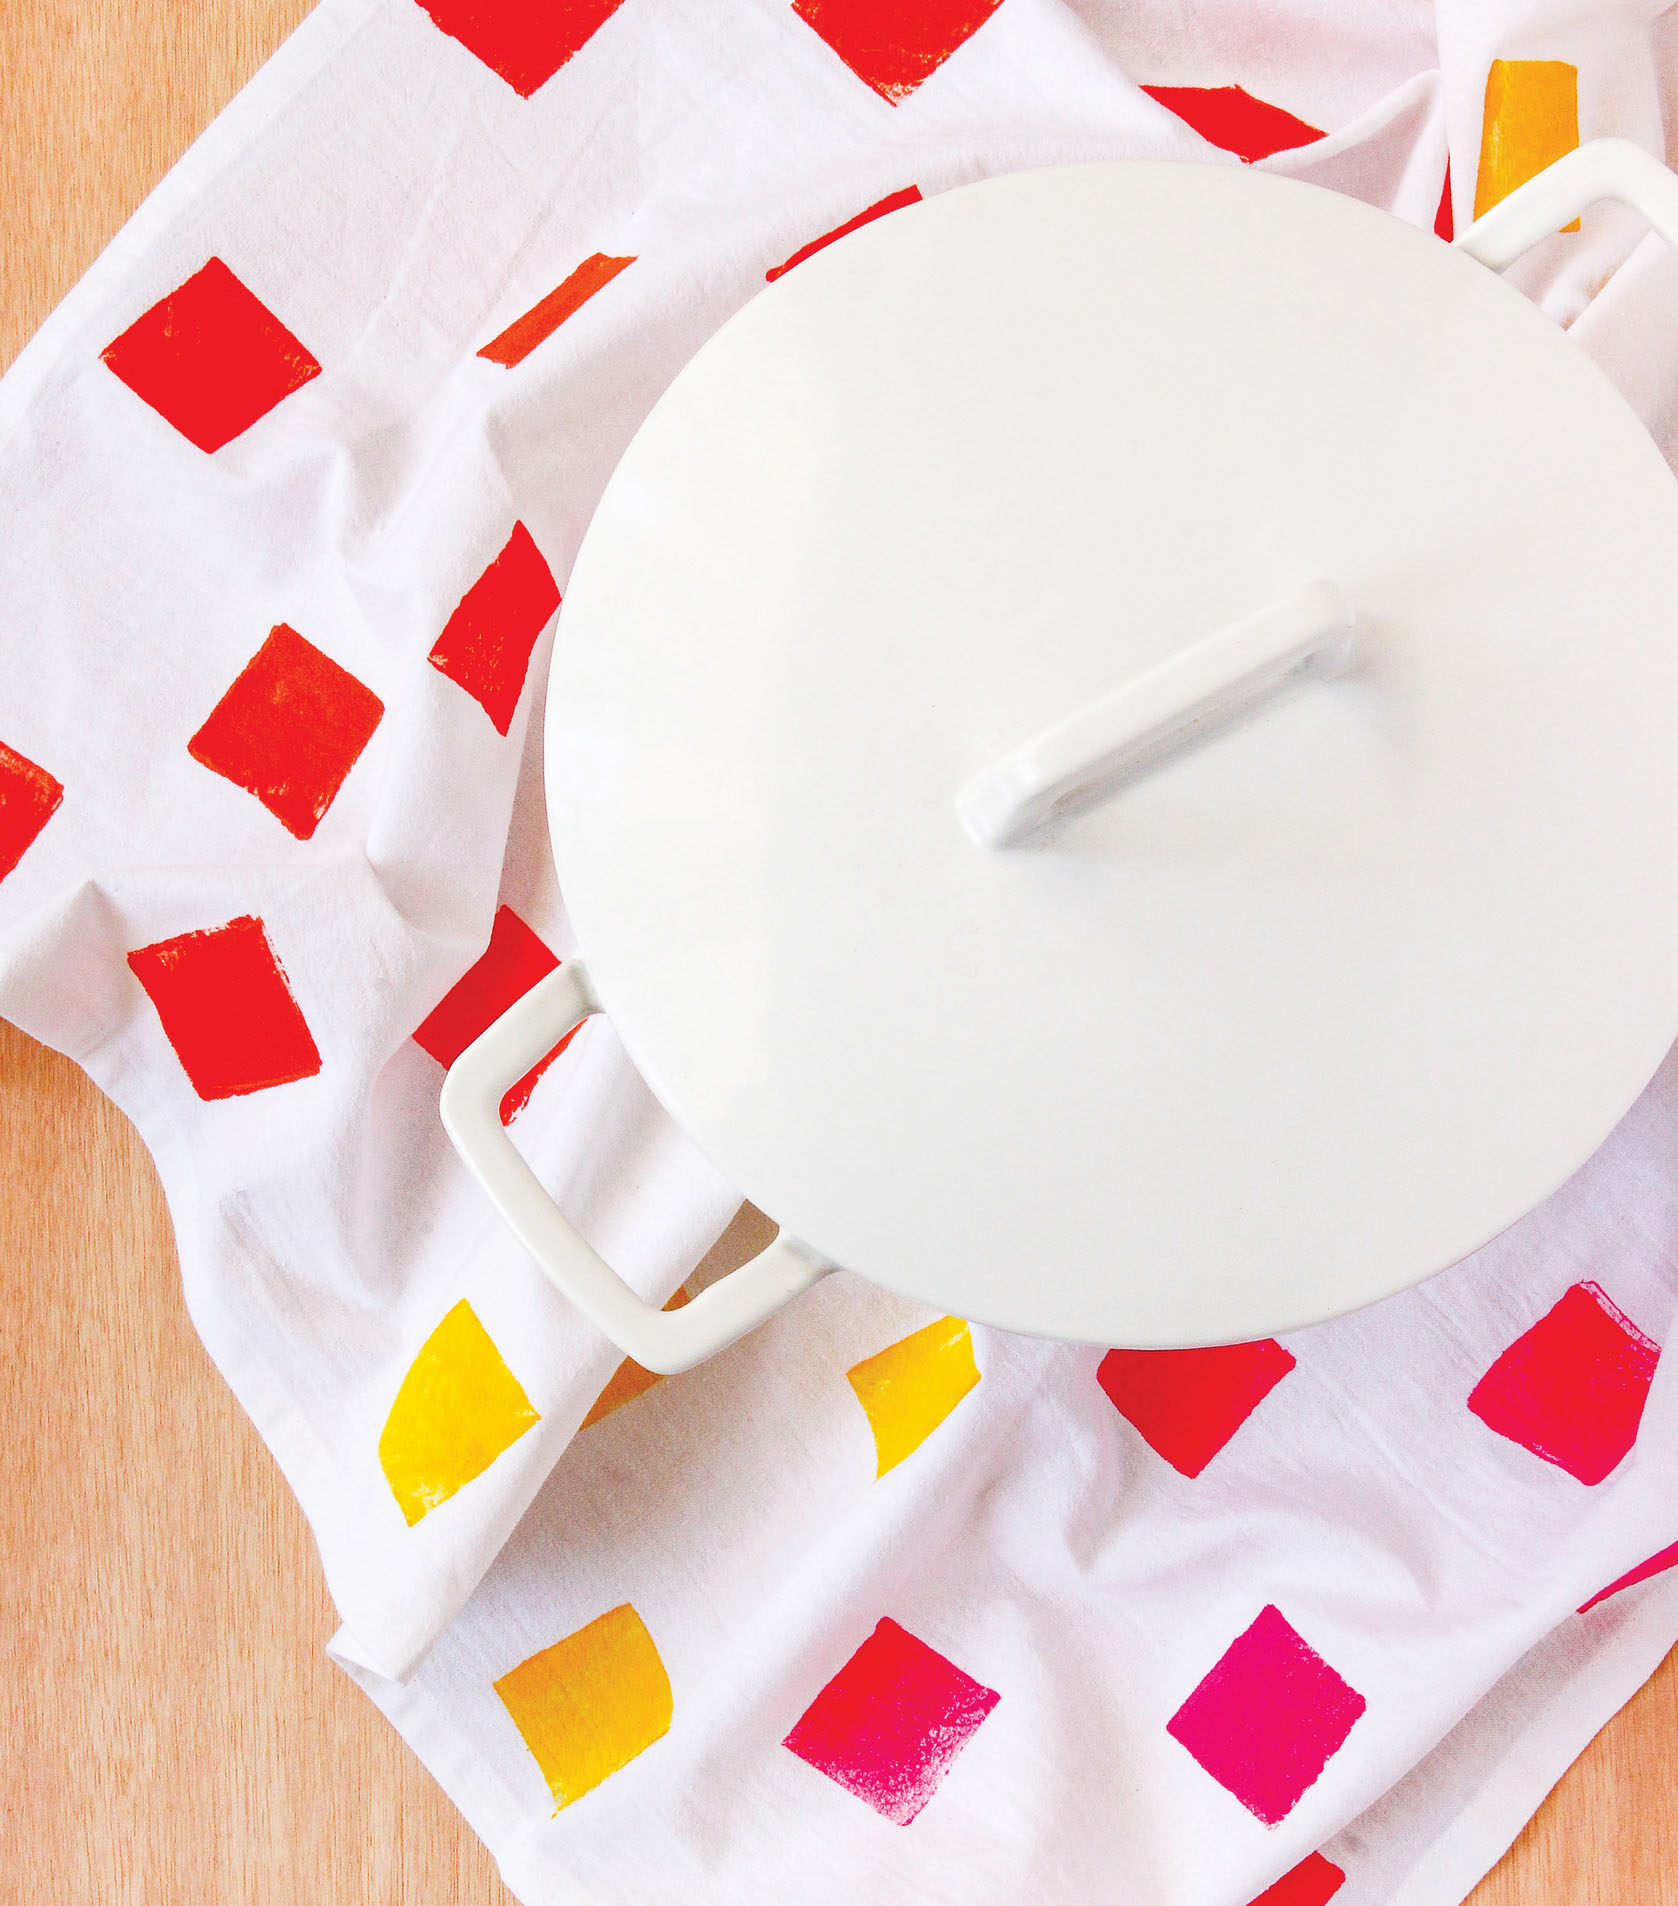
RAINBOW-STAMPED DISH TOWELS
Homemade stamps open up a world of creative possibilities. They’re perfect for designing custom patterns and are much more affordable than store-bought options. If you have wooden blocks left over from the Mini Photo Blocks project, then you’re already halfway to making your stamp for this one!
MATERIALS
Flour sack (cotton) dish towels
Craft foam
Hot-glue gun
Wood block
Scissors
Cardboard or newspaper
Fabric paint or multi-surface paint
Paper plate or paint container
Paintbrush
INSTRUCTIONS
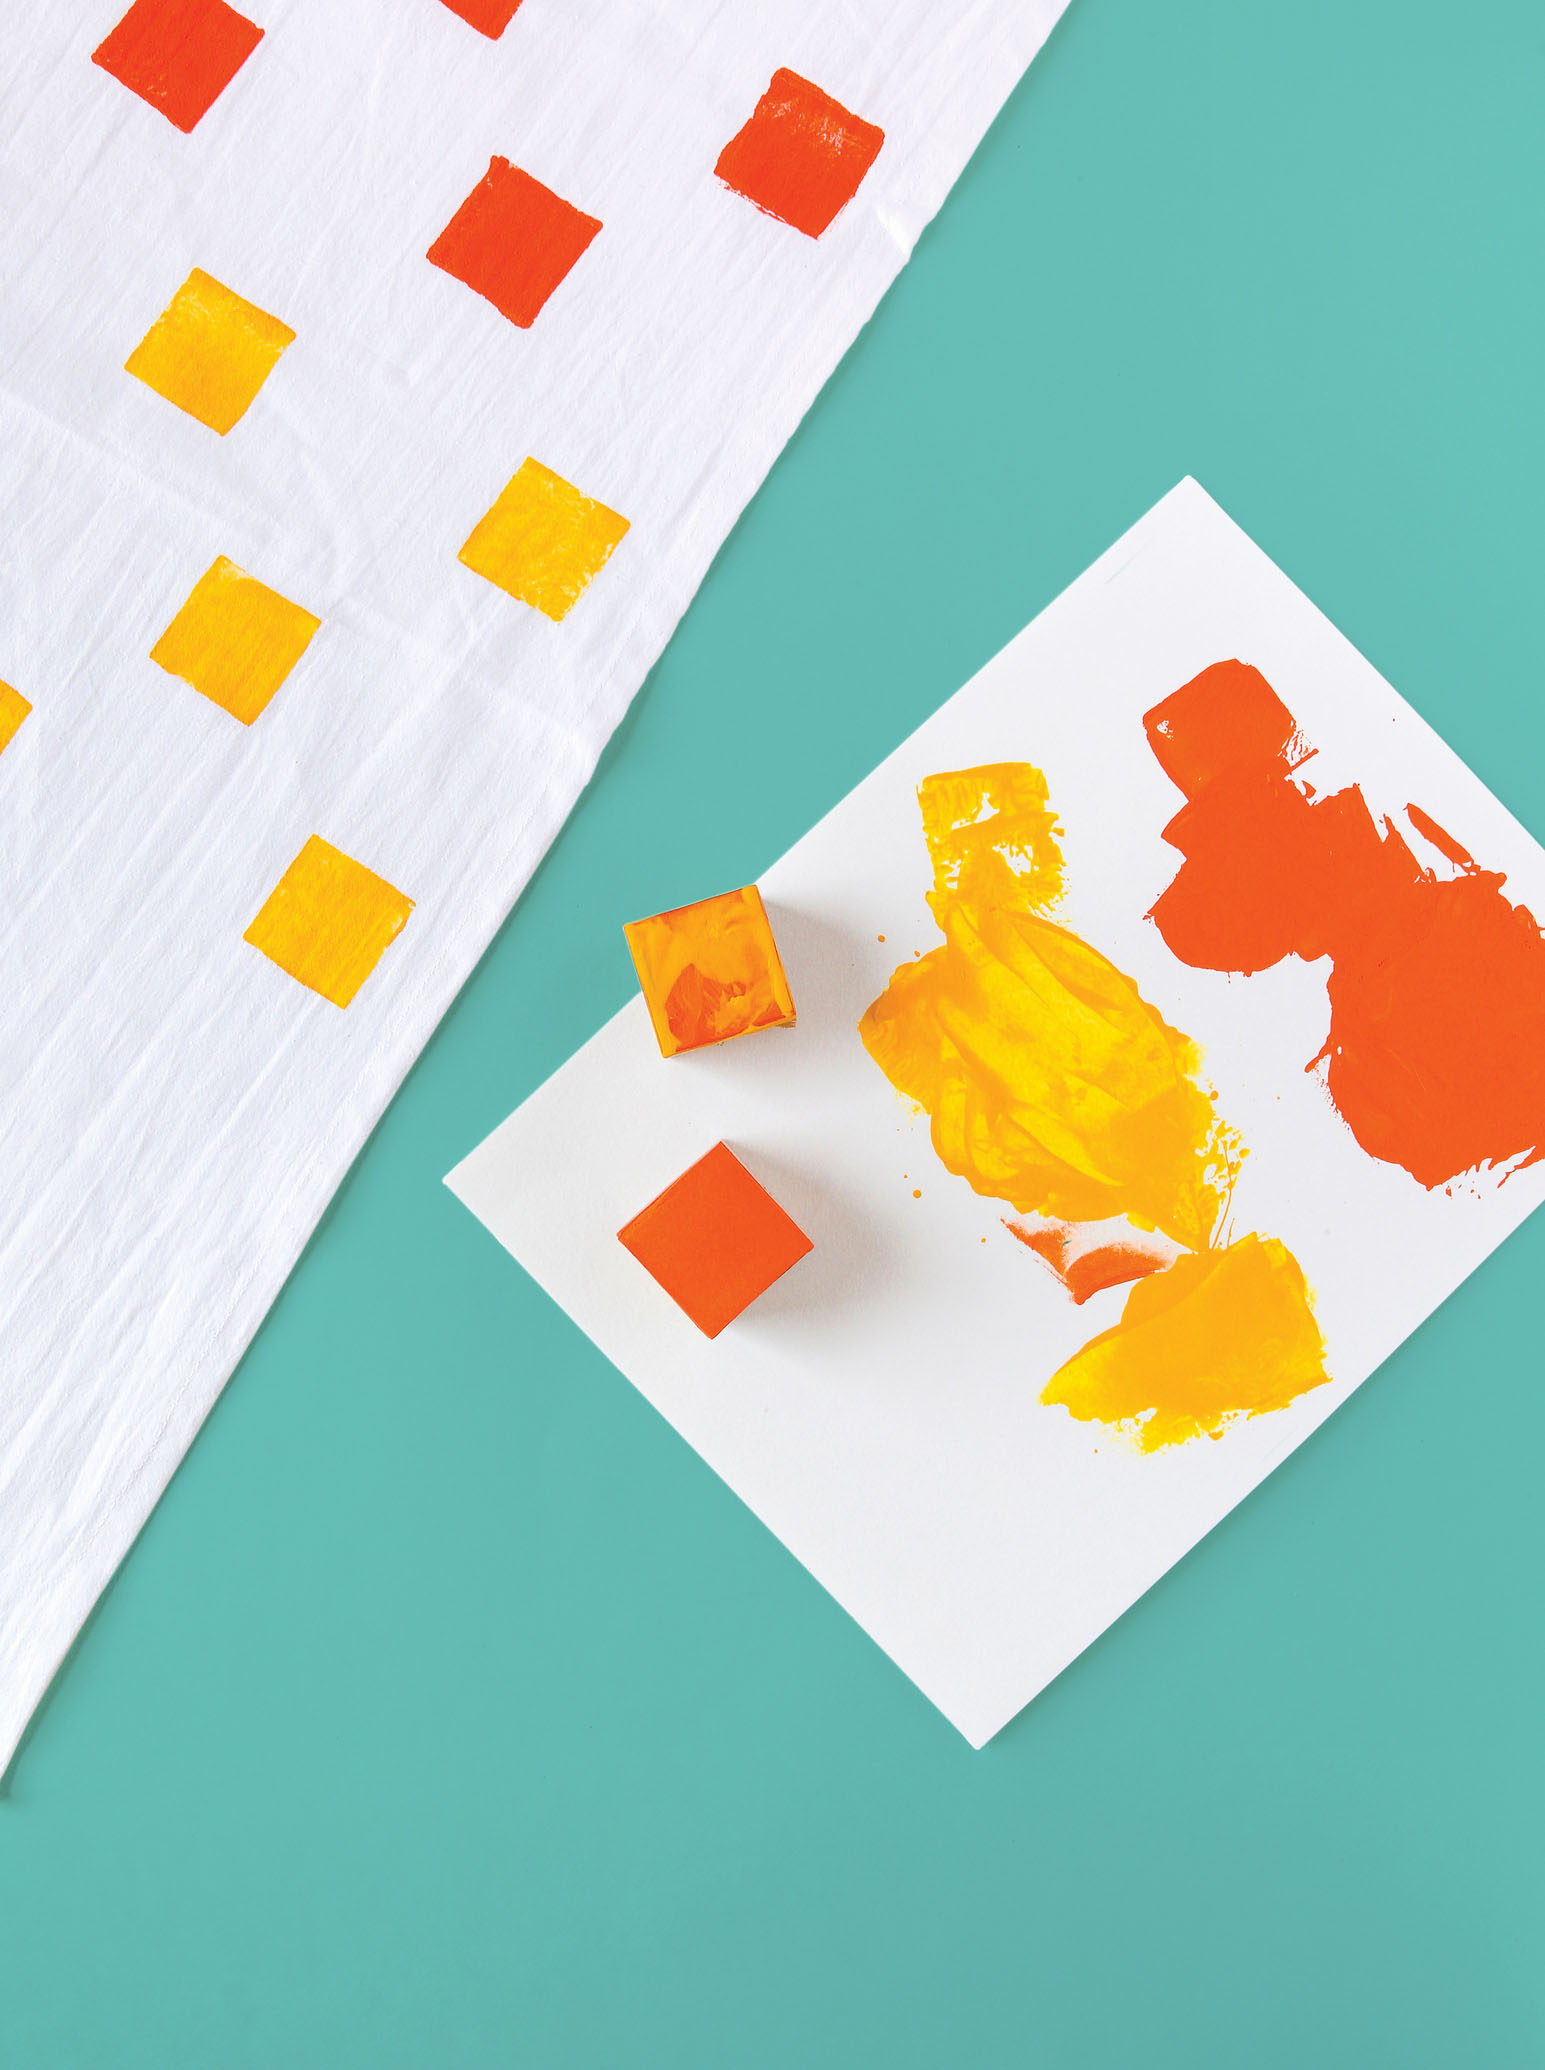
1 Make your stamp: Use hot glue to affix a piece of craft foam to the wooden block; let dry and then trim foam to the size and shape you want the stamp to be. Remember that the smaller your design, the longer it will take to cover the dish towel.
2 Cover your work surface with cardboard or newspaper in case paint bleeds through. Spread the towel on the covered surface.
3 Pour paint into the paper plate and dip your foam stamp into it. Using the paintbrush, dab on additional paint so that every part of the stamp surface is covered. If you apply too much, the paint may seep out the sides and your design will not be as crisp as it could be. That’s where using the brush helps.
4 Stamp your design onto the towel. Leave stamped shapes as is (for a textured look), or fill in white patches with the paintbrush for a solid design. When stamping with multiple colors, instead of stamping the entire towel with each color one at a time, I alternated colors as I worked to make sure stamps of the same color didn’t end up side by side. Continue stamping until the towel is covered with your pattern. Repeat on as many towels as you’d like, then let dry overnight.
5 After drying overnight, heat-set the paint. You can either toss the towels in the dryer for 30 minutes, or, with a pressing cloth on top, press a dry iron (no steam) on each towel for 30 seconds at a time, moving from one section to another, until you’ve set the entire surface.
6 Hang towels on the oven door handle, or tuck them in a drawer and pull out for a little burst of color when needed.
You can of course buy premade stamps in almost any design you can think of, but I like crafting my own simple squares. Make double-sided stamps to save on blocks!
PHOTO MAGNETS
You did it—you finally took a vacation! Instead of picking up a tacky and overpriced souvenir to remember those days of bliss (I’m talking about you, faux-bikini shirt), try making these travel keepsake magnets from photos of your trip. Not only will they add color to your fridge, but they’ll also be a daily reminder of all the fun you had, hopefully motivating you to plan your next getaway. And if you absolutely had to grab a souvenir, you can totally make this project while wearing that tacky faux-bikini shirt and sipping a margarita. I won’t judge.
MATERIALS
Computer and printer (for photos)
Photo paper
Craft knife
Small wooden frames, available at any large craft store
Painter’s tape
Paint
Paintbrush
Paper plate or paint palette
Thin-point permanent marker (optional)
Clear acrylic sealant
Tacky glue
Magnets
E-6000 glue
INSTRUCTIONS
1 Prepare your photos: I printed mine as 4-inch squares and moved the frame until I found the section I liked best; then I cut the photo to size. Print your photos smaller if you want more of the image in the frame.
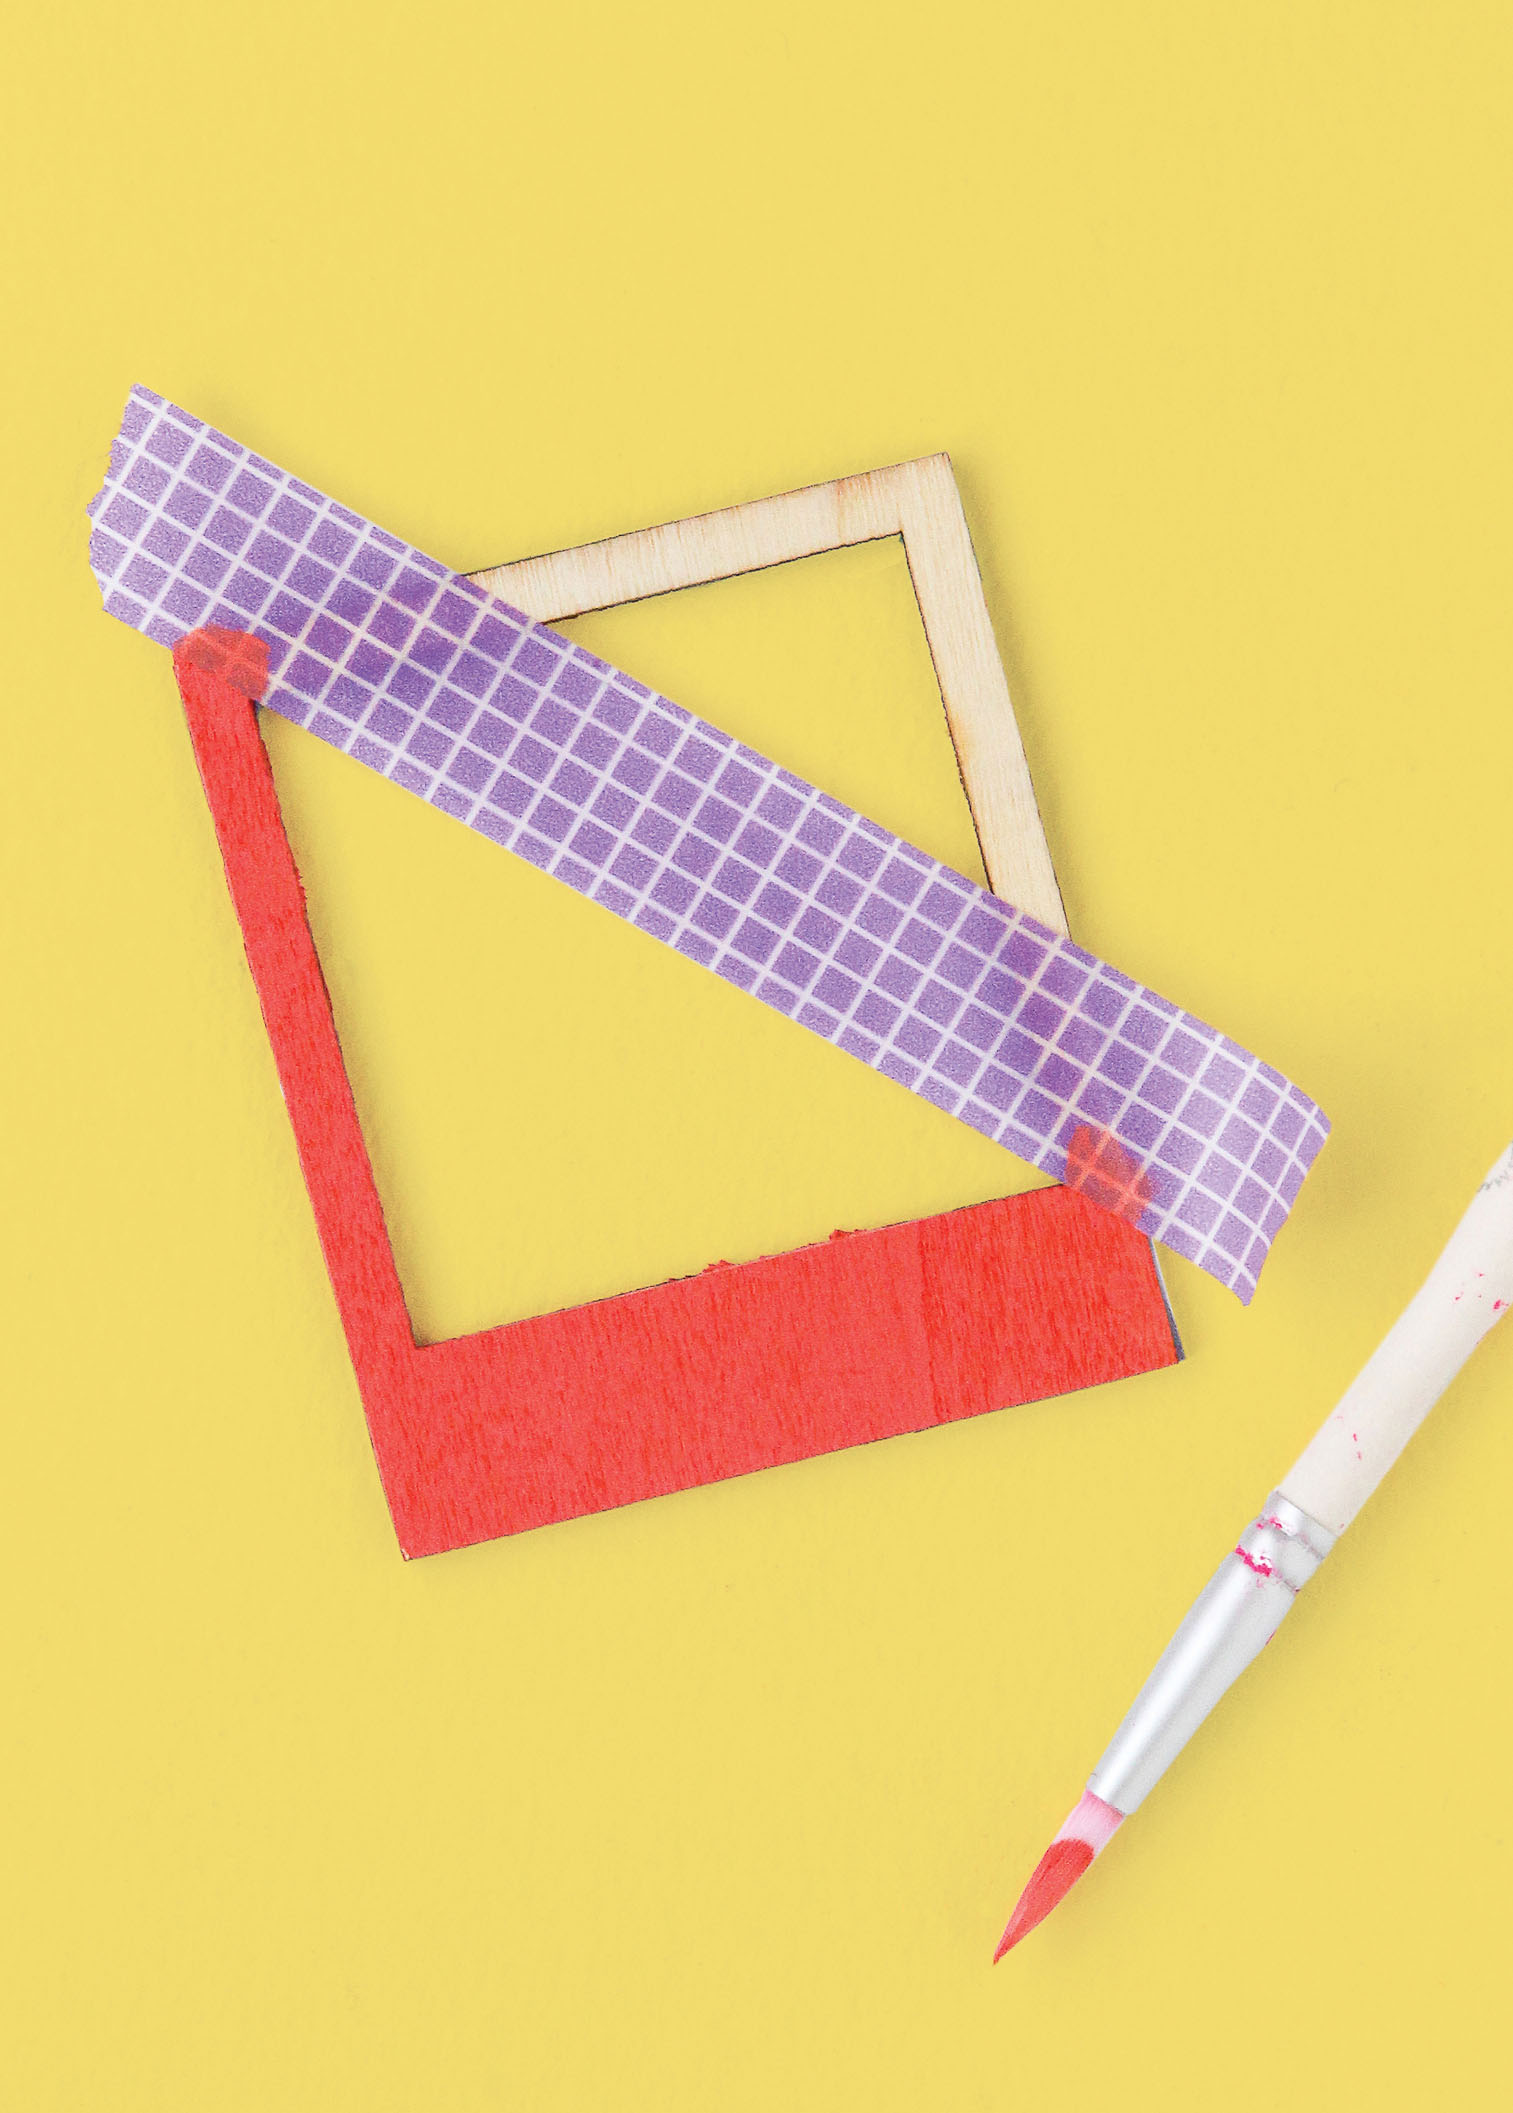
2 Affix painter’s tape to the frame at an angle and paint one section of the frame (as shown). Peel off the tape and let paint dry. If you want to remember where the photo was taken, use the marker to write the date and location on the front before sealing the frame.
3 Coat frame with a layer of clear acrylic sealant and let dry.
4 Flip the frame facedown. Apply a thin layer of tacky glue all around the back of the frame, then position your photo and affix it. Let the glue dry completely—if you rush the drying, you’ll have a harder time trimming the edges of your photos!
5 With the craft knife, cut away any part of the photo that’s peeking out from behind the frame.
6 Use the E-6000 glue to attach your magnet to the back of the photo and enjoy!
Nothing slows down a project like a messy craft room. You can’t find the supplies you need or even see what you have. Even worse, disorder can limit creativity. When you’re too focused on the mess, there’s less time to daydream about what you’re capable of making—and that’s no good.
In an ideal world, we would put away all our tools and tidy up as we work, but that’s just not how it happens. Sometimes you have to get a little messy! Instead of forcing yourself to be perfect and neat, try devising a craft storage system that works with you and the way you work.
Here are some tried and true tips that will help you want to clean up after a project, allowing you to spend less time tidying and more time doing the important things, like shopping for shoes online.
1. FIRST AND FOREMOST, DITCH THE CLUTTER! I know that as crafters we want to save everything from yogurt lids to old candy tins in the hopes of using them someday. But if you don’t have an immediate plan for an item, or if it’s not a material you use frequently, don’t let it collect dust in your space. Trust me, I know that ribbon scrap is pretty, but the odds of ever using it are low. Once your space is full of tools and materials you turn to regularly, it will be easier to organize.
2. SEPARATE YOUR SUPPLIES. Grouping things by type or function will help you find what you’re looking for faster: all the tape in one drawer, all the glues in another, all the brushes in a bin, and so on. This also makes putting materials away easier because you immediately know what goes where without having to find a new place to put it. For miscellaneous items, try grouping them into categories by type of craft if you don’t have enough to warrant individual containers.
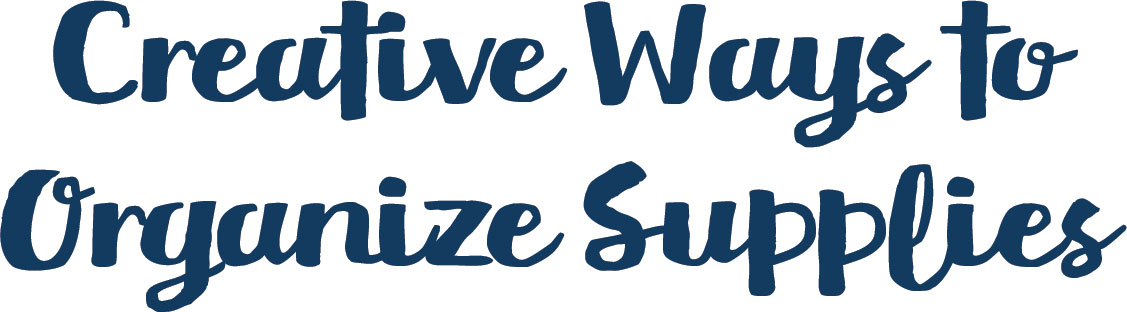
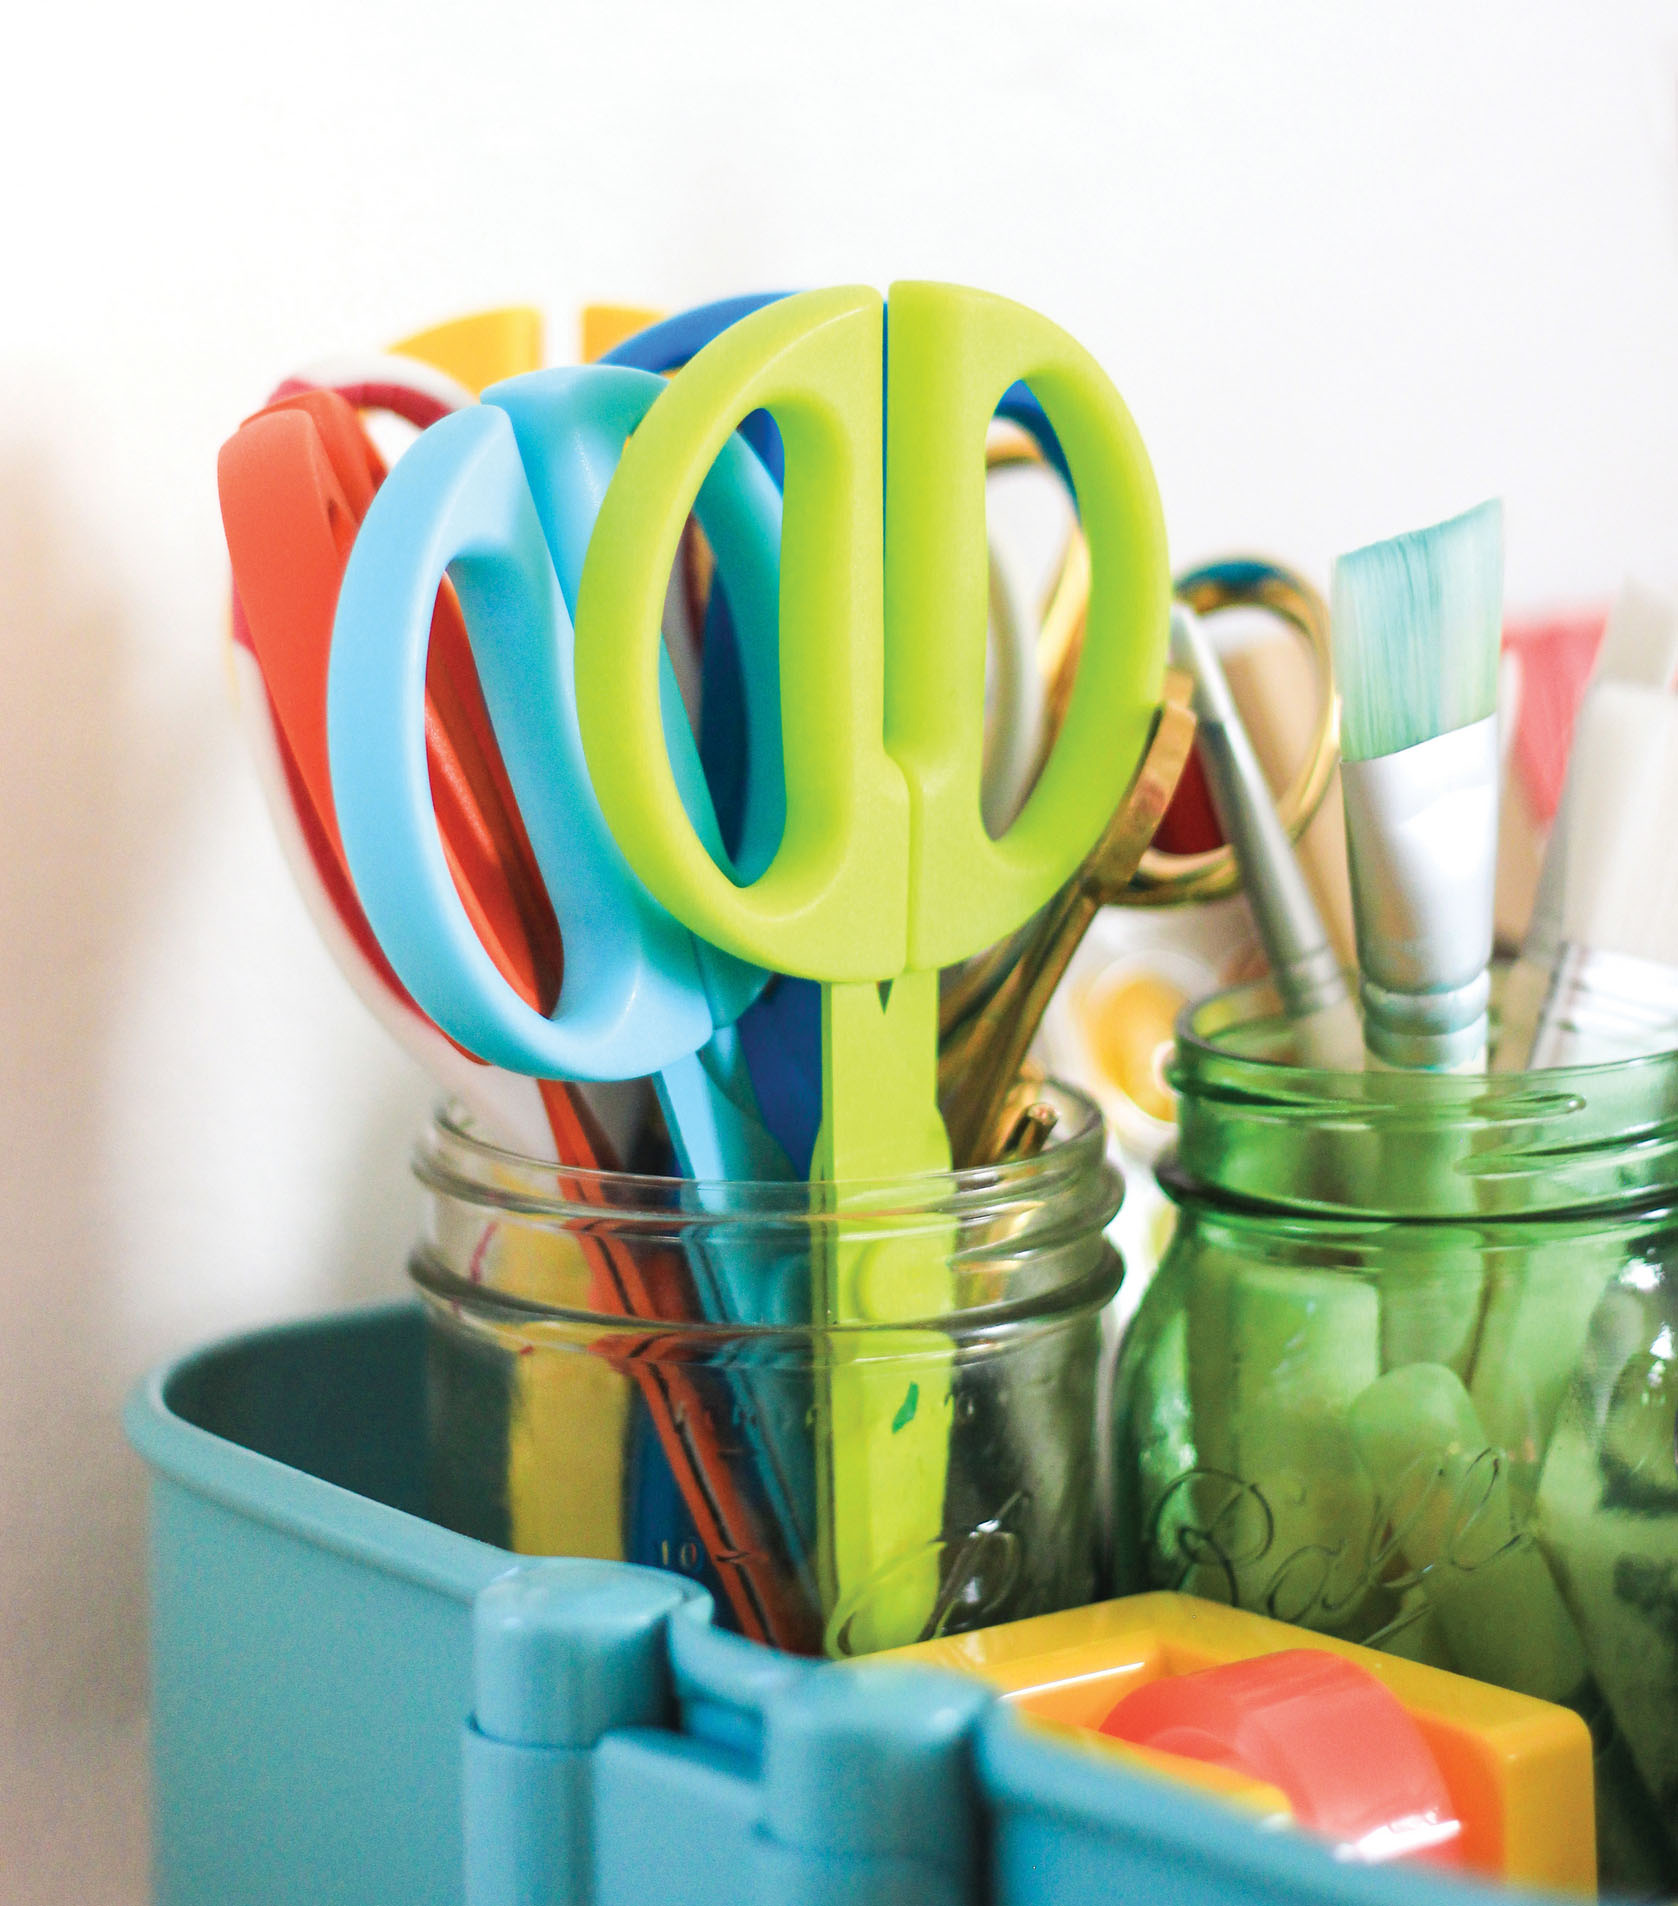
3. WHEN IT COMES TO STORAGE, THINK OUTSIDE THE BOX. I love open containers for organization. They help me access and put away items quickly while allowing me to display some of my prettier supplies. For example, mason jars are perfect for corralling paintbrushes and scissors, and wire baskets are great for showing off a washi tape collection. If you’ve got a small space, consider an over-the-door shoe organizer—you stash supplies in all the compartments.
4. NOT SO INTO OPEN STORAGE? TRY LABELING AND DECORATING BOXES INSTEAD. You can paint plain boxes from craft stores, or give an old shoebox a DIY makeover with pretty paper and decoupage.
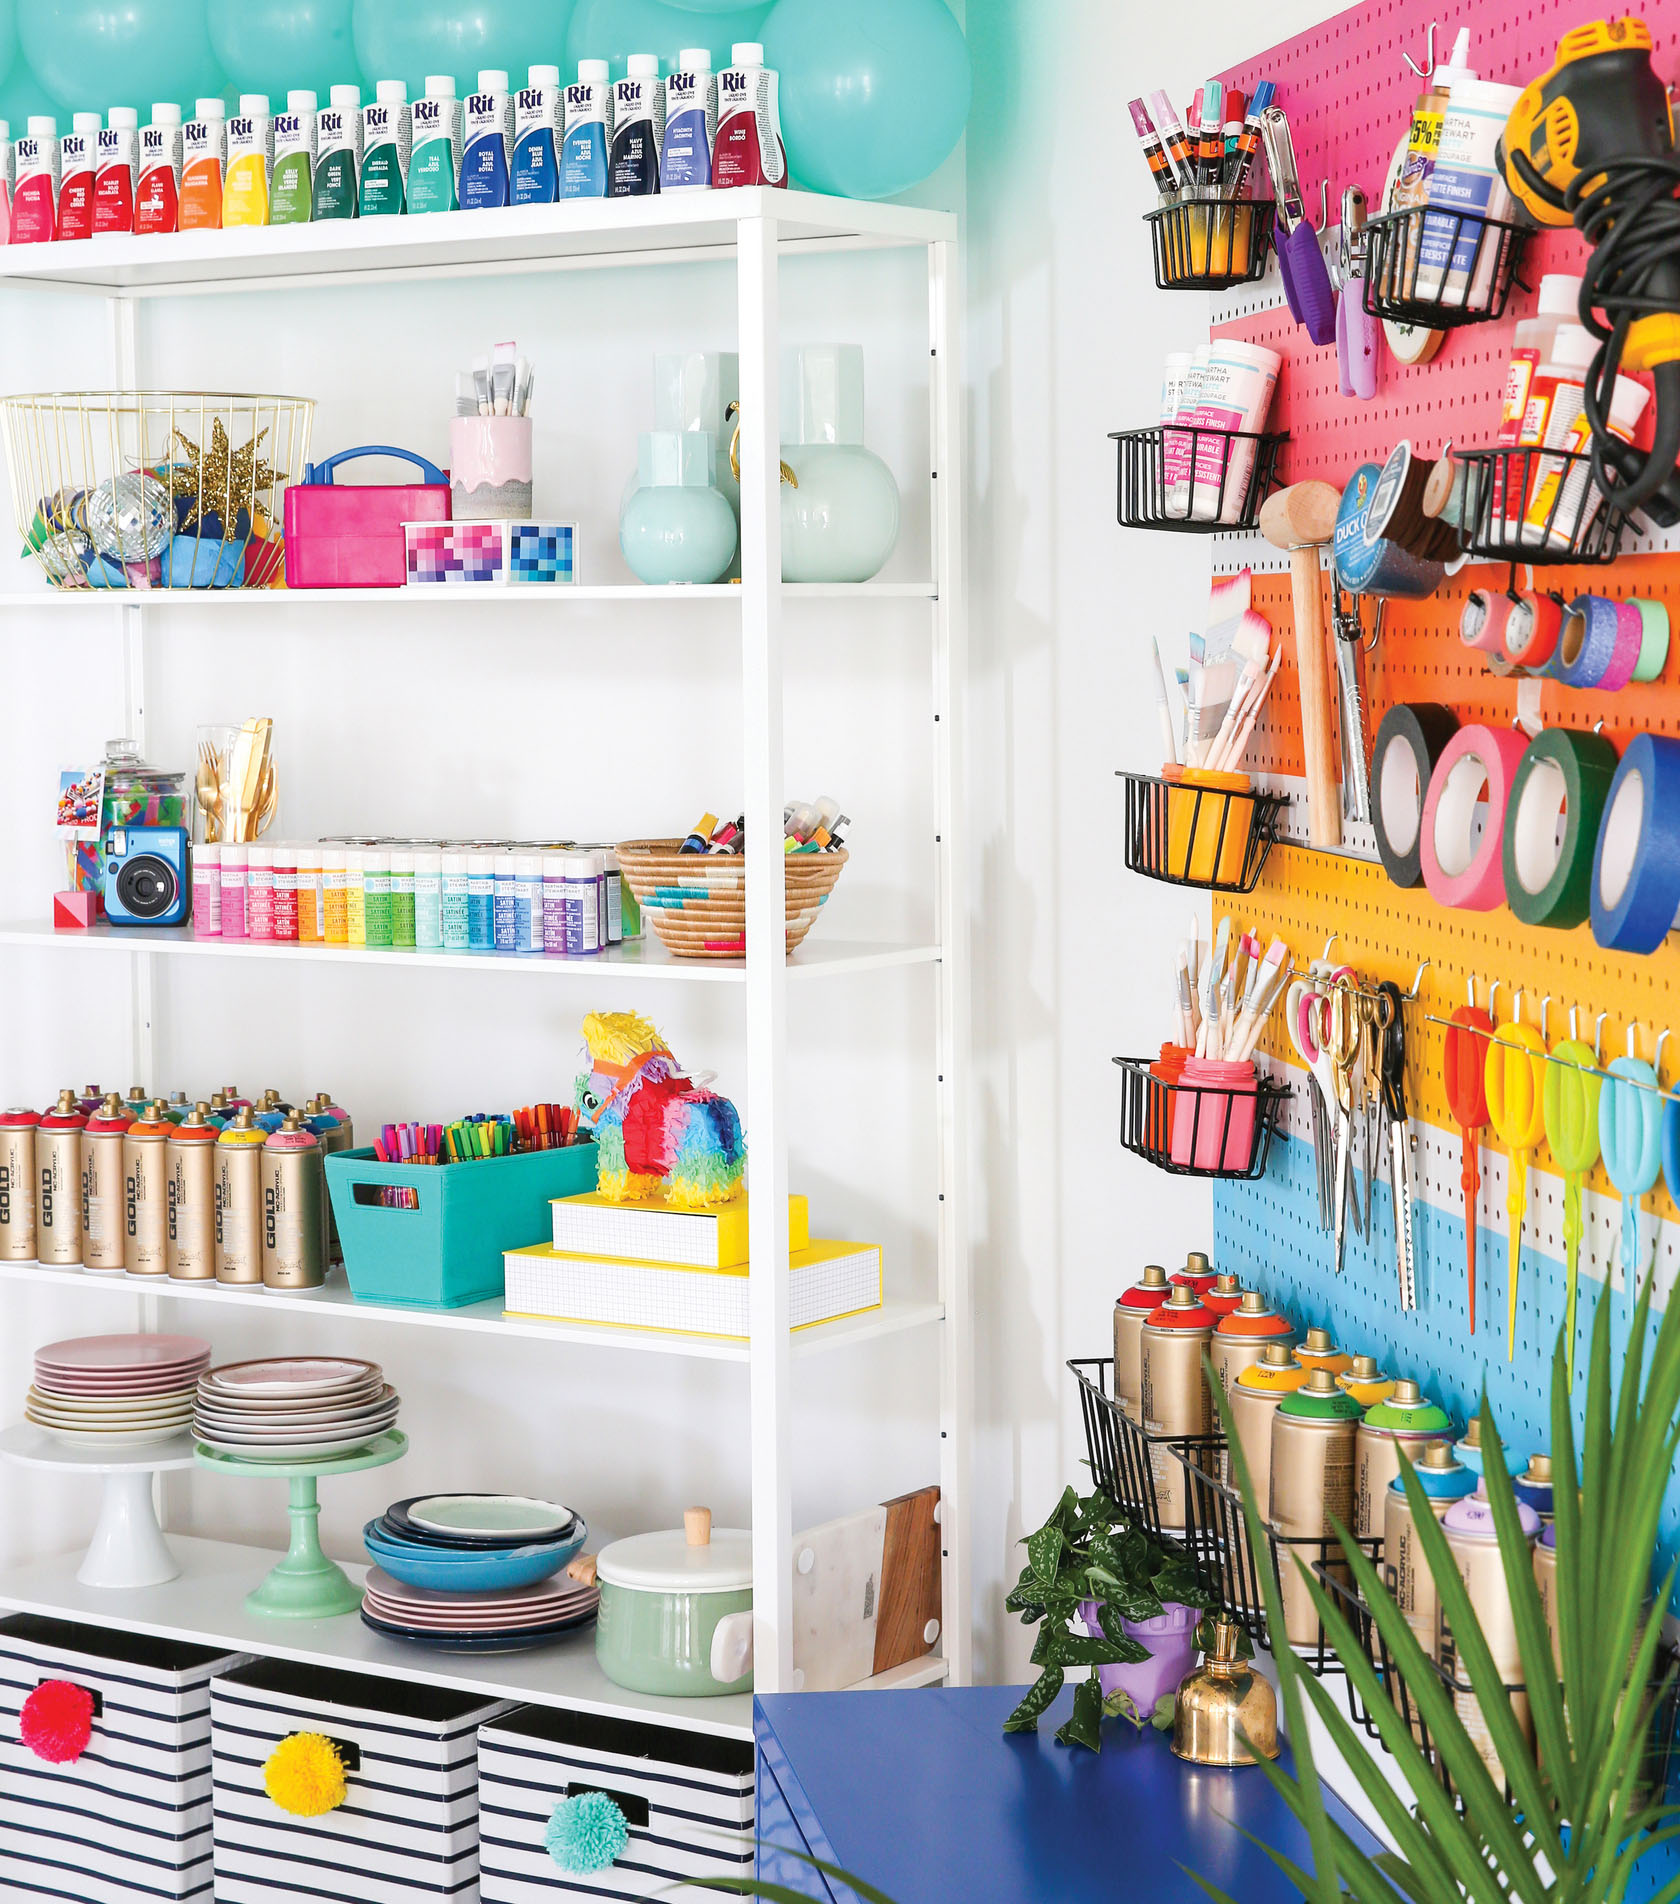
5. MAKE SPACE. You can put your supplies into boxes all you want, but if you don’t have a set place to put everything, it will just end up getting disorganized again. Clear a small section of your home, whether a corner or a closet or a shelf on a bookcase, and dedicate it expressly to your supplies. Not only will things be easier to locate when you need them, you’re also less likely to mix up non-craft-related items with your supplies. Wall shelves and pegboards are a great solution if you’re tight on floor space.
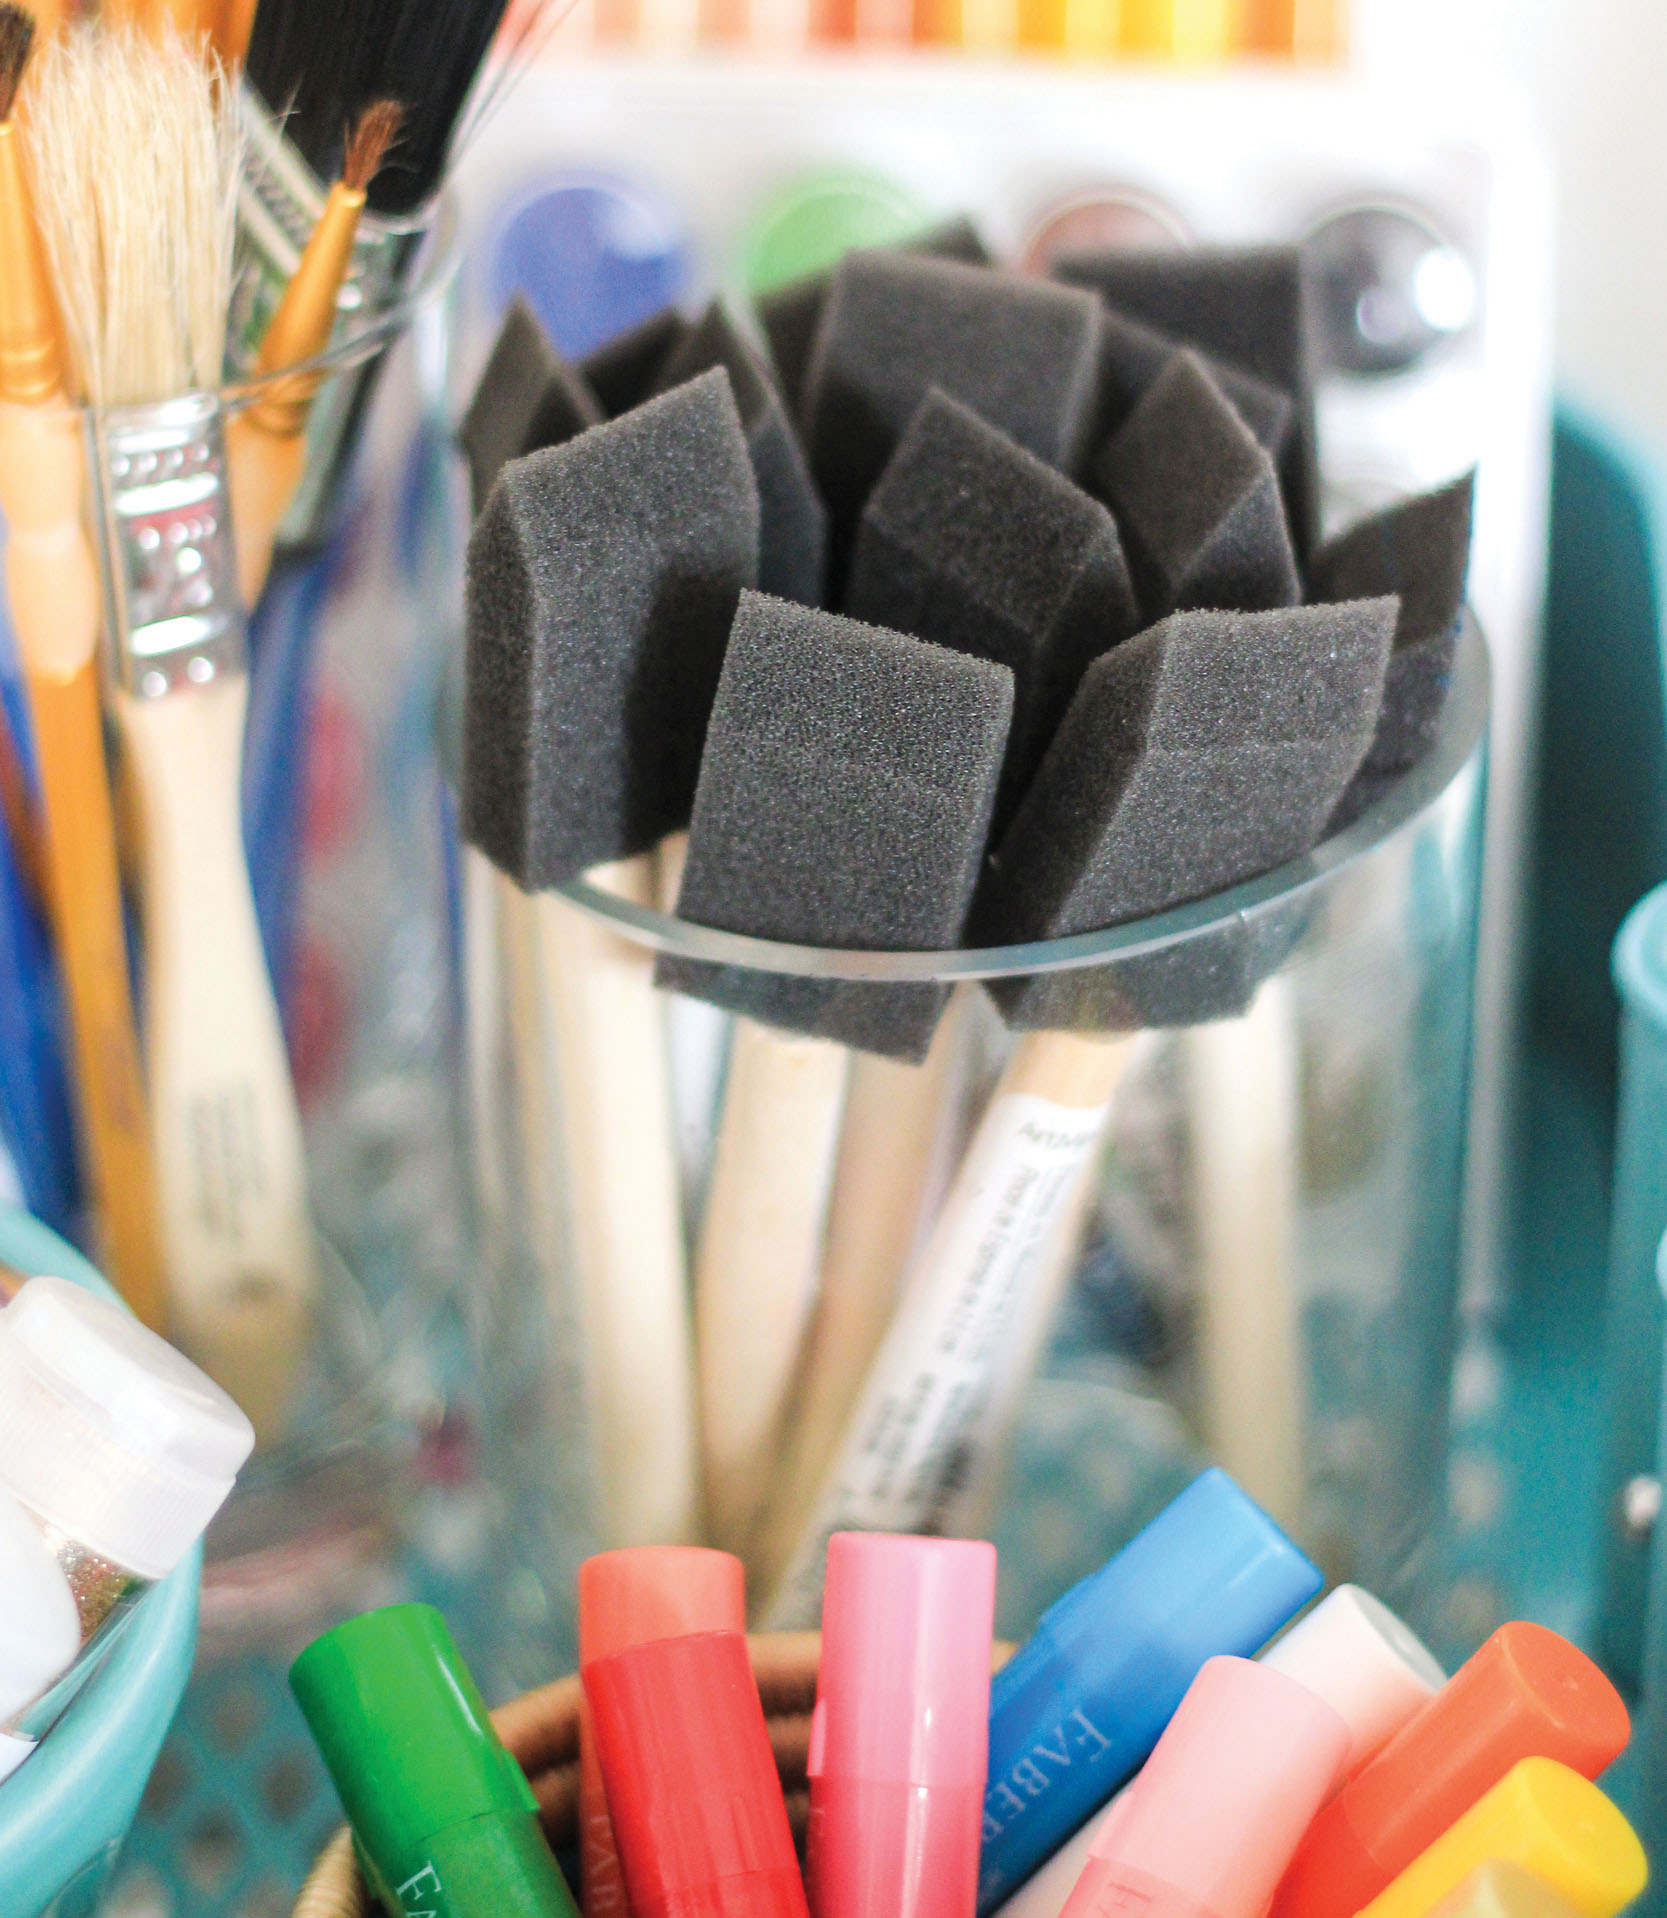
6. FIND A WAY TO DISPLAY YOUR SUPPLIES THAT’S AS DECORATIVE AS IT IS FUNCTIONAL. For example, if you’re storing paints in a basket instead of loose on a shelf, make sure the tubes are tightly closed and stored upside down. You’ll be able to see and grab colors faster, and putting them in rainbow order is always fun to do! Any type of material with a pretty label also looks good grouped together on open shelving.
By now you’re familiar with basic color theory, warm and cool colors, neutrals, the works—you’re pretty much a color theorist! (Please don’t take my job.) But if you’re ready to go one step further and dive head-first into full-on color, I am here to support and help you with your decision.
I’m talking bold on bold, color on color. Those deep, vibrant, eye-popping palettes that pack a real punch.
Bold colors are very saturated and have a lot of pigment. Bright colors also have a high saturation but retain enough white to keep them from being too strong to look at for long. Bright colors are usually bold, but bold colors aren’t necessarily bright (think of deep blue or green). Regardless, both are colors that grab your attention, perk you up, and make you happy. You can pair them in small doses, maybe as the paint colors for a simple DIY project, or go big and apply them full-scale to an entire room or area of your home (hello, pink couch!). Either way, these pairings are sure to look wonderful, no matter where in your life you decide to let them live.

PINK + ORANGE + YELLOW: Bright and warming like a sunset. When paired, these warm colors may also remind you of tropical fruit or a beach vacation, and who doesn’t love that?

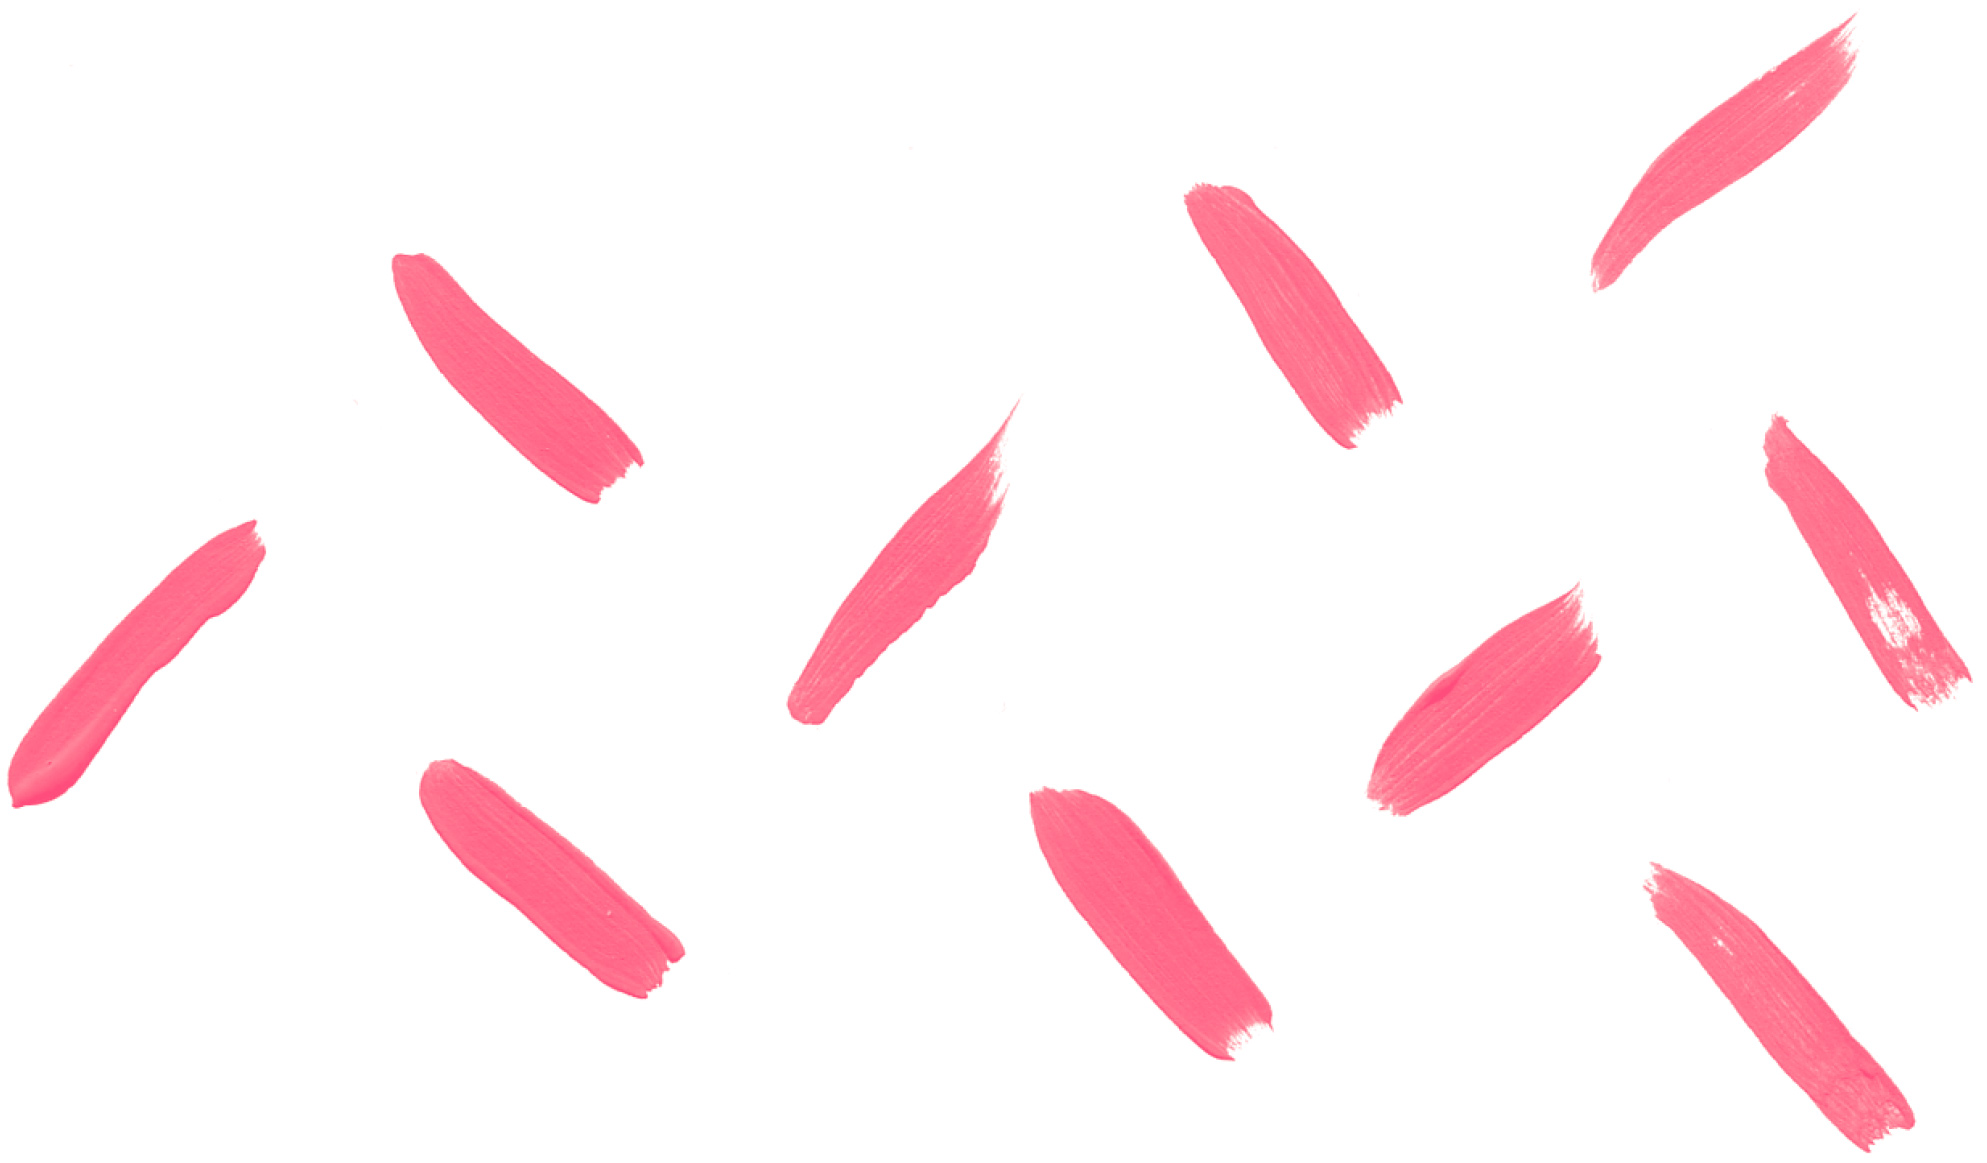
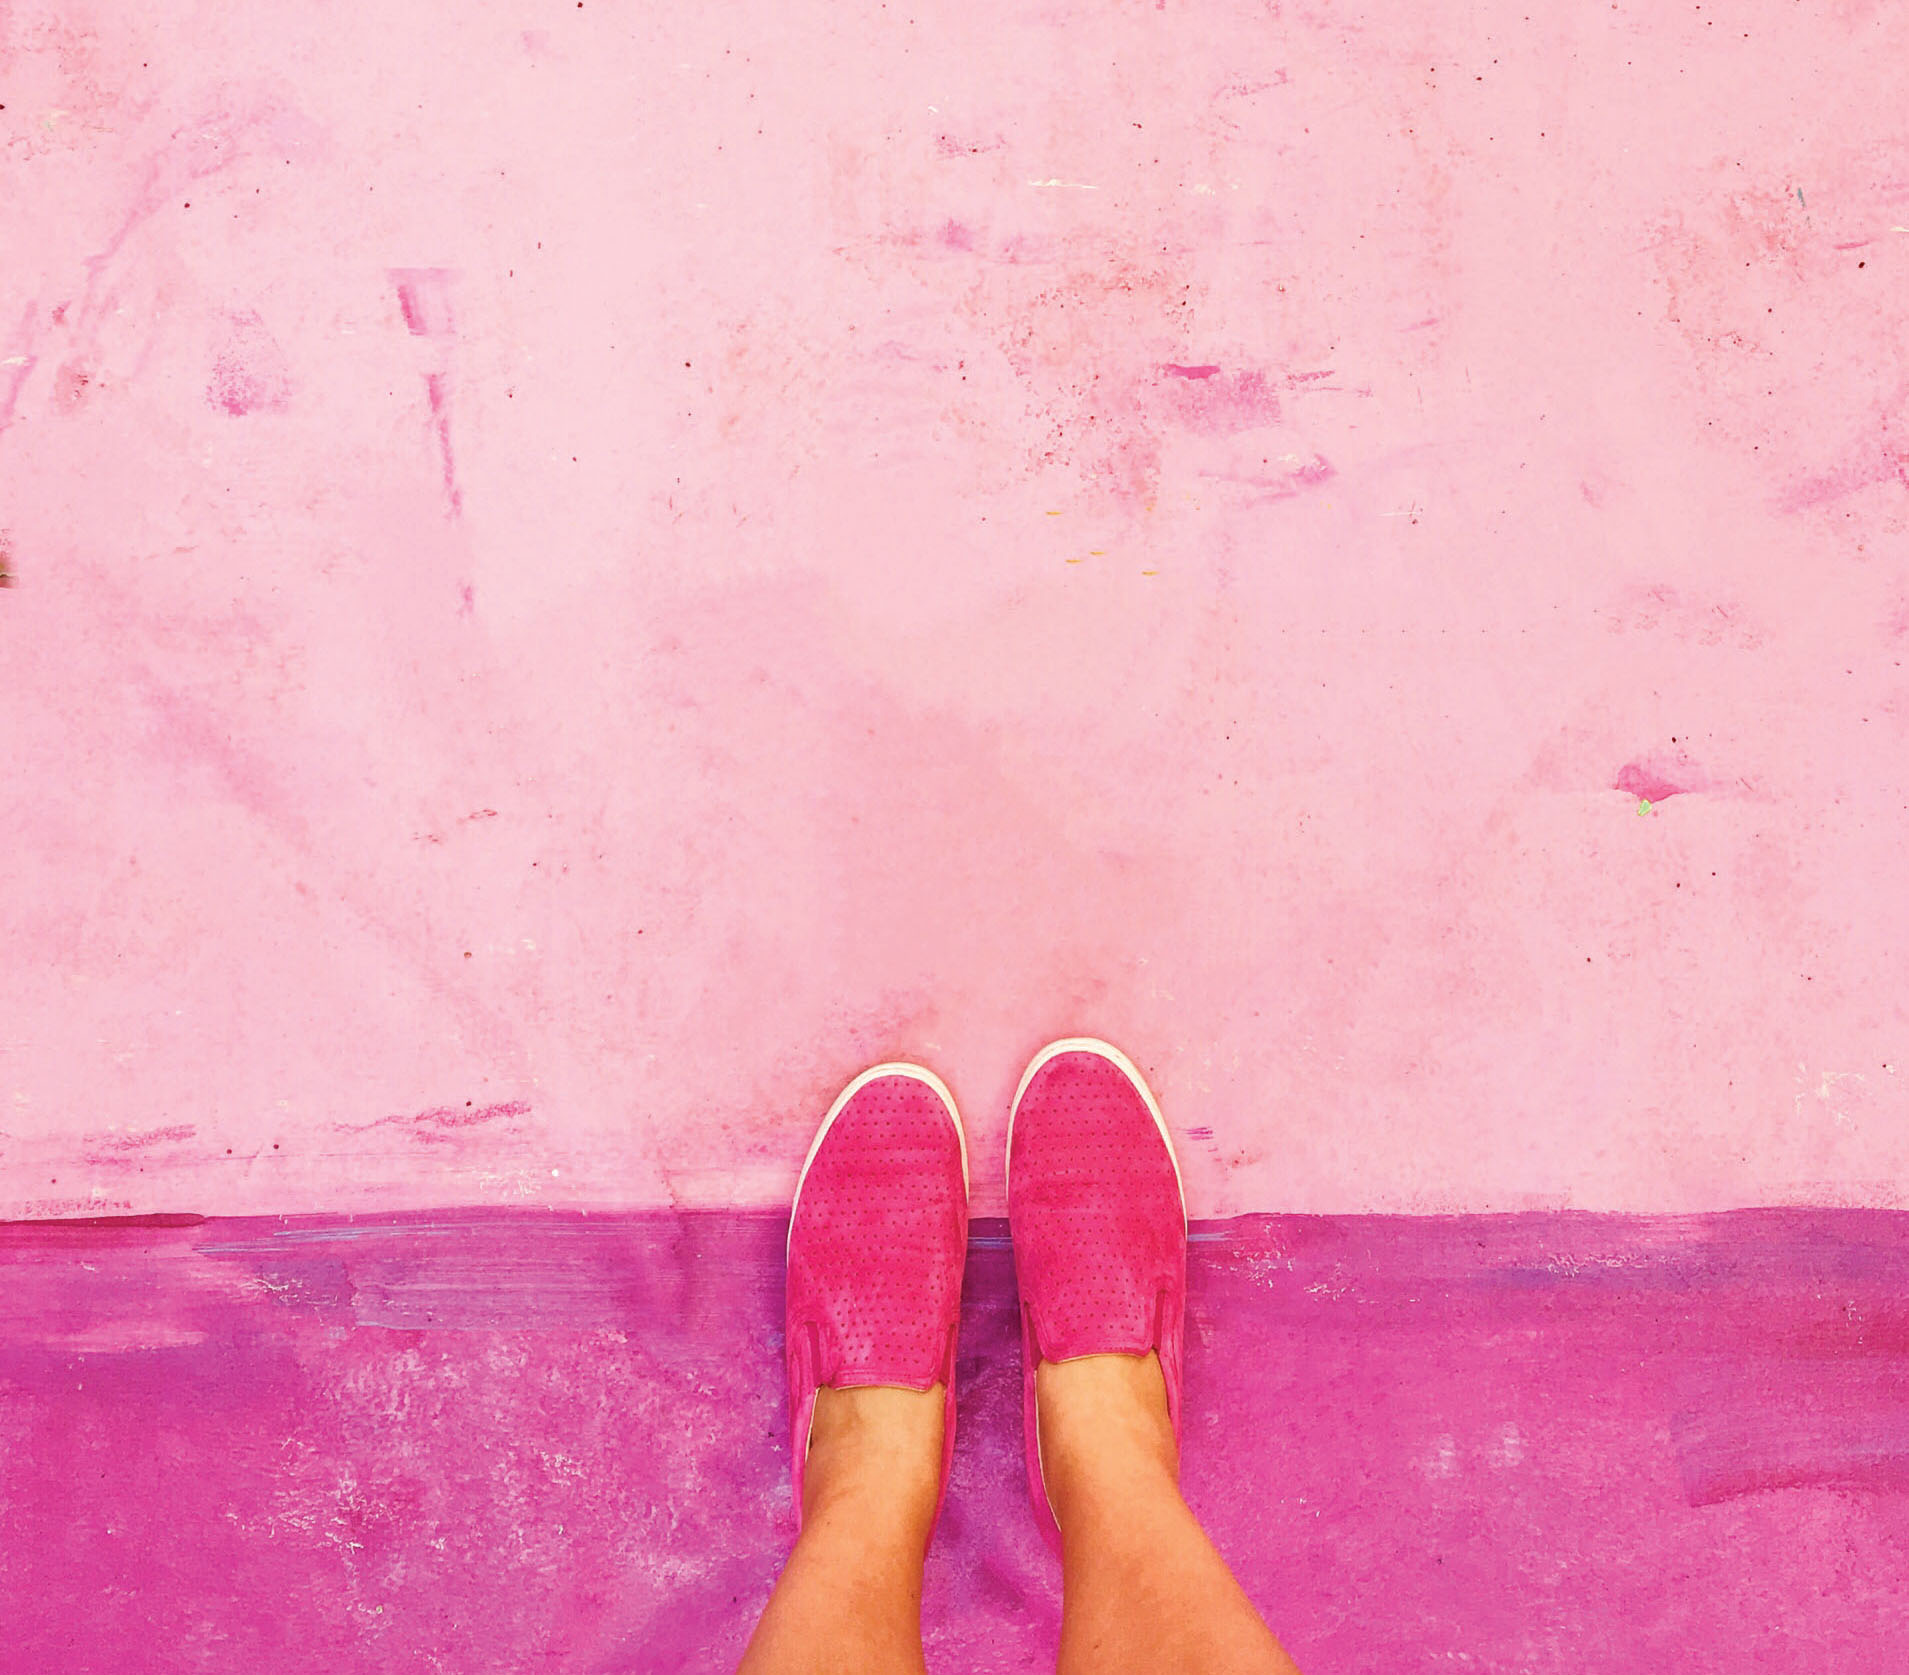
PINK ON PINK: Because really, you can never have too much pink. Pair different shades, tints, and saturations of pink to create a modern Barbie dreamland.

TEAL + YELLOW: The perfect warm and cool color pairing. When side by side, these two colors pull out different values from each other and truly stand out.
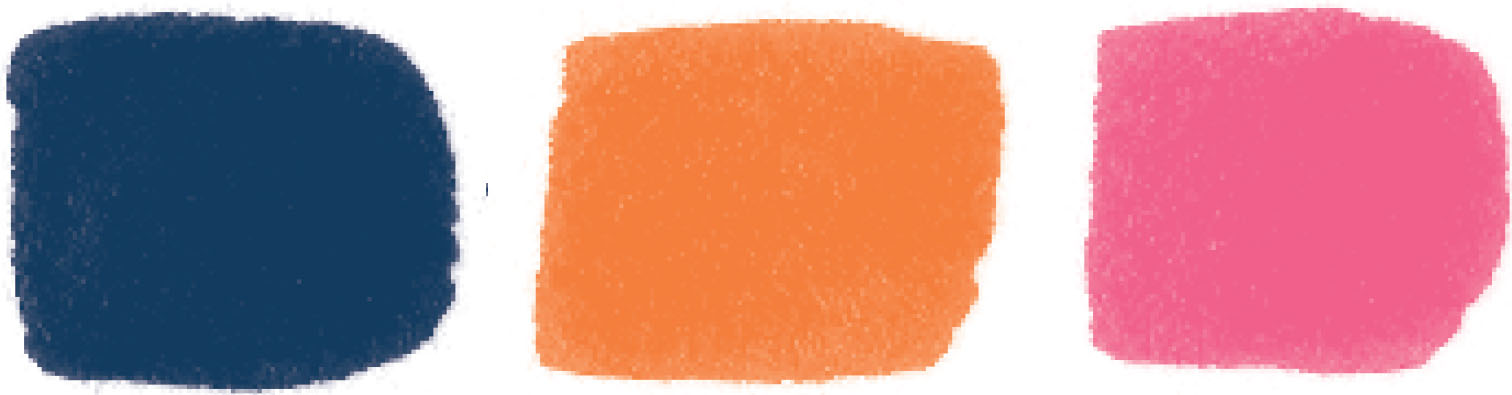
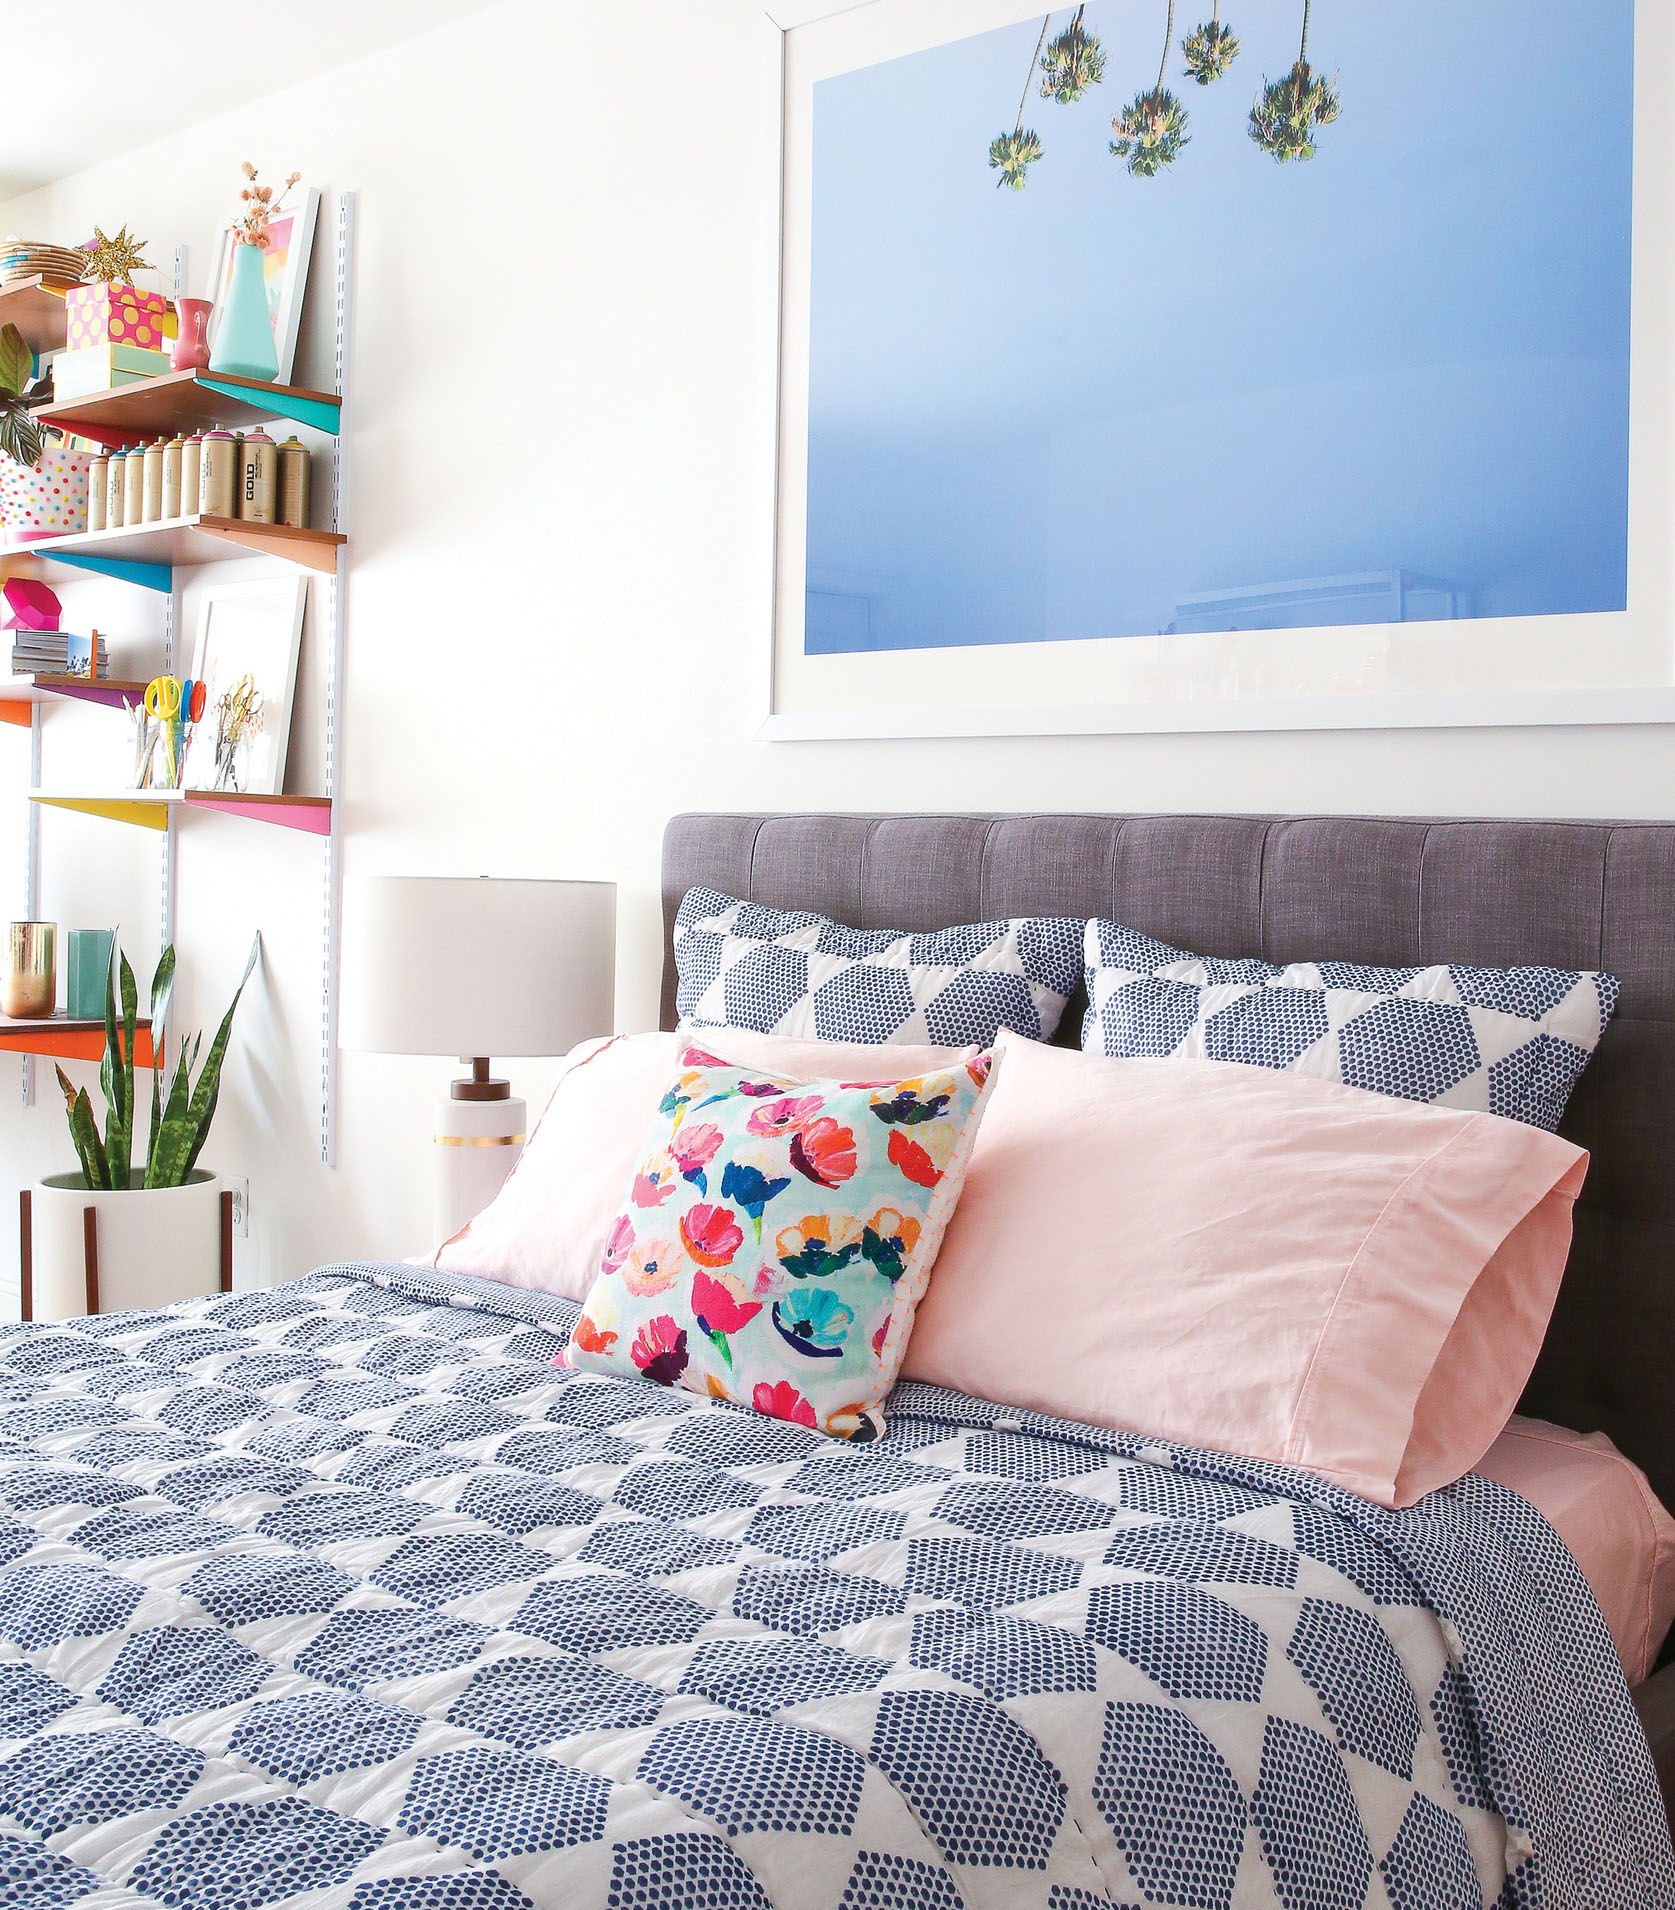
NAVY + ORANGE + PINK: Rich and bold without being over the top. When paired, these colors help each other pop by comparison.
HOW TO APPLY
Always opt for the most vibrant hue of every color, and match values as best you can. If one color is slightly duller than the other, the brighter one will dominate and you’ll end up with a main color and an accent instead of a matched pair. To avoid one color overpowering the other, pick colors with similar richness (intensity) to balance each other out.
One of the main reasons to go bold is to make a statement and attract attention to a room; there’s no ignoring these colors, and this certainly isn’t a subtle approach to decorating. But by the same token, an all-out palette can easily look super dated (1970s pool party, anyone?). To keep the palette feeling chic and fresh (instead of cheesy or retro), opt for clean lines and modern design. It also helps to bring in metallics like gold for a polished look.
Go bold, have fun!
MAKE A SOPHISTICATED SPECTRUM
You can use every bold color in the rainbow, and it doesn’t have to look totally Lisa Frank. (Although if that’s your look, then go for it!) Mixing a little of a brown, gray, white, or black into your paints will push all your colors into the same family even if they are across the color wheel from each other.
KEEP IT IN THE FAMILY
A deep, bold color will naturally play nicely with a tint of the same color. (Plus, you’ll only need to pick up two paint colors: your base shade and white!) Adding splotches of the opposite color on top of each color block gives flat colors complimentary texture. Matching footwear is optional!
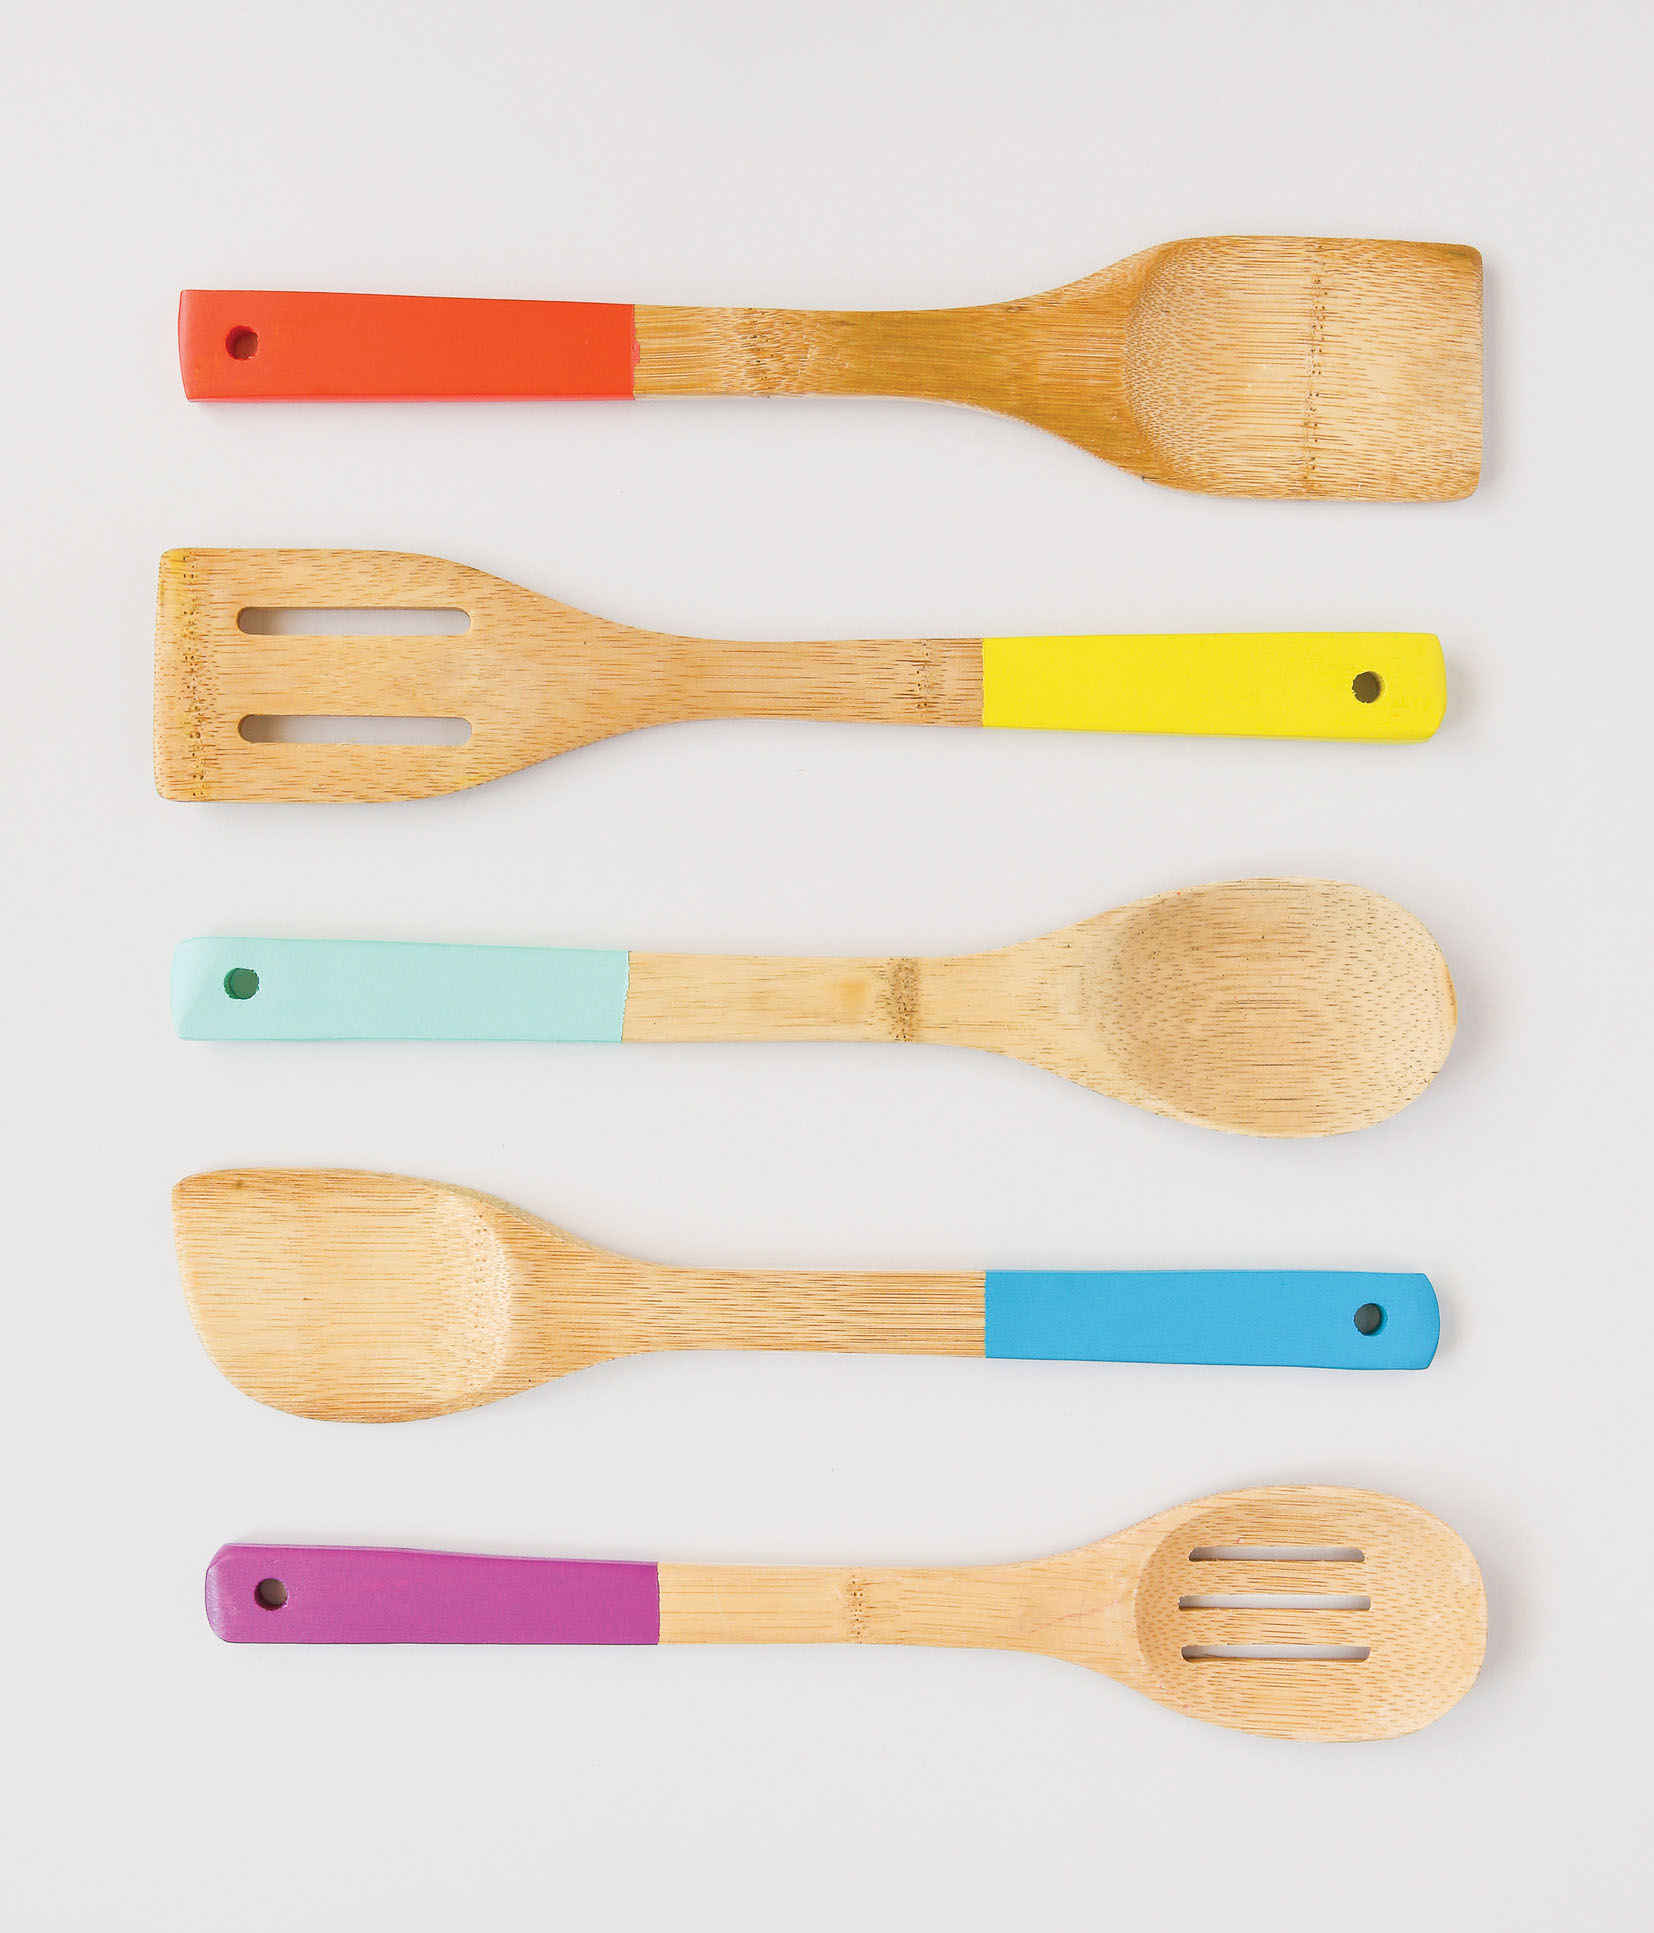
SPRUCE UP WOODEN OBJECTS
Bold hues go nicely with natural materials like wood, keeping them from feeling dainty or beach-house-y. With these colorful utensils, you can even line them all up to create a fun “box of crayons” vibe, too!
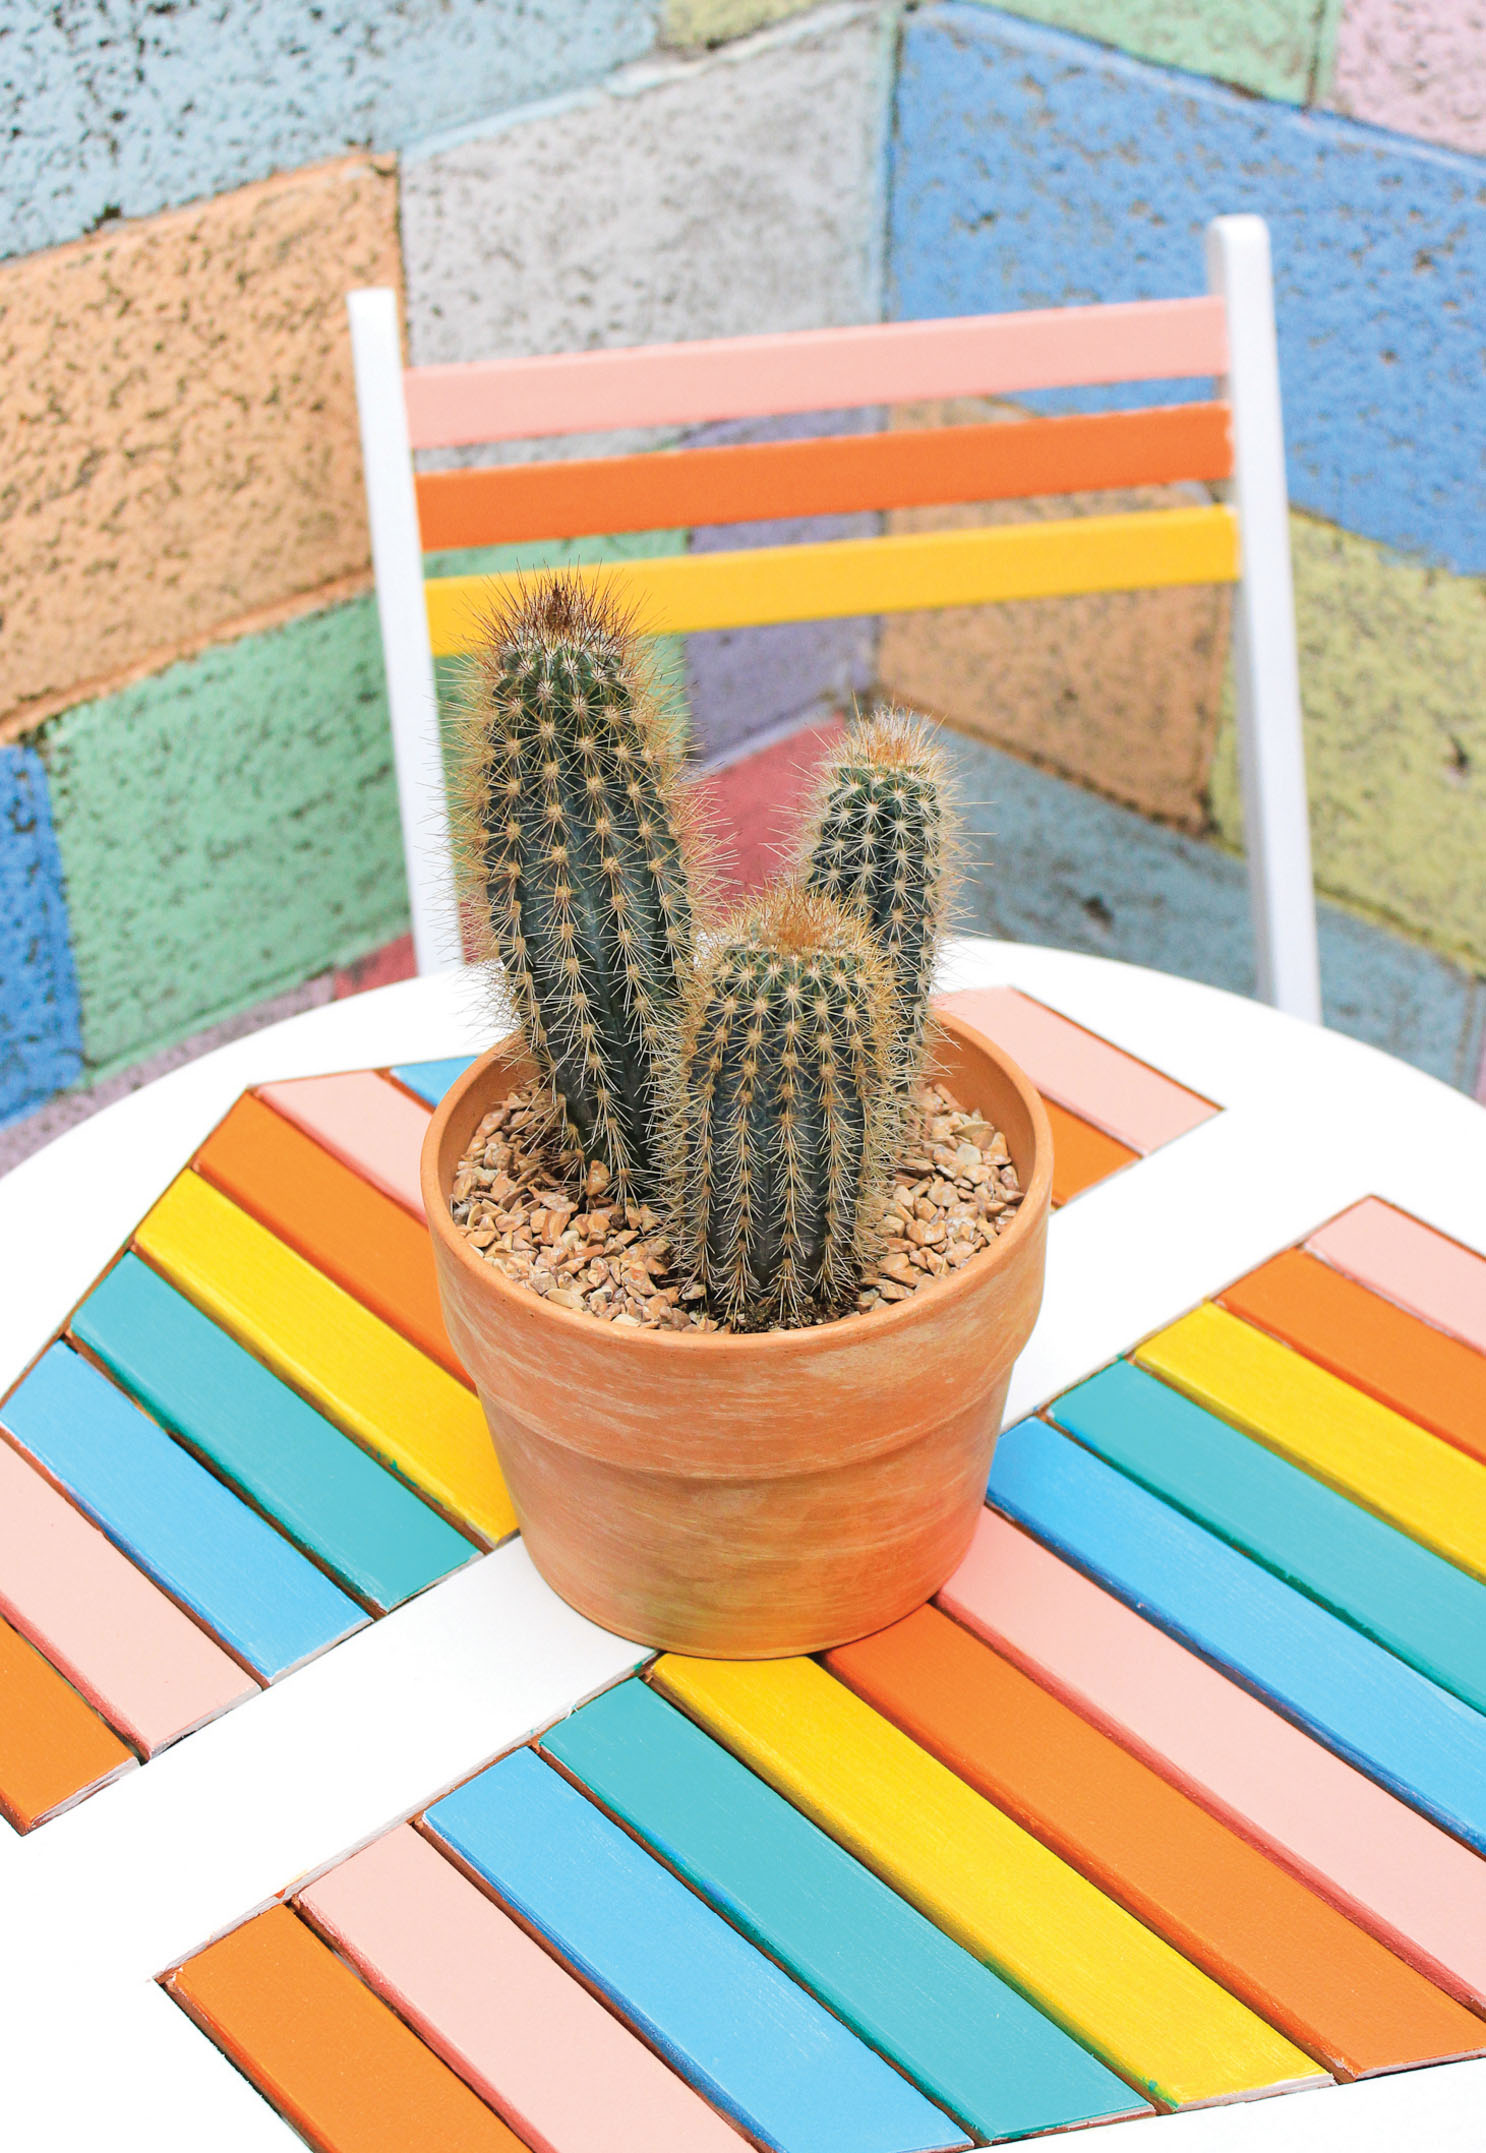
GET IT ALL OUTSIDE
If you’re still nervous about bringing such a dramatic look into your home, try it outside for a summer on a balcony or patio. With the carefree nature of the outdoors, and the bright light from the sun, bold color pairings feel totally, well, natural in this setting.