Now that your home is freshly decorated and full of dozens of beautiful handmade accents, it’s time to share it with the world! Or, at the very least, with friends, family, and all those old high school friends on Facebook. (Because after all that crafting, you’ve earned the right to make them a little jealous, yeah?) To make your hard work really shine, and to claim supreme bragging rights, take some photos to share. This task might be stressful, but you don’t have to be a professional shutterbug to take a beautiful photo. All you need is to follow a few simple tips.
EQUIPMENT
There’s no need to shell out for a new camera—cameras on smartphones are incredibly sophisticated and work just fine for most shoots. Instead of taking the photos in specific apps like Instagram and posting immediately, use the default camera app. Shooting in the camera app allows you to take many more photos, giving you plenty of variations to choose from. Just make sure the lens is free of smudges (use a glasses-cleaning cloth or screen wipe to clear it) and not covered or blocked by a phone case.
But if a phone just isn’t cutting it, upgrade to a point-and-shoot digital camera. Most models give great picture quality without sacrificing the pocket size of a smartphone, and they’re available for a few hundred dollars. Don’t get too hung up on megapixels; what’s more important is sensor size, autofocus, and image stabilization. Look for models with a CMOS sensor (instead of an older CCD), especially for shooting in low-lit conditions.
If you want to take your photos one step further (or even have your photos published either online or in a magazine), it may be worth investing in a DSLR camera. These professional-level cameras will cost a good deal more than a point-and-shoot (especially because you buy lenses separately!), but in return they give you more control over shutter speed, ISO (the higher the max ISO, the more sensitive the camera is to light), and file type. You can rent a nice camera and a lens for the shoot if you’re not looking to make the investment, scour the internet for discounted prices on the previous year’s models, or even hit up eBay.
Regardless of what you shoot with, I recommend the following tools for the best pictures possible:
 TRIPOD (to avoid blurriness)
WIRELESS REMOTE (for DSLR and some point-and-shoot cameras)
REFLECTOR (more on this below)
WINE
(Okay, so mayyybe you don’t need the wine, but it certainly wouldn’t hurt.)
STAGING
Because the camera captures exactly what’s in front of it, it’s important to stage your photograph. Don’t be fooled—even the most “casual” shots you’ve seen online have been carefully curated. Just because things lie around your house in real life doesn’t mean they have to be so in the photo. Ugly remote collection? Stash it before shooting! A thousand chewed-up dog toys? Set them aside! Just as you don’t want to take a selfie in a mirror when the background is a disaster—people will fixate on the mess, not you—you want all the focus to be on your home and don’t want viewers to get sidetracked by knickknacks or clutter.
LIGHTING
When shooting, try to use natural light as much as possible. Turn off overhead lighting to avoid yellowish tints, and use sunlight from a bright window for a nice even color. If your shoot day is flexible, keep track of what the lighting is like in your space for a day or two. Note the times it’s the brightest and take some test shots to compare the results.
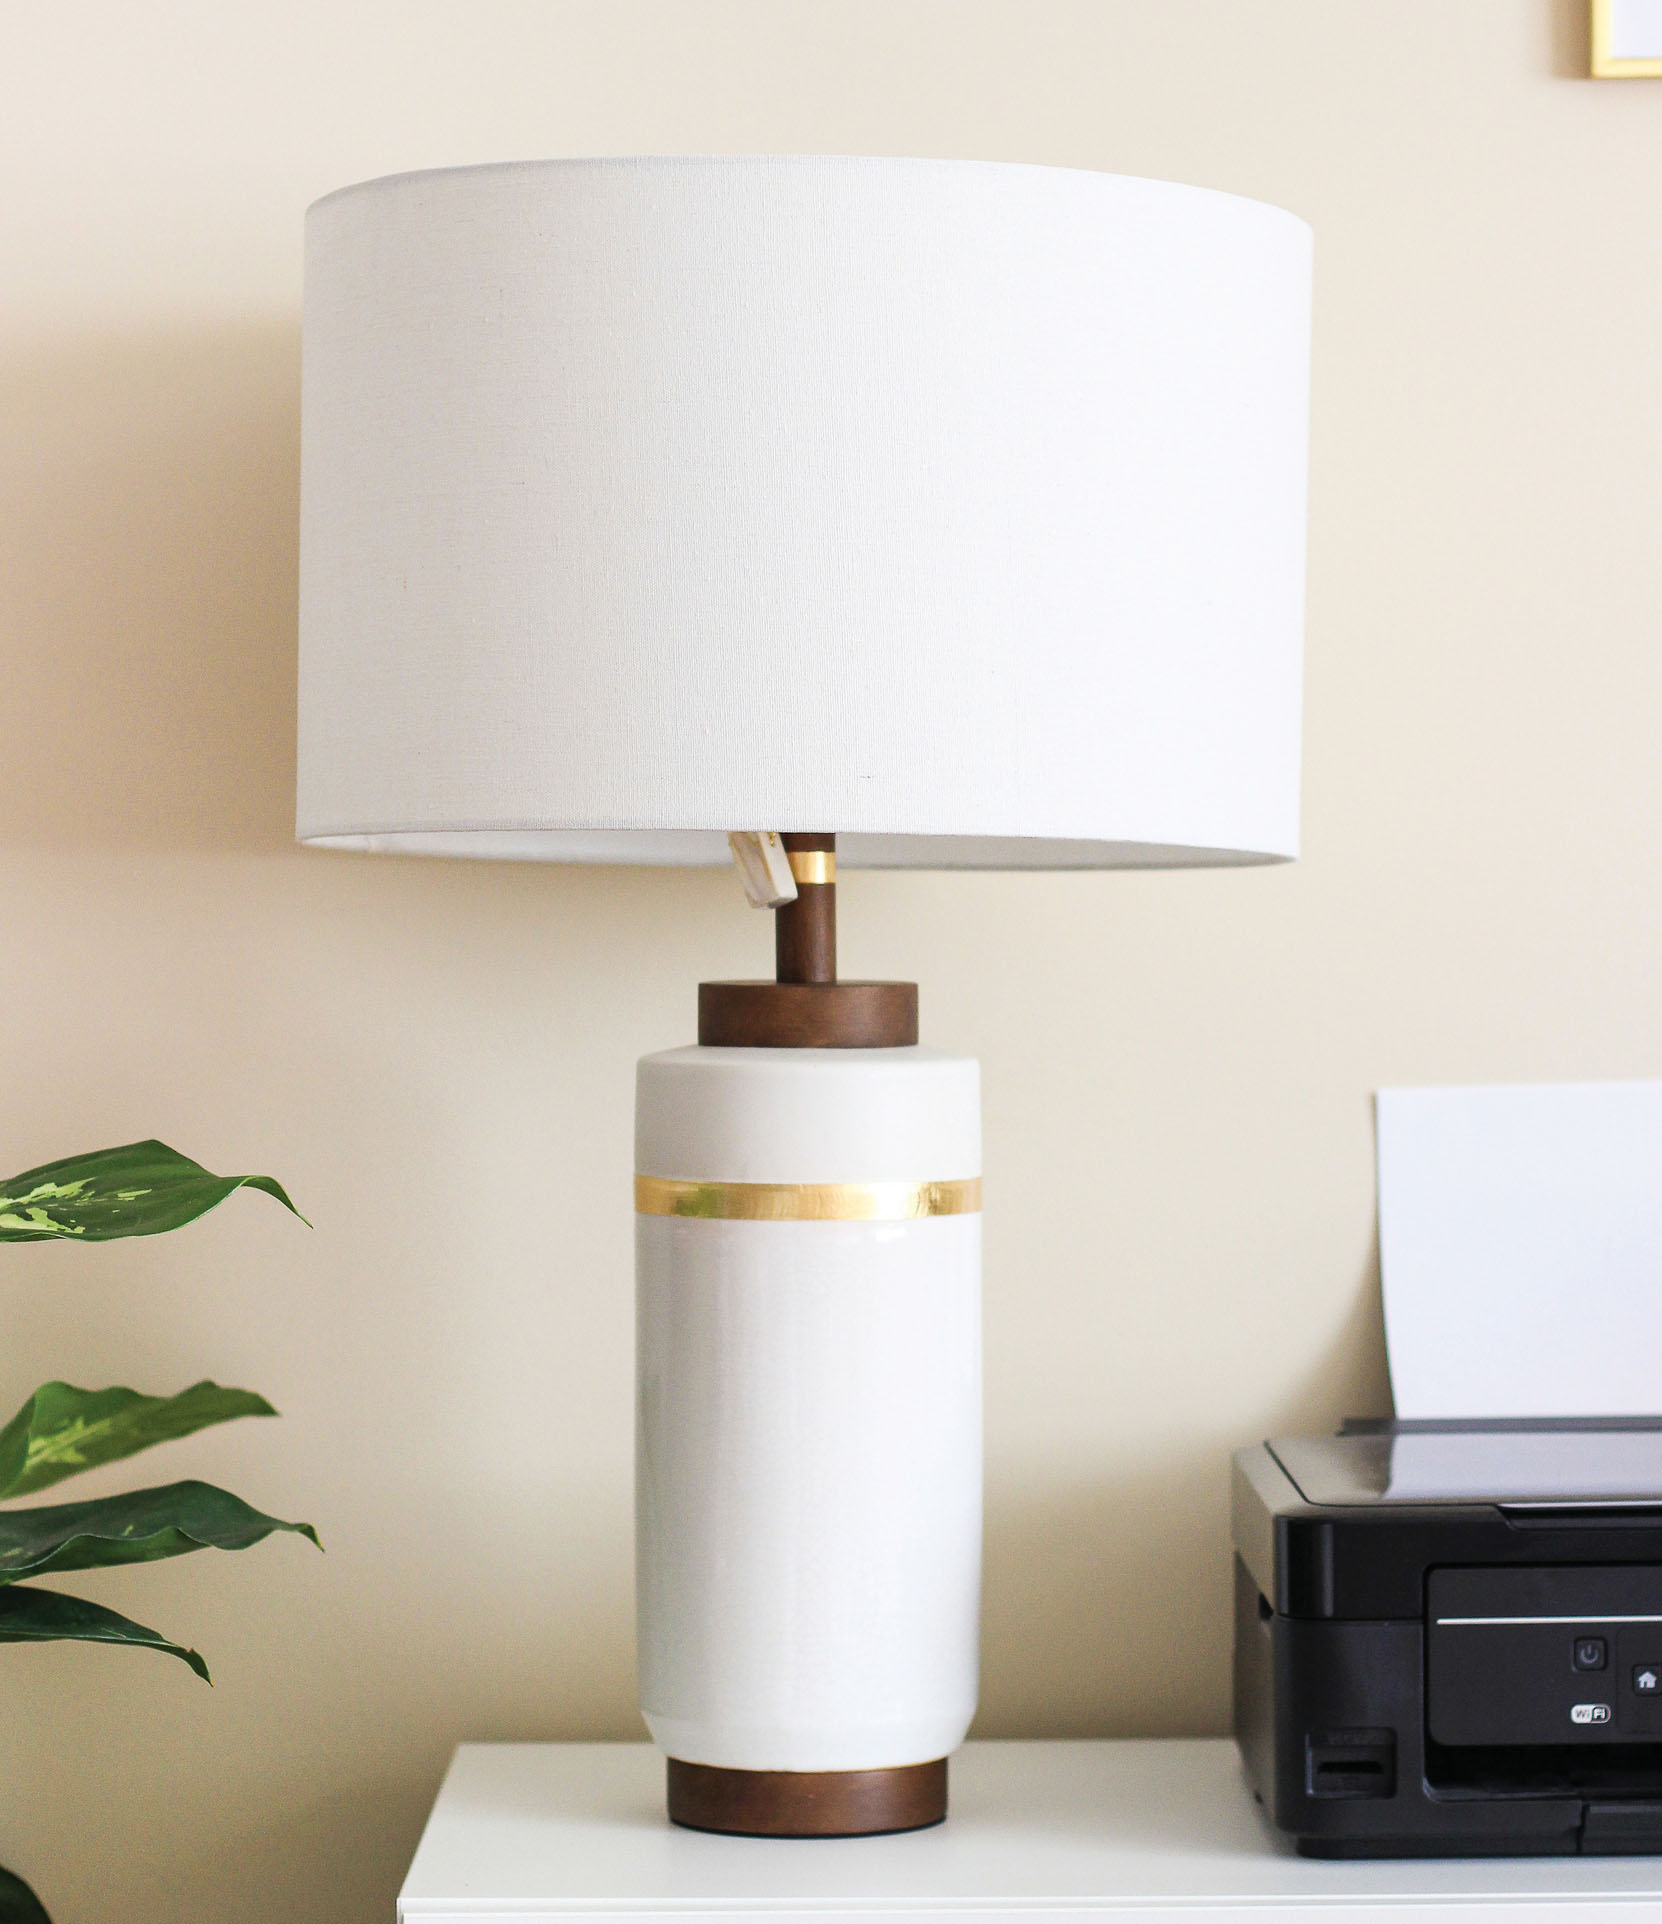
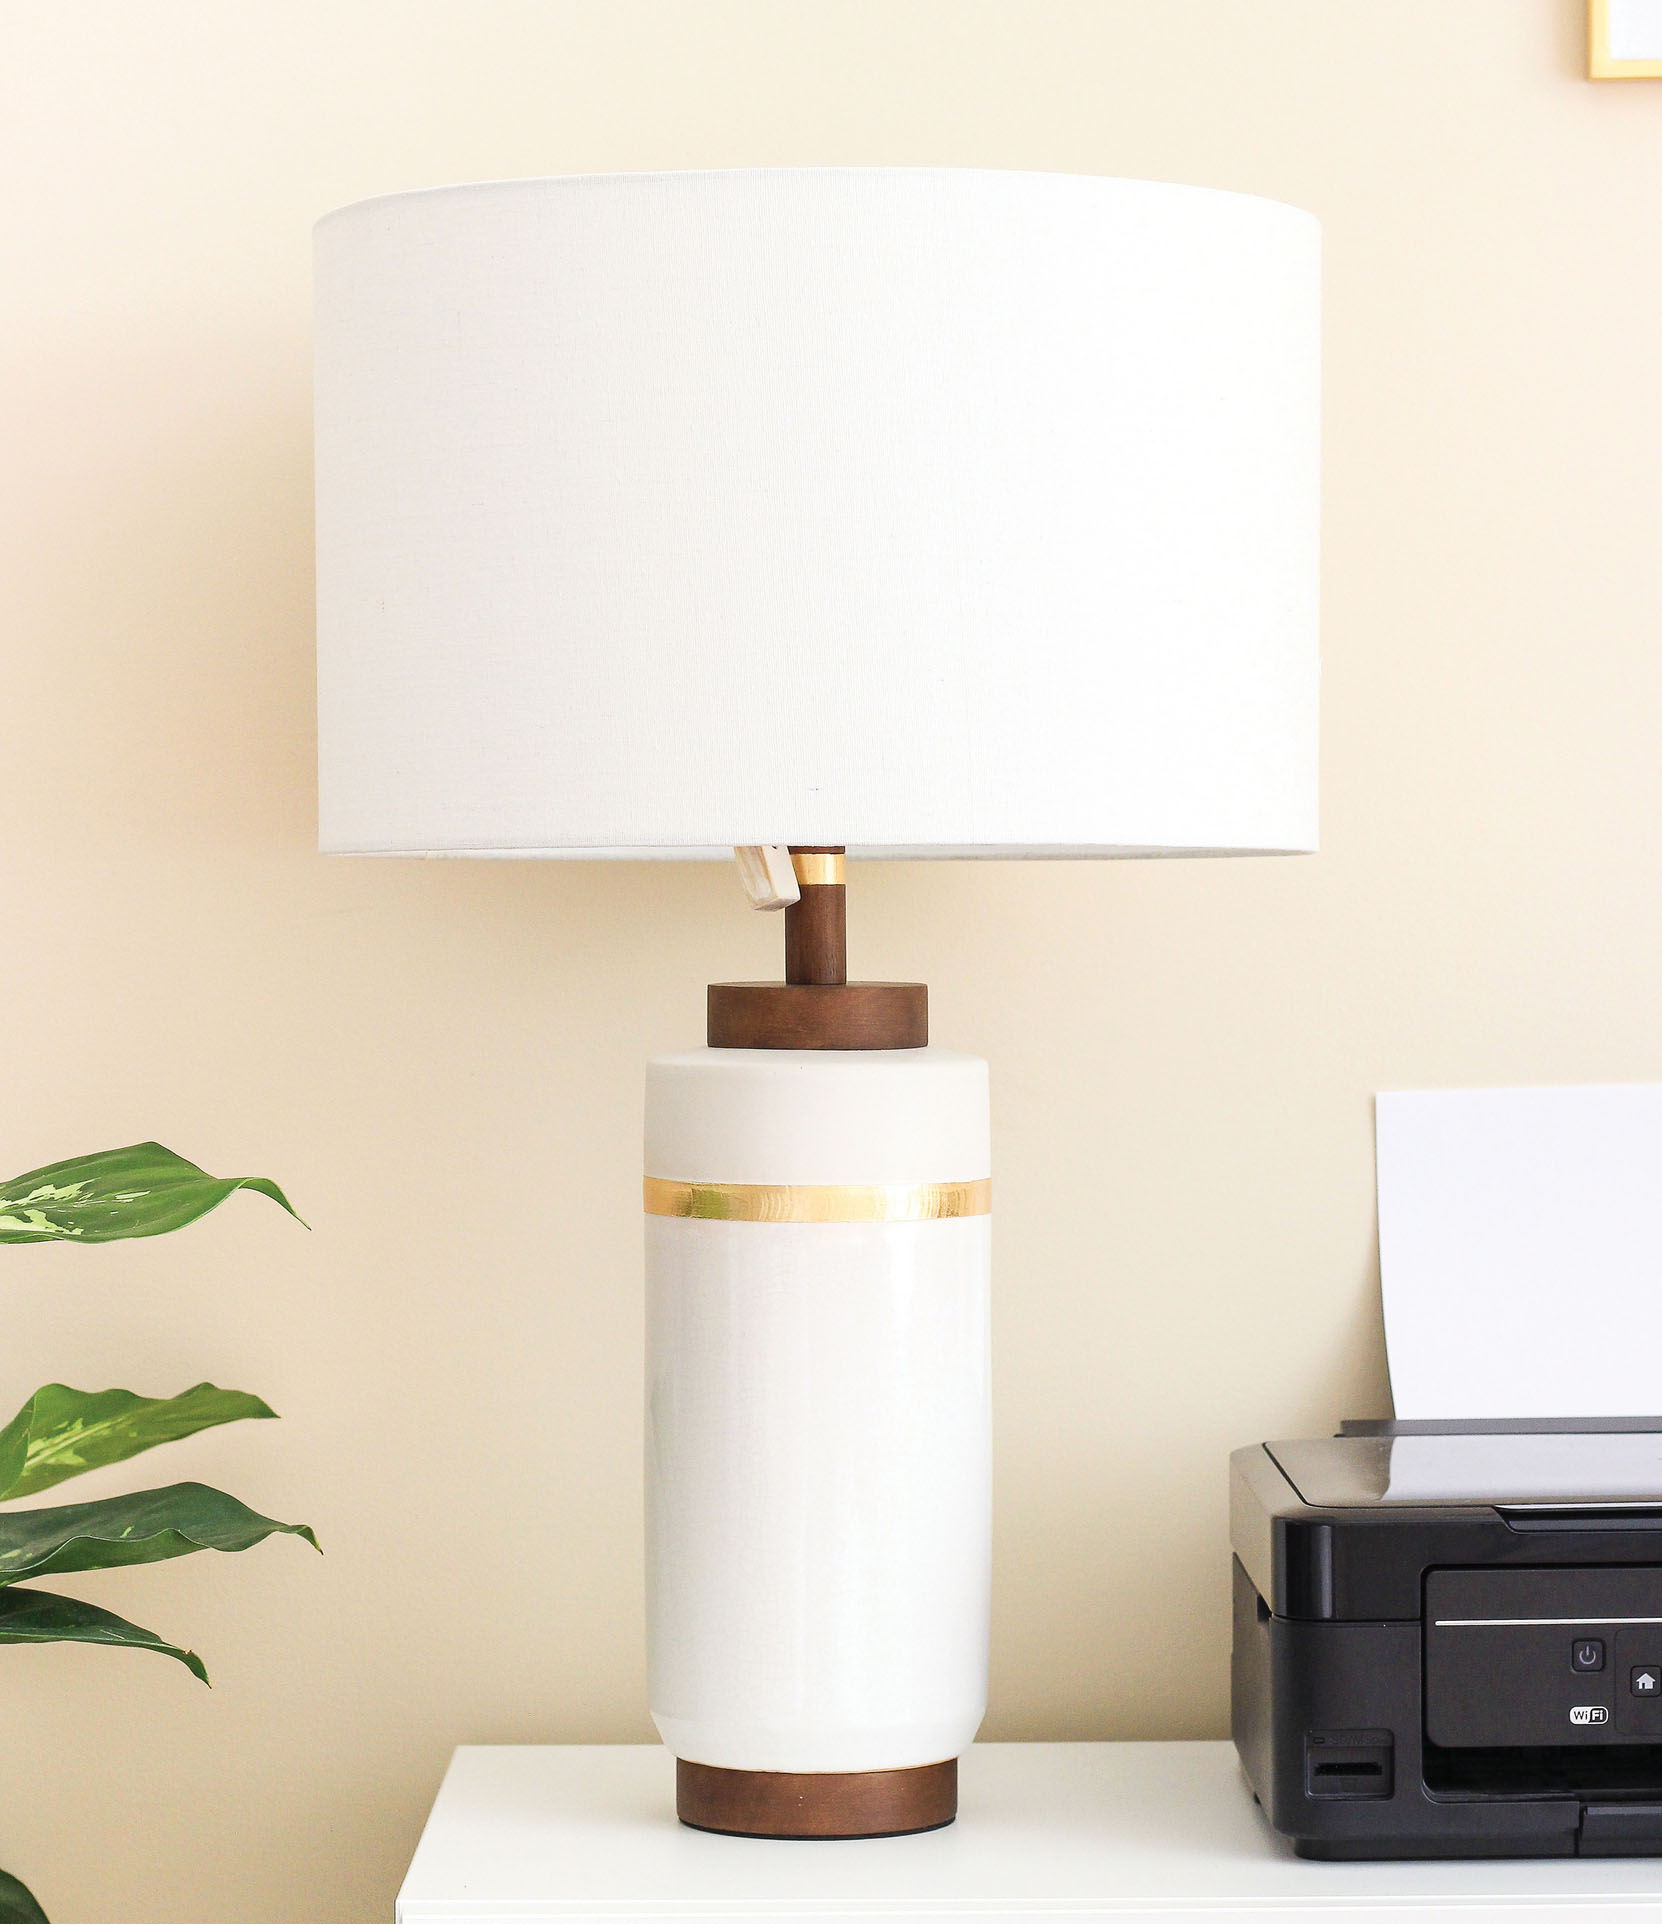
While natural light is a must, it can also get harsh if it’s hitting your subject directly. The photo on the top was taken close to a window with no curtain. The photo on the bottom was taken with a translucent screen (you can use a sheer curtain) over the window.
Additionally, I used a reflector to bounce light back on the left side of the bottom photo. Reflectors do just what their name suggests—reflect light to soften shadows. You can pick up expensive reflectors at photography stores, but they’re easy to create at home: angle either a reflector or piece of white poster board to catch the light from a window and reflect it onto the surface you’re photographing.
When you pair these techniques, everything becomes less harsh and your home seems much more soft and inviting—just like you see it in real life!
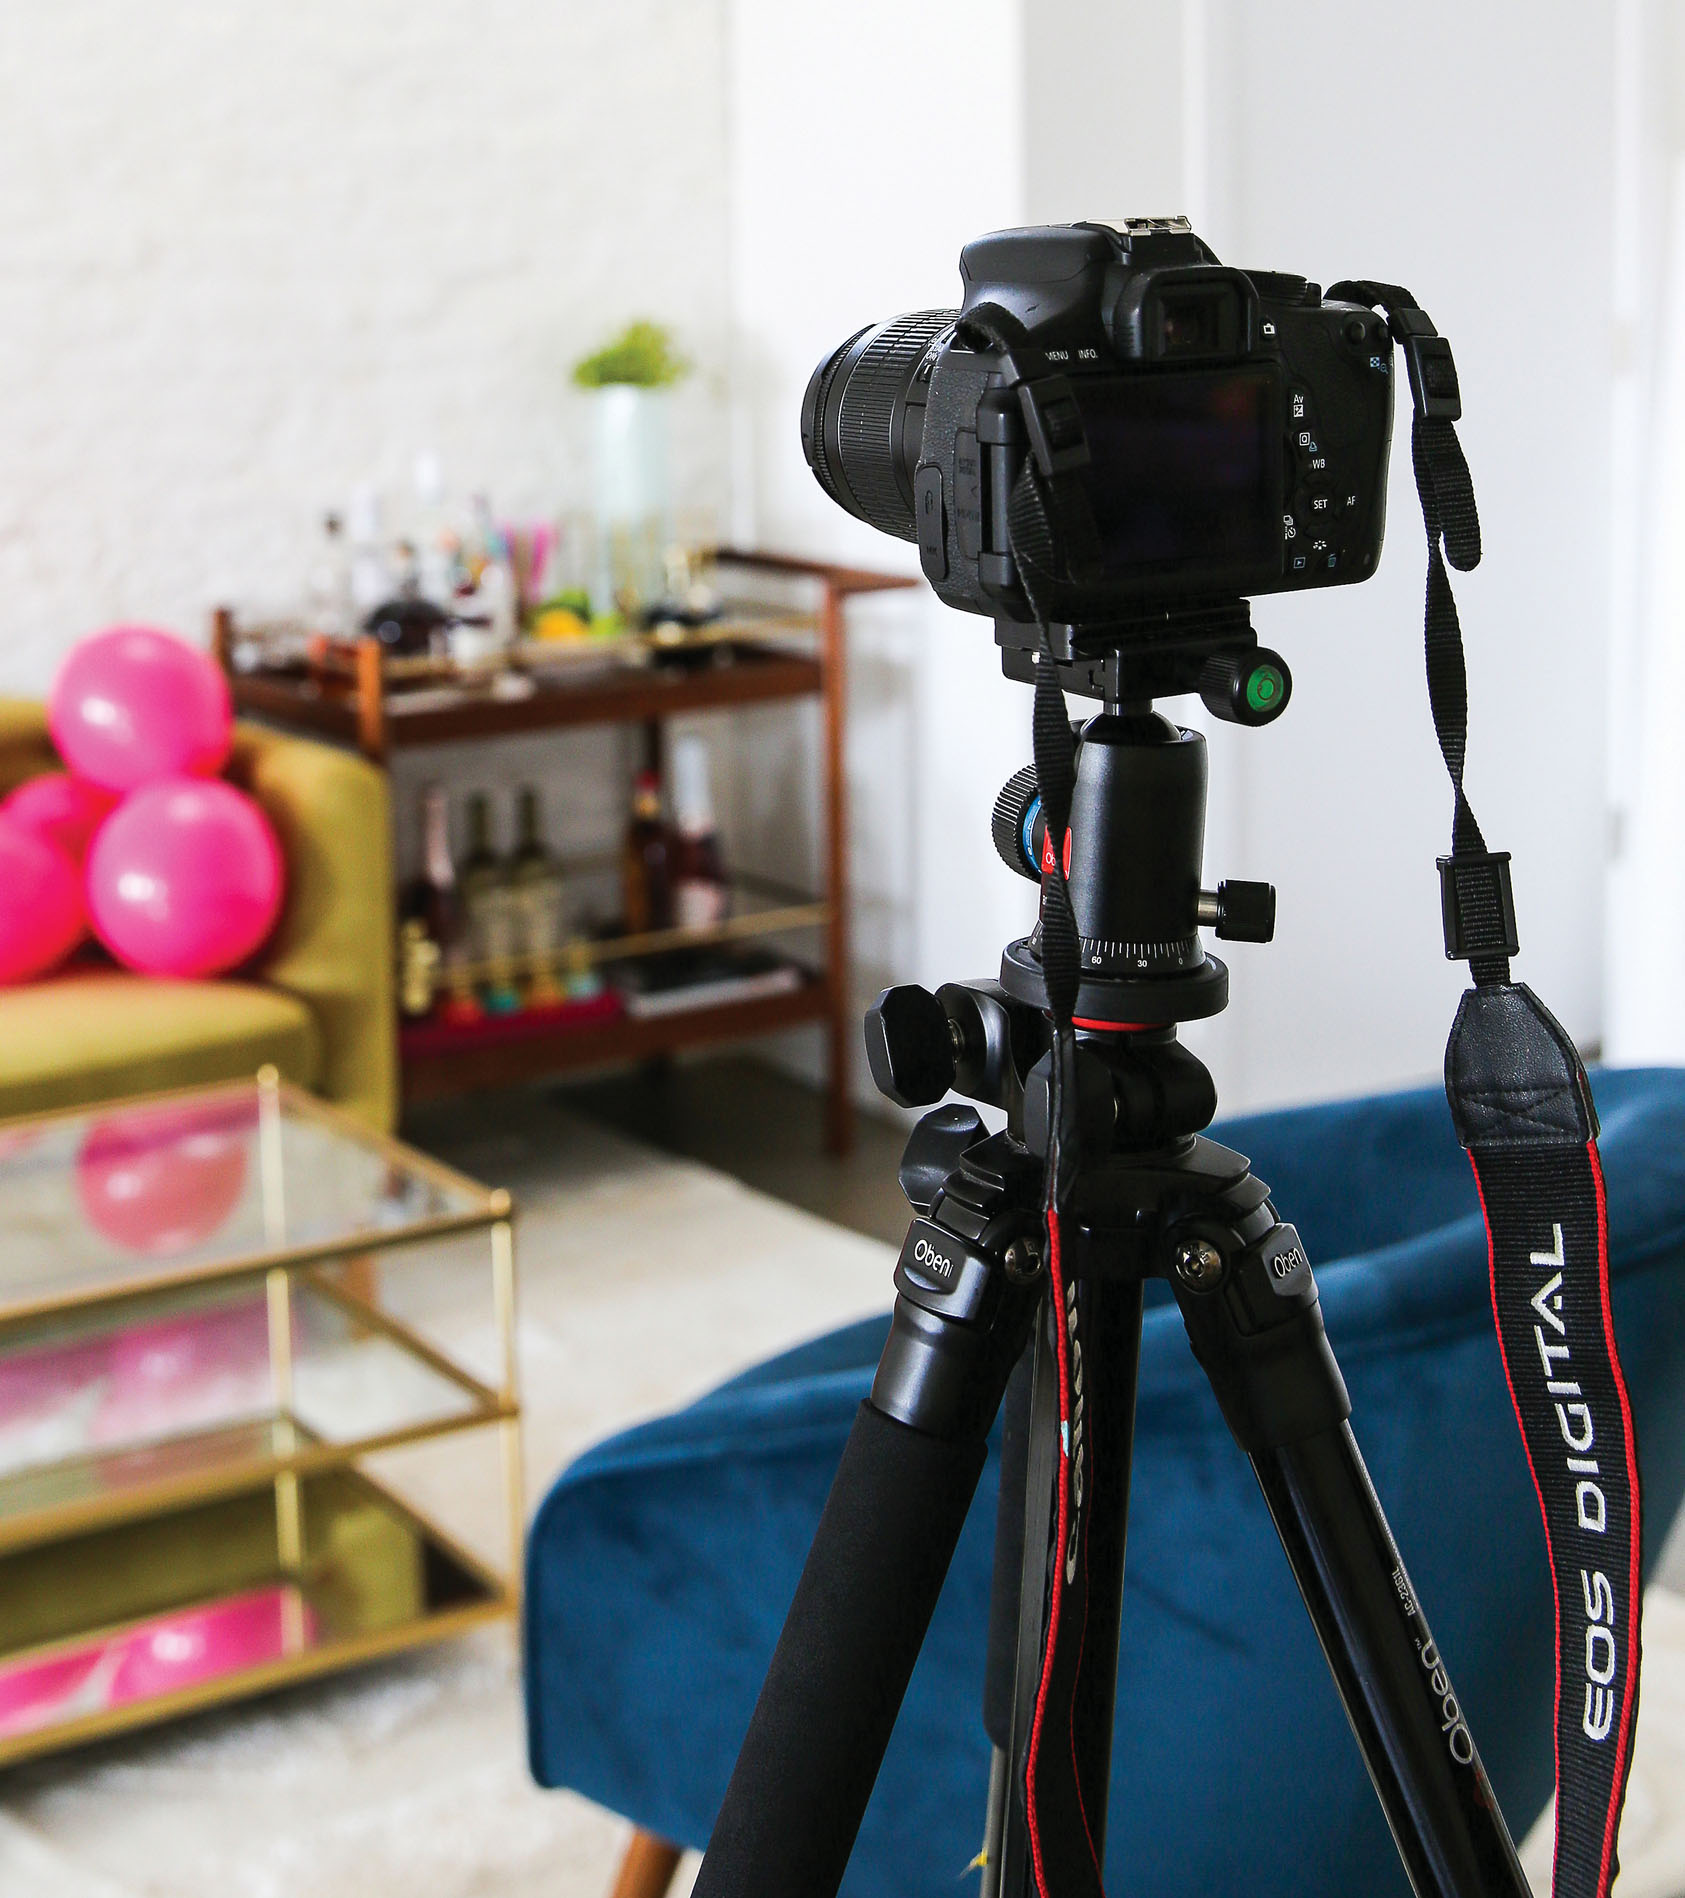
USING YOUR TRIPOD
So you know all those photos you’ve pinned, regrammed, and drooled over? The ones that made you hate your apartment and made you want to move because they’re so bright and perfect? More often than not, a tripod is to thank for that magic. Trust me: a tripod will change everything, because it gives you the freedom to use a slower shutter speed on a DSLR, allowing more light in and making spaces appear brighter than they are, or to avoid blurs or shakiness when shooting on a phone or compact camera. Photo shoots with a tripod will take longer because you have to set up and frame each shot instead of moving freely while holding the camera, but your photos will display a brightness you wouldn’t otherwise achieve.
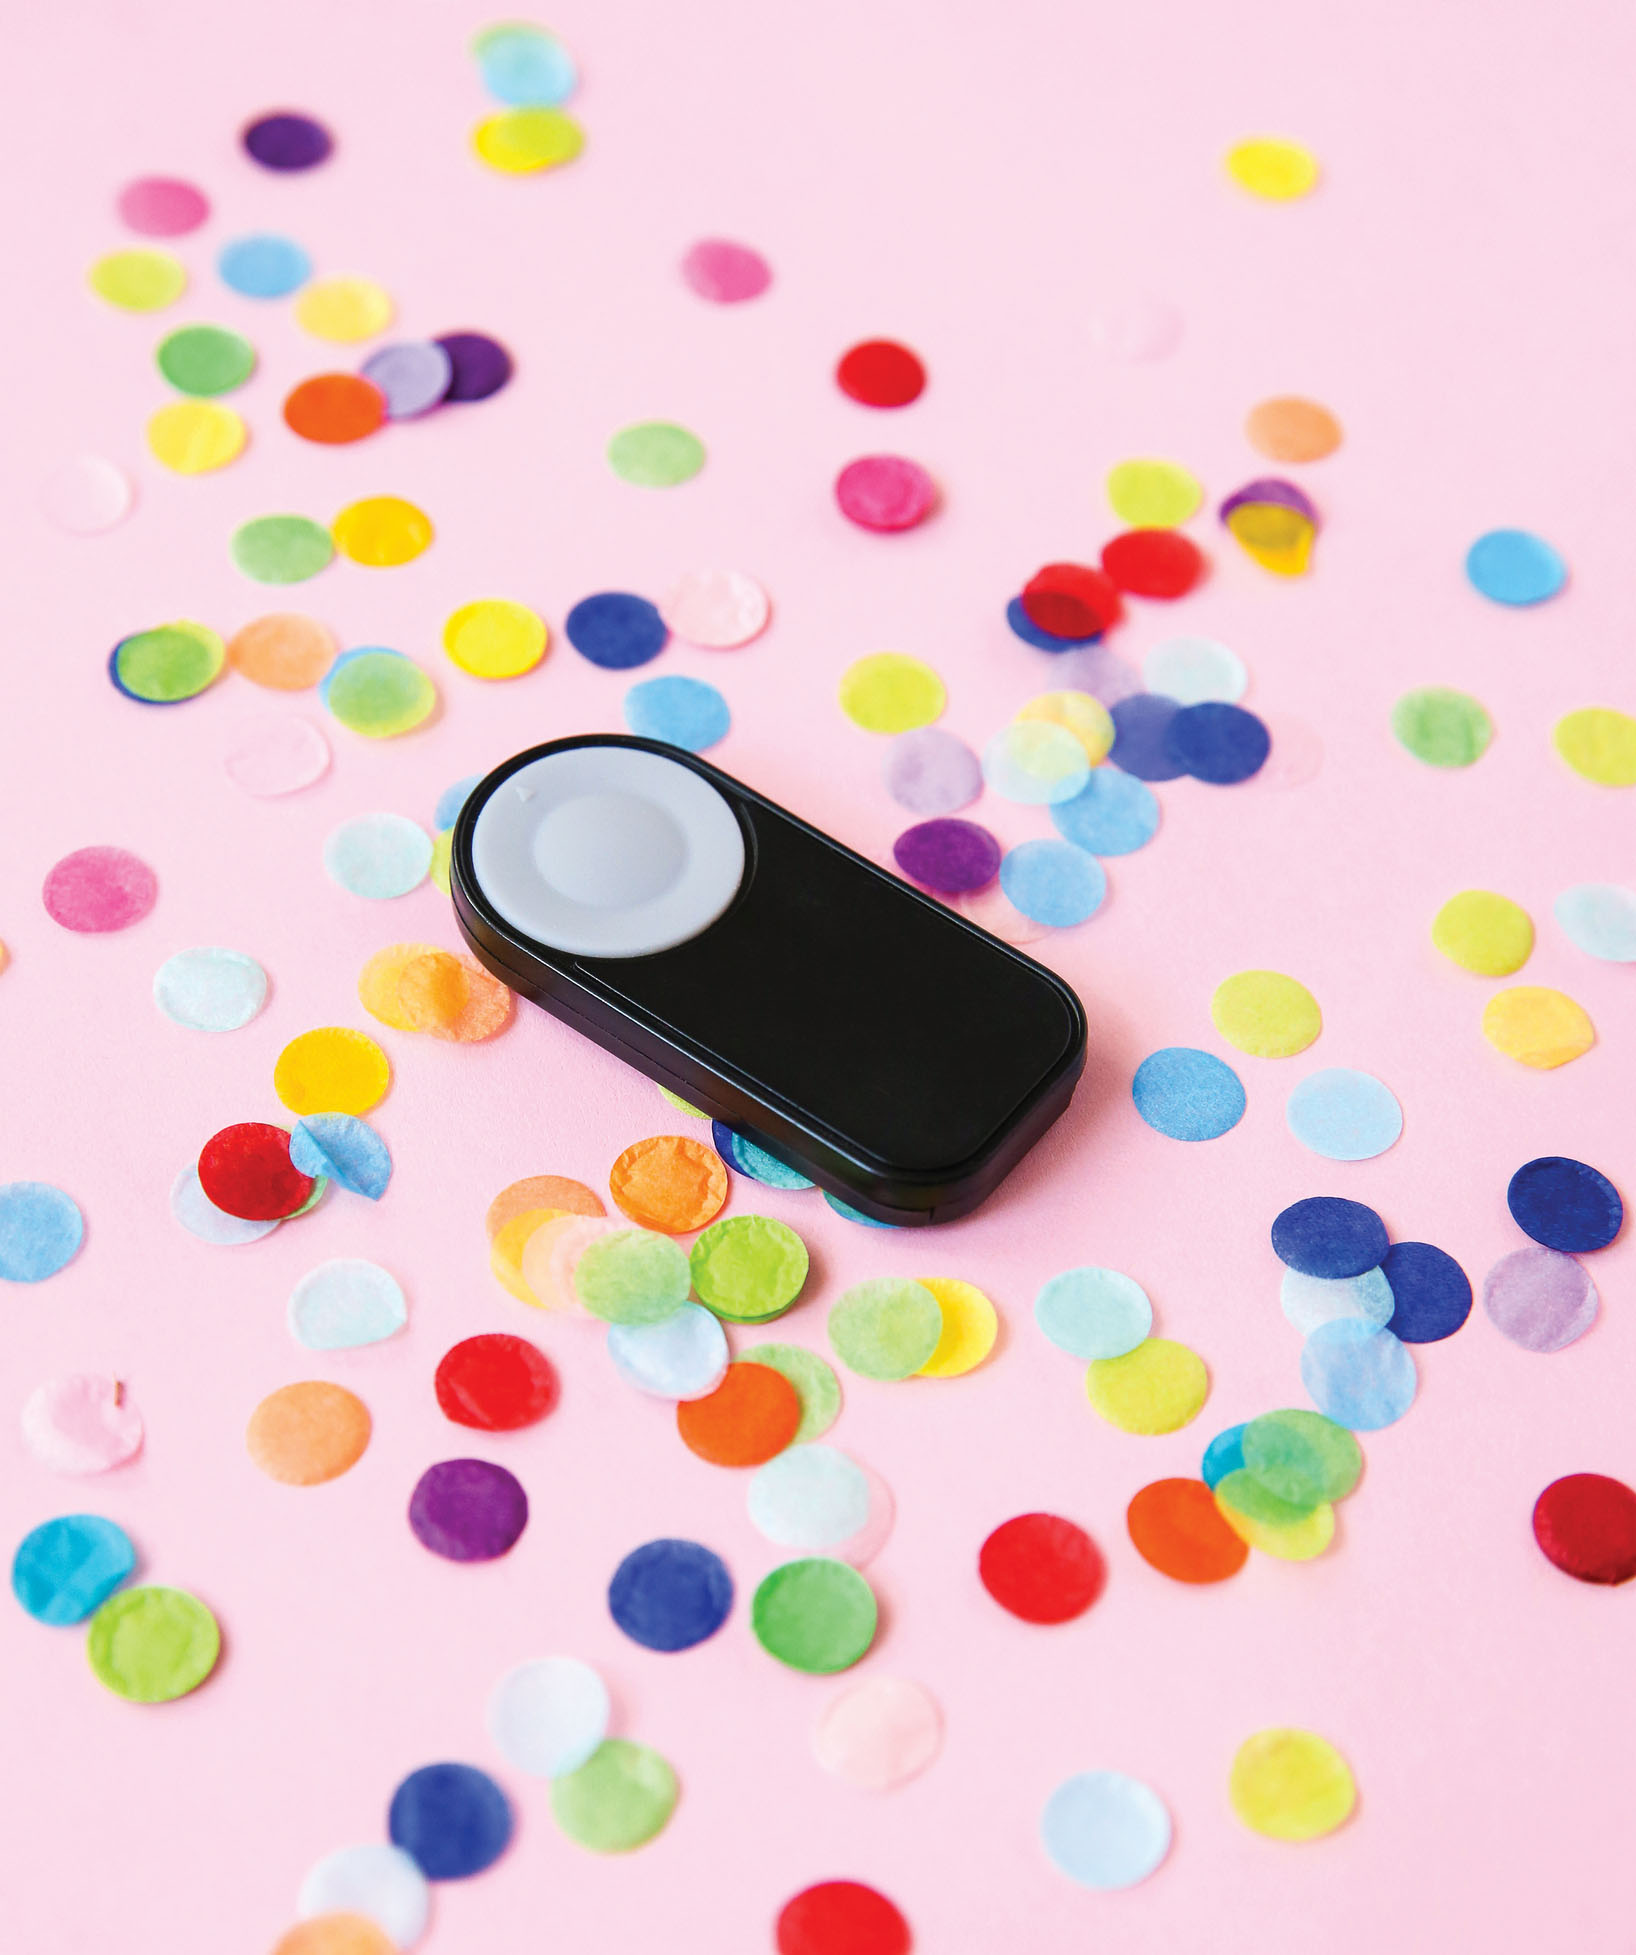
Another way to avoid blur in your photos is to use a wireless remote: the less you touch the camera on the tripod, the better. Plus, a remote will allow you to move around the room to do other things like bounce or diffuse light.
DSLR tripods are available online and in camera shops, but you can also find inexpensive mini-tripods for smartphones that provide much of the same blur-fighting benefits. No tripod? Brace your elbow against your body to steady your phone as you snap a quick picture.
COMPOSITION
When it comes to finding the best composition, move around and shoot from as many perspectives as possible. A full-room shot, a detail shot, partially cropped—get it all! In a properly styled photo, no fancy angles are needed because the space should speak for itself: if you find you’re lying on the floor and pointing the camera in a weird direction, you’re doing it wrong. Shoot straight-on to start. To get a variant look, change the height or distance, not the angle, of the camera from the object.
Taking a variety of full-room and detail shots will give the viewer the sense they’ve been in your space and know what everything looks like. Don’t be afraid to move items around while shooting until you find the right balance—sometimes all it takes to get the perfect composition is to nudge something a few inches to the left. And since the camera will capture the scene differently than your eye will, check through your shots as you work to make sure they’re turning out as you’d like. Is one item closer to another, creating a strange gap? Are all the items on one side of the setup, making it feel heavy? Take the time to critique, adjust, and readjust before shooting: it’s significantly easier to get the image you want in the moment than to crop at the editing stage, and it’s better to adjust midshoot than to start editing, hate the way something looks, and have to reshoot.
EDITING
You don’t need to spend hours and hours on editing, but a few simple tweaks can really enhance your photos. For software, I recommend Adobe Lightroom on the computer; for the phone, VSCO and Snapseed are my go-to apps. There are tons of options, so download a few different apps, test out the tools, and see which ones you like best.
Although individual aesthetics vary, these are the features that will generally need tweaking on every photo:
EXPOSURE: brightens the image
CONTRAST: helps brighten and make colors pop
SHARPEN: makes your photos as crisp as possible, adding a little oomph
VIBRANCE: amps up the color
Of course, we all want every detail of our homes to be picture-perfect at all times, but let’s be real, when is it ever? If you notice a small imperfection after you shoot (let’s say a piece of dust under the couch), it’s totally fine to remove it in Photoshop. If you’re on a smartphone, the TouchRetouch app is perfect for small corrections.
And that’s it! You did it! You made all the projects (well, hopefully at least one), you styled and photographed your home, you drank all the wine. All that’s left to do now is sit back, hit Publish, and watch the comments roll in!
P.S. I totally want to see your space! If sharing on social media, please tag me at @thecraftedlife so I can be jealous too!