There are many different methods of increasing stitches in Tunisian crochet. There is no right or wrong way and each has its own characteristics, making it more or less suitable for a particular project. Some of the most common methods are shown here.
Before working the next stitch, yarn over hook, make next stitch as usual.
Return as normal.

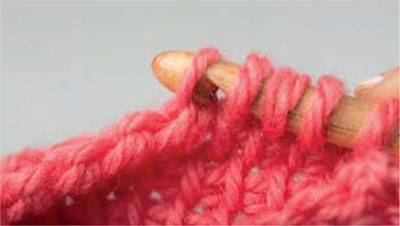
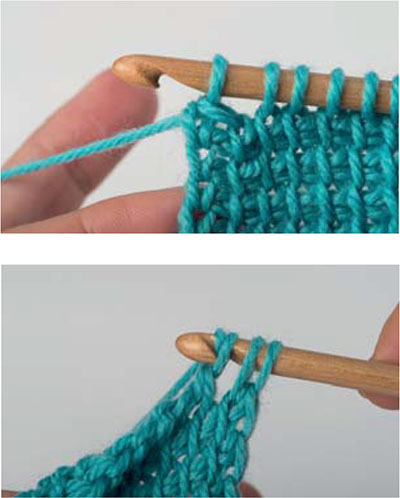
Insert hook into the bump behind the vertical bar of the next stitch.
Yo and draw up a loop (increase made).
Make next stitch according to pattern starting from the same vertical bar you just increased behind.
Return as normal.
Insert hook under the top bar of the horizontal bars sitting before next stitch.
Yo and draw up a loop (increase made).
Return as normal.

Insert hook between two stitches.
Yo and draw up a loop (increase made).
Return as normal.
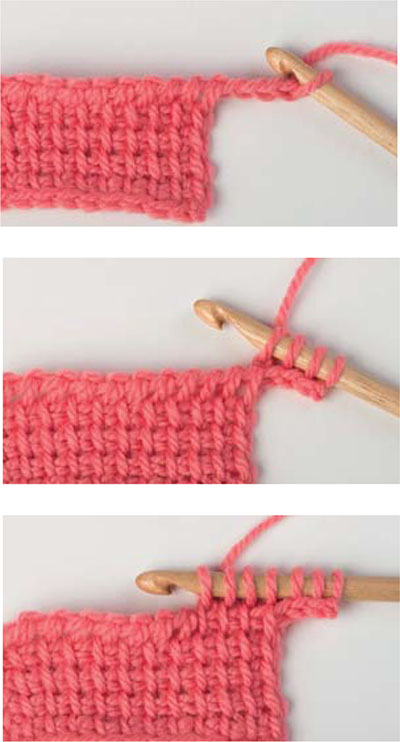
Before beginning the forward pass on the row you wish to increase, chain the required number of extra stitches.
Starting from the 2nd chain from hook, pick up a loop from each chain.
Once you reach the end of the chain, continue working in pattern from the original piece, starting from the first edge stitch that was previously unworked but has now combined with the increased stitches. Return as normal.
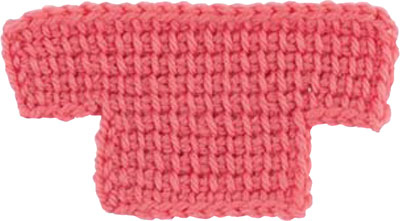
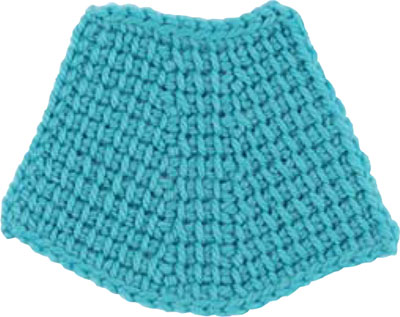
THIS TYPE OF INCREASE IS USED WHEN A DRAMATIC CHANGE IN SHAPE IS REQUIRED. FOR EXAMPLE, ADDING SLEEVES TO AN ALL-IN-ONE GARMENT OR CONSTRUCTING A SHAPED PICTURE MOTIF.

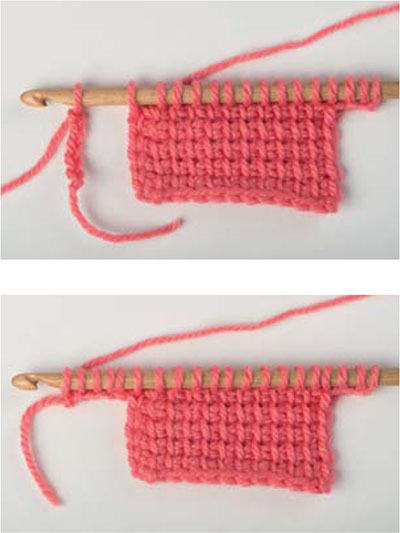
At the end of the forward pass on the row you wish to increase, use a separate piece of yarn to make a chain with the required number of extra stitches. Attach chain length to end of hook. The first st of this new ch becomes a st. Starting from 2nd ch from hook, continue picking up loops from chain. Return as normal.
There are several options for decreasing stitches in Tunisian crochet and all are very easy to do. Some are more suitable than others depending where they will be placed in a row.
Skip over the next stitch without working and continue working on from the next stitch.
Return as normal.
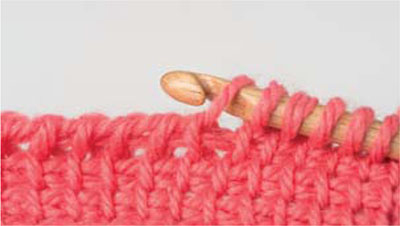
Insert hook through the next two stitches at the same time according to the stitch type you are making i.e. if you are working in Tss then you would slide your hook under the next 2 bars.
Yarn over and pull through both loops leaving one loop on hook.
Return as normal.
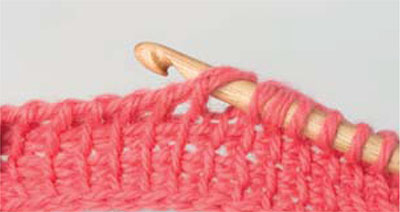
Depending on the pattern and where the decrease is required, you will be asked to ‘yarn over and pull through X number of loops’ on the return pass.
If the decrease is at the start of the return pass (decrease on left edge) then you will pull through 2 loops instead of the usual 1 loop.
If the decrease is at the end of the return pass (decrease on right edge) then you will pull through the last 3 loops instead of the usual 2 loops.
If the decrease is in the middle of the row, then you will pull through 3 loops instead of the usual 2 loops.
The instructions below are for decreasing at either end of a row.
Work forward pass as normal. Begin the return pass with yarn over and pull through 2 loops (decrease made), continue pulling through 2 loops until you reach the last 3 loops on your hook, pull through 3 loops (decrease made).
When working the next forward pass of a row after making a decrease, the bar of the stitch just decreased will still be visible but will not be worked.
At the start of a forward pass, skip the 2nd vertical bar.
At the end of a forward pass, skip the 2nd last vertical bar.
At the start of a row, bind off the required number of stitches. Work remaining stitches as normal up to the point where you need to decrease stitches at the end of the row.
Bind off the required number of stitches. Break off the yarn and rejoin to remaining live stitches. Return as normal. Continue working on remaining stitches for desired length.
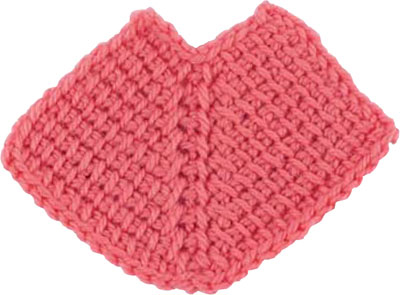
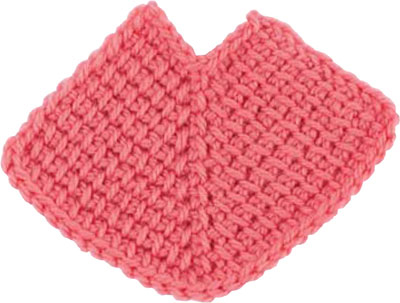
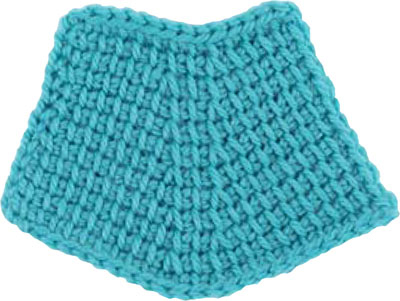
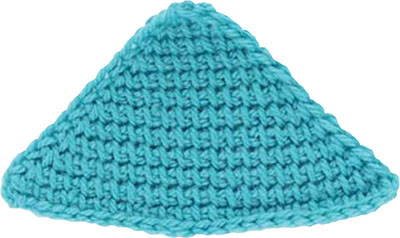
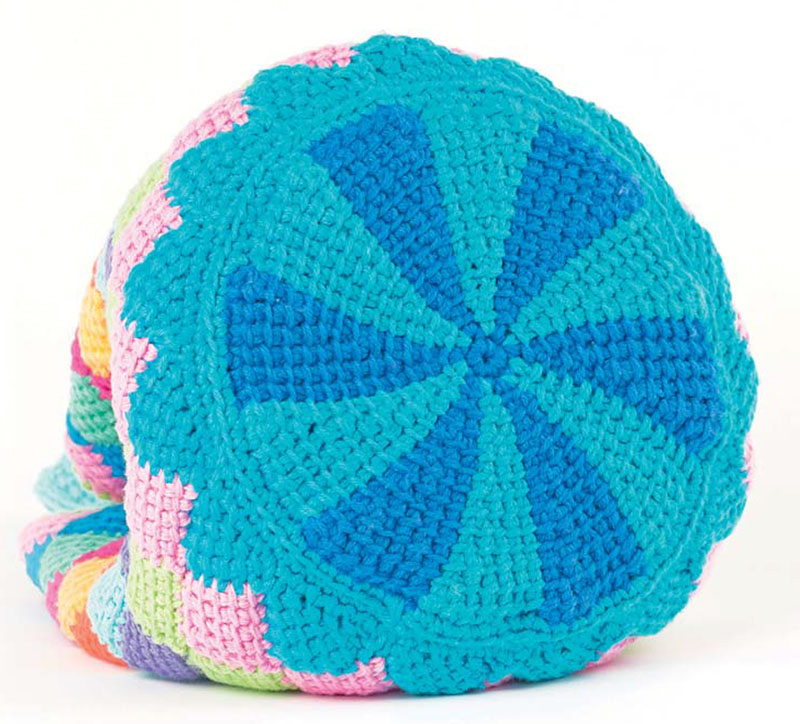
Short rows are a great way to create shaping or a design feature in your work. Depending how they are made, they can create gentle curves for items such as shawls, add ease to garments for areas such as the bust or even create a sock heel or a circular piece.
To explain short rows simply, you basically work only a partial row before returning and continuing on to work subsequent rows.
The number of stitches and rows in a short row section will vary depending on the desired function or shape.
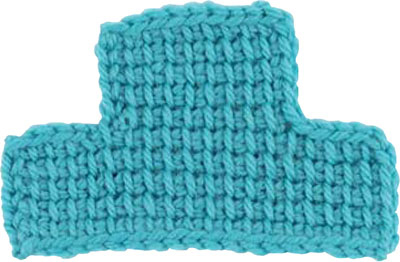
The following instructions will show you how to work a partial row and how to treat the last stitch of your short rows. If you’d like to practice making short rows, try out the circular base of the Entrelac Bag (see Entrelac Bag).

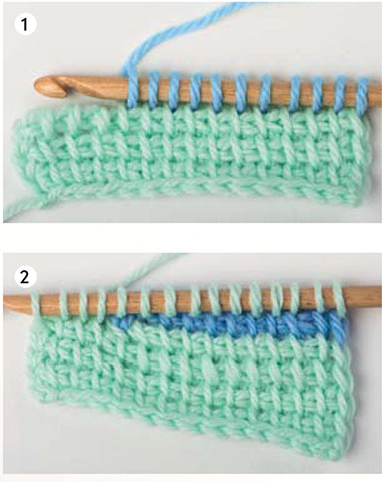
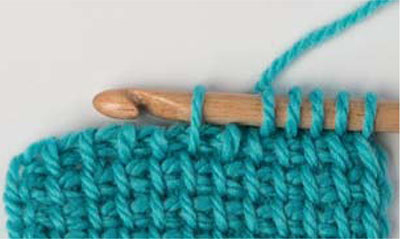
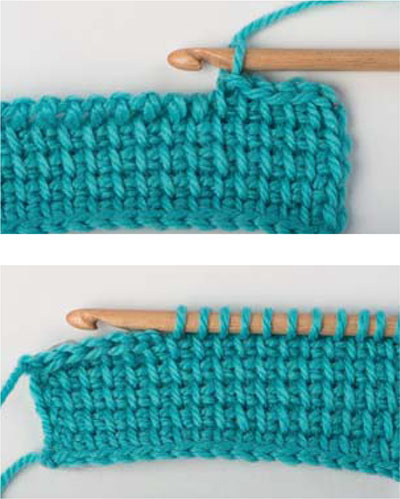
Forward: Work the required number of stitches to complete a partial row (1). Photo shows short row loops in contrast colour.
Return: As normal.
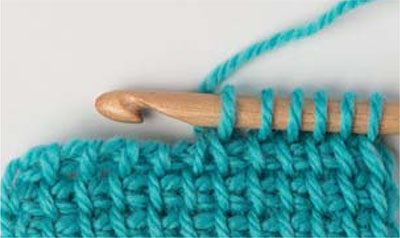
Forward: On the following full length row after a short row, pick up all the loops from the short row as normal. When you reach the end of the short row, continue picking up loops from the previous full length row to the last st, work end st (2).
Return: As normal.