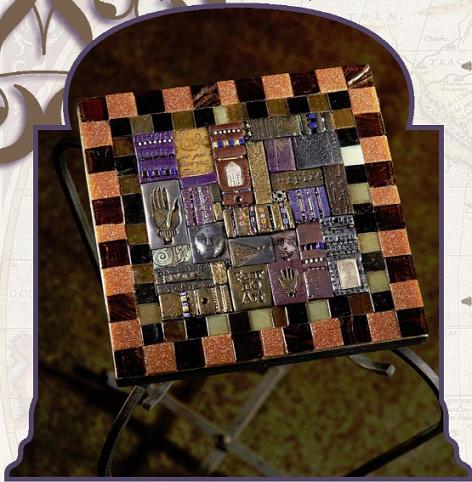
A JEWEL OF A TABLE
MATERIALS
table base
mastic (tile adhesive)
gold metallic paint
commercial tile for border
assortment of handmade tiles
jewelry parts
jewelry glue
roasting pans
binder clips
Weldbond glue
wheel nippers

I enjoy searching for small decorative tables that can be embellished with intricate beaded and stamped tiles to create very special art pieces. These tables are so small that they inherently are viewed as art objects because there is barely enough room to place a coaster on top! Check out retail stores like Marshall’s or T.J. Maxx for small end tables—there are plenty of them out there just waiting for an extreme makeover!
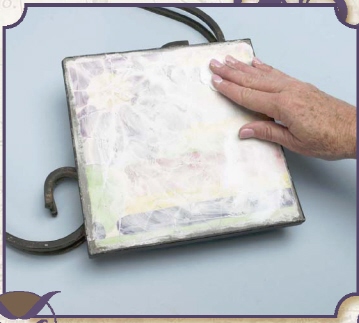
1 APPLY MASTIC
Begin by applying mastic to the original top of the table to create a ground for the tiles to adhere to.
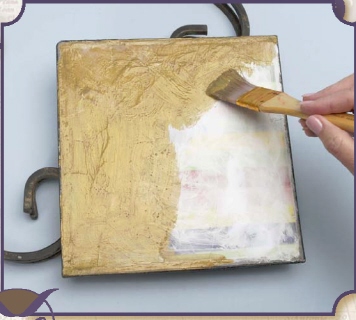
2 PAINT MASTIC GOLD
Because the top for this table is not a separate piece and I didn’t want to get overspray on the rest of the table, I chose to brush on gold metallic paint, instead of using spray paint.
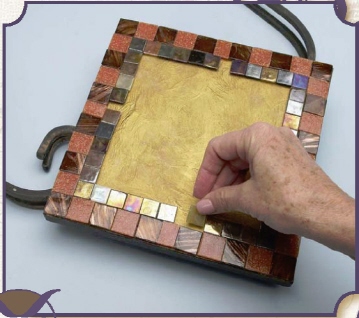
3 CREATE BORDER
When the paint is dry, begin gluing on the tiles. Start with the glass border tiles around the outside. Make a second row of glass tiles that are slightly smaller than the outer ones. Start in the corners and work your way toward the inside. If, when you get to the center, there is not enough room for an entire tile, you may need to snip one to fit. (See Working With Manufactured Tiles.)
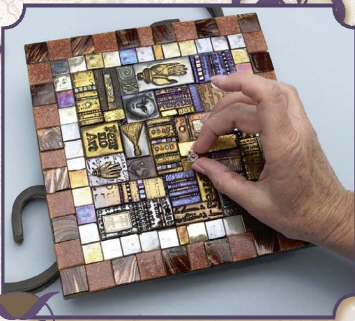
4 WORK FROM OUTSIDE IN
Now begin placing some of your larger stamped tiles around the edges, working from the outside toward the center, where it is easier to fit in small pieces such as jewelry and beads.