Flexi Plexi
A 4×8-foot sheet of milk-white acrylic plastic, commonly referred to as Plexiglas, can be turned into an amazingly beautiful backlight source by lighting it, from behind, with just a medium softbox.
Plexiglas is available from plastic supply houses across the country, and a simple web search should show the one closest to you. Buy the thinnest sheet they make, as it is heavy and somewhat difficult to mount. The sheet I have is ⅛-inch thick and, though it tends to flop around a bit, it is much easier to lift than the ¼-inch version.
My mounting rig makes use of cheap tricks; the sheet is clamped to an aluminum fence pole that rests in spring clamps at the top of two light stands.
The softbox is positioned far enough behind the sheet to light it evenly from the pole to the floor. As it is now, it will create a beautiful partial silhouette.
I like to press my light meter against the plastic from the camera side so I know how much light is coming through the material (even the clear stuff absorbs some light), then bump my exposure up at least 1 stop on the camera. This guarantees a clean and perfect white as well as a little wraparound light for the back of my silhouette subject.
This reasonably inexpensive setup is perfect for people in profile. The wraparound nature of the broad light source allows for detail at the edges that slowly recedes to darker shadow.
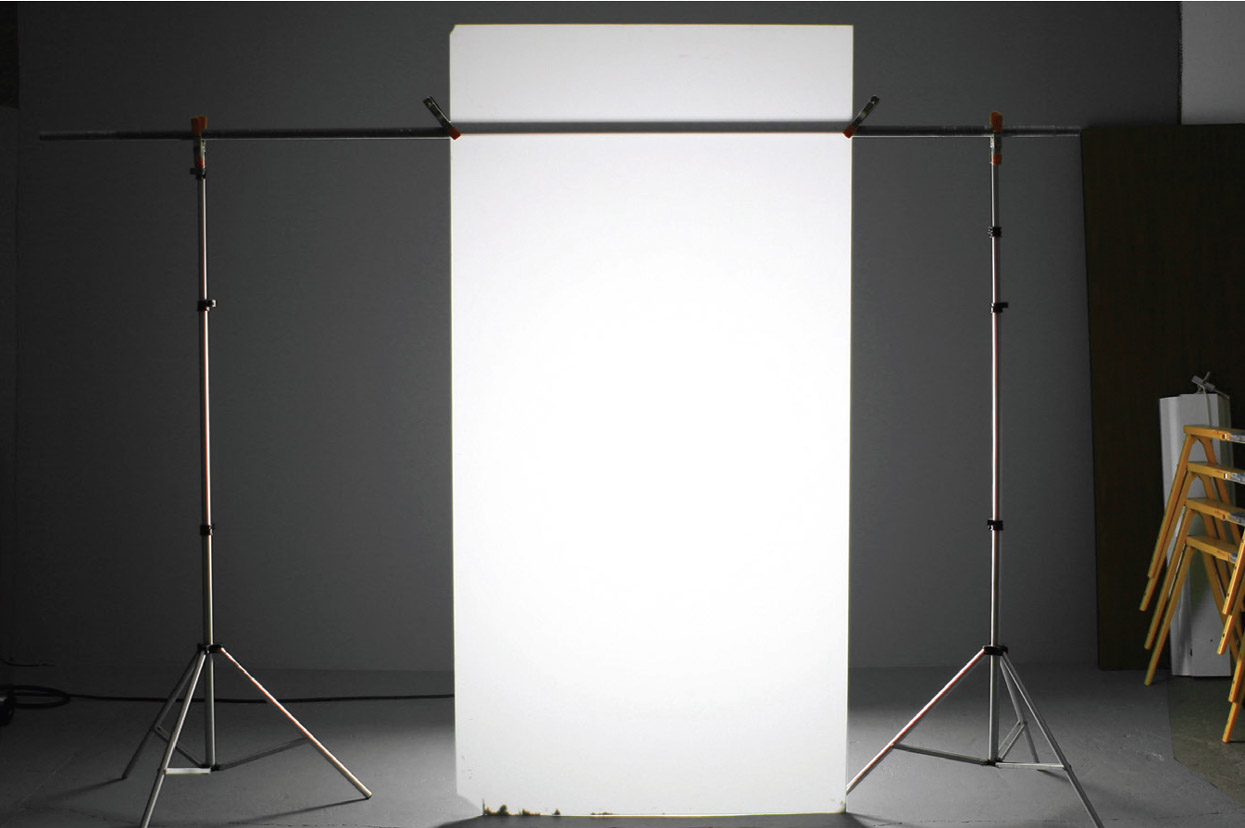
Perfect high key will never be more simple than this.
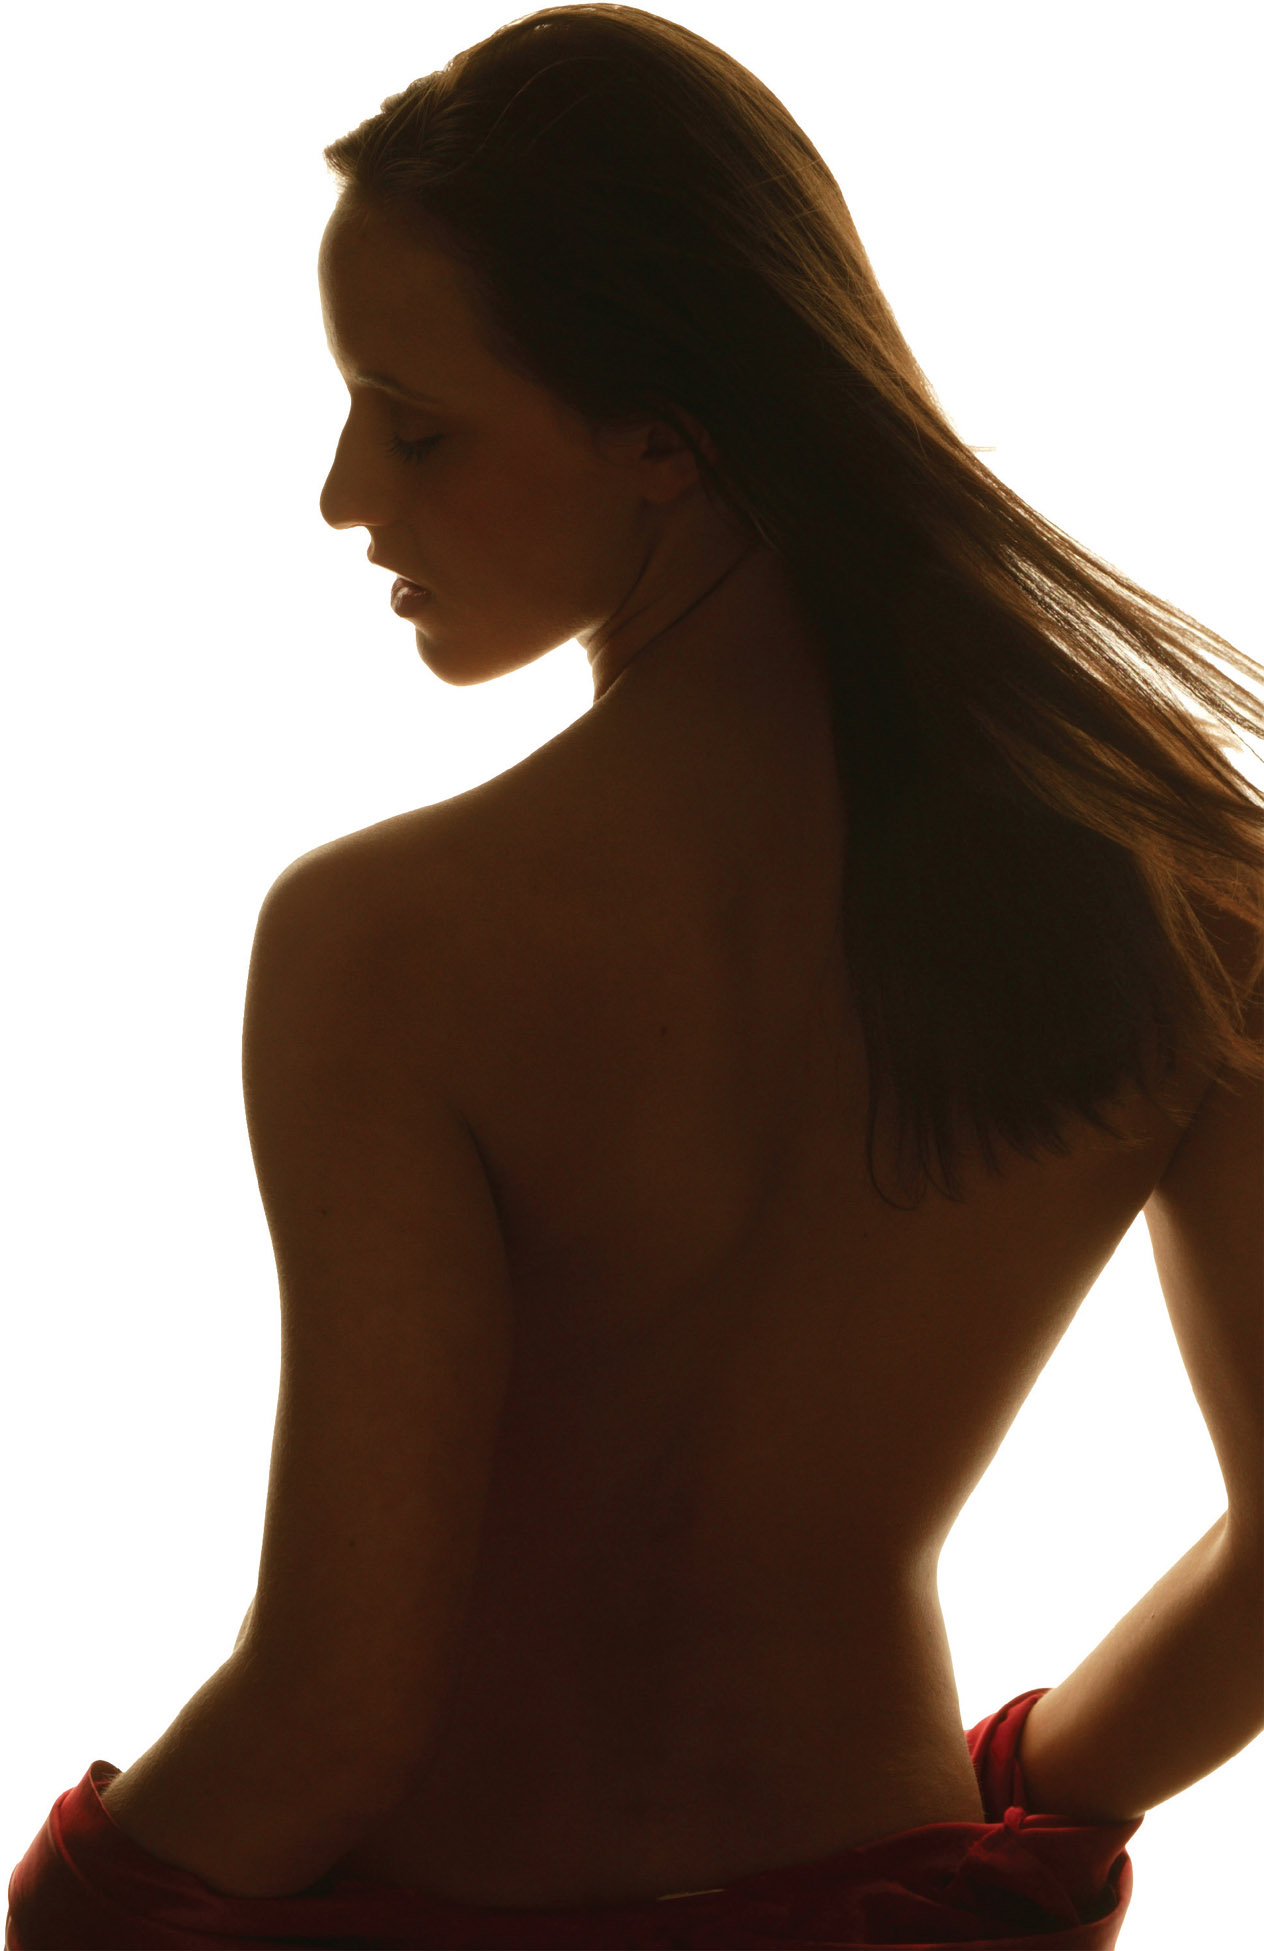
Beautiful, but minimal, wrap-around light.
Now, let’s add a light to the front and power it to be 1 f/stop dimmer than the backlight. Next, set the camera’s aperture to that number. In other words, if the light coming through the Plexi reads f/11, we would set the camera to f/8 to overexpose it by one stop. We’d power the light on the subject to f/8 to perfectly expose the subject but keep the background brighter.
When I was doing research for my vintage lighting book, I found a photo of a 1930s movie star that completely intrigued me because the highlight behind the woman’s shoulder seemed to come from behind the background and didn’t spill onto her skin at all. While investigating acrylic sheeting for another project, I read that Plexiglas was invented around 1936. Suddenly, the movie star mystery was solved.
Without light coming through it, colored acrylic will react just like any other background. It’s not pure white, so it will look a bit gray in black & white. It will hold shadows well. Any shadows may be a little softer than they would be on seamless paper due to the spread of light through the material.
It took some trial and error to position the backlight correctly, then a bit more to match the exposures. I wanted a highlight that wouldn’t overexpose anywhere and would be just as enigmatic as the image I was emulating.
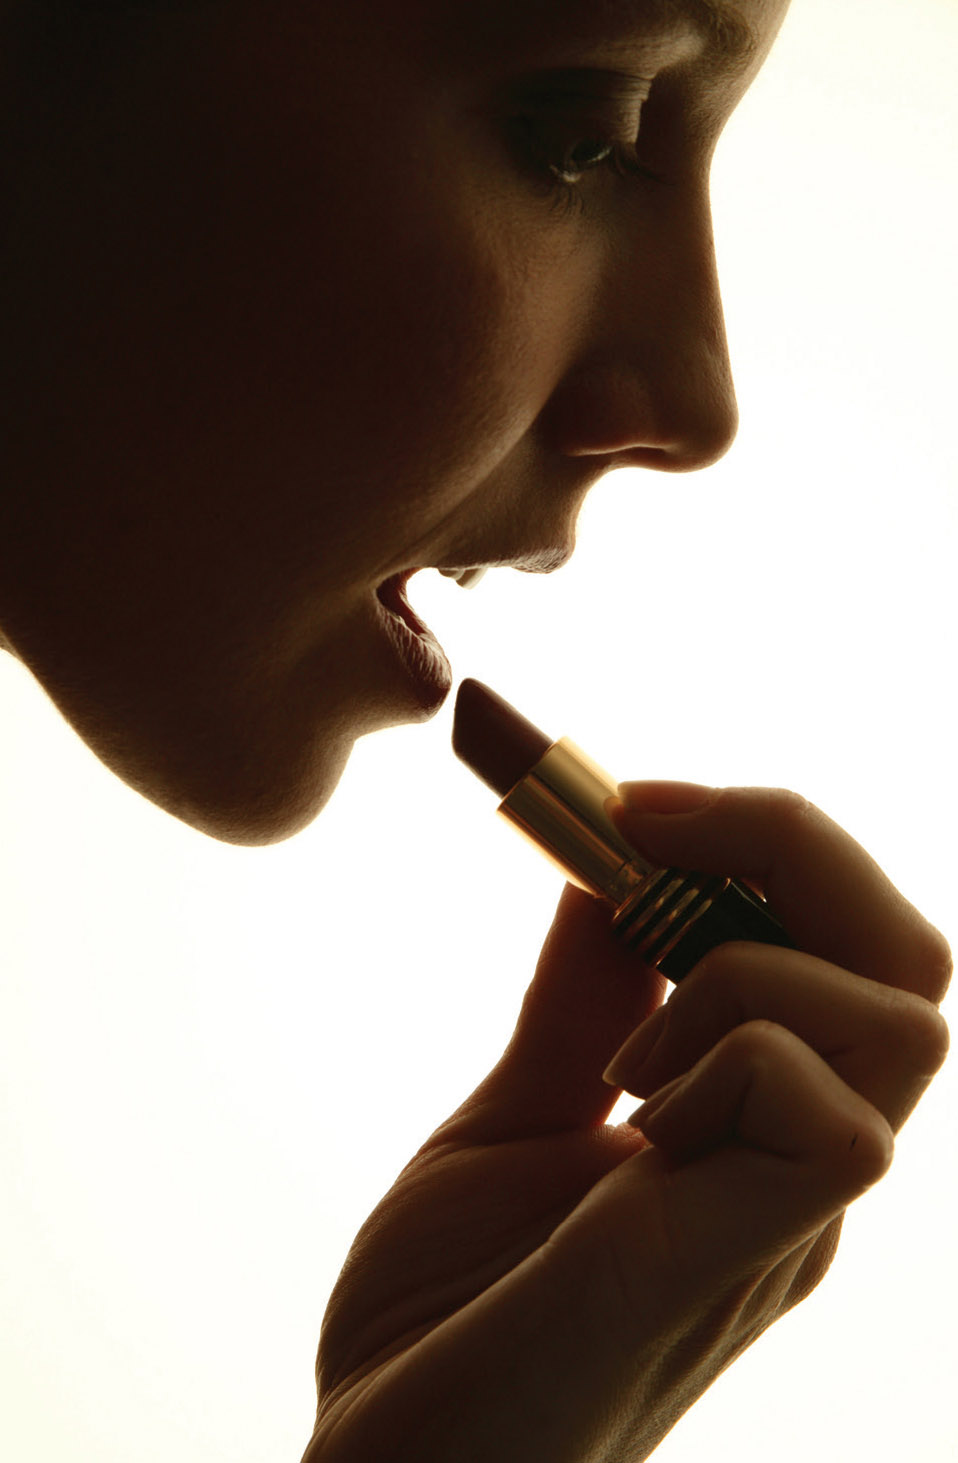
Simple but evocative.
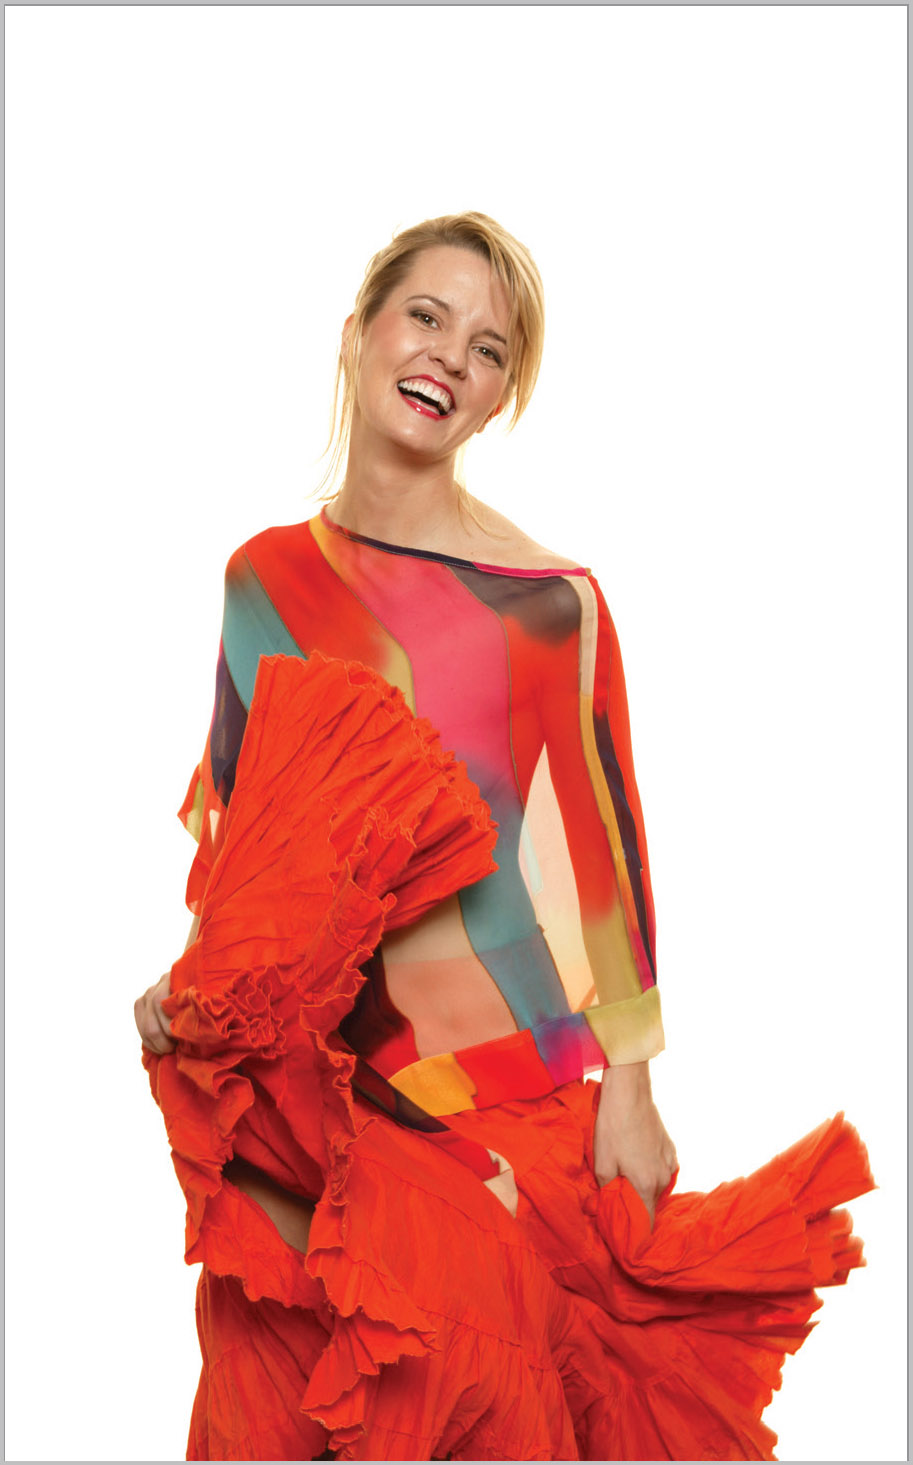
Adding front light keeps the background bright but adds color and detail.
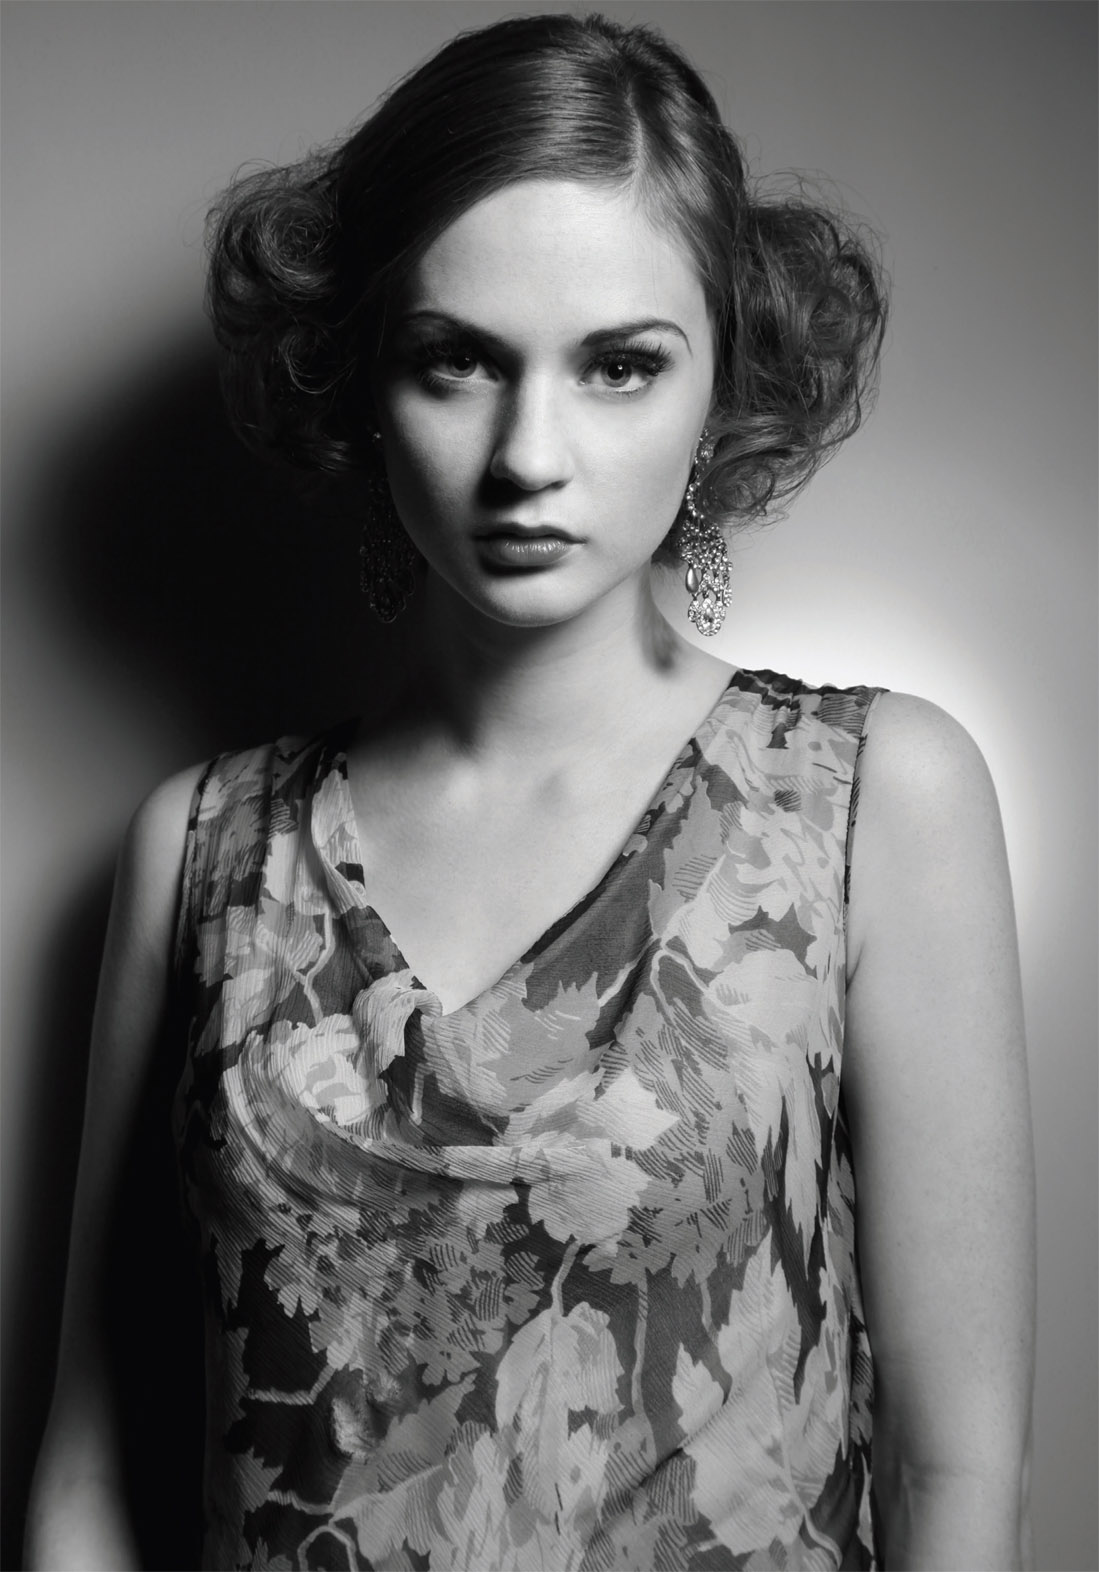
Shadows next to highlights with no burn. Unless they read my books, your competitors may never figure this out.
Of course, you shouldn’t ignore what might happen if you put your subject on the other side of the Plexi sheet. The light from behind will hit the subject with more strength than it exhibits when it comes through. It will wrap around the subject and shoot through some detail, like the satin of the woman’s robe. The sharpness of the image, that is, the amount of detail that will show through, will depend on how close that detail is to the sheet. It will become more soft and blurry as the distance from the sheet increases.
Another creative option for this product is to place it on top of two sawhorses with a softbox underneath and set close to the acrylic (or buy a second, smaller piece—say, 3×4 feet). I typically run a frame of 1×2-inch lumber under the acrylic to keep the sides level. I also use a nail plate as the anchor point for the softbox.
Power the light coming through the acrylic to be at least a full stop brighter than any other light you might use. I like to use a simple parabolic because of the snappy, contrasty light it creates.
I encourage you to experiment with acrylic and the ways I’ve used it. You may like the exposure ratio I’ve proposed, or you may like something entirely different, but I think the relative low cost of acrylic (a 4×8-foot sheet is cheaper and larger than any softbox) makes this a “must try” for anyone interested in upping their game and jumping over the competition. I think you can also see why I think this material is so creatively flexible.
Softbox
That said, you can spend more money and buy a large softbox, an approach that may offer more creative opportunities for you. If you’re leaning toward this decision, buy the largest you can afford. Chimera’s 5×7-foot softbox is just one that comes to mind, and there’s also Lastolite’s HiLite, an innovative but dedicated approach to a high key background. Neither are considered cheap tricks, but let’s take a quick look at how to use a softbox to get yet another unique look.
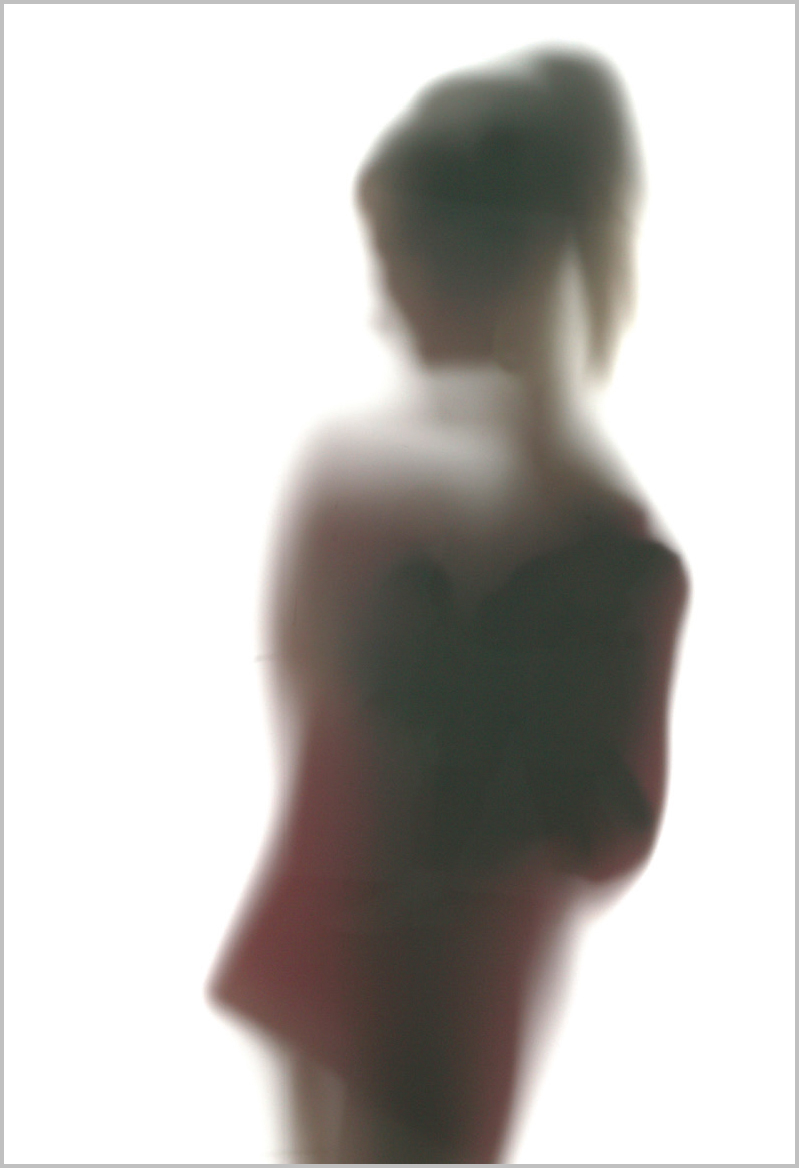
Shooting through barriers has always intrigued me.
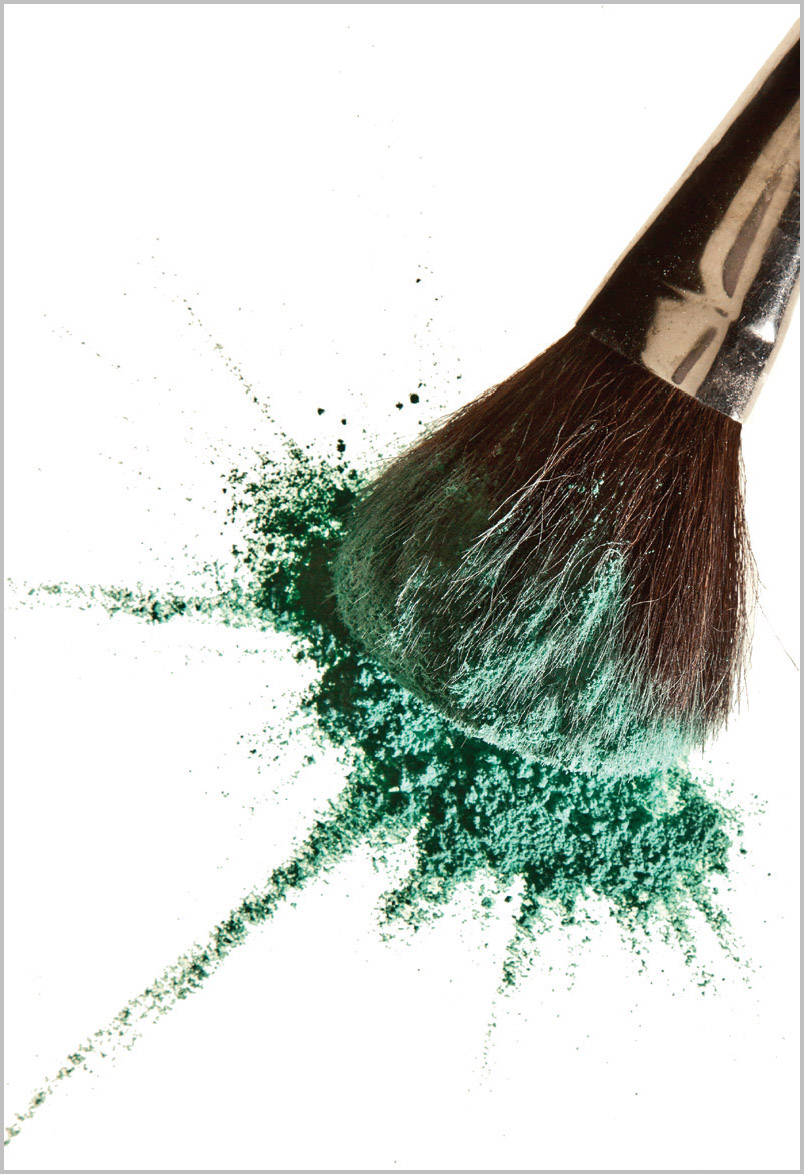
A small piece of white foamcore provided a little fill for the shadows and the medium reflection in the chrome.
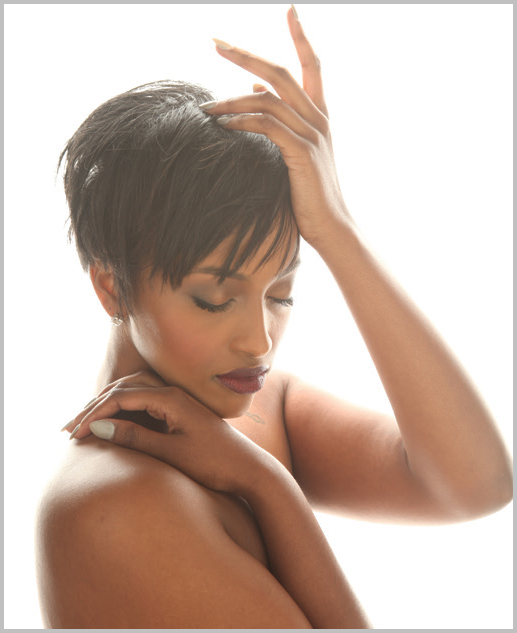
At 3 stops over, the subject begins to look washed out.
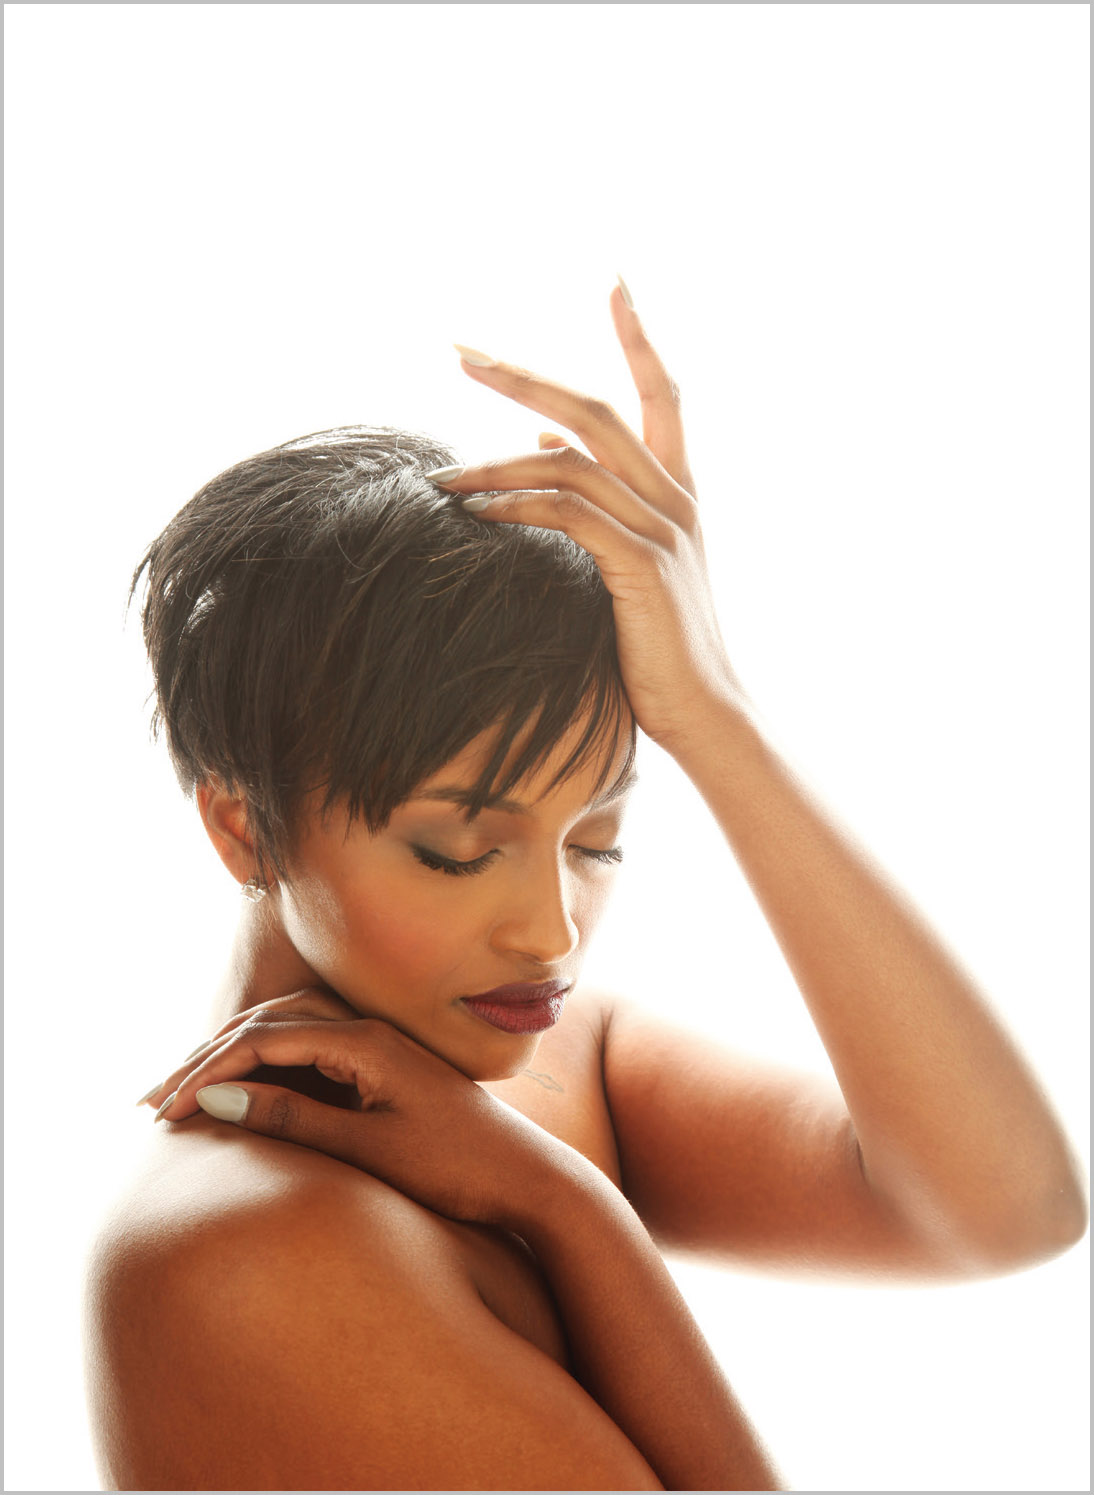
A simple Photoshop trick makes the shot look even better.
I set my largest softbox, a 4×6-foot unit, directly behind my model. A softbox will expel light differently than a sheet of acrylic because the box acts as a mixing chamber. When light bounces around in all directions to make it even, it’s a certainty that it will exit in many directions. You can use this to your advantage, especially if you use the bookend bounce (see chapter 18) as your main light.
The distance of the bookend bounce from the subject will determine the working f/stop because you’ll take your reading off the subject’s face, and that f/stop will change as you move the card closer or farther away. For an effect like this, I like about a 3-stop difference between the light exiting the softbox and that bouncing back from the bookend. As you can see, though, there’s so much light that the model looks a bit washed out.
The solution is elegantly simply: Duplicate the Layer in Photoshop and set the Blending Mode to Soft Light. The result is pretty nice.