16. COOKIES AND REVERSE COOKIES
Cookies: Not Just for Girl Scouts Anymore
Hollywood photographers and film makers of days gone by frequently threw patterns on their backgrounds by pushing light through some sort of shape. These shapes, called “cookies,” gave the impression that the subjects might be someplace other than where they actually were. This was especially true in the film noir style of the mid-40s to mid-50s, where dark shadows and shapes defined the sets as much as the actors.
Prior to my model’s arrival, I built a simple cookie by attaching three strips of cardboard, horizontally, between two light stands. An additional vertical strip was attached in the middle. A bare-tube strobe was placed about 4 feet from the pattern and angled to throw a believable but out-of-focus pattern on my white paper background. The light was blocked from hitting the model by a black bookend. An additional piece of 30×40-inch black foamcore was clamped to another stand and raised to block light from hitting the top of the background.
Behind the black bookend, I placed a strobe with a beauty dish fitted with a 25-degree grid. This is nothing new, as it’s one of my favorite hair light combinations, but to soften the light further I covered the dish with a diffusion sock, an elastic-rimmed piece of translucent cloth that’s stretched over the dish. The socks are somewhat expensive but are flimsy because the cloth is so thin. A usable and inexpensive solution is to buy a piece of cloth at a fabric store, stretch it across the bowl, and tape or clamp it in place. Be aware that you’ll need to color check this setup before actually using it for a paying job, as it may look neutral but may skew the color. Obviously, anything that’s too far off-color shouldn’t be used, but you should be able to try many pieces of cloth for the cost of a diffusion sock.
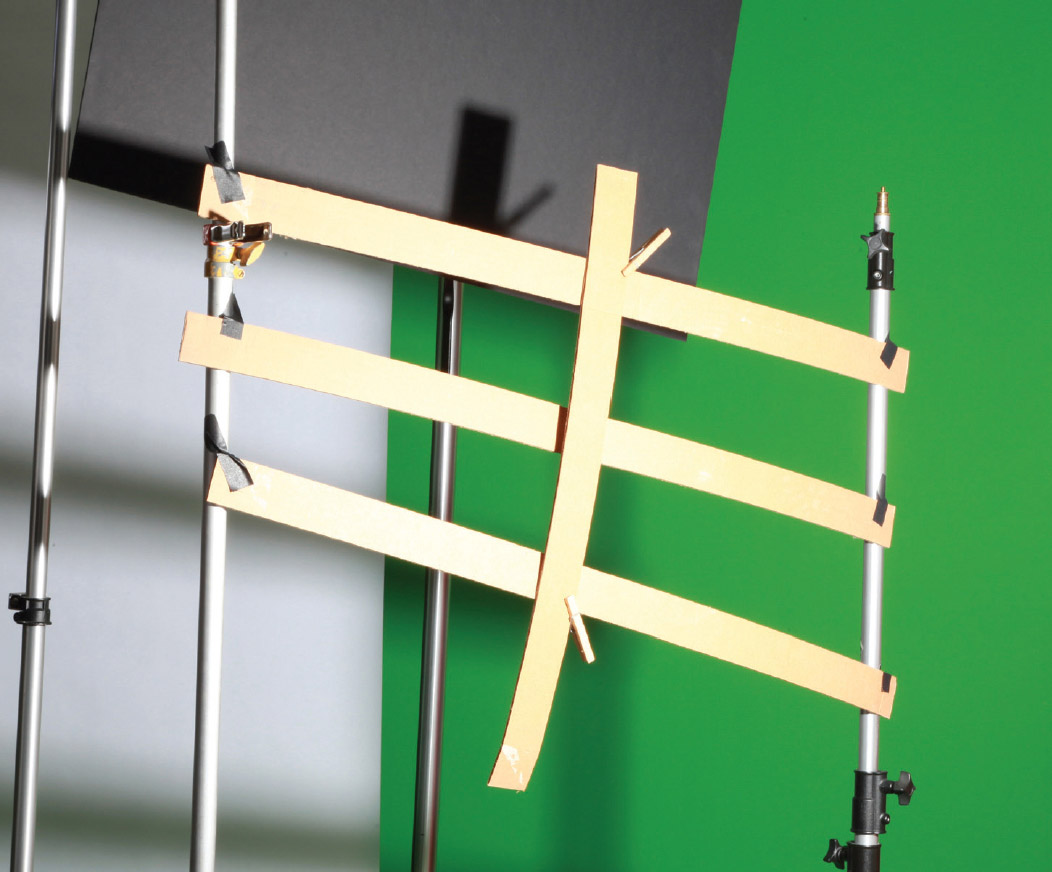
Elegant? Not a chance, but it will look great!
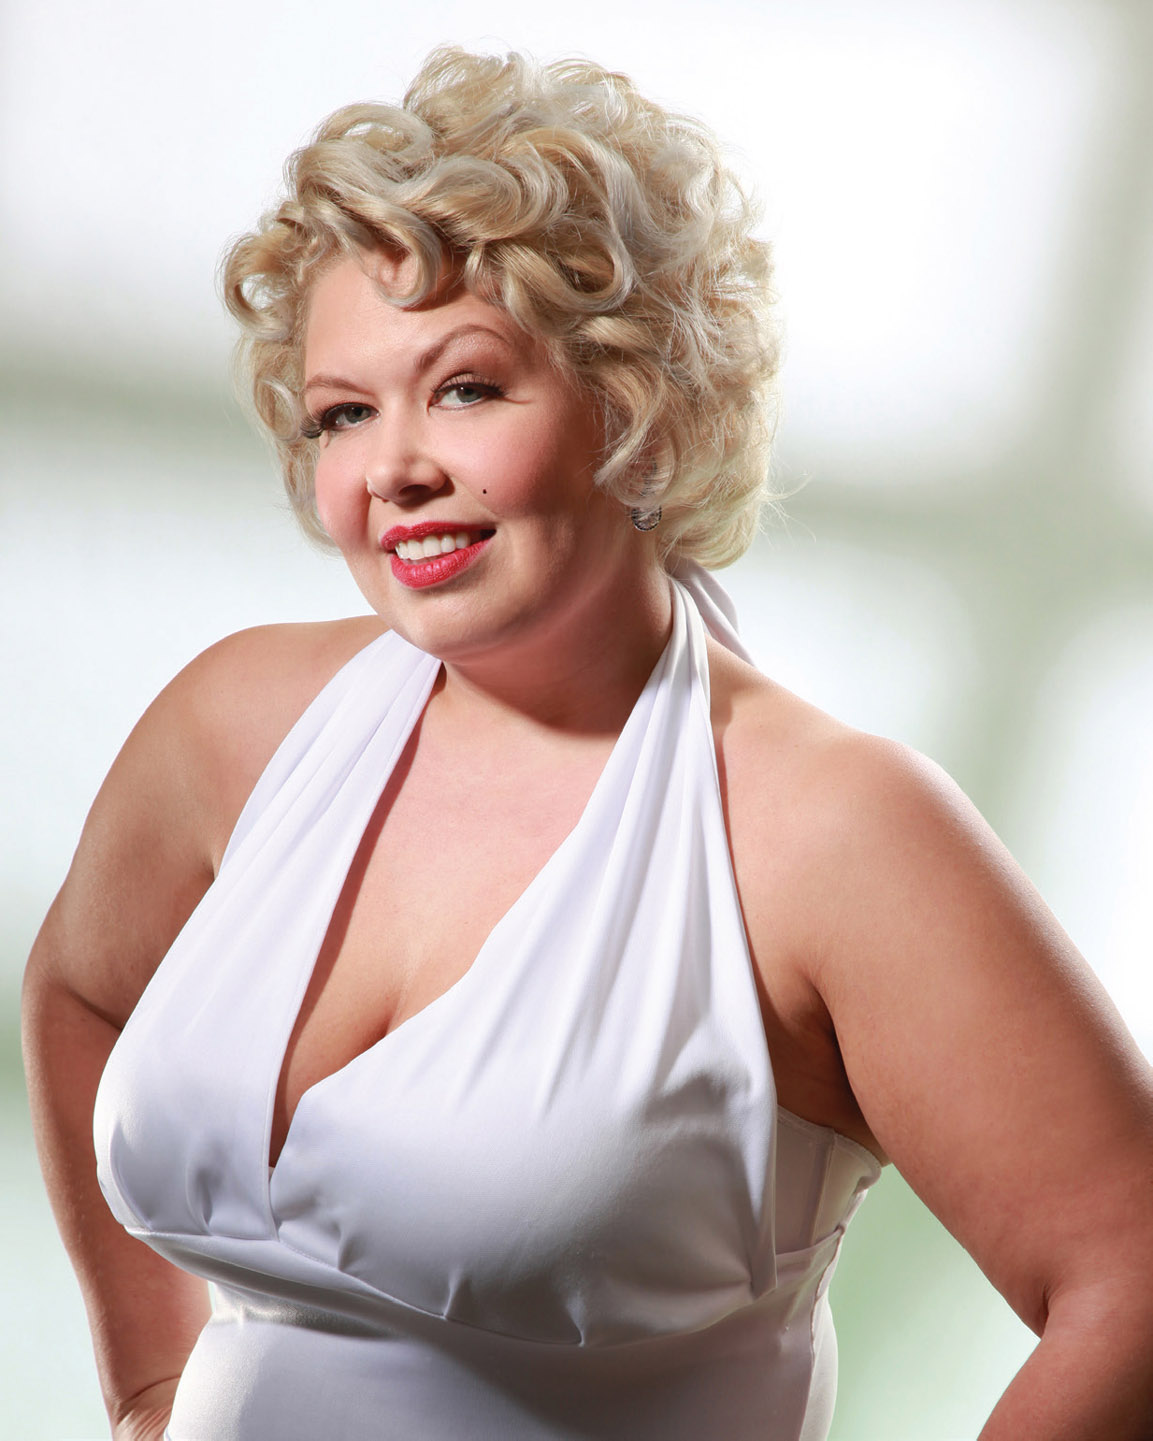
Shadows from a cookie are not something one sees immediately, though they add to the illusion.
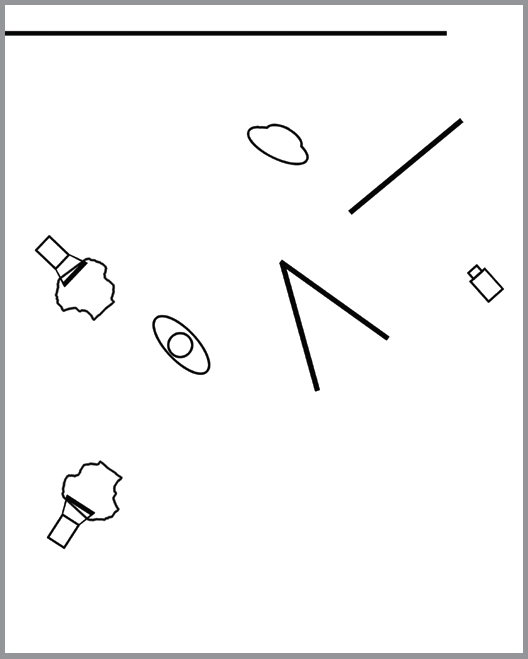
Note that the light from the strobe is blocked from hitting the subject.
I wrapped two parabolic reflectors with Cinefoil (see chapter 9), placing one where the main light would be and the other off to camera left, to add an accent to her side.
With the model on the set, I turned on the main light and crumpled the Cinefoil into a shape I liked, an irregular circle that would illuminate her face but fall off over distance. The second light’s snoot was bent into a tighter shape and aimed to accent her bust with a little extra light across her camera-left arm. You can see how tightly controllable a modifier like this can be. Both of the accessory lights were powered ⅓ stop over the main, while the light with the cookie metered a full stop over the main light because I wanted a pure white background with a hint of window shape. The end result? A very successful image.
The Reverse Cookie
So, let’s see what happens when we use light to create the pattern instead of shadow. Shortly before I wrote the first edition of Master Lighting Guide for Portrait Photographers (thank you all for making it a genre bestseller!), I created what I called my reverse cookie. This light modifier is made by breaking several ⅛×12×12-inch mirrored tiles and gluing the pieces onto a sheet of ¼-inch plywood. Light hitting the pieces could then be directed to the background, creating a pattern of light instead of shadow. Wear heavy-duty gloves when you make yours and be sure to use glue designed specifically to hold glass.
The reverse cookie was attached to a Matthews clamp by a 4-inch nail plate and placed on a light stand. As you can imagine, a hard board covered with shards of glass is a dangerous thing and is probably not a practical accessory in a children’s studio. Wear gloves when moving or attaching it and use a sandbag to secure the stand.
This accessory can be easily rotated to find the right placement for the highlights.
I set the reverse cookie behind and to the left of the model, aiming it toward the background. To light it, I used a standard parabolic with a grid to control the spread of the light. I positioned a black bookend to keep spill light off the model. The reverse cookie was between the camera and its light, and thus became its own flag, keeping light from hitting my lens. I metered the reflection at one of the hot spots and adjusted the power to be brighter than the main light. My model stood about 12 feet in front of the background, so the power of the main light fell off by the time it reached the background. As a result, the reverse cookie’s reflections were quite dramatic.
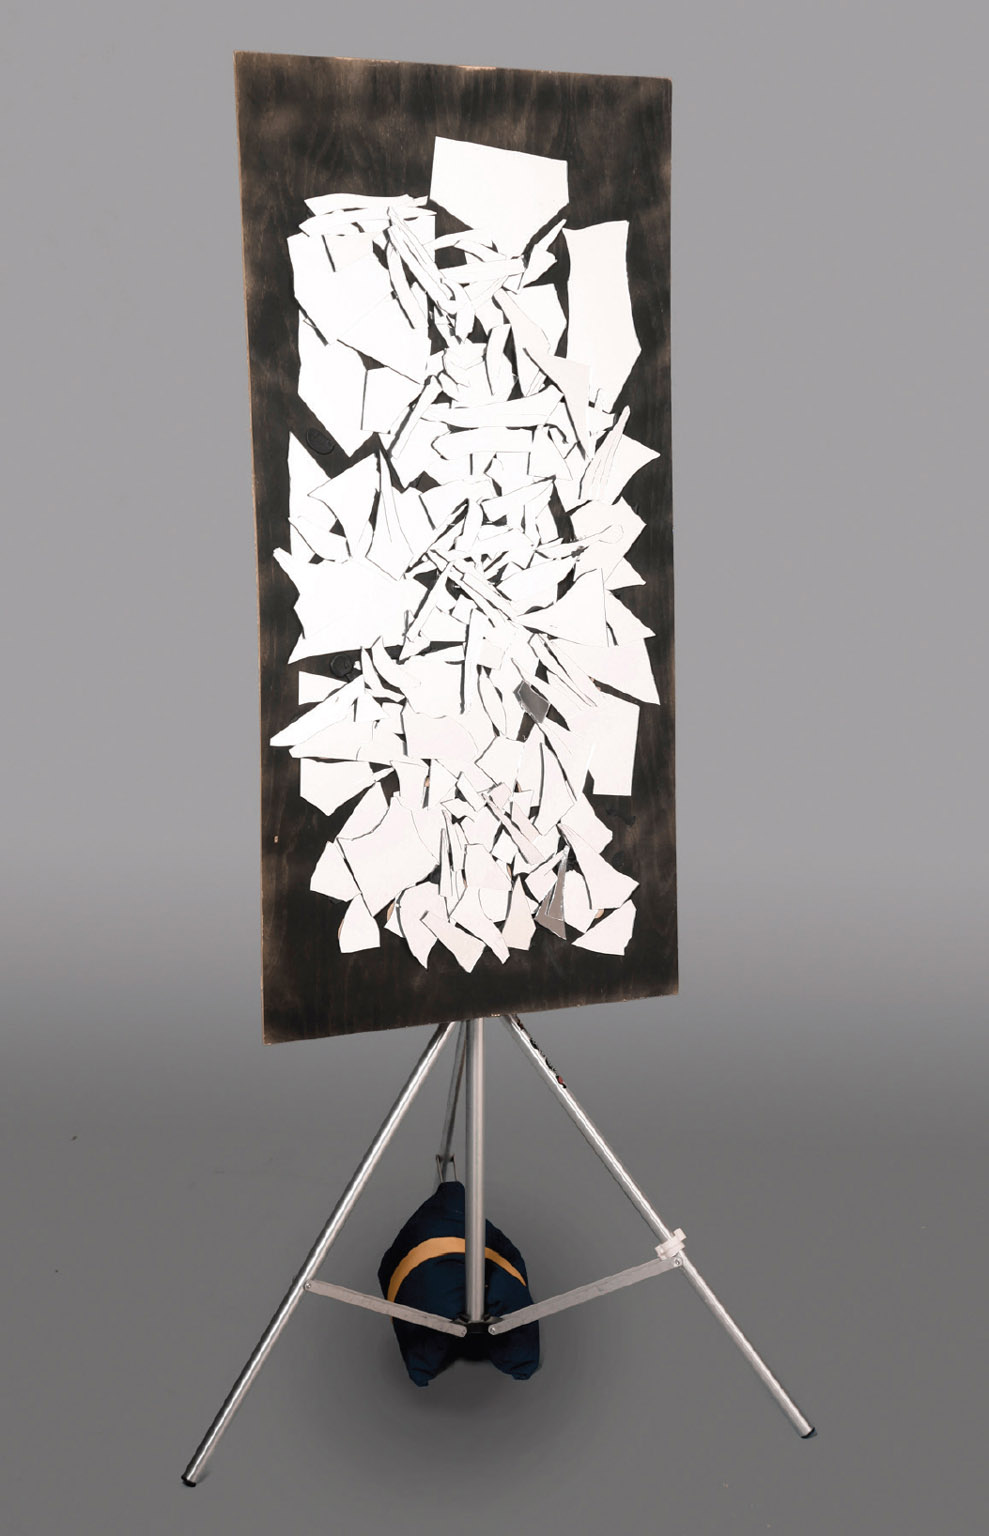
The finished piece is pretty, but it’s a little dangerous.
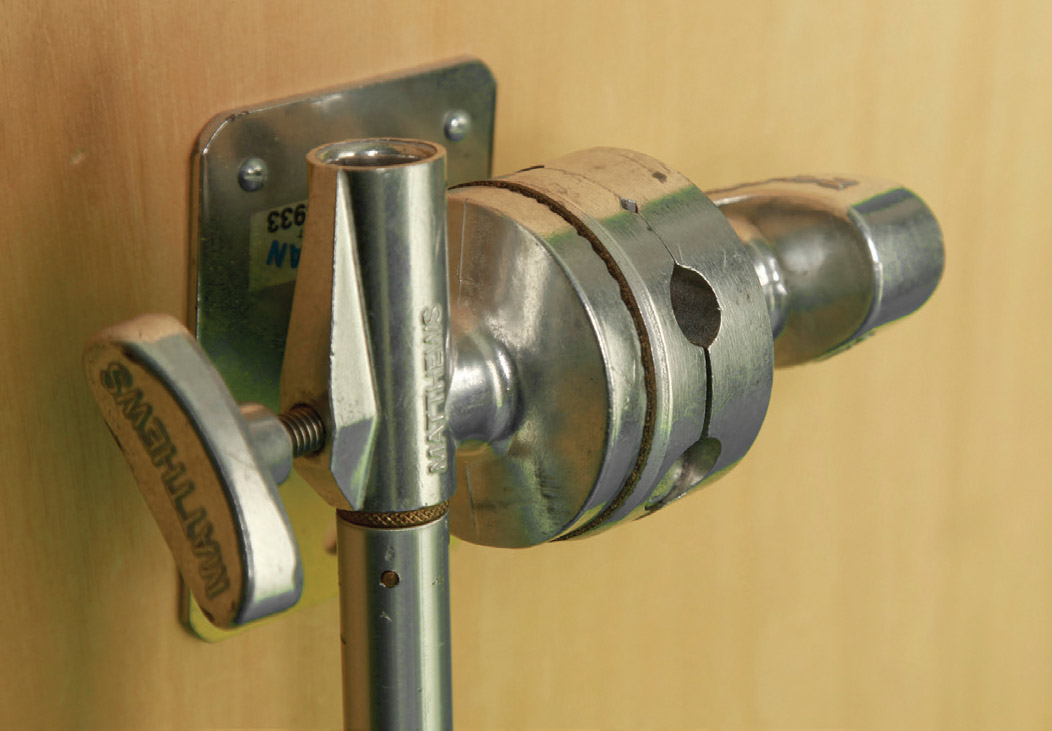
The reverse cookie was attached to a Matthews clamp by a 4-inch nail plate and placed on a light stand.

This image shows the light pattern cast on the backdrop by the reverse cookie.
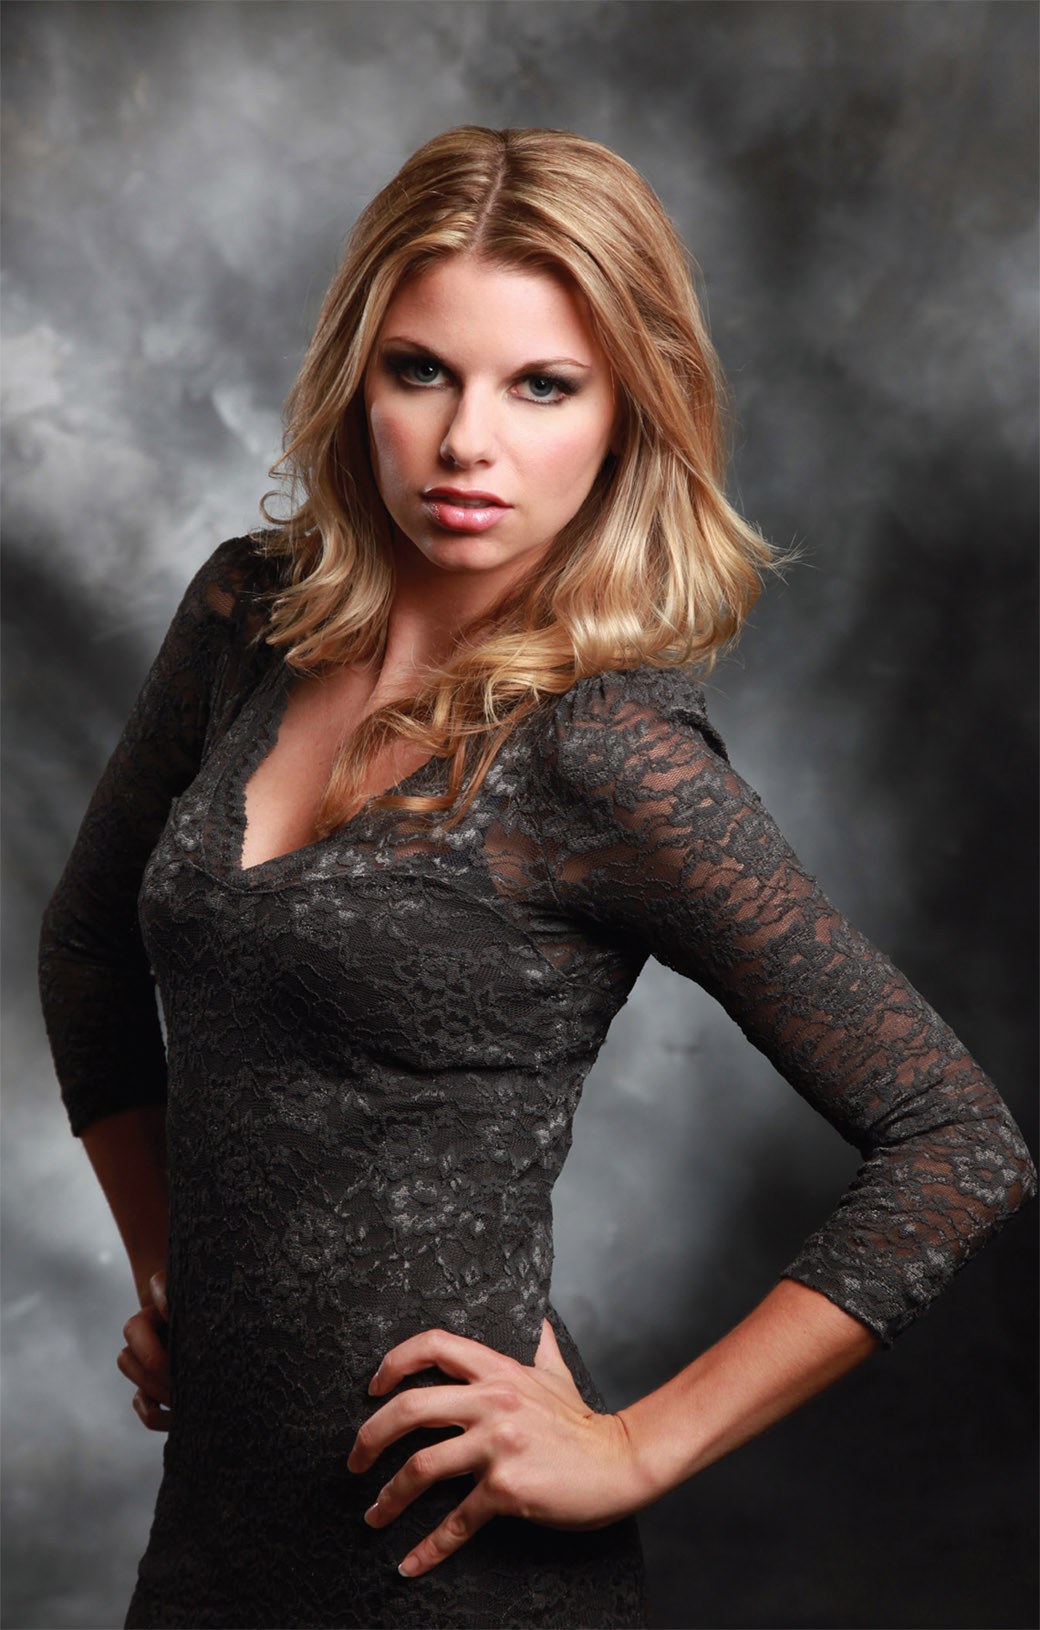
You can vary the drama by changing the distances of the light and the model to the background.
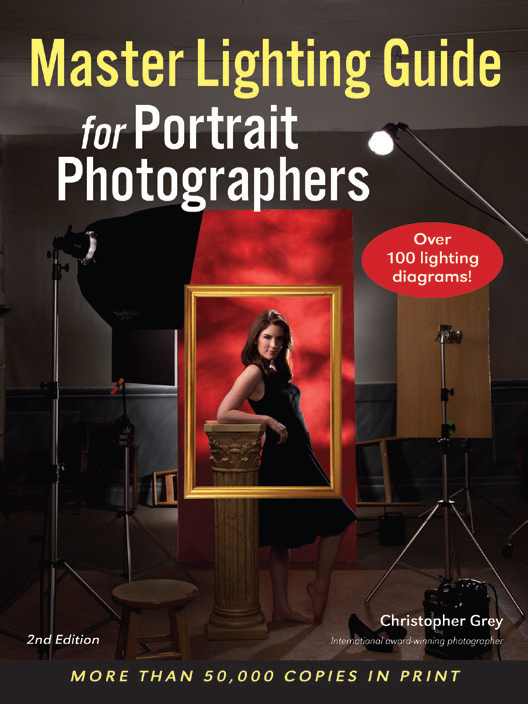
Using the reverse cookie worked great on this book cover.
The reflected light is mysterious and evocative. This is one more technique to pull out of your bag of tricks.
Of course, you can use the reflections themselves to create interesting editorial or stock images. I’ve used the approach many times and for many different effects and uses. The beauty of it is that most viewers will be intrigued by the images without quite knowing why.
Of course, shooting straight into it might be a creative adventure, too.
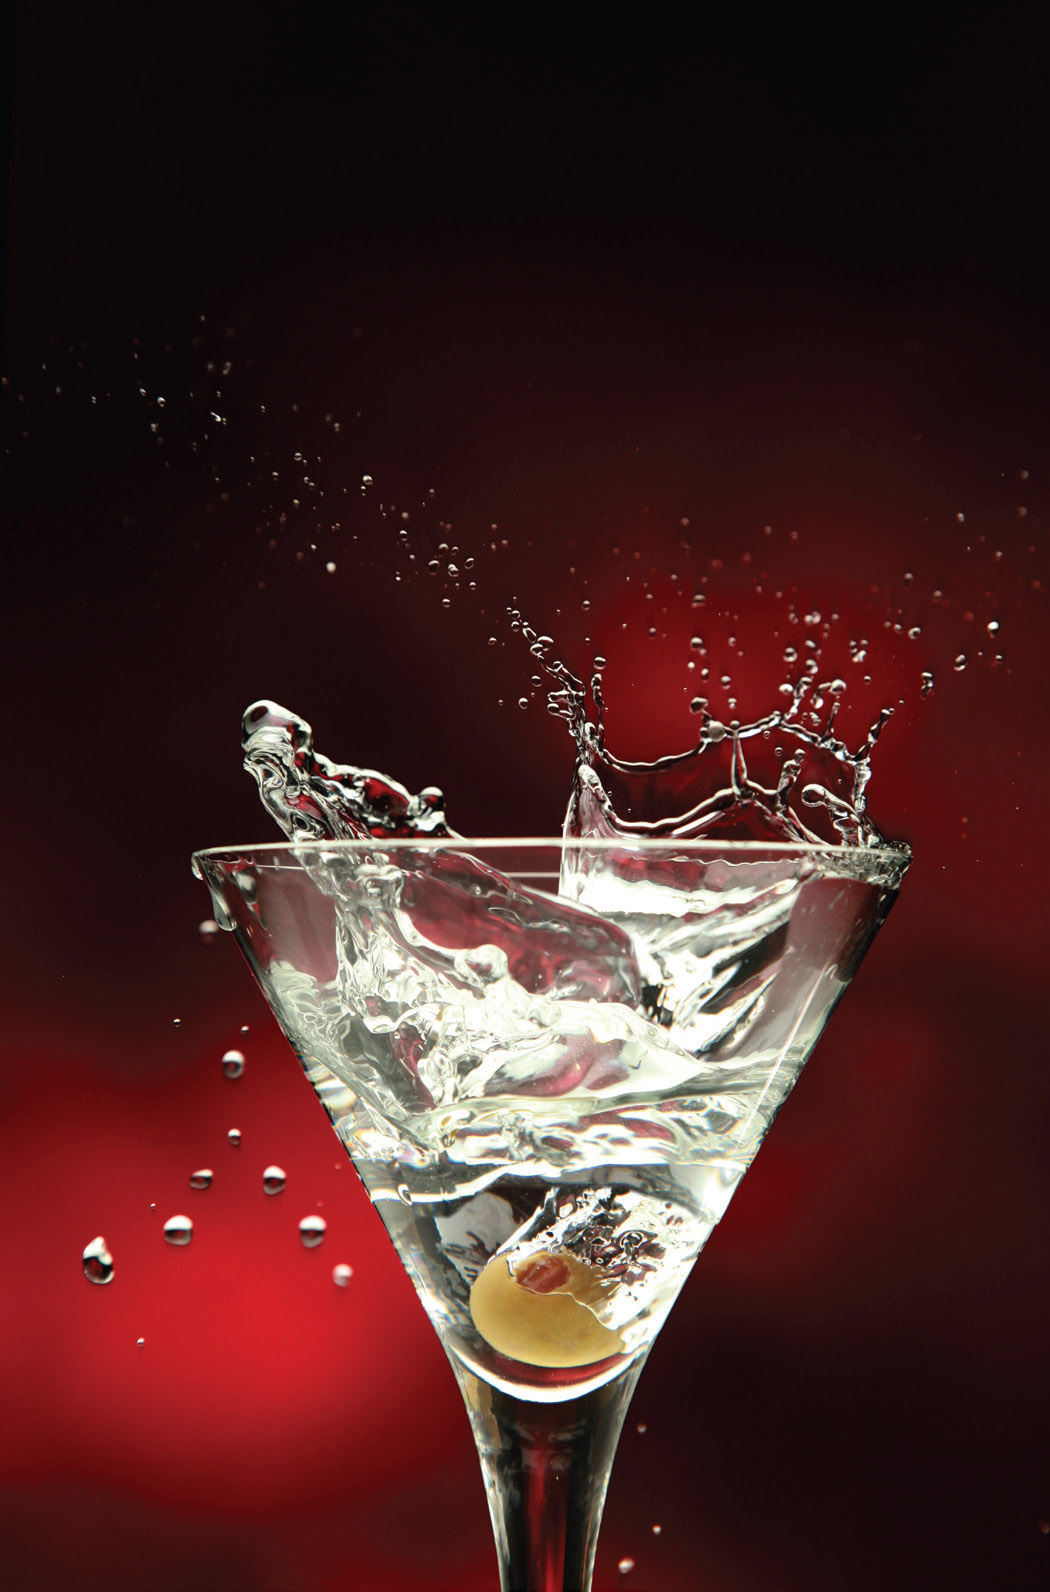
The effect is subtle enough for small products.
I can think of several movies that used this cheap trick.