Get Your Flash Off of Your Camera
I’ve never been a fan of some of the minimalist lighting websites that preach five-star results on a one-star budget (Look! I made a beauty bowl from a cake pan!), but I have frequently been asked if the effects of large studio strobes can be duplicated with small accessory flash units. Simply, the answer is no. Accessory flash units are just that, accessories, and have a limited potential mostly due to their small power output. That said, with a little planning, accessory flash units can be used to create stunning lighting effects that, in limited ways, will mimic conventional softbox effects.
Accessory flash units, the kind you’d slide onto your camera’s hot shoe, have become very popular as off-camera lighting. They can easily be fired wirelessly, take up far less room than traditional studio strobes, and are very portable. There are downsides to using these units, not the least of which is the small size of the source. Unless the light is modified with some sort of diffusion or bounce, it will be contrasty and show sharp shadows. This is not always desirable.
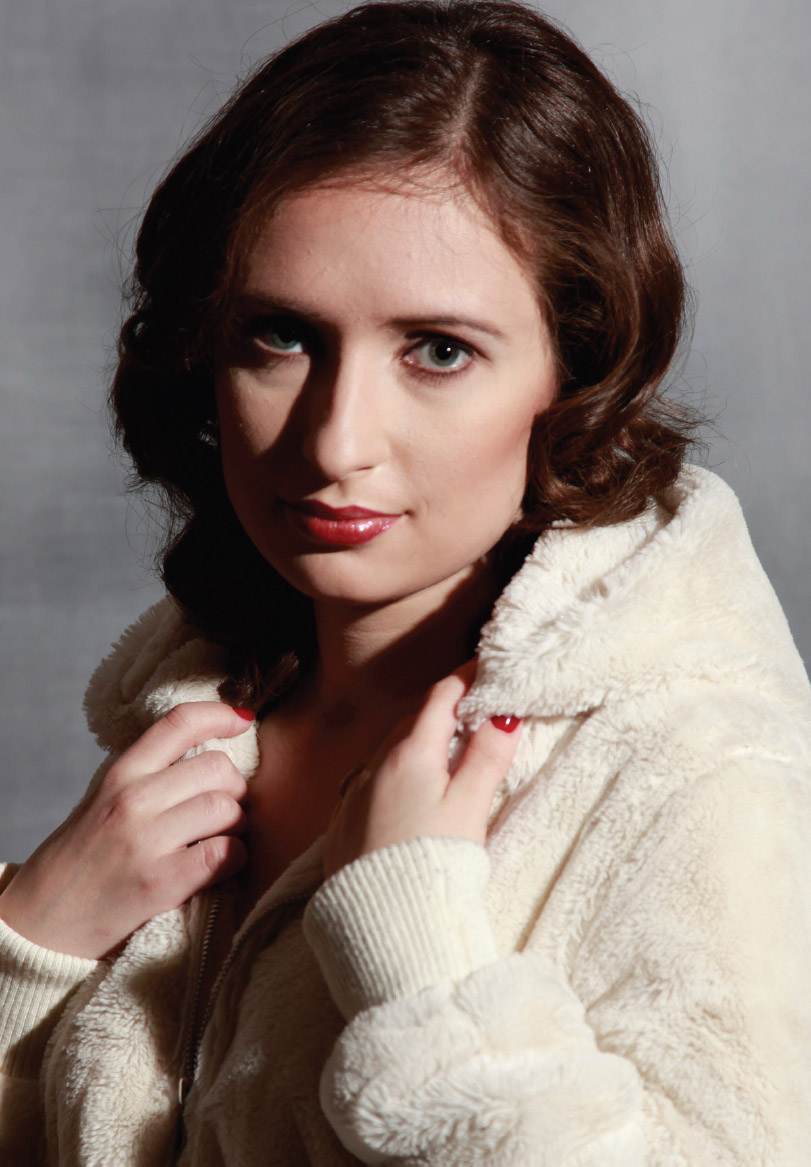
Because of its small size, accessory flash can be quite contrasty.
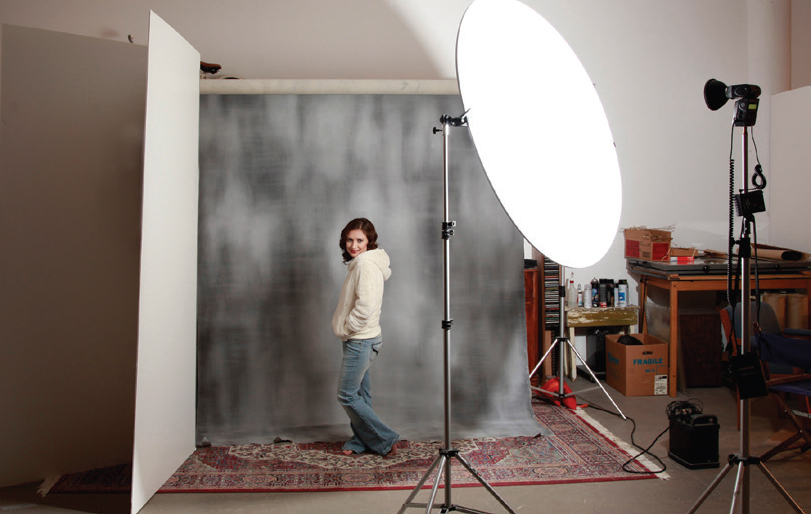
Set the accessory flash far enough behind the diffuser to fill it with light.
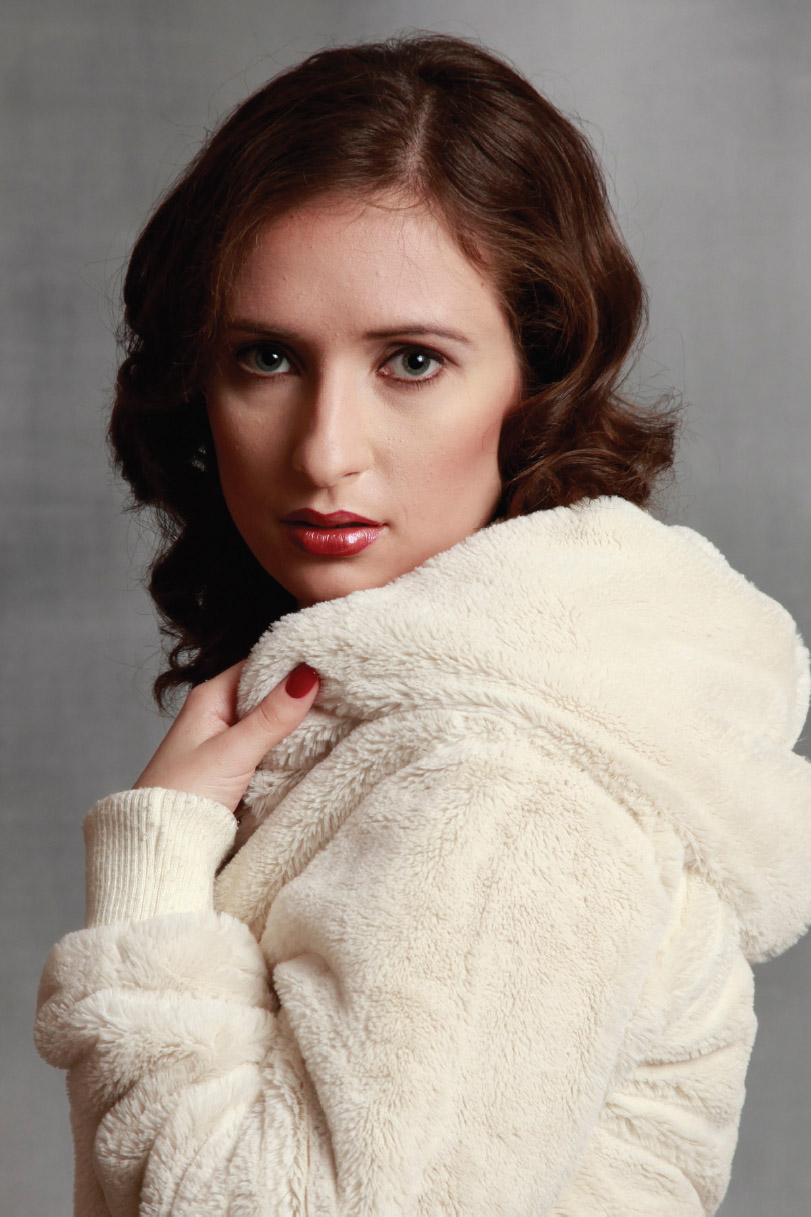
The shadows are now soft and open.
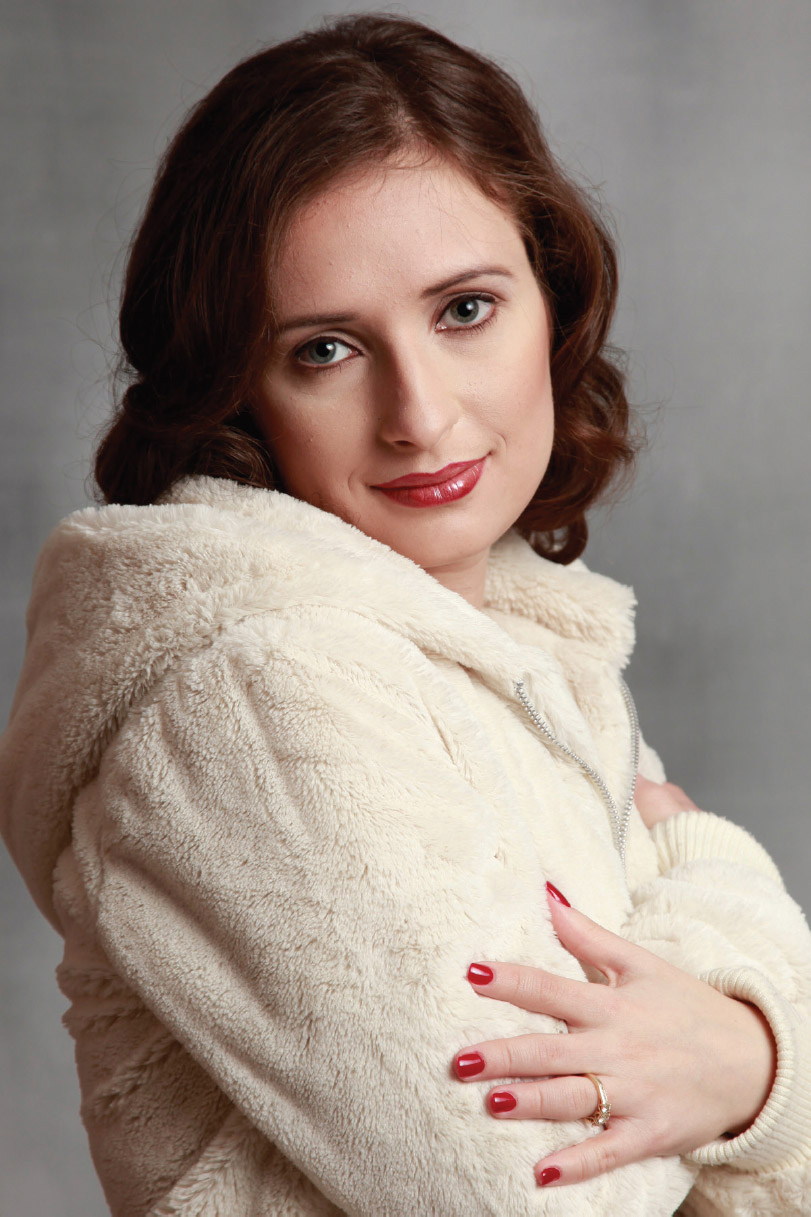
Turn the subject toward the light for variety.
The first step to a more “normal” look is to set up a diffusion screen in front of the accessory flash. I’ve used a 54-inch collapsible diffuser and moved the flash head far enough back to evenly light the entire device. Care should be taken to ensure that light doesn’t spill over the edge and onto the subject, but that’s easy to check on the camera’s LCD. The flash should be used in a Manual setting and measured with a flash meter. If used in Auto mode, the flash will read the light bouncing back to the sensor and cut its power as necessary. While the light might be usable, the output may not be consistent. A Manual setting will deliver the same amount of light to the diffuser with every charge.
A white bookend can be added a few feet away from the model, to open up the shadows.
The improvement that adding a bookend offers is instantly obvious when looking at the newly softened shadow edges and the visible detail in those shadows.
I angled my model more toward the camera to wash clean, soft light evenly over the planes of her face. Because the diffuser is so large, light wraps even more deeply into the shadows. This is a wonderful example of a one-light portrait in a studio setting using a relatively inexpensive setup, especially when compared to traditional studio equipment.
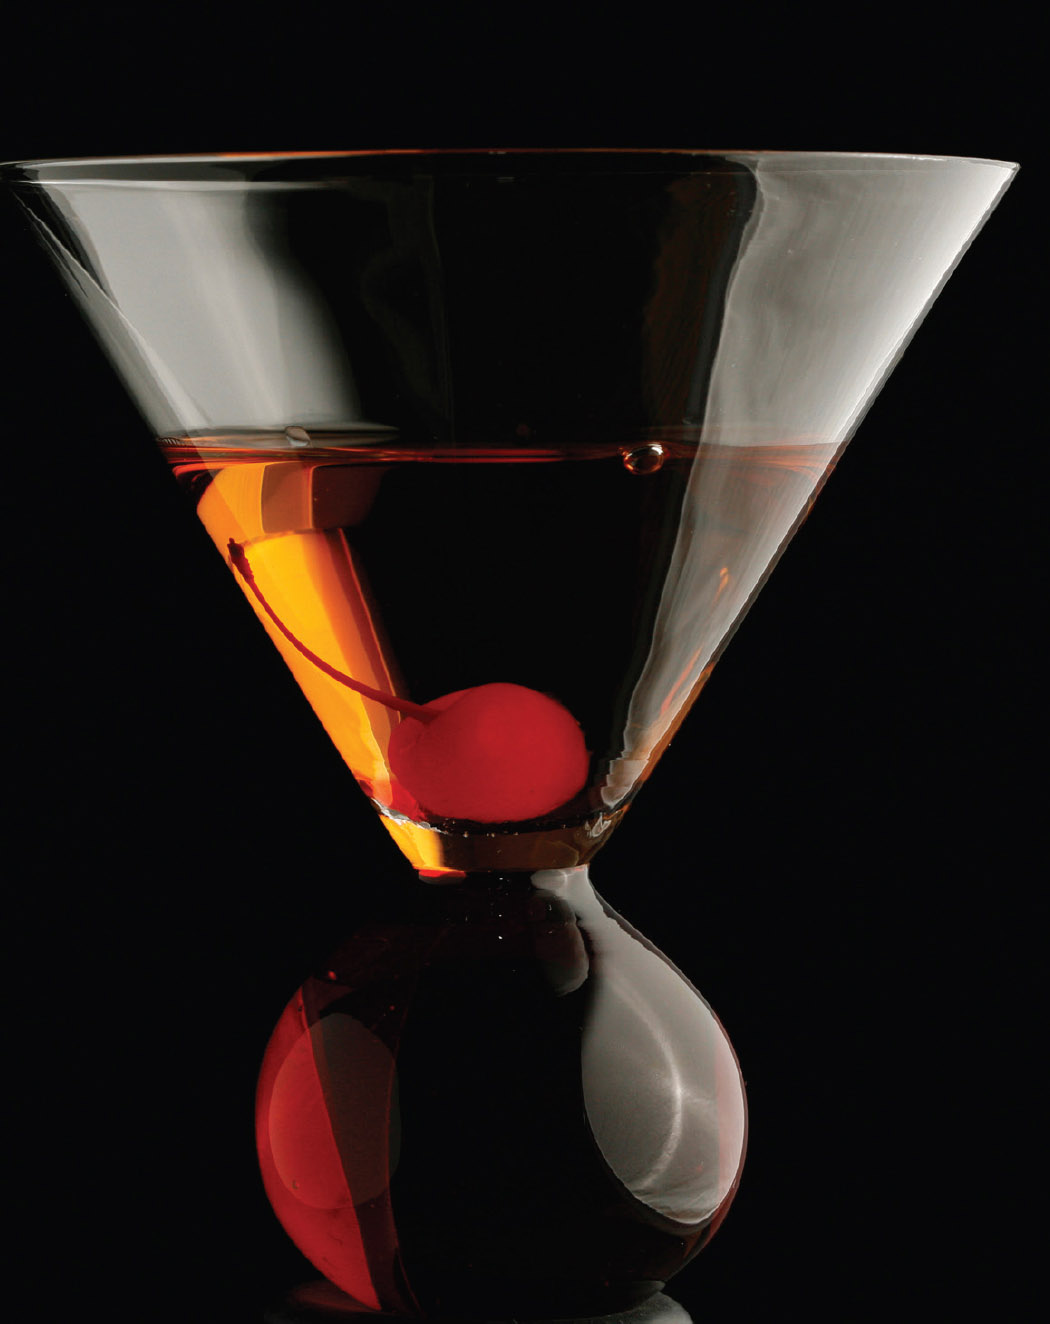
This shot is total pro but really easy to do.
This simple setup can be used to light small products as well. I used the same setup for the drink as I did for the model but moved everything closer to the product. Glassware can be fun to work with because the reflections and refractions can be so interesting.
Here’s another way to approach this: I had contracted for a shoot with Alex, a beautiful woman who wanted some glamorous images to offset the editorial flavor of her existing portfolio. I often approach these shoots on a number of levels and ask myself several questions between the booking and the shoot: How can I get the most mileage out of this session? What can I do that will stretch my technique? Could this be an educational experience for my readers? Where am I going for lunch?
For years, I’ve used large softboxes—4×6 feet each—to produce very soft, even light. These are terrific light modifiers, but they are quite expensive, regardless of the manufacturer. I decided I’d try to use something completely different, white bed sheets along with accessory flash units to create an even softer look than I was used to with the large softboxes. I used my trusty Canon flash for the main light, but the other two flashes were very inexpensive slave units I’d purchased years ago. As long as the unit has manual output and a built-in slave, you’re good to go. (Note: You can find older gear at low prices on eBay or similar websites.)
I began by hanging a twin-size white bed sheet on each side of a 4×8-foot sheet of Styrofoam that I’d previously painted in mottled shades of blue and gray. The sheets were hung about a foot away from the edges of the background. I placed a small accessory flash unit outside of each sheet, about 3 feet away, directly across from where Alex would be standing. I placed a third flash directly over the camera, beaming it into a 52-inch white diffusion panel. This unit was set far enough back from the panel so the flash would fill the space and light most all of the panel, but not so far back that light would spill over or under it. Each strobe measured the same power when fired individually onto the spot where my model would stand.
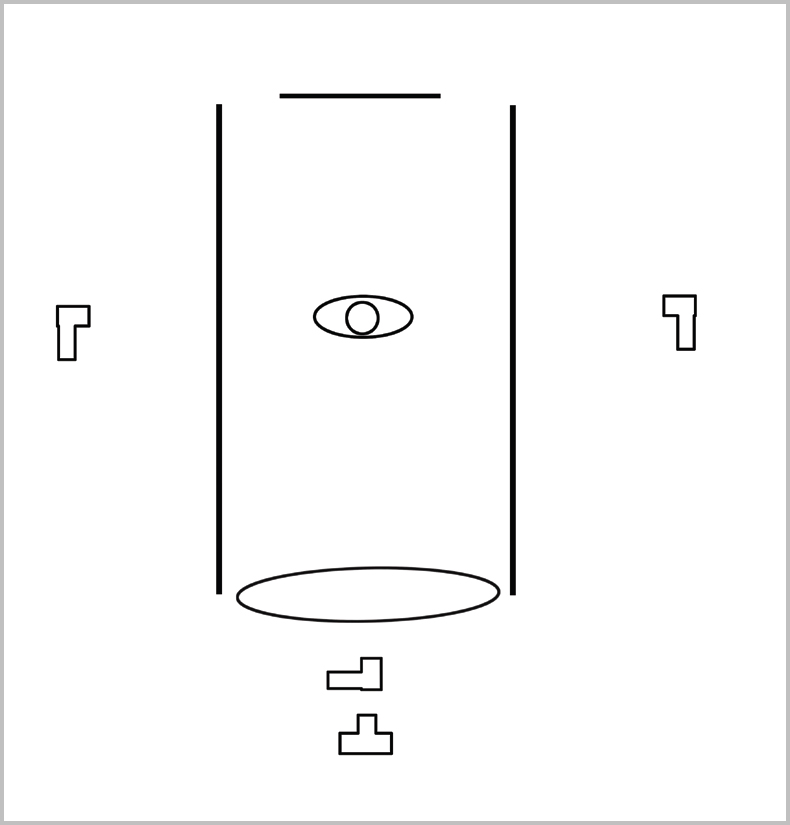
If you’ve got the room for this setup, you’ll be amazed at the results.
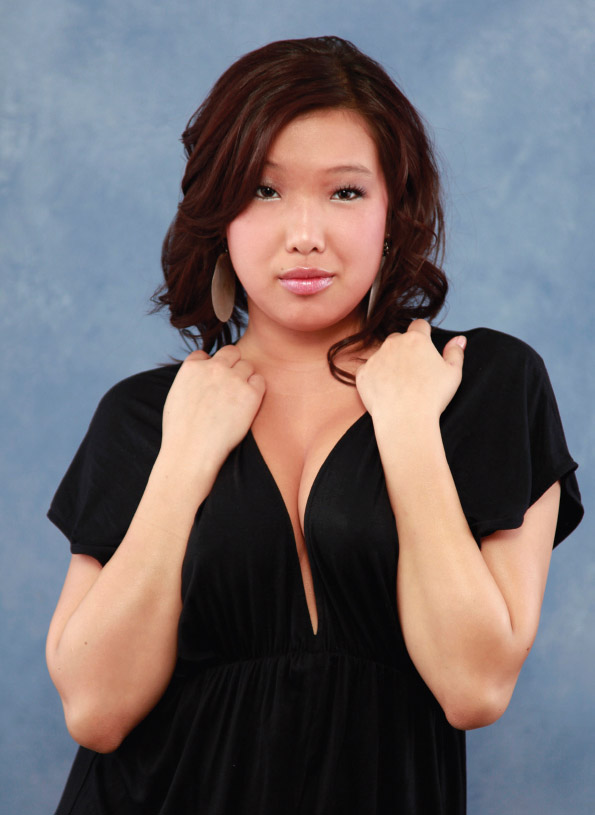
Add colored gels for variety. Don’t forget to re-meter.
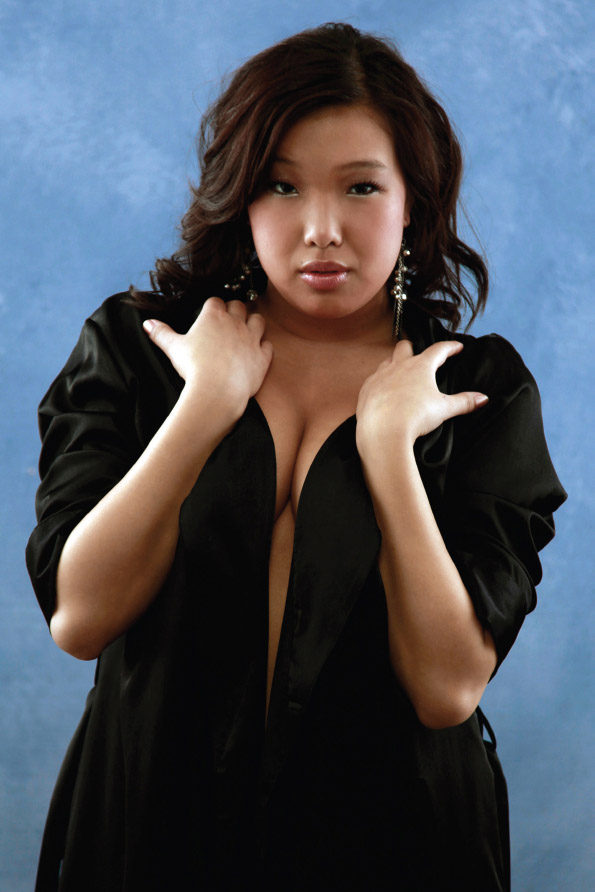
Using just one light works, but the look is different.
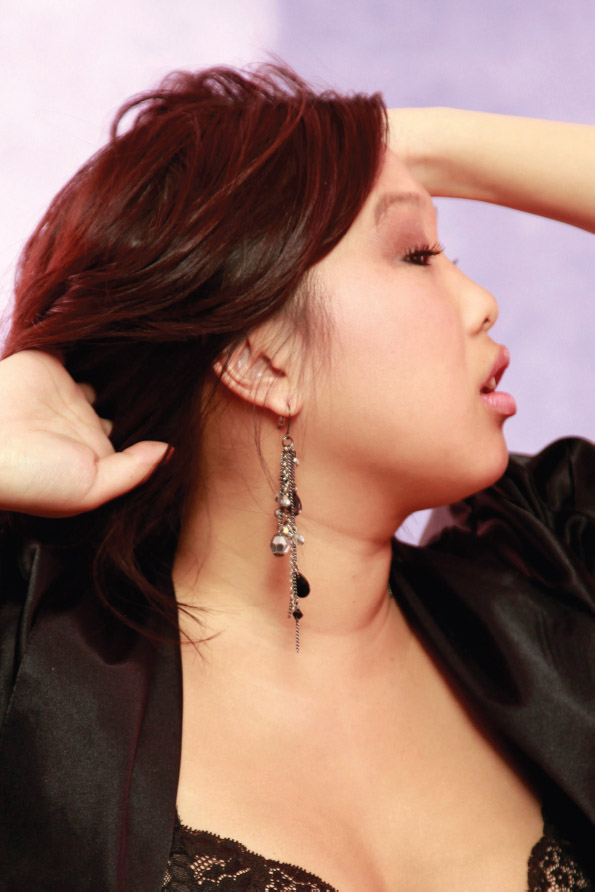
Super-soft, even light with wide-open shadows.
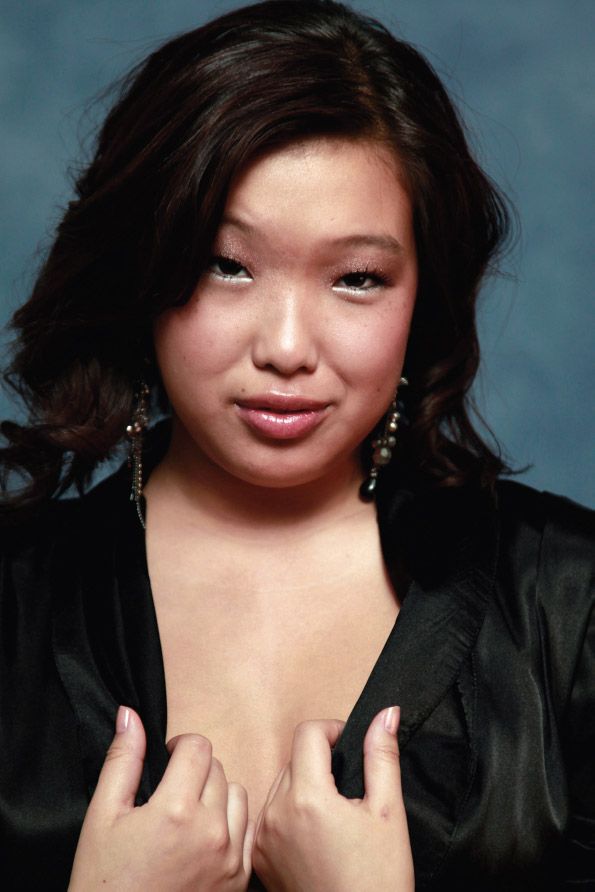
Cutting the power to the overhead light allowed for contouring.

I swapped the side flash units for strobes and small softboxes.
A couple of words of caution here: The flash units must be set on Manual power and you must use a flash meter to measure them. If you use flashes set on Auto, you will get minimal power through the fabric because the flash will measure the bounce-back and turn itself off prematurely. Most contemporary flash units are variable in ⅓ stop increments, while older units may be adjustable in full stops only. Be sure to meter each flash individually until you get even readings, and then meter them all together to get the working aperture. One other “must-do” is to perform a custom white balance at the working aperture, to ensure that any color discrepancies in the diffusion materials will be neutralized.
All three of the flash units were used at full power. I wanted to cut the power on the overhead unit by 2 stops without making an aperture change, so I dialed the power down from 1/1 to 1/4, a 2-stop change. Flash ratios are noted in multiples of two: 1/1 is full power; 1/2 is one stop less output than full power; 1/4 is 2 stops less; 1/8 is 3 stops less; 1/16 is 4 four stops less, and so on. At –2 stops from the overhead unit, Alex’s face was shadowed but nicely rim-lit.
I added small colored gels to each of the side lights and moved them farther back so the light would just kiss the edges of her face and hair. There is no set formula for this, as different gels will absorb and transmit light at different percentages. You’ll need to do some re-metering (as I did) to determine the correct ratio. Notice how this simple addition changes the feel of the entire setup.
I was able to turn off both of the side flashes and light her just with the overhead flash becuase she had white reflective cloth on both sides of her. Even though she was only 4 feet from the camera (and about 8 feet from the background) there was enough light bouncing around from the single flash to illuminate everything—even the background—quite nicely.
Small Softboxes = Double Diffusion
One of the problems you’ll encounter if you use accessory flashes is the lag in recycling time, especially when the batteries start to wear down. When I got tired of waiting for all three flashes to recycle, I swapped them for studio strobes fitted with small (2×2-foot) softboxes and placed the two side boxes back in the original positions of the accessory strobes. The result is softer light due to the double diffusion, but the effect is quite close to that shown in the first image because the softboxes were small.
The white bed sheets became individual softboxes, each about 8×10 feet, without the hassle of speed rings or sandbags, and I was able to easily move them into the frame and use them as compositional elements. I moved the lights back to the rear of the set and positioned them so they would light the fabric all the way to the edges. I powered them to 1 stop over the main light, as measured on the model. After a quick background swap and wardrobe change, the result is quite lovely.
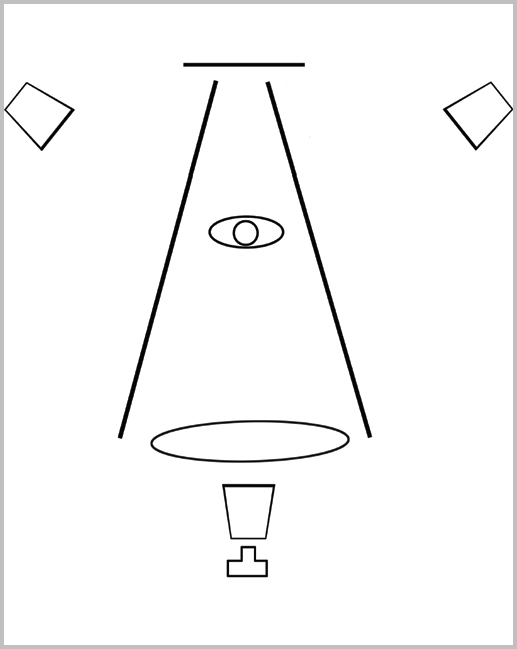
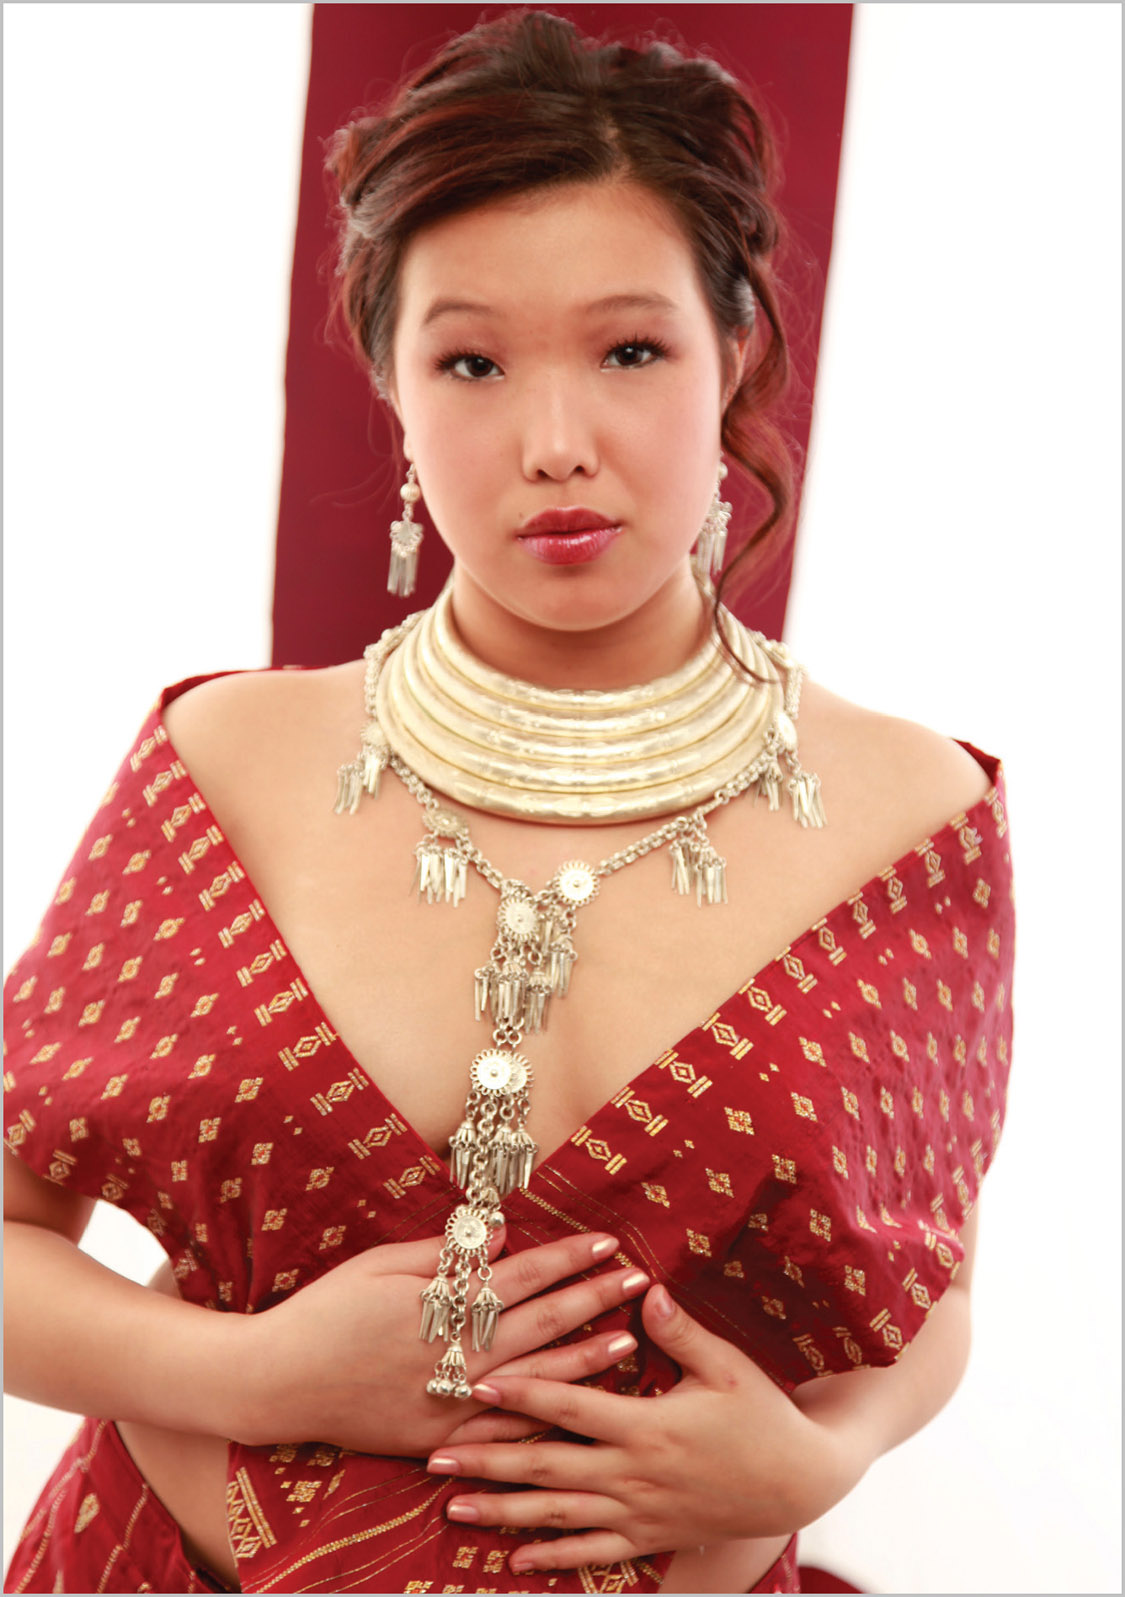
I changed the position of the sheets and side lights. This created visual interest and soft rim lighting.
The bottom line is that, while you’ll never get a cake pan to act like a beauty bowl, you can produce nice results with minimal equipment if you think the project through. Visualize a final image in your mind, take a critical look at the equipment at your disposal, and make it happen.