Many of us use soft window light for portraiture, and the results are typically beautiful. When your kids look out a window, for example, the mellow, indirect light will cause their faces almost to glow. But what if you want something stronger? It’s possible that option already exists within your studio. My suggestion is to take stock of how direct light enters your home or studio at any time during the year and use that knowledge as another creative tool to make images with dramatic impact. The windows in my studio face west and are covered most of the time so I can see what my studio lights are doing. Still, I’ve charted how the sun tracks across the room throughout the year and know how I can use it when necessary, uncovering one window or another. You can do the same.
In the late spring and summer, for example, the sun is high and will not penetrate very deeply into the studio. If I wish to use it during the early afternoon, I will be limited to a short arc across the floor, regardless of which window I use. This light is very high and very intense, with strong highlights and deep shadows.

The high sun of summer is bright and contrasty.

In April and September, a sunny day means the window shape will start to climb the wall.
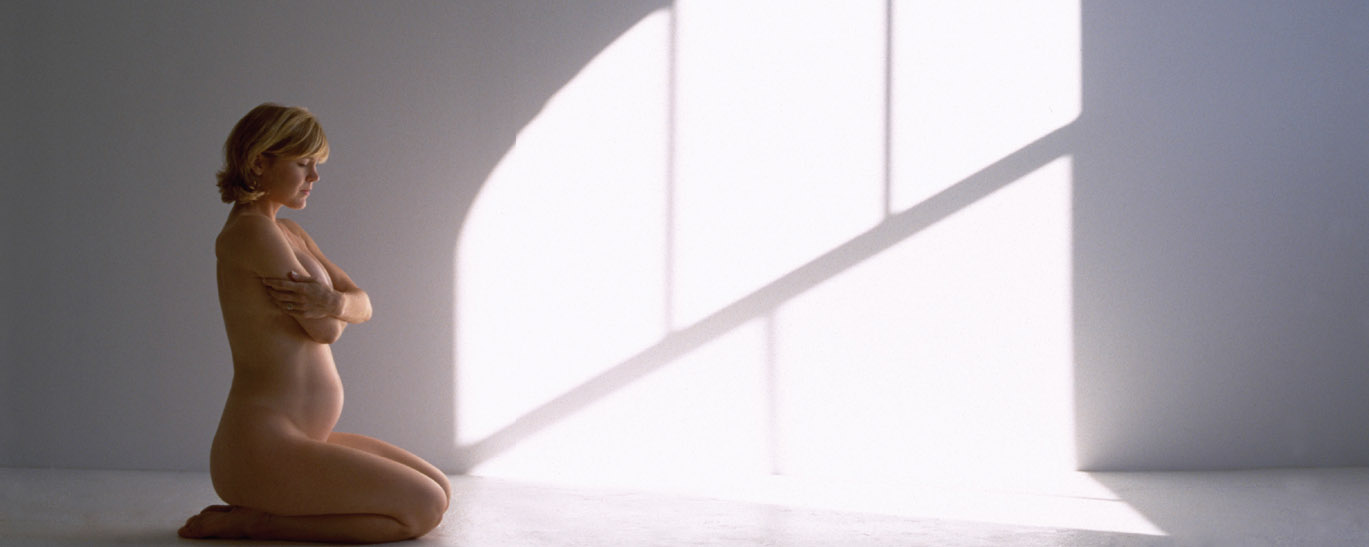
As the days start to get shorter, toward late September, the window closest to the shooting wall will throw light that creeps up the wall, revealing the shape of the window. Given the direction of the light, I was able to place a white bookend off to the camera-left side and behind the model, to add a little fill to her back and side. I wanted to create an image that paid homage to the sun as the source of life. I think the placement of a pregnant woman made this a very successful image.
As the days get their shortest, the sun will set almost directly perpendicular to my windows. This means I get incredibly intense light straight into the studio, and light that will hold the true shape of the window all the way across the studio to another wall because the source, the sun, is a point light source. I’ve used this unique light a number of different ways.
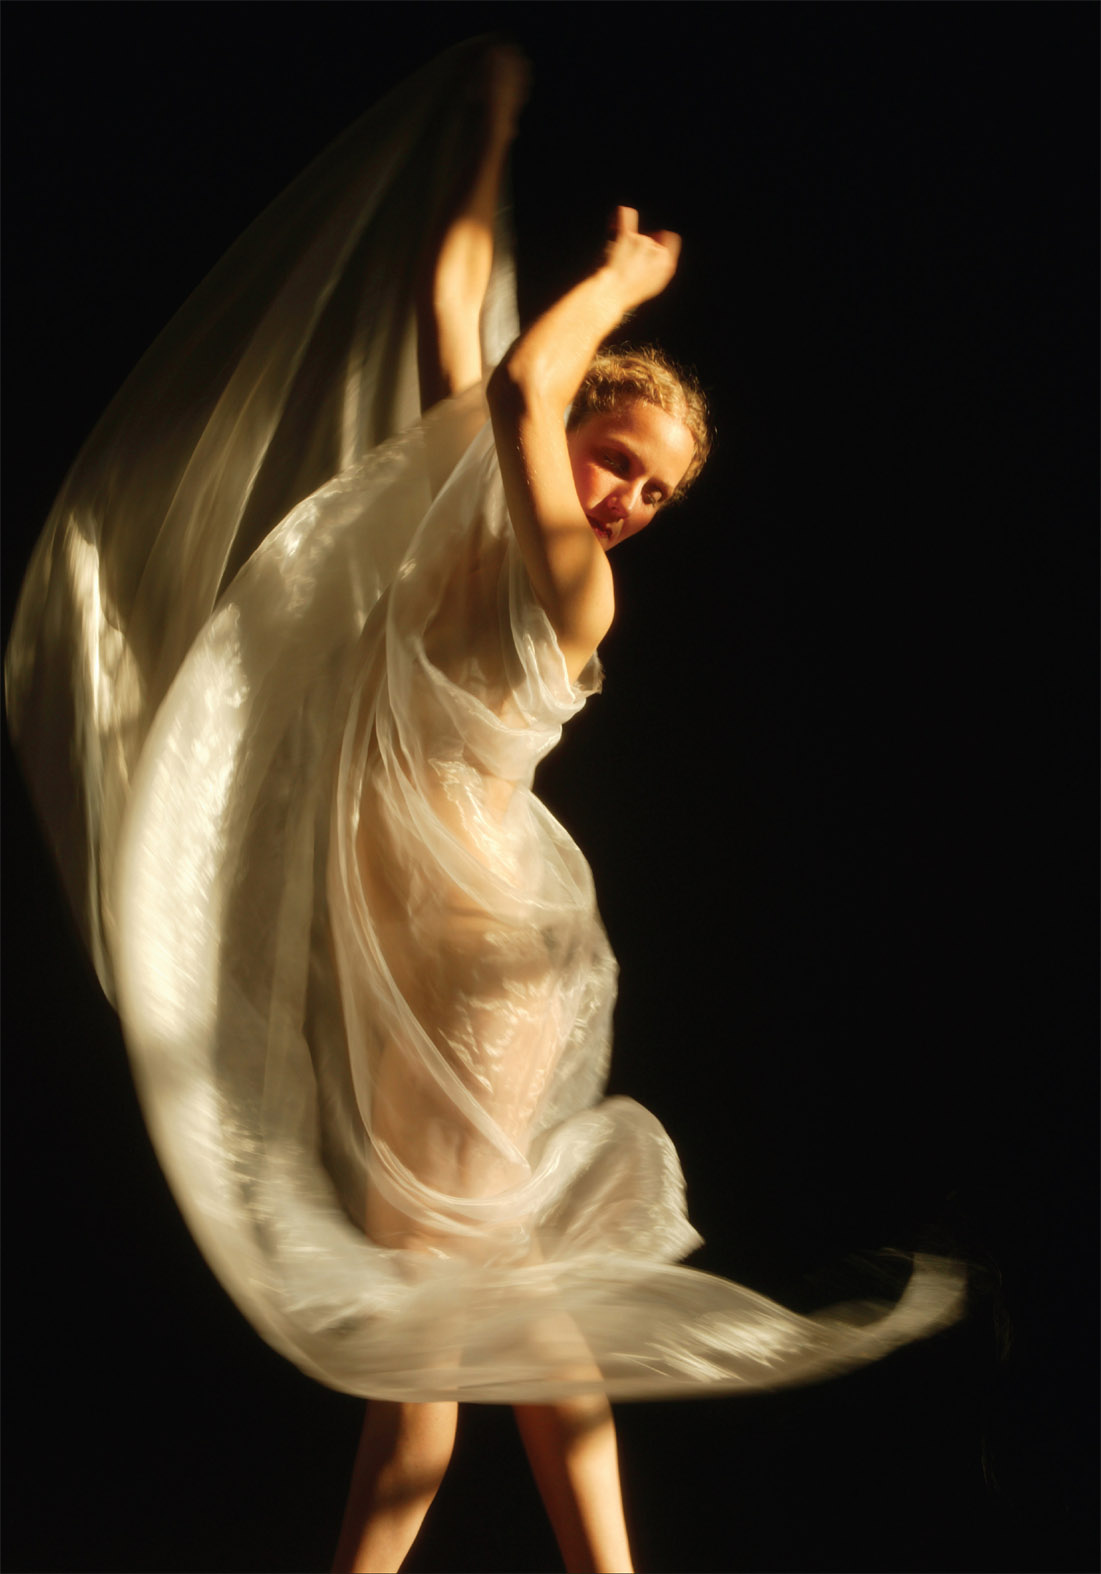
Place a black background behind the model into the shadows and you’ll just about be guaranteed a totally featureless black, something that can be hard to achieve with regular studio lights and a paper sweep. The sunlight is extremely directional, much more so than strobes or hot lights. A relatively slow shutter speed of 
![]() second allowed some motion blur as well as some stopped motion for this series of images.
second allowed some motion blur as well as some stopped motion for this series of images.
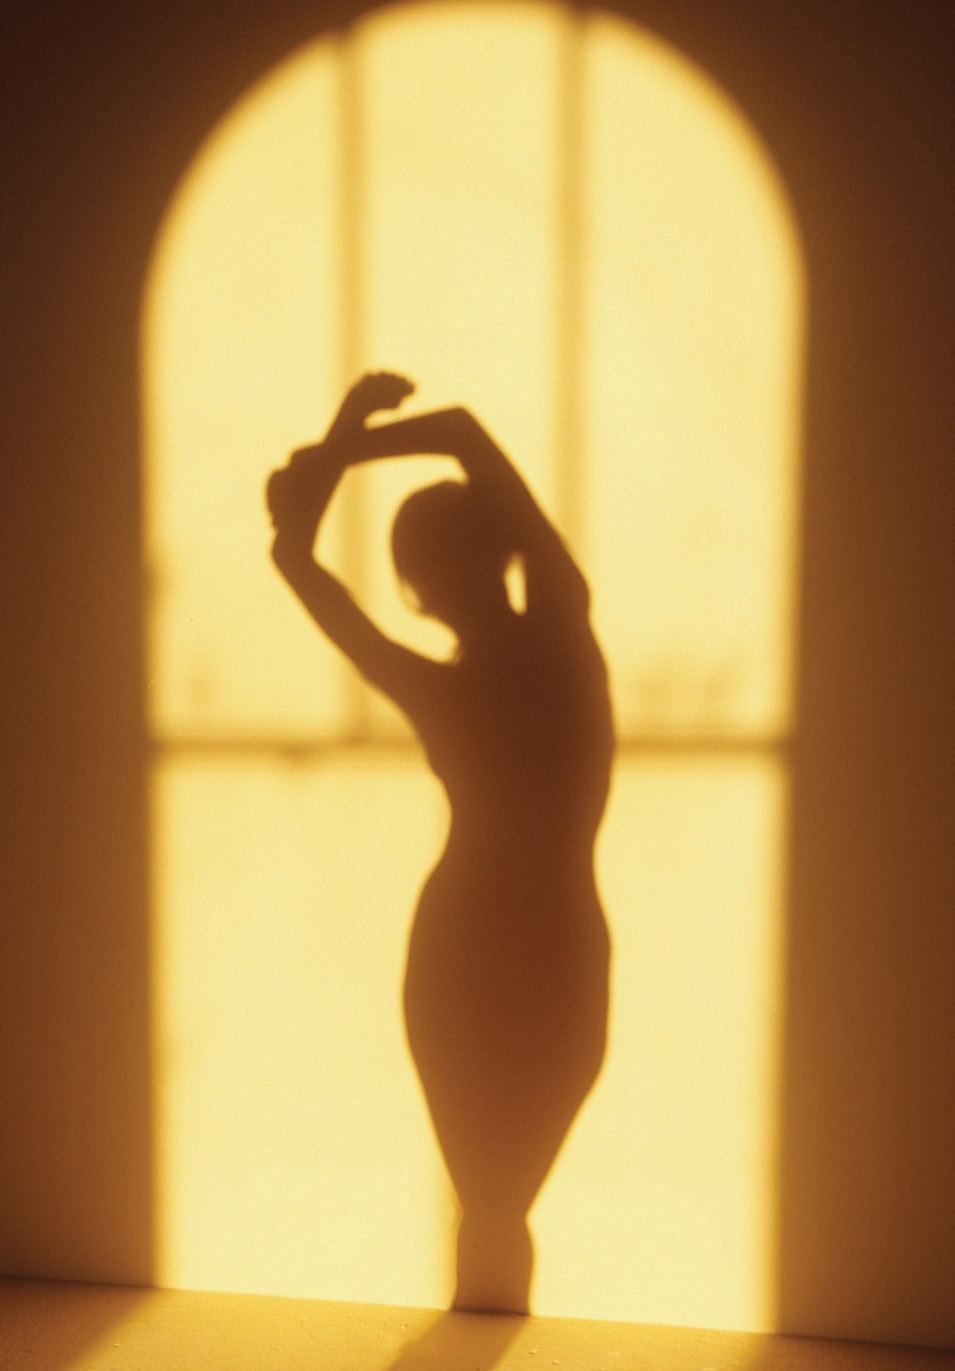
Of course, the window shape itself, projected onto the wall, is a great place for the model. Nestled in the warm, late-afternoon light, the shape of the model is framed by the shape of the window. The old warehouse that’s home to my studio has arched windows (I’m very happy about that), but I’m convinced a standard window shape would work equally well, perhaps better for some compositions.

Black paper becomes totally black when not hit by sunlight.

By December the shape of the window is almost straight to the sun.

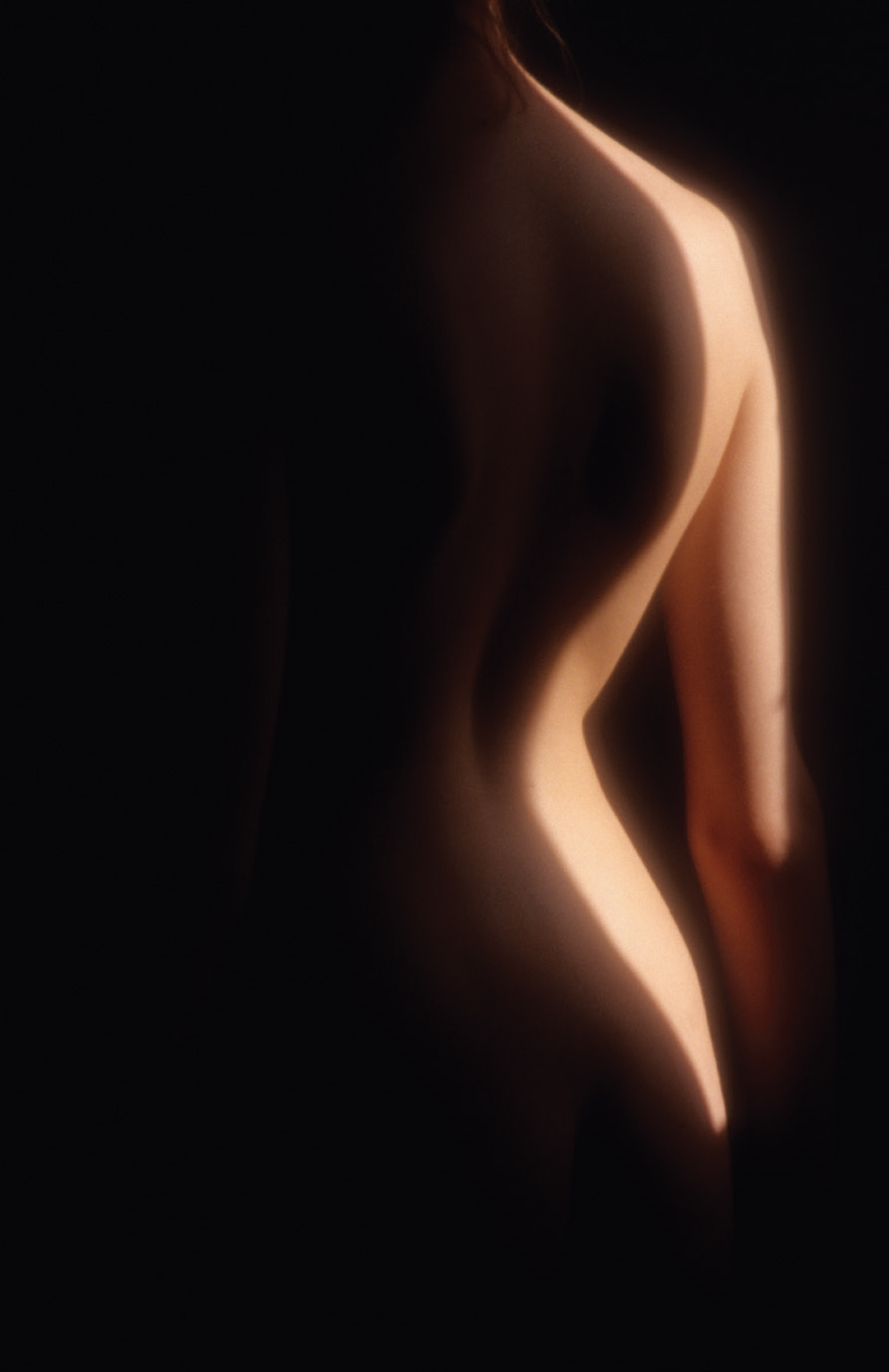
Cut a slit in a covered window for an unusual and hard-to-understand effect.
One other trick I’ve played with is to change the shape of the light by covering the window with a cut-to-size piece of foamcore, held in place with Velcro. Once the window covering has been measured and cut, and I know the Velcro will hold it, I’ll remove it from the window and cut a shape into it with a utility or X-Acto knife. Most of the cuts I’ve made are about 2 inches wide, but you may find you like them wider or even narrower.
The final images are solely dependent on where in the light the model is placed. There will be a slight flare on each side of the cut, where the light spreads out slightly, and this can be used to your advantage.
Beautiful—and very different—isn’t it?