When I was asked to update my bestselling book Master Lighting Guide for Portrait Photographers, I knew there would be a lot more to it than just referencing everything to digital. Cameras had certainly changed—the image sensors are more light-sensitive and most DSLRs offer video capability, for example. I was most interested in the changes that had come about in photographic lighting, though. LED (light-emitting diode) lighting in particular caught my eye, mostly because those units varied in price from expensive to really cheap. I spent serious time playing with them, and my conclusions are outlined in this chapter.
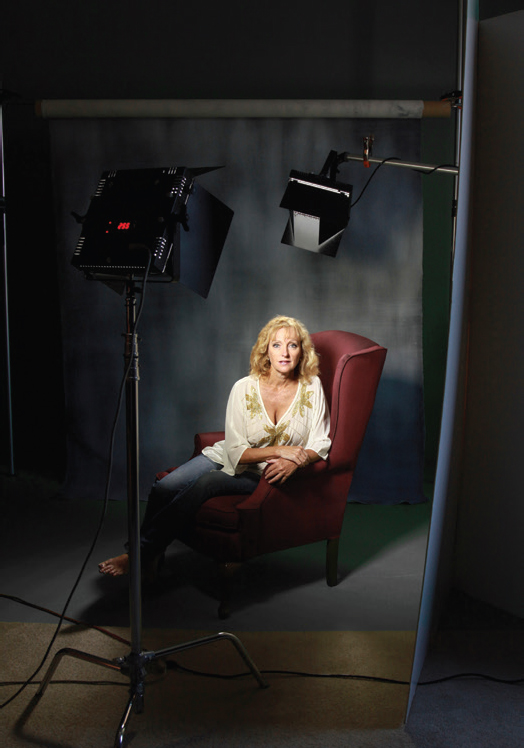
It was a very simple, two-point lighting scenario.

Professional LED fixtures produce beautiful light.
On the professional side, there are some great products, such as the Bowens Mosaic, which offers LED light that’s variable in intensity. As LED lighting gains fans, more manufacturers will offer their versions of photo/video lighting, and the general price will come down. However, such lights, beautiful as they are, certainly don’t qualify as a cheap trick. Here is a typical setup with two Bowens Mosaics. You can see that they’re built to sit on standard light stands, though they are heavier than many strobes or continuous sources.
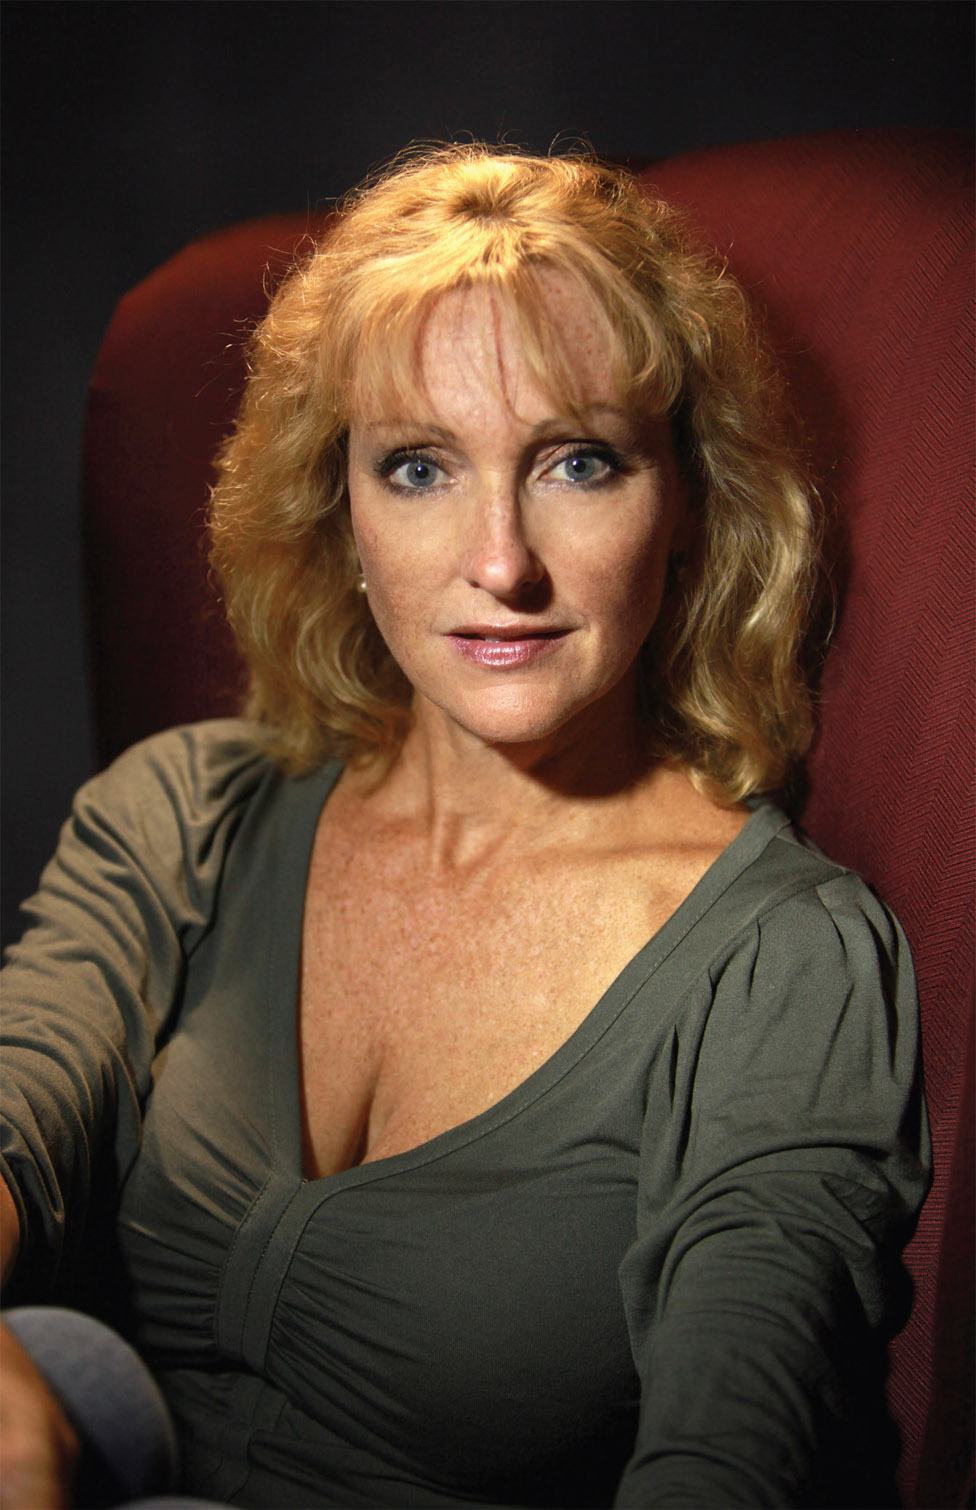
Aside from the warmer color on her hair, this image is similar to the portrait on the previous page.
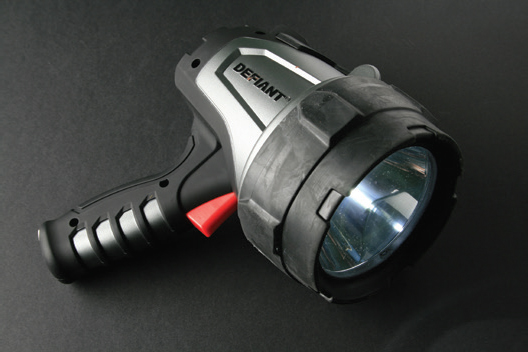
I took a trip to one of my favorite places, the big box hardware store, to see what they had, and my first purchase was this flashlight. Weatherproof and rechargeable, it throws a bright spotlight of 380 lumens. Since I bought this (for about $50) I’ve seen brighter units for on the market less money—further proof that LEDs are becoming more popular.
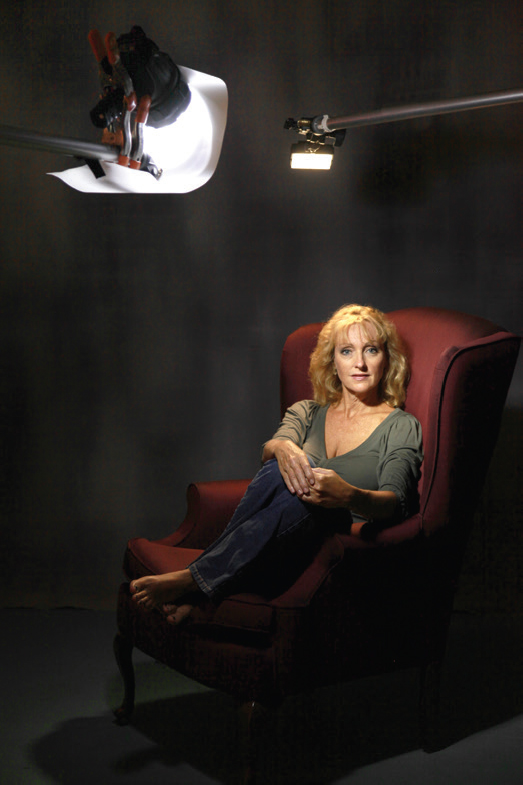
You can see for yourself how similar the two setups are. The background is darker, but only because the flashlight is a smaller instrument that throws a spot of light, while the Bowens unit emits a larger, broader light.
I clamped the flashlight to a boom arm with spring clamps before curling a sheet of Rosco diffusion material far enough from the lens so the LED lit as much of it as possible. The hair light was a small, battery-powered LED designed to slide into a camera’s hot shoe and become a fill light for video. It’s possible to change the color temperature of this little light, so I warmed it up a bit, just for separation.
You can see for yourself how similar the two setups are. The background is darker, but only because the flashlight is a smaller instrument that throws a spot of light, while the Bowens unit emits a larger, broader light.
For those of you who wish to try something perhaps more challenging than a studio portrait, the big flashlight is a terrific tool for light painting. I fashioned a snoot out of Cinefoil to keep any spill from the flashlight’s internal reflector to a minimum while retaining the spotlight effect. This image is a composite of a number of 30-second exposures.
Let’s not discount those little LED flashlights, either. Those of you who shoot small products might want some of these in your kit.
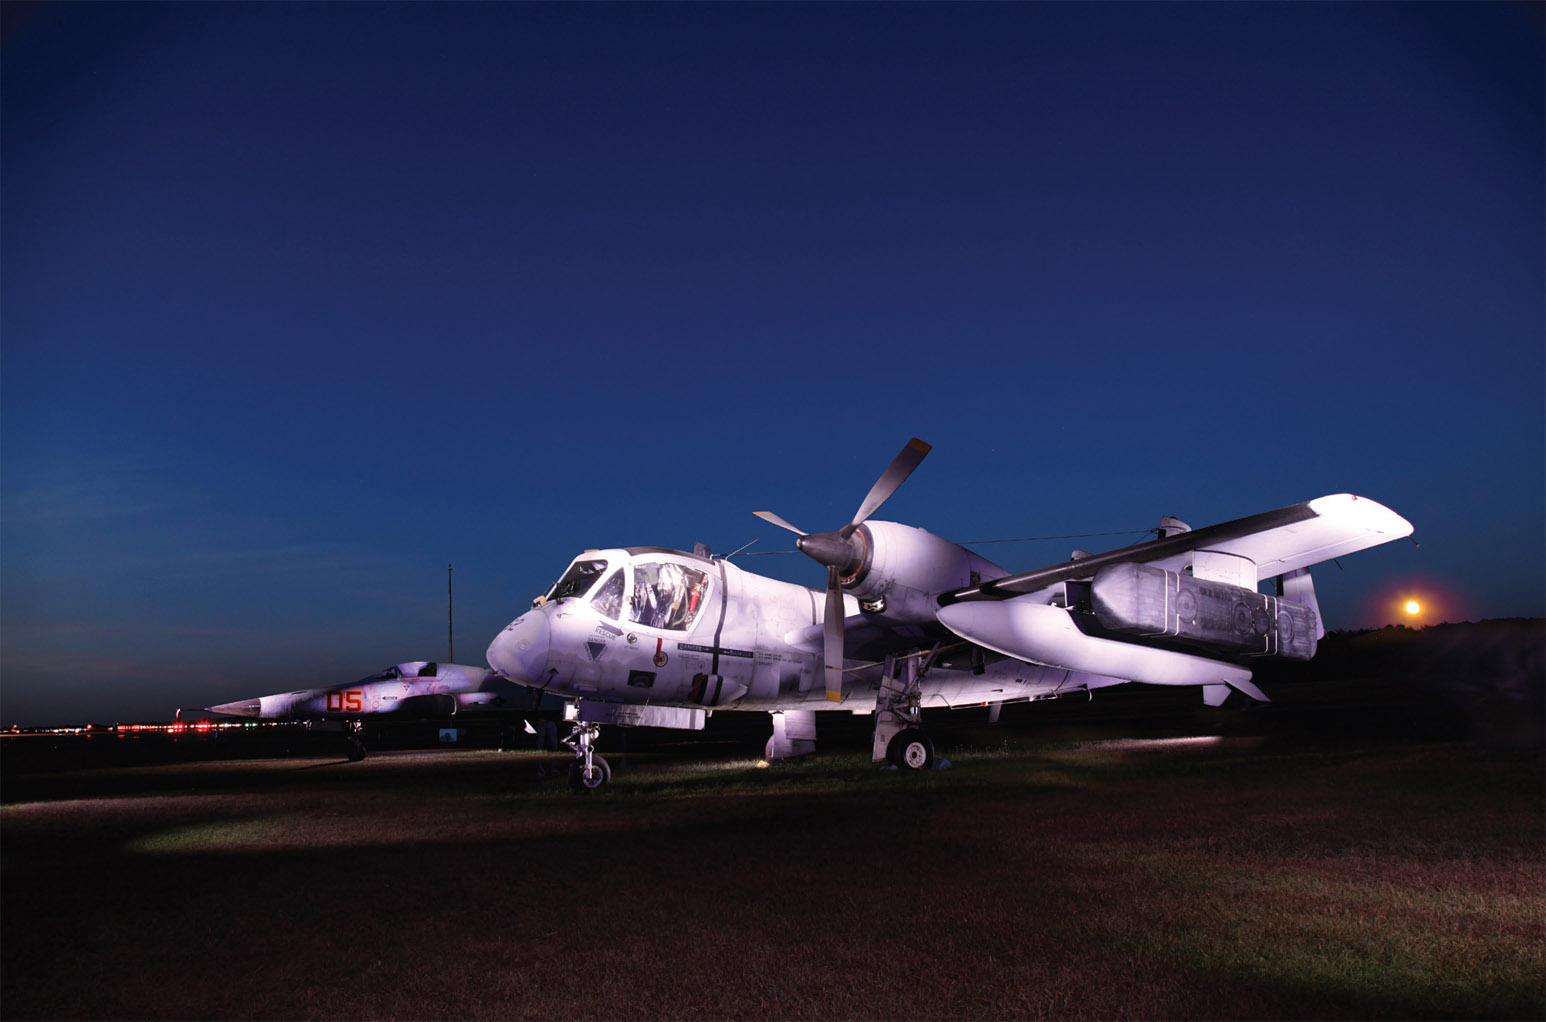
A series of 30-second exposures were combined to produce this stunning light painting made with an LED flashlight.
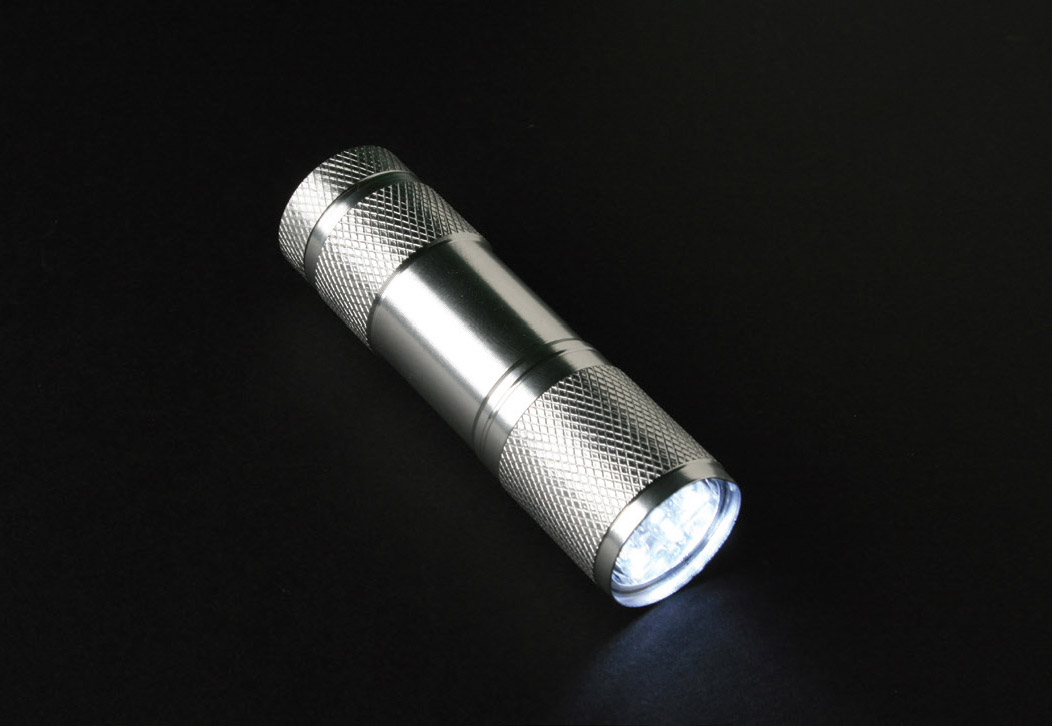
They’re small, but these little LED flashlights are quite powerful.
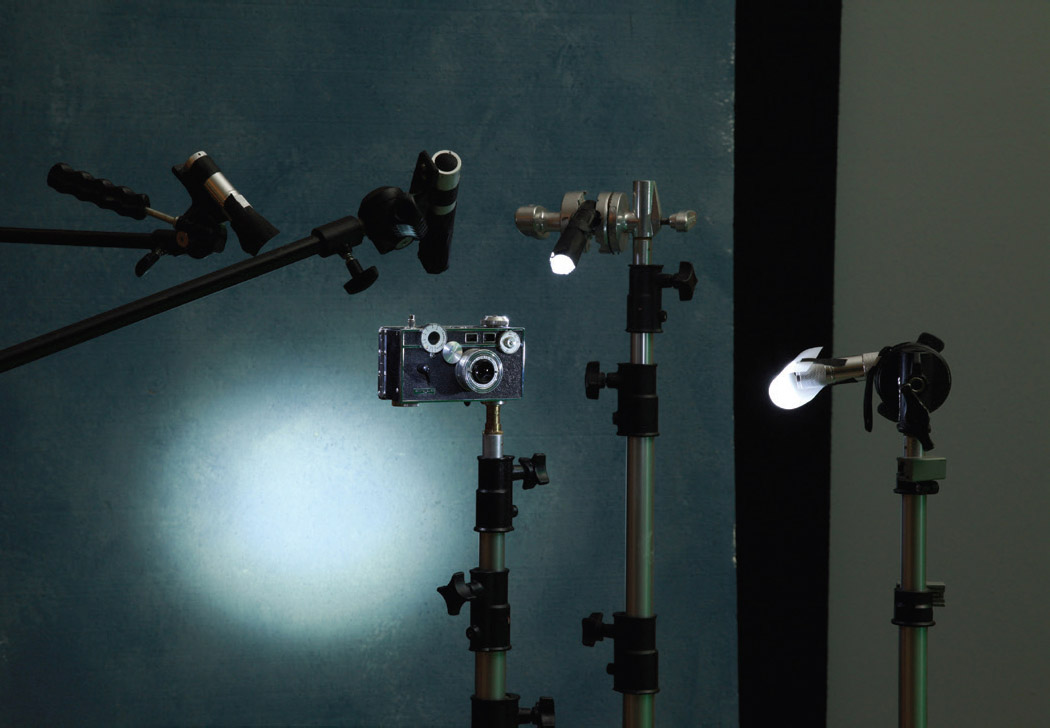
With a little ingenuity, LEDs can be perfect for small product photography.
I found a package of ten 3-inch flashlights, with batteries, for $10.99 at my local Big Lots store. You may be able to find a similar deal at whatever outlets you frequent, if you take the time to look. If not, the regular price of these, three of them for about $5, is certainly not prohibitive.
I used the large Defiant flashlight to throw the background light onto one of my painted Styrofoam panels. It was necessary to use a neutral density gel on it because it’s so much brighter than the little guys. I fashioned Cinefoil snoots for three of the smaller flashlights and added a small sheet of diffusion material to the fourth.
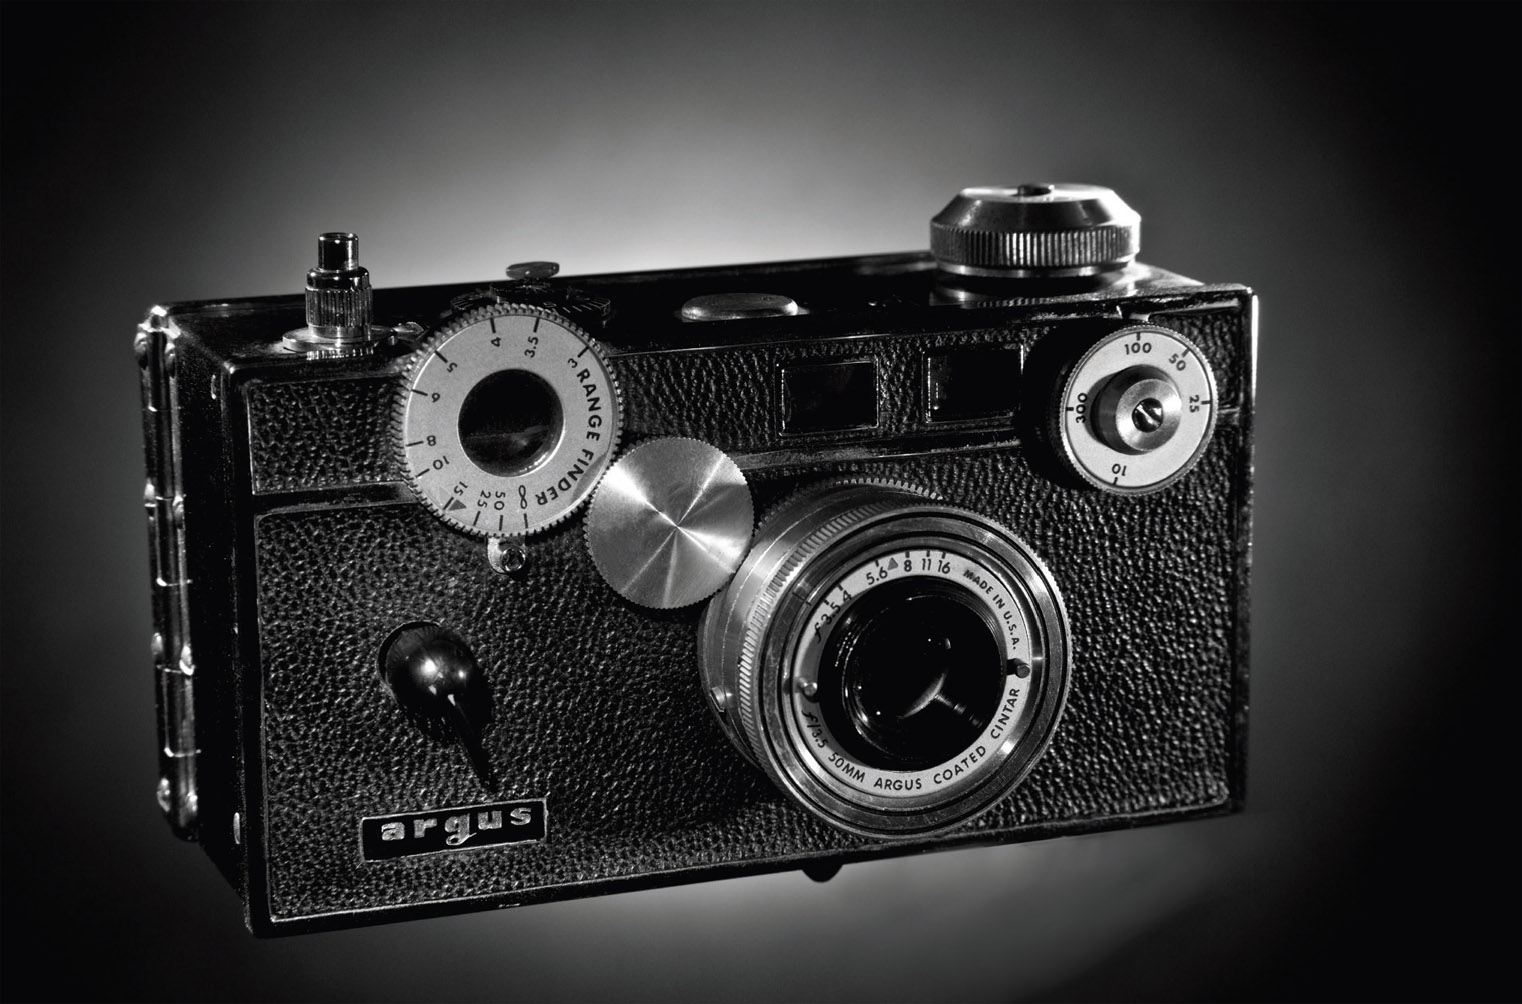
If you know you’ll convert the image to black & white, there’s no need for a custom white balance.
Essentially, the four lights “painted” the product with multi-directional beams. This would have been difficult to create with ordinary studio lights because several parts of the image show different direction and texture. To enhance the antique feel of this 35mm Argus C3 (affectionately referred to as “the brick”), I converted the image to black & white.
Because the color balance of LEDs is close to a daylight color balance, you can mix LEDs with strobe lighting as long as what they are illuminating does not require perfect color. For example, this beverage photo would look rather flat without some light coming through it to show the color of the cola. Snaking one of the small units behind the glass so it was hidden allowed me to drag the shutter to light the plastic ice cubes from behind and give the drink some life. You’ll get perfect color, of course, when you use a flashlight as the main light and execute a custom white balance.
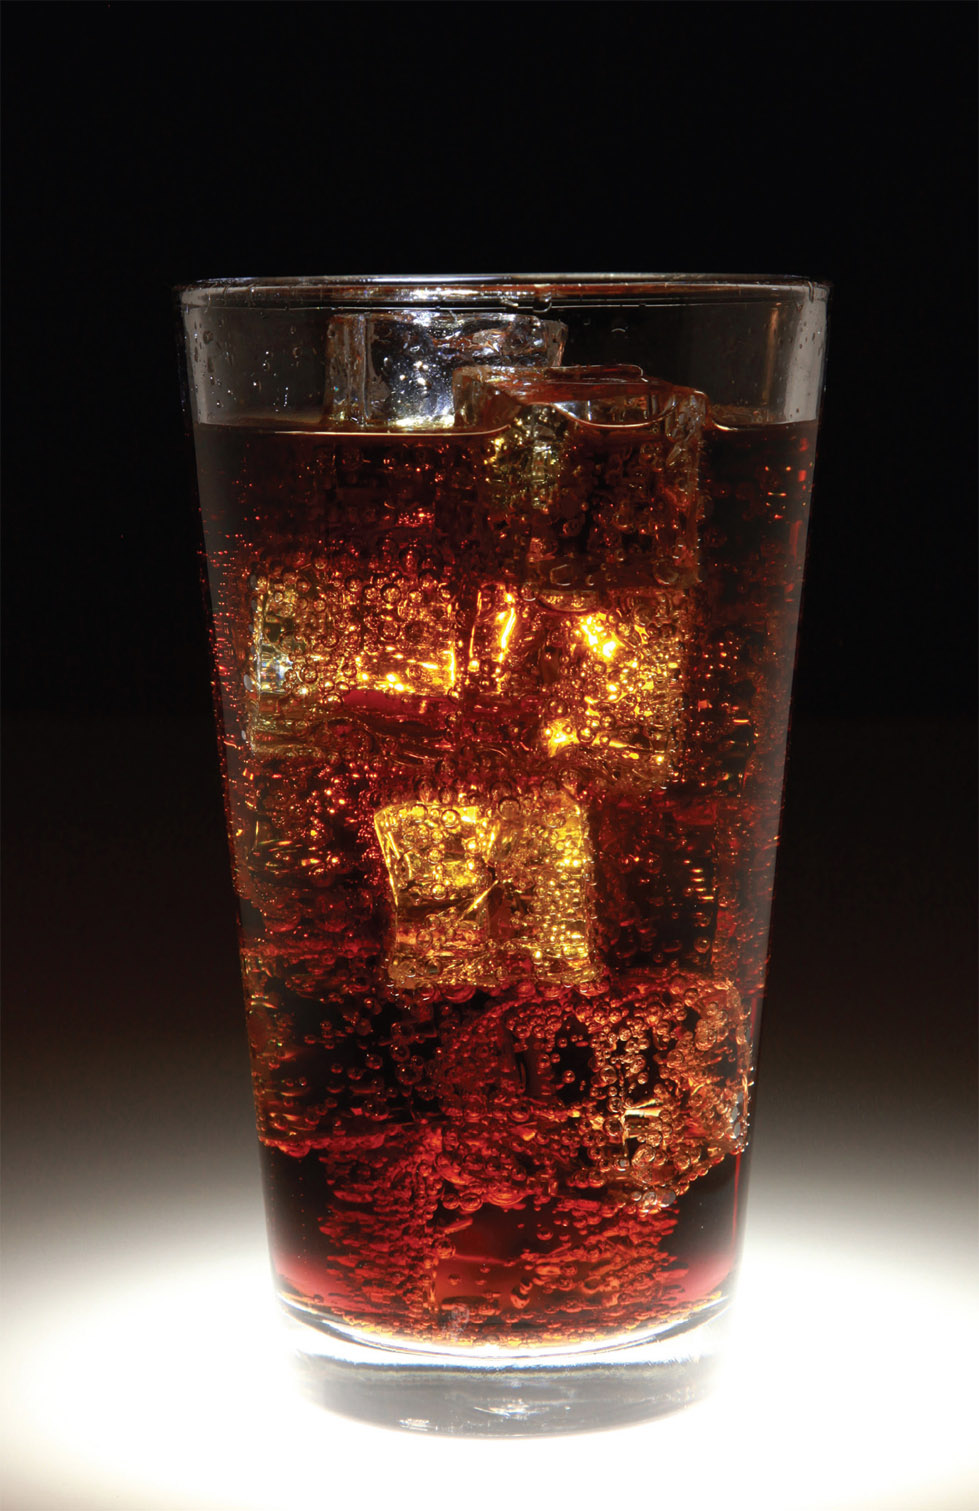
LEDs are best used as secondary sources when a constant daylight color temperature is needed.