Mixing Strobe and Ambient Light
Dragging the shutter is an old-school term for keeping the shutter open long enough when using flash to register ambient light and make it part of the composition. While wedding photographers frequently allow 35 to 50 percent of ambient light to register along with the flash, it’s usually done at shutter speeds that rarely go below 
![]() second to avoid background blur.
second to avoid background blur.
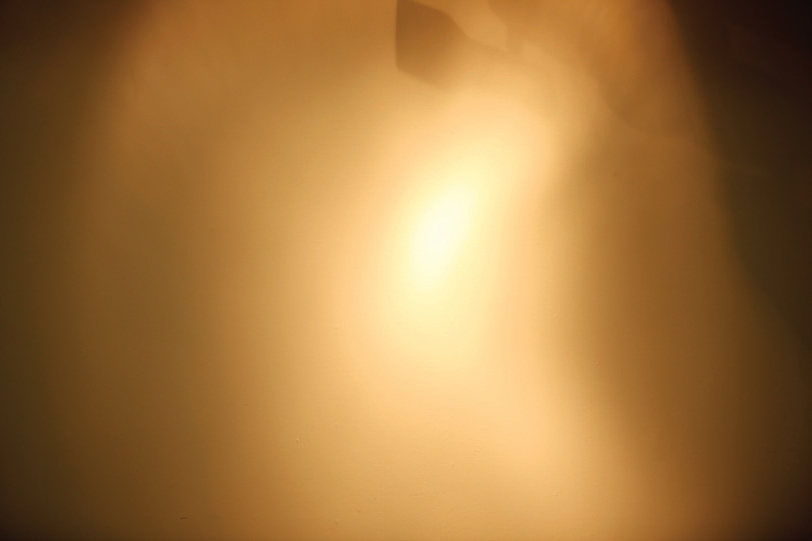
A ⅓ second exposure, complete with hot spot.
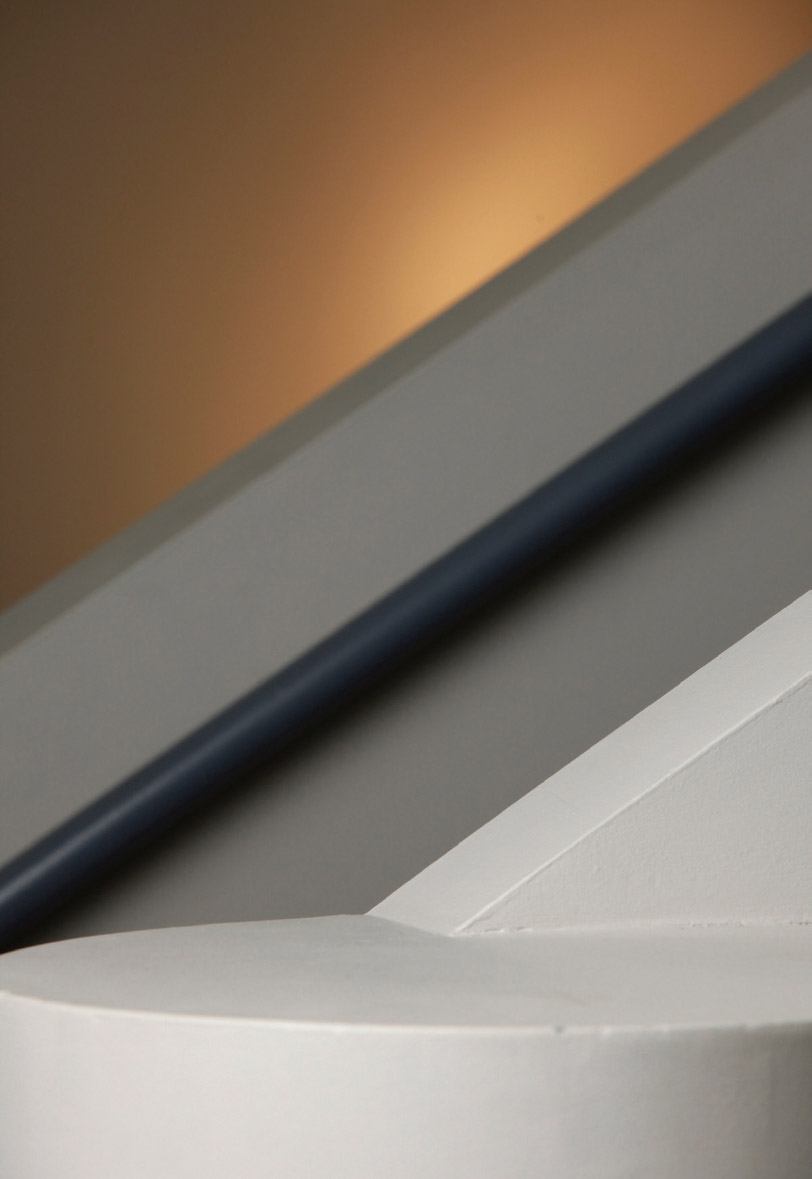
A 1/40 second exposure.
Of course, the color of the ambient light is a concern; incandescent light can be quite pretty while fluorescent light rarely makes the grade (except as noted elsewhere), at least for color images.
I can build a set in the studio that will combine strobe and available light or work on location. When doing so, the first thing you should do on location is to thoroughly scout the area. Think in terms of mild to strong telephoto lenses because normal or wide angle lenses see too much and will pick up junky details that interfere with successful compositions. When you decide on a spot, set up the camera and roughly frame in the shot. Meter the ambient light so you’ll know what you’re up against and think of how bright you want it to be.
Now, set the strobe light in position and attach the modifier of choice. This will serve as the main light.
For my first image, I used a large, 4×6-foot softbox. Since space was limited, the light had to be placed relatively close to the shooting area. This meant I would be limited in how low I could power the unit. I chose an exposure of f/7.1 (to allow for some depth of field) at ISO 400. This meant that I would have to gauge the effect of the ambient based on that f-stop.
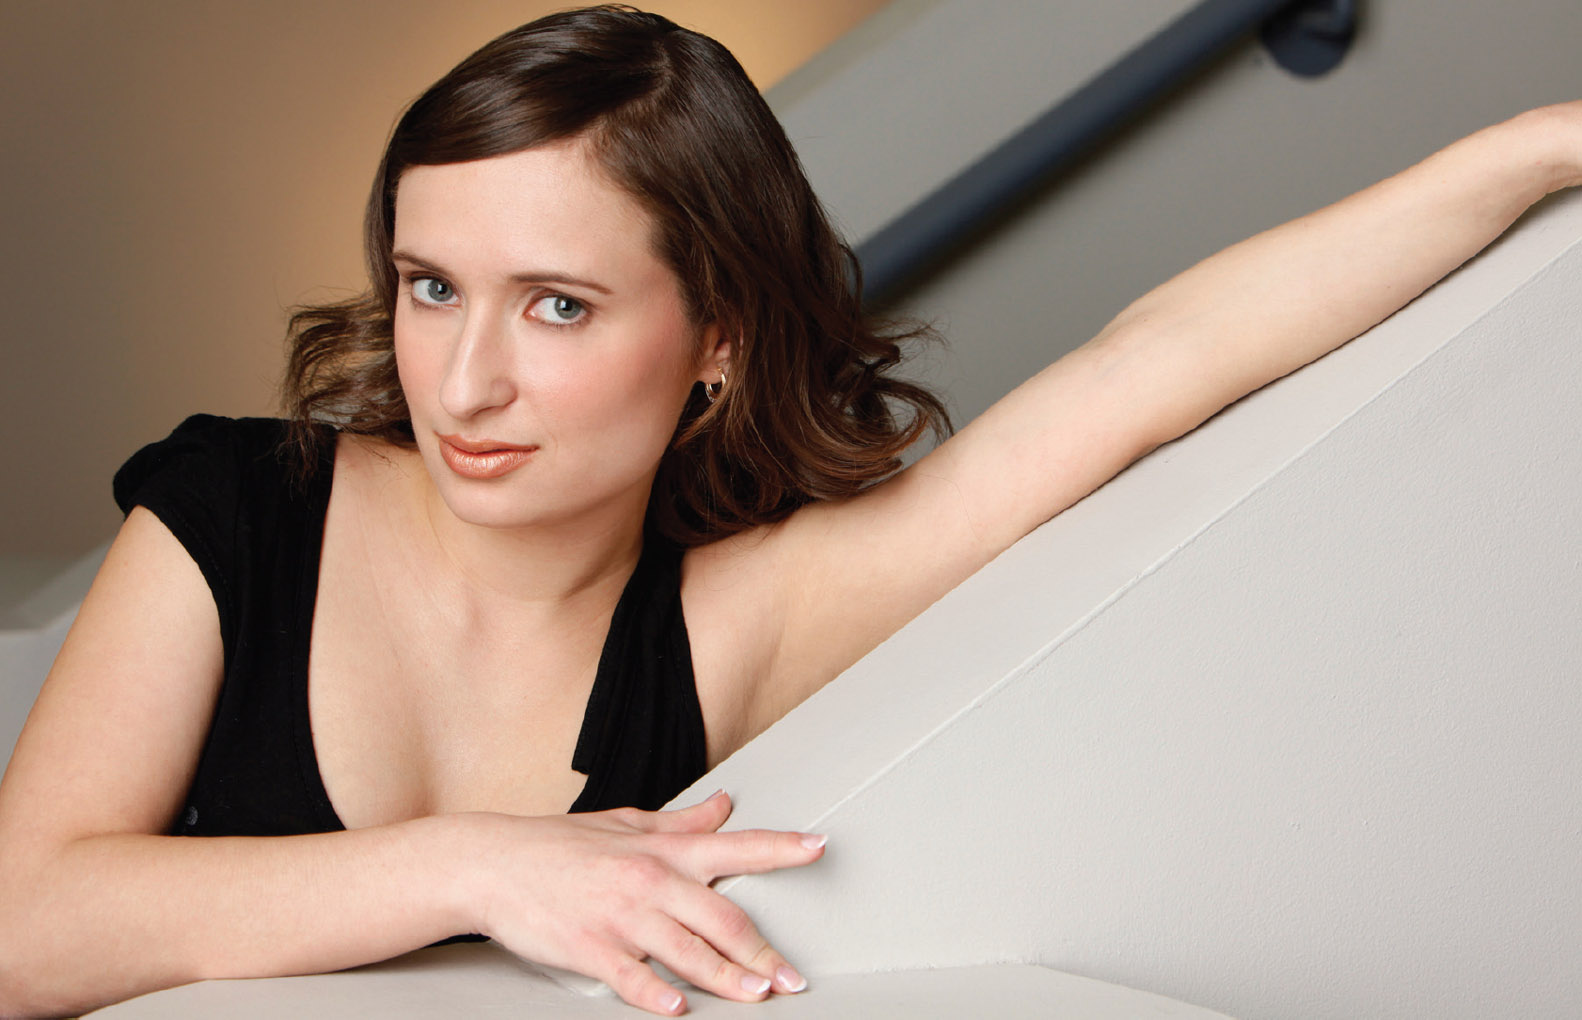
A perfect mix of daylight-balanced strobe and incandescent background light.
When we work with strobes, we rarely need to concern ourselves with shutter speed because, even at the maximum the cameras will sync at 
![]() second, and in many cases, the flash burst is over and done long before the shutter closes. However, when we mix sources we have to figure in the effect of the dimmest light (in this case, the spotlight on the wall behind where my model would stand). Because the flash duration is so short, simply turning off the modeling light will eliminate any problem with extra light from that unit.
second, and in many cases, the flash burst is over and done long before the shutter closes. However, when we mix sources we have to figure in the effect of the dimmest light (in this case, the spotlight on the wall behind where my model would stand). Because the flash duration is so short, simply turning off the modeling light will eliminate any problem with extra light from that unit.
I had determined that an exposure of ⅓ second at f/7.1 would produce a fully toned image of the spotlight, complete with hot spot. This was way more than I wanted. In my mind’s eye, I wanted only the hot spot to register, and quite softly at that. A couple of quick tests told me that an exposure of 1/40 second would show only the hot spot, substantially dimmer than what I first saw and reduced to being only an accent light.
With the light in place, I made a test image from my chosen angle. The exposure was 1/40 second at f/7.1. You can see a slight influence from the main light on the wall, but it’s not much since the main light is so close to where the model will be and has lost a great deal of its strength by the time it gets there.
With my subject in place, the result is a great mix of strobe and ambient light. The spotlight becomes the only color in an almost neutral environment and adds much-needed warmth to the shot.
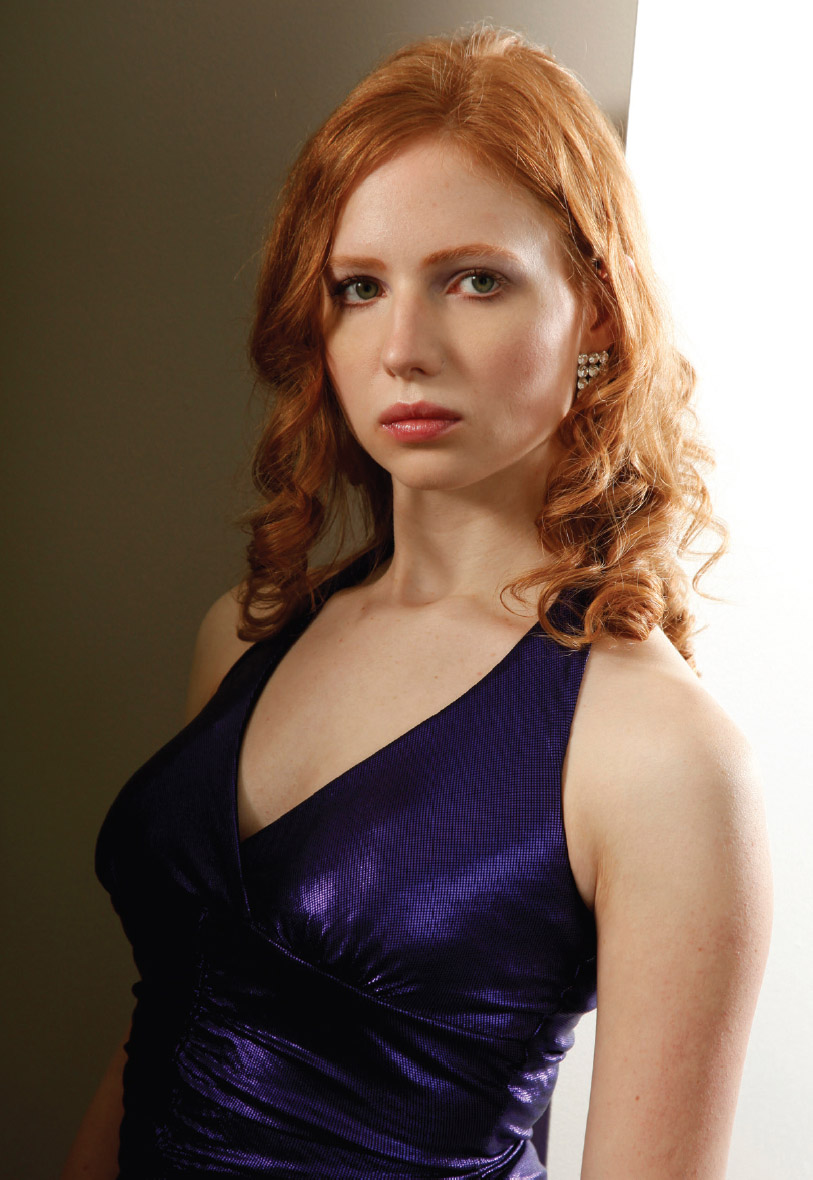
You’ll encounter unexpected problems when mixing light sources and dragging the shutter.
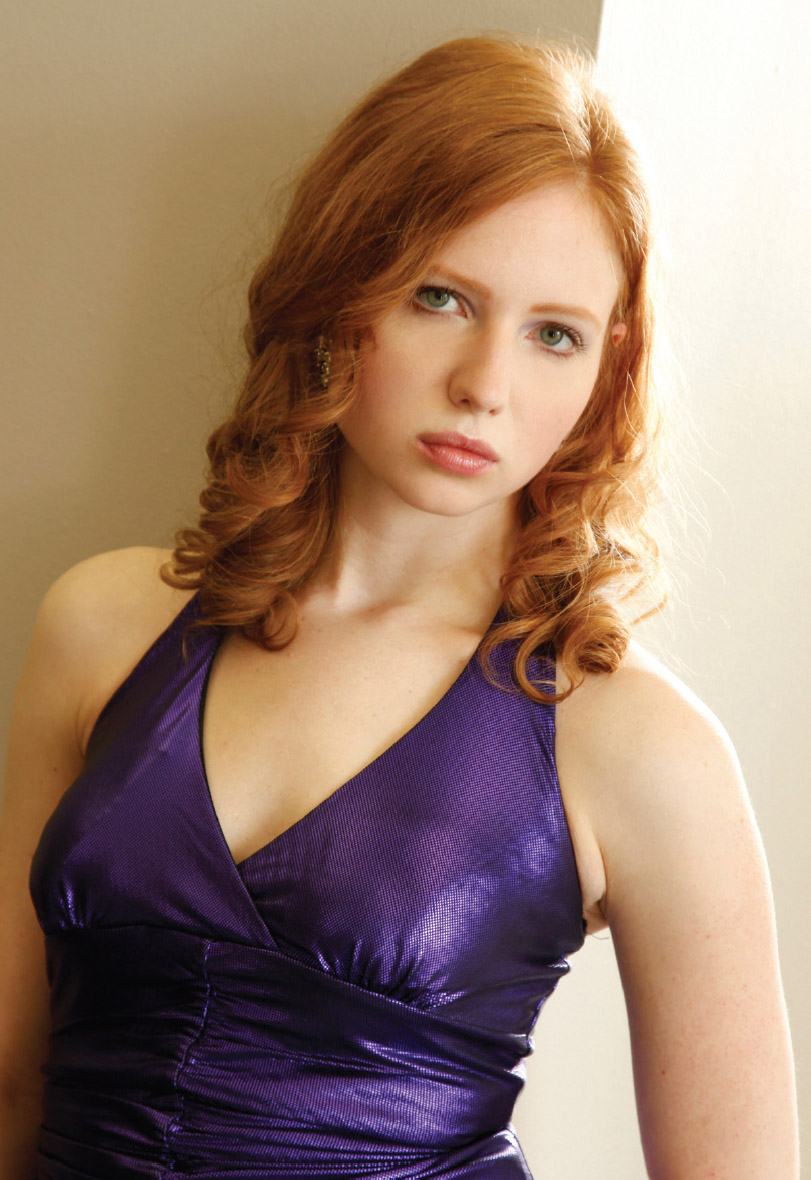
I eliminated the reflector and allowed the daylight coming through the windows to become the main light.
I wanted to use a corner in this location to lend dimension to the next shot. I set my 4×6-foot softbox in the adjacent room and aimed it at my new model’s back. I knew that she would be overexposed in places but felt that would actually add to the shot.
It was rather dim in the room she was standing in, so I hung a white reflector panel on a stand to bounce some of the unused softbox light back onto the model. I was able to get the reflector high enough to see a passable nose shadow but would have preferred another foot of height in the room to get a more graceful sweep under her cheek. The reflector did its job admirably, but I was not impressed with the shadow from the lock of hair on her right eye. She tried keeping it out of the way, but it had a mind of its own. This image was exposed at 
![]() second at f/7.1.
second at f/7.1.
As I said, the room was dim, but there was enough window light from camera right to illuminate her at 
![]() second, f/7.1. The next set of images were almost magical. The slightly warmer light from the street, much softer than what had been reflected, gave her face a softness that appeared to wrap around from the softbox. It also did wonders for her naturally red hair and lit more of the wall she was standing against.
second, f/7.1. The next set of images were almost magical. The slightly warmer light from the street, much softer than what had been reflected, gave her face a softness that appeared to wrap around from the softbox. It also did wonders for her naturally red hair and lit more of the wall she was standing against.
You can take this a step further (many steps, actually) by using your studio lights to create a mixed-light setup and slowing the shutter dramatically.
Set your strobes for the lowest-possible power output and create a lighting scenario that’s appropriate for your moving subject. Use your light meter to measure the output of the strobe’s modeling lights to determine a shutter speed that will provide enough streaks from the highlights—perhaps a full second, maybe longer (it will depend on how fast the subject moves and how repetitive the action is). Measure the output of the strobe and tweak it until it matches that of the ambient light. This is only a starting point, and you should test it using your camera’s LCD to determine how much streaking is necessary to get the effect you want. When the two sources are properly matched, the image is a nice mix of motion and stopped-motion.
Yet another approach is to place a full CTO gel filter on the strobe to convert its color temperature to that of incandescent light (roughly 3400K) while lighting the background with incandescent bulbs. In so doing, the color temperature of the two lights will match, but the strobe will freeze action while the incandescent light will necessitate a longer exposure to register properly. Setting the camera’s white balance to incandescent will ensure a neutral exposure.
The belly dancer in the image below was lit by a strobe wrapped in a full CTO gel to get its color temperature to that of incandescent light, and the modeling light was turned off. The background was lit by aiming an incandescent spotlight into my reverse cookie to splash a pattern of light on the painted wall. The exposure was ⅓ second, although the proper exposure was ⅙ second. To get the background brighter than normal, I allowed the shutter to stay open for a full stop’s worth of extra light.
I watched the dancer carefully, timing my exposures to the peaks of the actions of her head. I didn’t care where her arms or torso went, only that her head stayed in approximately the same position for the length of the exposure. Needless to say, it took a number of frames to get a terrific image, with her head in place, the expression correct, and a beautiful semi-transparency to the parts of her that moved throughout the exposure.
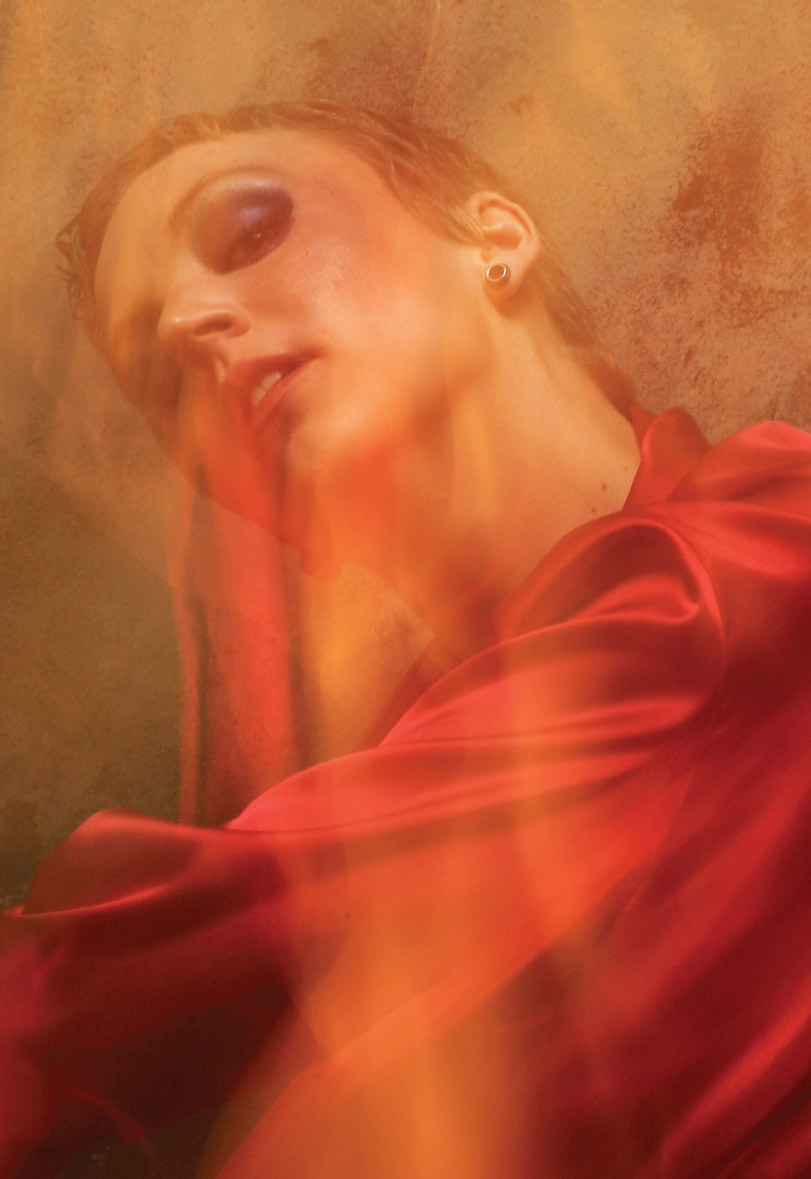
This image was made at 1.3 seconds, f/16.
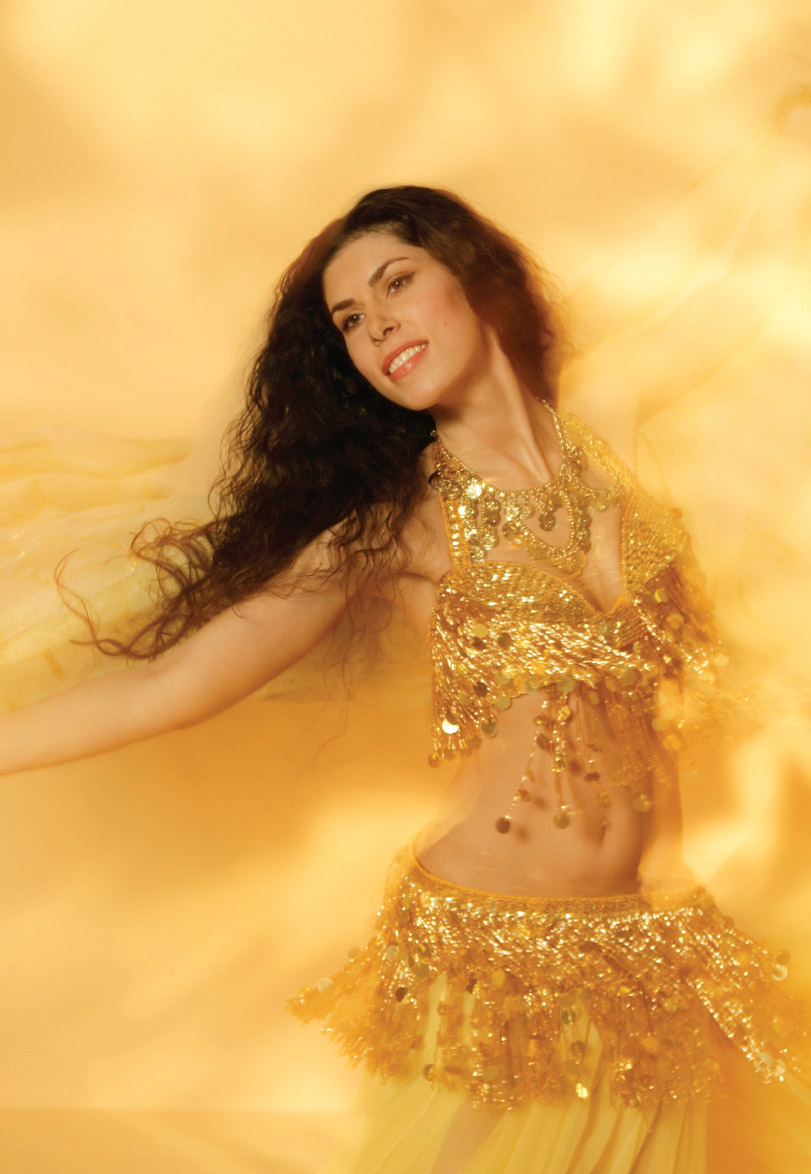
You may need to make many exposures before you’re successful. The LCD helps!
This next shot was great fun to figure out. It’s a combination of a gelled strobe, modeling light, and camera flash, all put together to create a charming image of a beautiful woman.
The idea popped into my head when I came across a disposable film camera at a garage sale. The price was 50 cents, and when I saw it on the table I knew I could do something cool with it. Of course, any phone camera would also work, as long as it had a built-in flash.
The key to the success of the image would hinge on all light sources having the same color balance. The strobe and camera flash would be daylight balanced, but any light I used for a long exposure accent would have to be incandescent. Here’s how I positioned the lights. Take a look at the setup and keep it in mind as I explain the process.
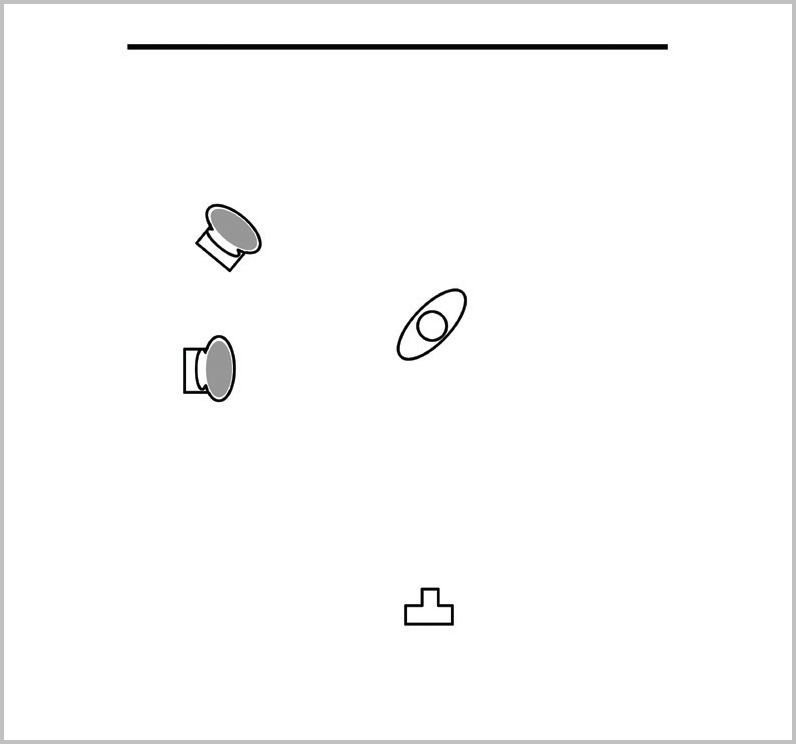
It looks like a simple setup, but there was a lot of thought behind it.
Prior to getting the model on the set, I taped a small piece of full CTO gel over the camera’s built-in flash and used up one of the exposures, aiming it at the meter from arm’s length just to know what f-stop I would need if I wanted a correctly exposed flash on her face. The meter read f/6.3, but I wanted the flash to be brighter; I planned to overexpose a bit to make it obvious that she was illuminated by the flash from a camera. With that in mind, I brought in a strobe with a 30-degree grid and a full CTO gel wrapped around it and aimed it at the background. With the gel, the light was close to the color of incandescent light. I powered the light to f/5.6 at the hot spot and turned off the modeling light so there would be no additional spill from it. The gelled built-in flash produced light with the same color balance.
I decided that an exposure on my model’s face from the disposable camera’s flash would look great if it was ⅓ stop over the background. I felt that a slightly brighter exposure would heighten the reality of the image. I knew the flash would be brightest where it hit her fingers but could be metered correctly on her face if she aimed it with the same arm extension used when I took the meter reading.
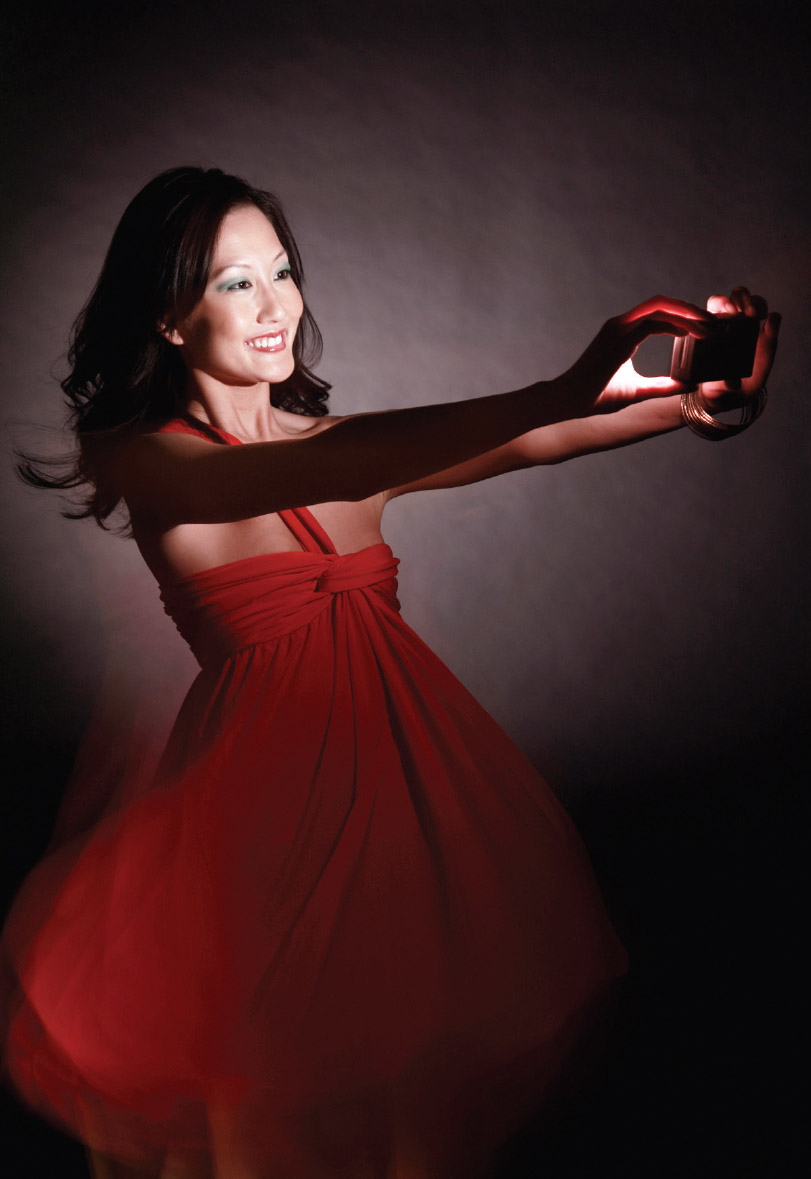
Changing daylight to incandescent, firing strobes from an odd source, and mixing in timing, choreography, and wardrobe—all in a day’s work.
A modeling lamp with a 20-degree grid was used to light the subject’s legs and skirt. It would allow her dress and legs to blur over the course of the exposure. I wanted a long exposure, but not the longest possible. An exposure too long will turn the image to mush; too short and you won’t get the idea across. I can’t tell you what is correct for your idea; you’ll need to play with your toys and determine that for yourself.
The exposure, f/5.6 at ½ second, was not enough to register properly since the model was moving (it would have been fine if she were stationary). A couple of test shots determined that an exposure of l⅓ second at the same f/stop would brighten the skirt enough to make it interesting but keep all the other values the same. This exposure time would also create the right amount of motion.
My plan was to have her spin across the frame. When she was at her predetermined point, she would press the shutter button, smiling into the camera and setting off the camera’s flash. The one studio strobe that was set to fire (the background) would be tripped by its slave function. The light on her skirt and legs was on a different circuit and would not fire.
It took a few tries and a couple of minor adjustments on her end position before we got it right, but we did it with only one 50 cent camera and within the small amount of exposures that remained after the test shots.

Play with this trick until you understand it, and then use it to ratchet up your beauty and glamour skills.
Just as light can define a subject, it can also define a mood. The very popular boudoir style, often meant to be seductive and atmospheric, can often be amped up by simply adding a table lamp with a standard lightbulb, allowing some warm, orange light to spill onto the subject.
To light the overall scene, I aimed a medium softbox into the ceiling to bounce light down onto the subject. Choosing an ISO of 800 meant I could mix a reasonable shutter speed, 
![]() , with a decent aperture, f/5.6, to get a nice exposure but let the light from the table lamp be slightly brighter than the fill.
, with a decent aperture, f/5.6, to get a nice exposure but let the light from the table lamp be slightly brighter than the fill.