
Water bath canning is a simple way to begin your canning experience, because you don’t need any expensive equipment to get started. Though there are some simple rules, it really comes down to boiling water in a pot. If this is your first time canning, know that you can do this (pun intended), and after you run through it a few times, it may become an exciting, relaxing, and even meditative process.
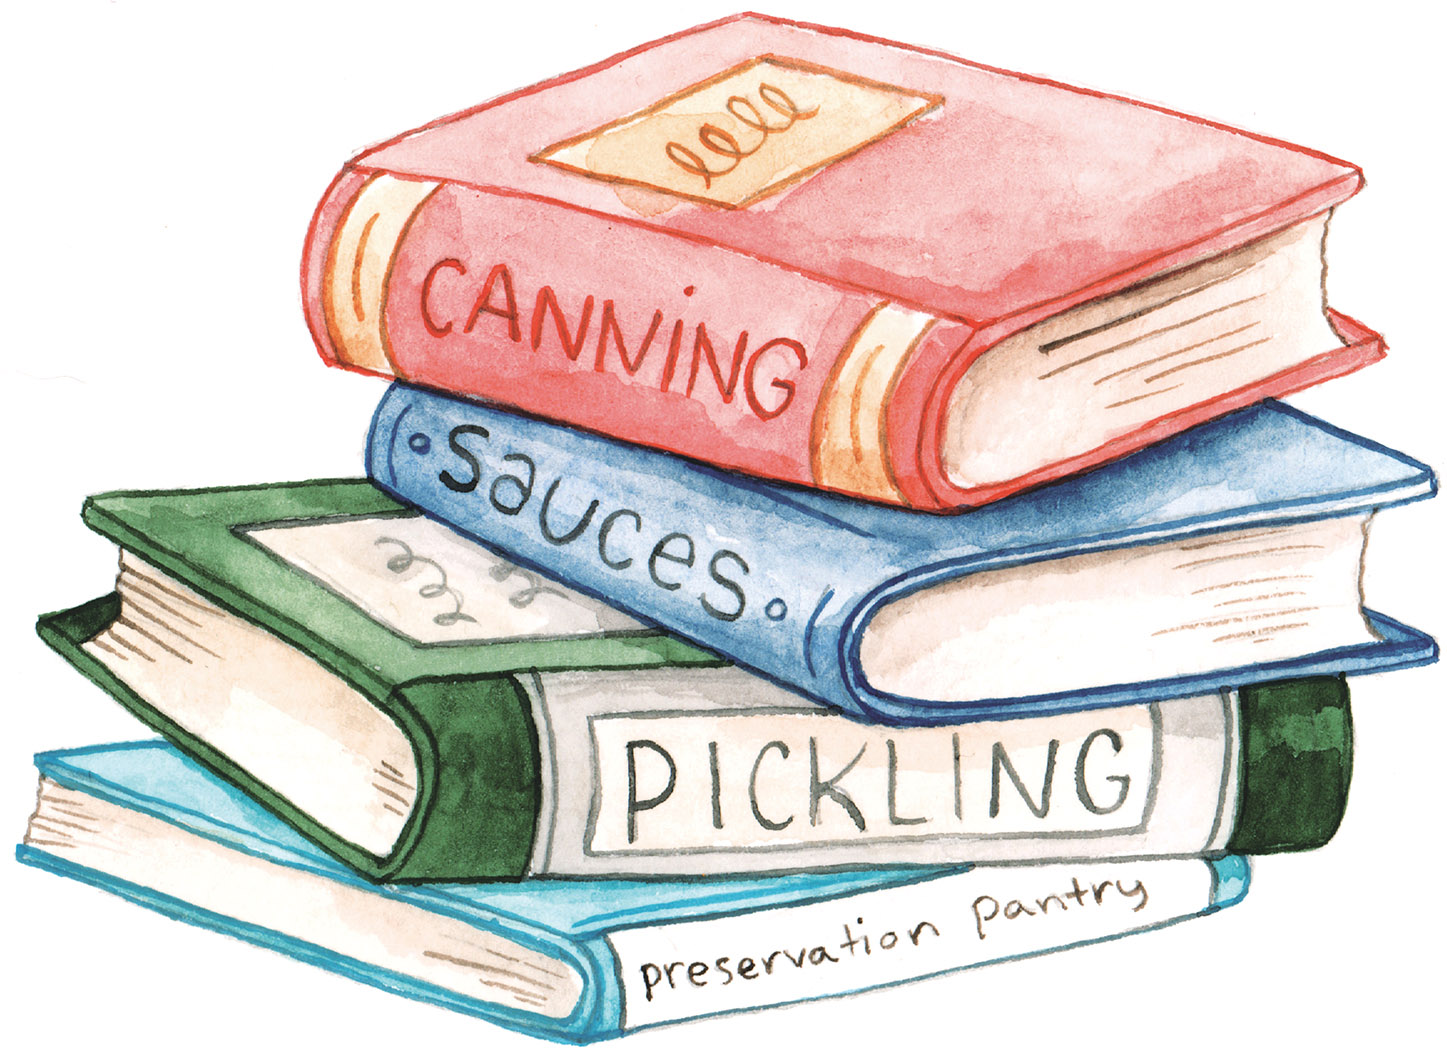
It may seem obvious, but the importance of this step cannot be overstated. Select recipes from a source that identifies proper temperature, headspace, and processing times; all need to be taken into account to safely can food at home. Trusted sources for canning recipes should follow the United States Department of Agriculture (USDA) and National Center for Home Food Preservation (NCFHFP) guidelines for safe practices. The recipes in this book have all been safety-tested at the Food Innovation Center in Portland, Oregon.
What is the risk of winging it? The biggest reason people are often wary of home preserving is the potential for botulism. Botulism is a rare type of food poisoning caused by the bacteria Clostridium botulinum. This toxin thrives in low-acid, room-temperature environments. I know kitchen science isn’t for everyone, but for safety’s sake, let me sum up the importance of pH in canning: If the pH of your sauce or preserve is low (below 3.9), then it is acidic. If the pH is high (above 4.0), then it is a low-acid product and it is not safe to water bath can. Adding an acid, such as vinegar, citrus, or citric acid, can lower the pH. The bacterium that causes botulism cannot thrive in an environment with a pH below 4.6.
The canning recipes in this book are either naturally acidic or acidified, meaning an acid (vinegar or citrus) is added to them during the cooking process, which makes them safe to water bath can. I personally test the pH of every batch of sauce or jam I make before canning, and I encourage you to do the same, because the pH of fresh ingredients can vary from plant to plant and fruit to fruit. Investing in a pH reader is a smart and affordable solution, if nothing else, for peace of mind. See Stocking Your Pantry for my preferred pH reader.
People often come to my canning classes with stories of previous attempts to can at home, where they felt overwhelmed by the chaos it brought to their kitchens. Preparation and organization are critical to the canning process, and setting up stations will help keep you from feeling out of control. If you have ever visited a chef’s kitchen or sat at a chef’s counter, you may have noticed that each person involved in meal preparation has a well-organized station where food preparation, cooking, and plating take place. Meticulous prep keeps the space neat, minimizing dinner-rush mayhem. You don’t need a restaurant-sized kitchen to channel that in your home; instead, you can stay in control by starting with efficient stations. My home kitchen is extremely small and my rolling cutting block takes a turn at each station.
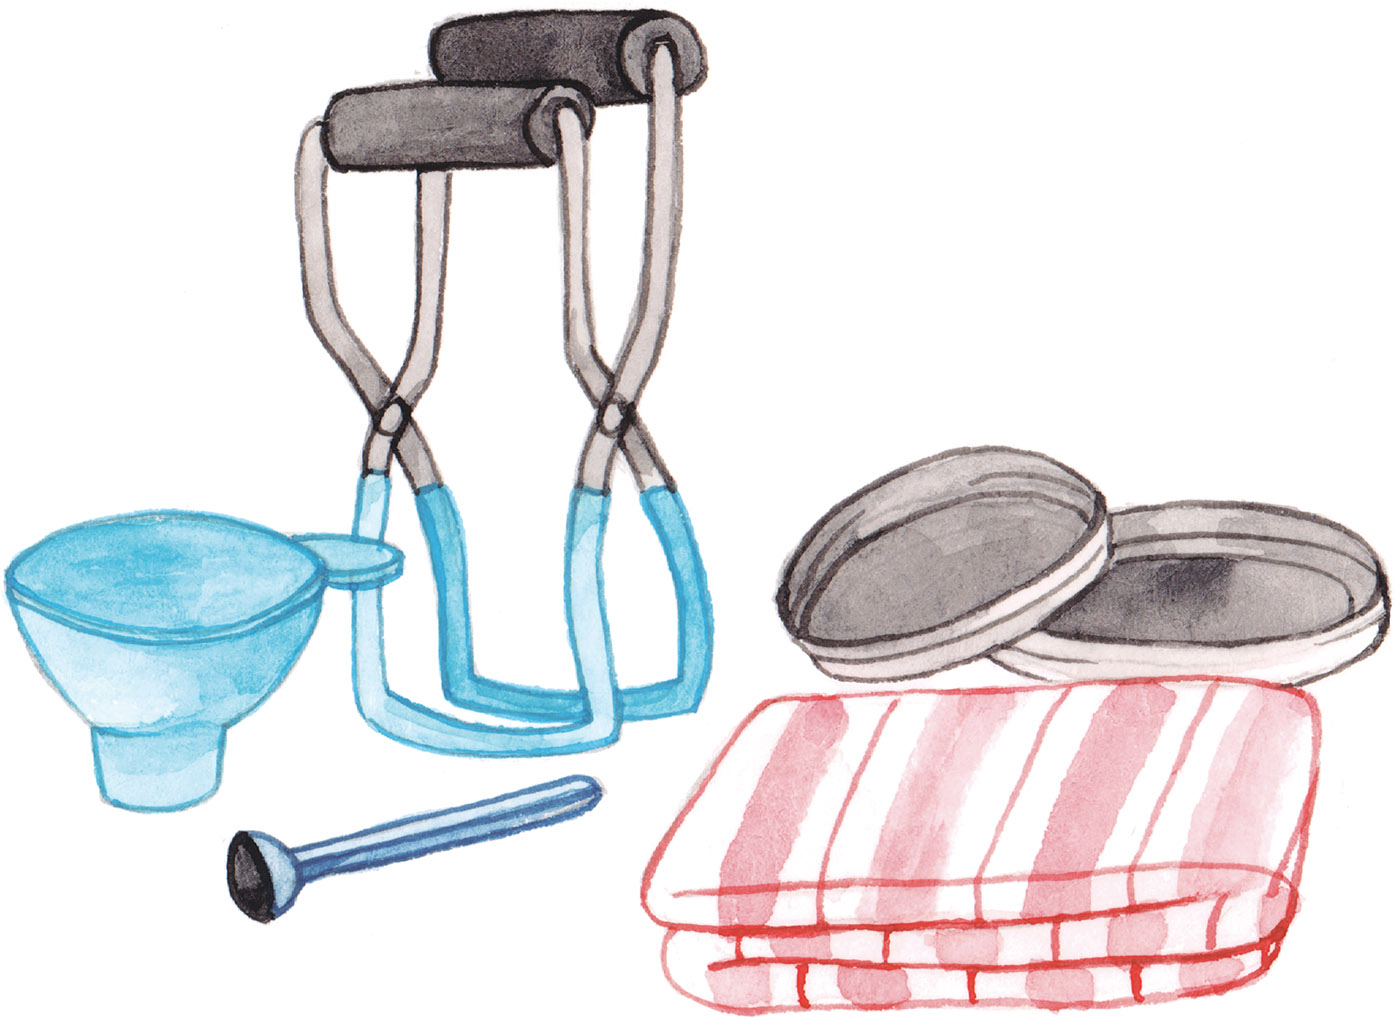
Your at-home filling station should have everything you need for the bottling process, including:
Tea towel with two corners soaked in distilled vinegar
Kitchen towel to place hot jars on
Funnel
Heat-resistant pitcher
Ladle
Jar lifter
Chopstick, or another tool for removing air pockets
Magnetic lid lifter
Clean, new lids for jars
Metal bands for jars

There are numerous brands and styles of jars on the market, but mason jars are the cheapest and easiest to locate. I recommend using jars paired with two-piece lids that have a safety button to indicate that the jars have sealed properly. For each recipe, I have given a jar size; while you may find that you have a larger or smaller jar on hand, I would advise sticking to the size I have suggested. Keep in mind that if you choose to use a larger jar, you will need to increase the processing time to ensure that the center of the contents get hot and the heat penetrates all the way through the contents of the jar.
I am often asked in classes if wide-mouth or small-mouth jars are preferred and my answer is: It depends on what you are canning. If you’re packing large items, like pickles or sauerkraut, wide mouth is the way to go. The small-mouth jars are great for holding floating pickled items under the brine.
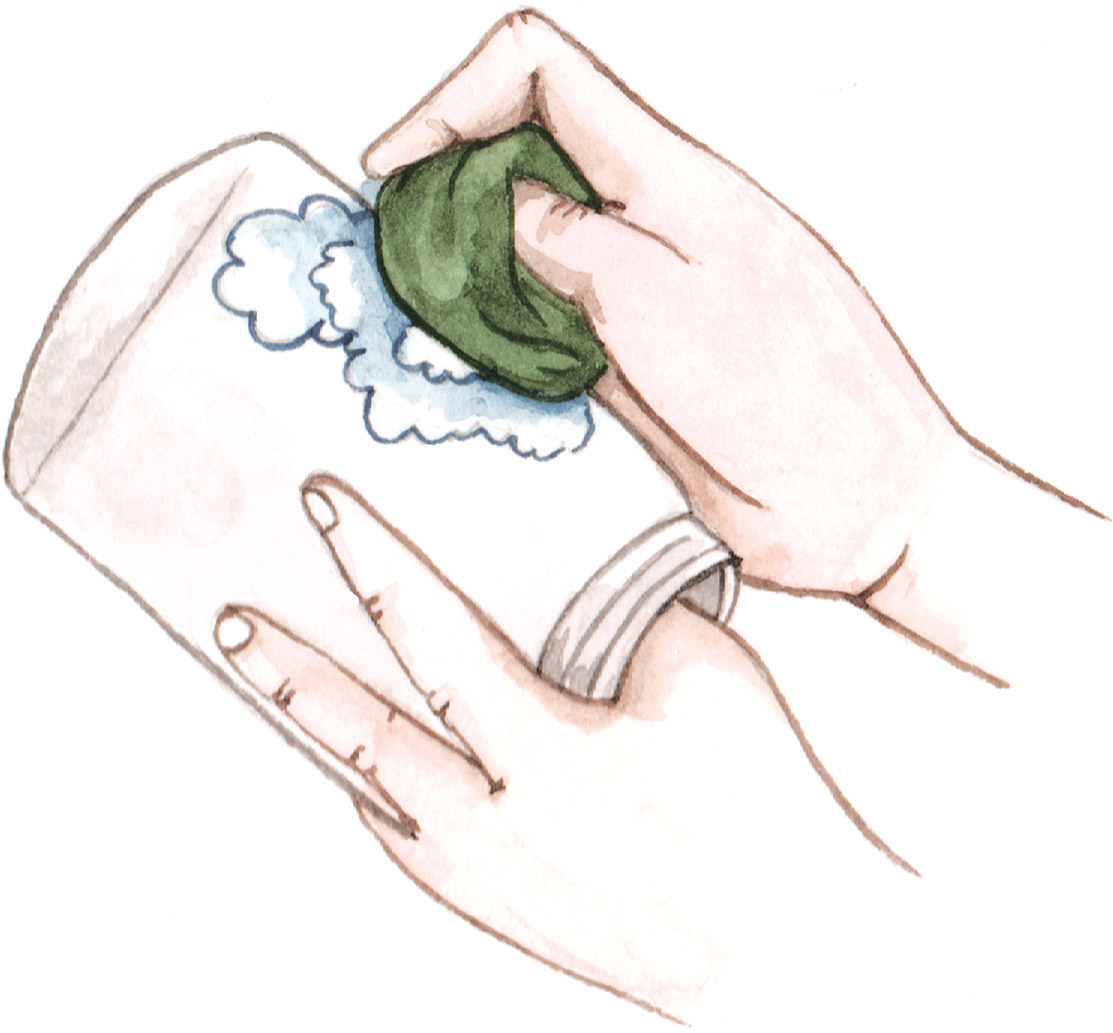
Washing your jars and lids is an important part of the canning process. Especially if the jars are new, wash them with soap and water. New jars often have a rubber smell that a good bath easily takes care of. You can use a dishwasher, but washing by hand gives you the opportunity to inspect each jar. As you clean the jars, look for chips or cracks in the glass.
Always use new lids when canning because reused lids do not seal reliably. If you are using a standard two-piece lid, you can reuse the bands indefinitely, as long as they are clean and in good shape. According to the USDA Complete Guide to Home Canning, it is no longer necessary to boil lids in a separate pot, as they are sterilized during the water bath; instead, wash them and place them at your filling station in a clean bowl and pour 1 cup of boiling-hot water from the canning pot over them. Then use the magnetic lid lifter to safely take them out of the water.
I generally can in small batches. Processing smaller amounts of produce in a timely manner results in longer-lasting, better-quality canned goods. The recipes on the following pages will yield four to eight small jars. You can double or triple the recipe if you have a large amount of produce you want to preserve, but I do not recommend this route for jams, jellies, and preserves because it can affect the set of the preserves. Increasing batch sizes will also require increased cooking times and processing times. Remember, all produce is not created equal, and your recipes may result in one less or one more jar, be prepared by having an extra jar set on hand.
