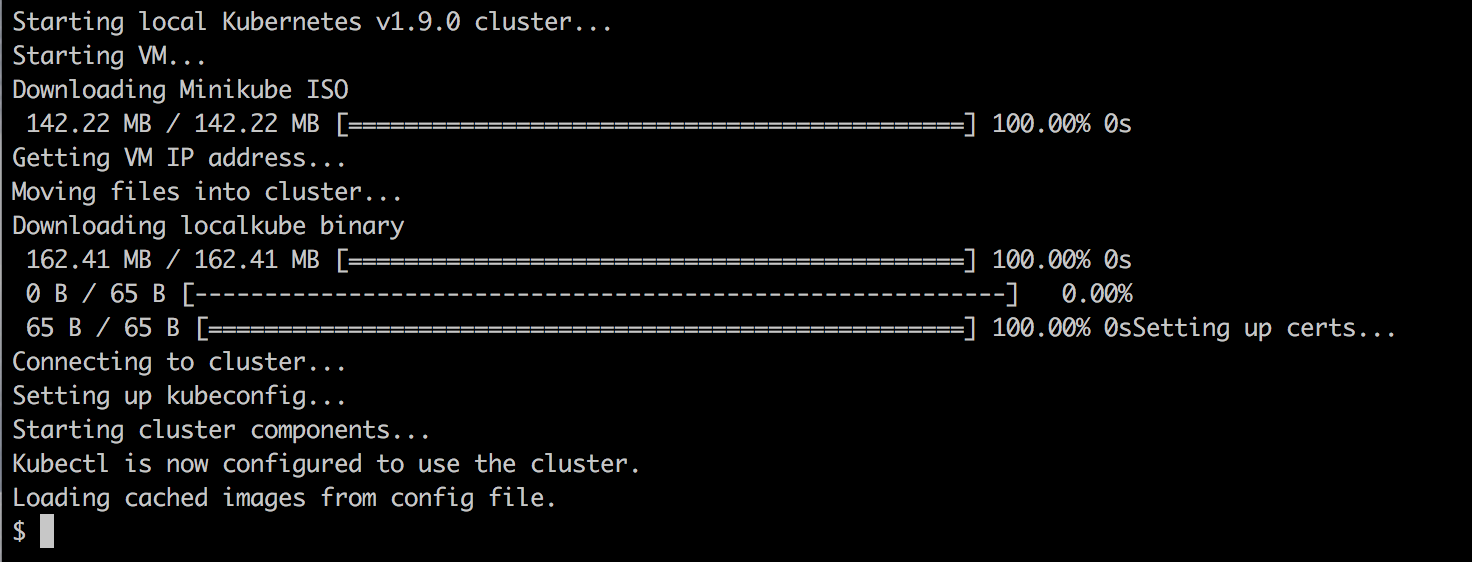
Once Minikube is successfully installed on your workstation, open a Terminal and test the installation. First, we need to start Minikube. Enter minikube start at the command line. The output should look like the following:

Now, enter kubectl version and hit Enter to see something like the following screenshot:

If the preceding command fails, for example, by timing out, then it could be that your kubectl is not configured for the right context. kubectl can be used to work with many different Kubernetes clusters. Each cluster is called a context. To find out which context kubectl is currently configured for, use the following command:
$ kubectl config current-context
minikube
The answer should be minikube, as shown in the preceding output. If this is not the case, use kubectl config get-contexts to list all contexts that are defined on your system and then set the current context to minikube as follows:
$ kubectl config use-context minikube
The configuration for kubectl, where it stores the contexts, is normally found in ~/.kube/config, but this can be overridden by defining an environment variable called KUBECONFIG. You might need to unset this variable if it is set on your computer.
For more in-depth information about how to configure and use Kubernetes contexts, consult the link at https://kubernetes.io/docs/concepts/configuration/organize-cluster-access-kubeconfig/.
Assuming Minikube and kubectl work as expected, we can now use kubectl to get information about the Kubernetes cluster. Enter the following command:
$ kubectl get nodes
NAME       STATUS    ROLES     AGE       VERSION
minikube   Ready     <none>    47d       v1.9.0
Evidently, we have a cluster of one node, which in my case has Kubernetes v1.9.0 installed on it.