LIVING ROOM
DIY PROJECTS

LIVING ROOM PROJECTS
SEWING BASICS: DIY THROW PILLOWS
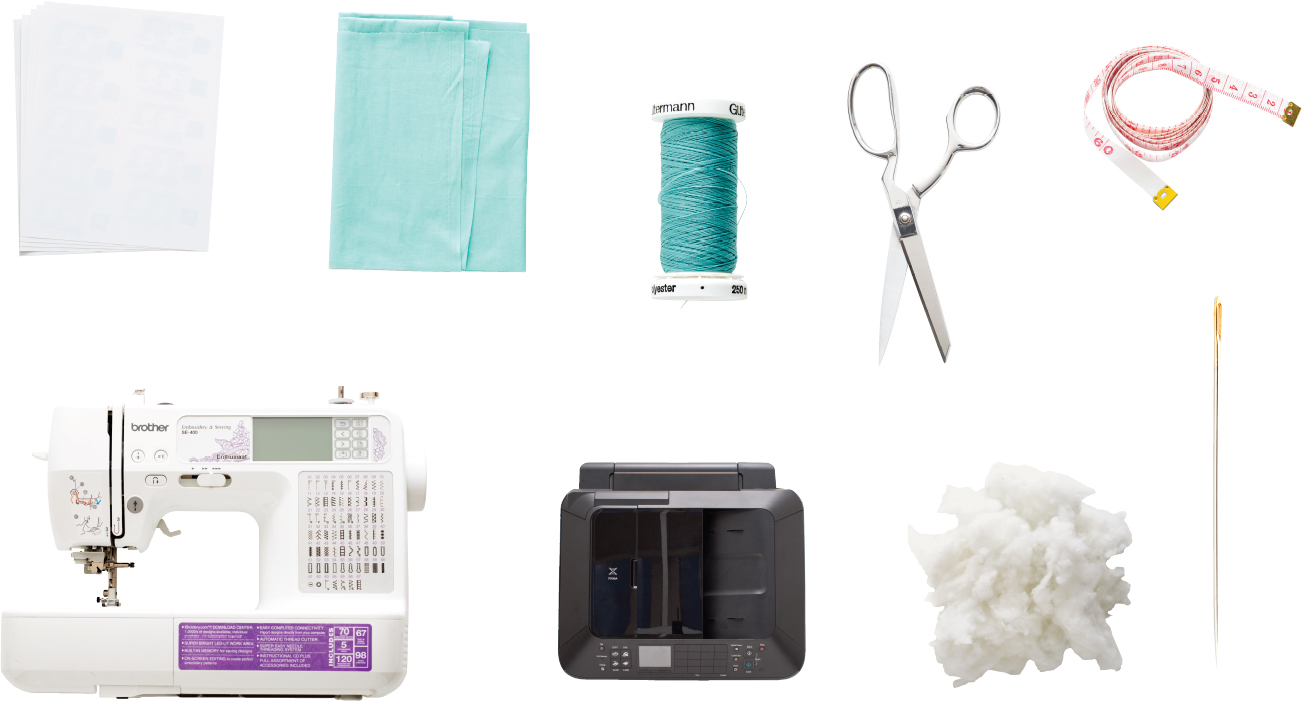
| MATERIALS | COTTON FABRIC |
| (NONSTRETCHY) | |
| INKJET TRANSFER PAPER | |
| THREAD THAT MATCHES YOUR FABRIC | |
| PILLOW STUFFING |
| TOOLS | FABRIC SCISSORS |
| SEWING MACHINE | |
| INKJET PRINTER | |
| NEEDLE |

If you’re delving into the world of DIY, you’ve gotta learn a few sewing basics, and a simple throw pillow is a good place to start. But since a plain old pillow is a little too boring for me, I decided to add a custom iron-on design with three of my favorite words: MAKE, HACK, and LOVE. Come up with your own favorite words or phrase to add to your pillow.

STEP 1: Measure your fabric and cut two pieces that are the same size. Here I went with 14-inch squares, which will result in 12-inch pillows.
STEP 2: Stack the two pieces on top of one another.
STEP 3: Now sew! You want to sew almost all the way around the perimeter, but it’s essential to leave a two- to three-inch section unsewn so that you can turn it right side out, add the iron-on, and stuff it!
STEP 4: Turn your pillowcase right side out.
STEP 5: Use an iron to smooth out any wrinkles.
STEP 6: Print your iron-on transfer. Be sure to follow the directions on the package. Some inkjet transfer paper requires that you print in reverse (as you can see here), and some does not.
STEP 7: Iron the transfer onto your pillow.
STEP 8: Now it’s time to make this pillow cozy. Fill it with stuffing or an insert until it’s at a firmness that suits you.
STEP 9: Use a needle and thread to hand stitch the part of the pillowcase you left open.
And that’s all! Now you just need to make enough pillows for a proper pillow fight!
Brit Tip:
Use pillow inserts that are two inches bigger than your cover for a fuller look.