CLOSET PROJECTS
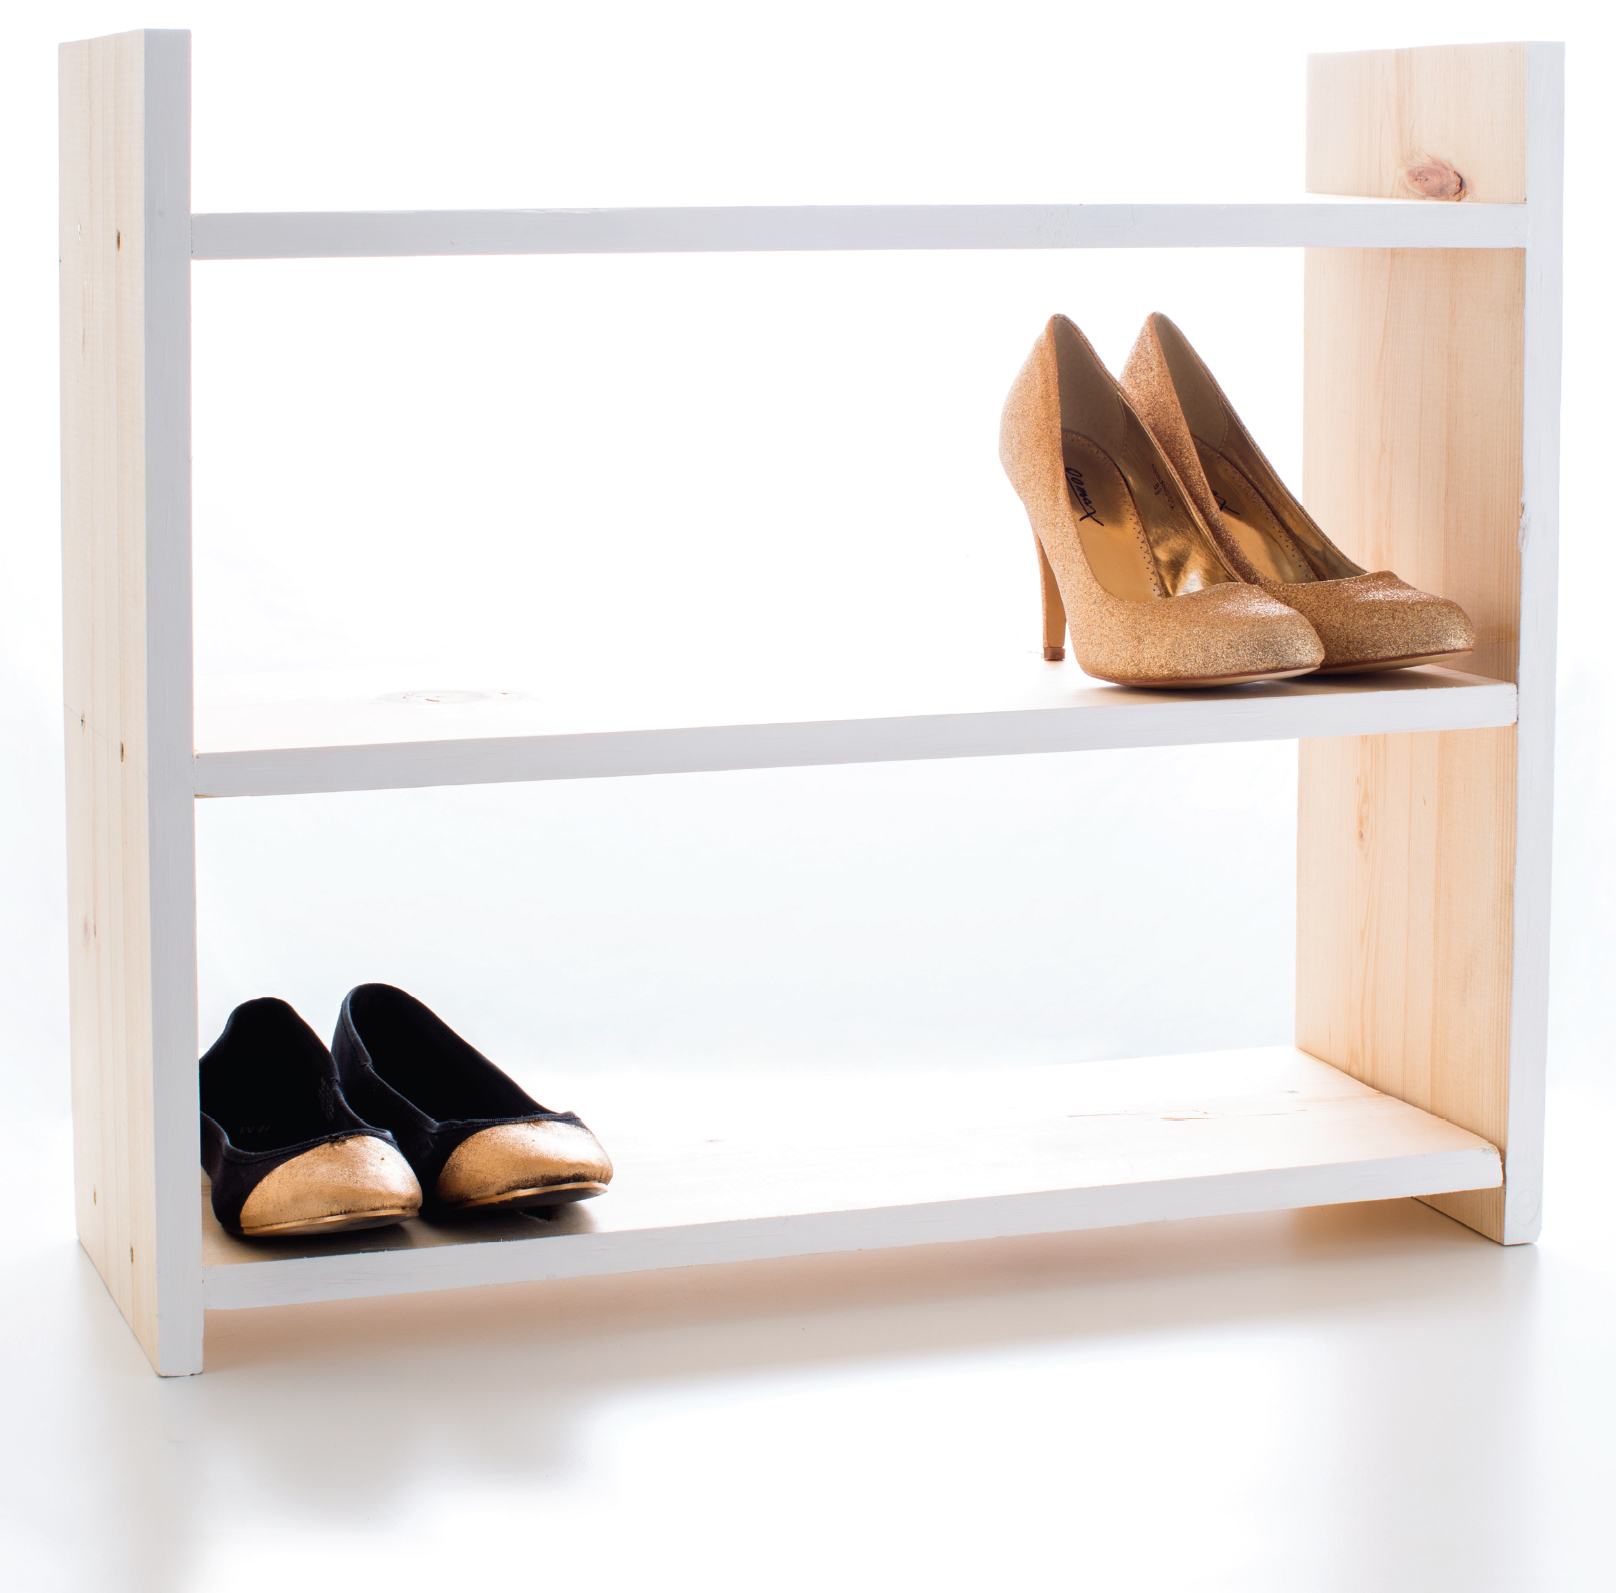
20-MINUTE SHOE RACK
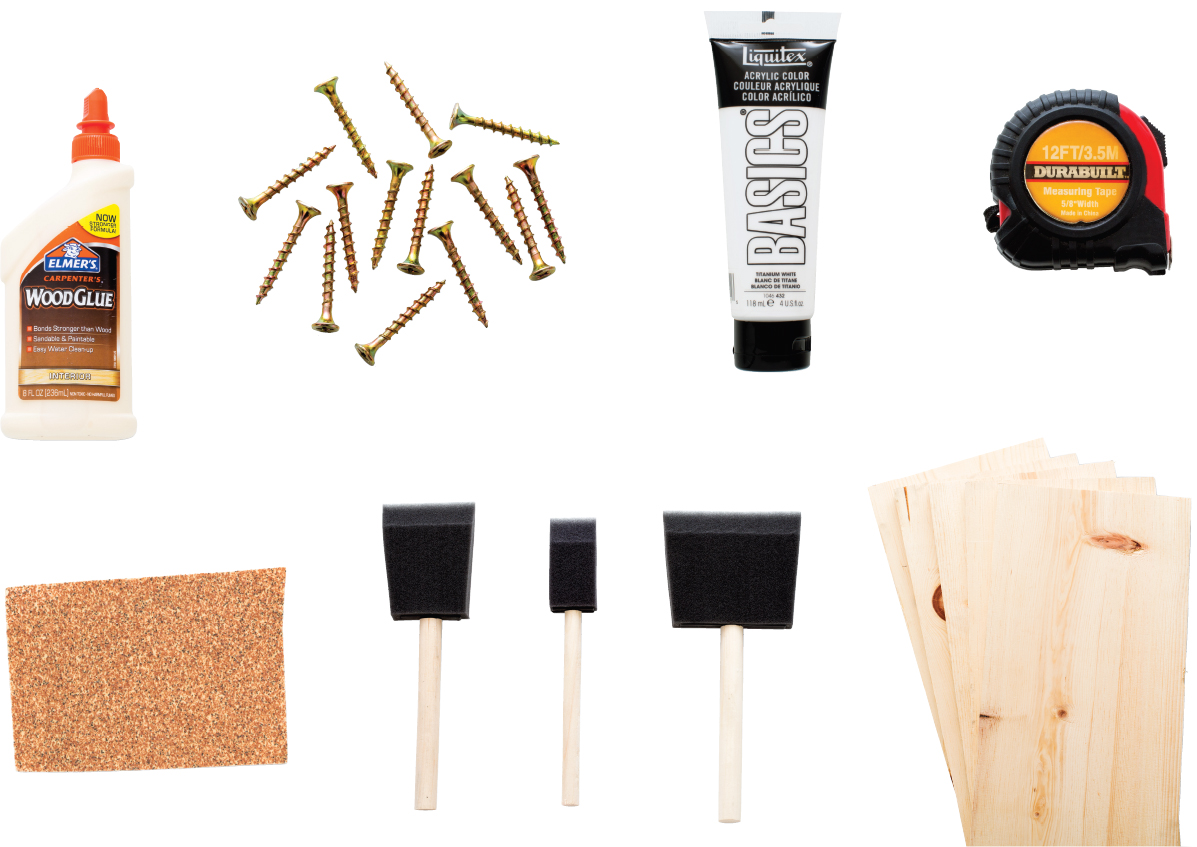
| MATERIALS | WOODEN BOARDS SCREWS |
| WHITE ACRYLIC PAINT |
| TOOLS | WOOD GLUE |
| DRILL | |
| MEASURING TAPE | |
| SANDPAPER | |
| SPONGE BRUSHES |
Got a few too many shoes for the bottom of your closet or the entryway of your apartment? Do yourself a favor and whip up this easy-as-pie shoe rack. I promise it will take you less than 20 minutes!
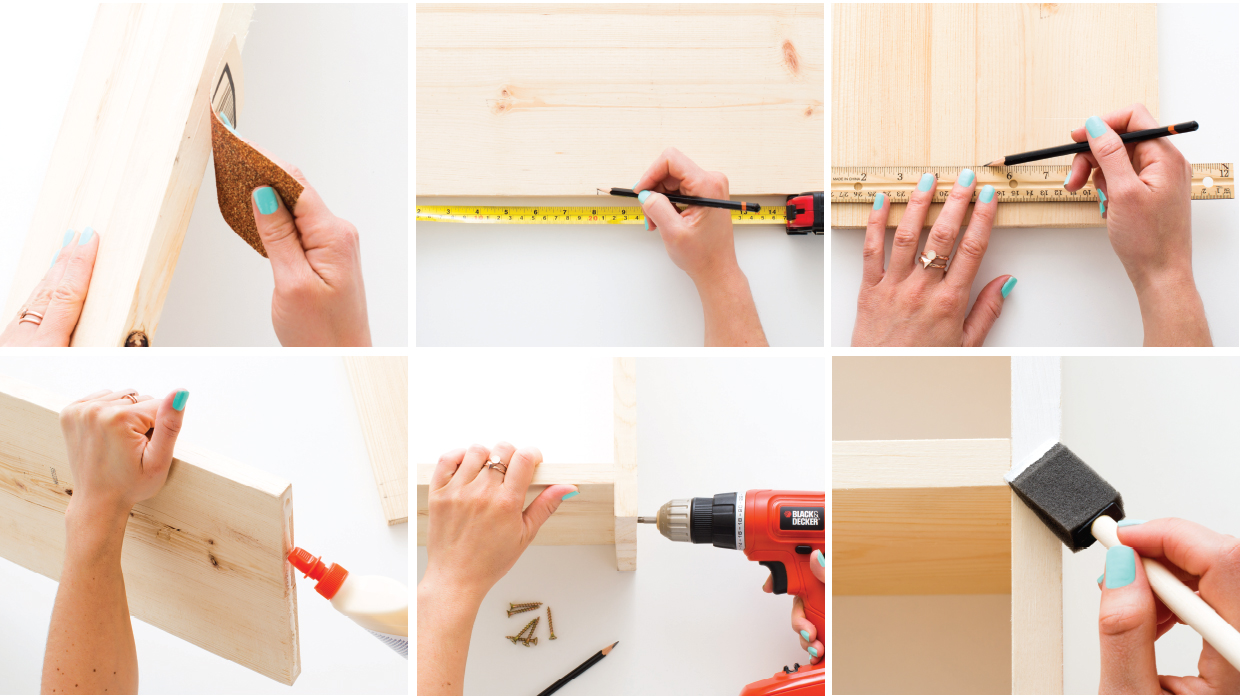
STEP 1: As with any wood project, the first thing to do is to sand your wood to smooth out any roughness.
STEP 2: Measure the halfway point on one slat of wood so you know where you want the middle shelf to go.
STEP 3: Measure two inches from the edge on both sides.
STEP 4: Squeeze a line of wood glue onto the edge of one of the slats you’ll be using as a shelf.
STEP 5: Press the wood glue into the wood slat. Then drill in those screws. The glue will lock in with the screws, making your shelves secure.
STEP 6: Finally, add white edging to the whole piece with white acrylic paint. This will give the shelf a more refined and modern look.