IKEA HACK FOR WOODEN SHELVES
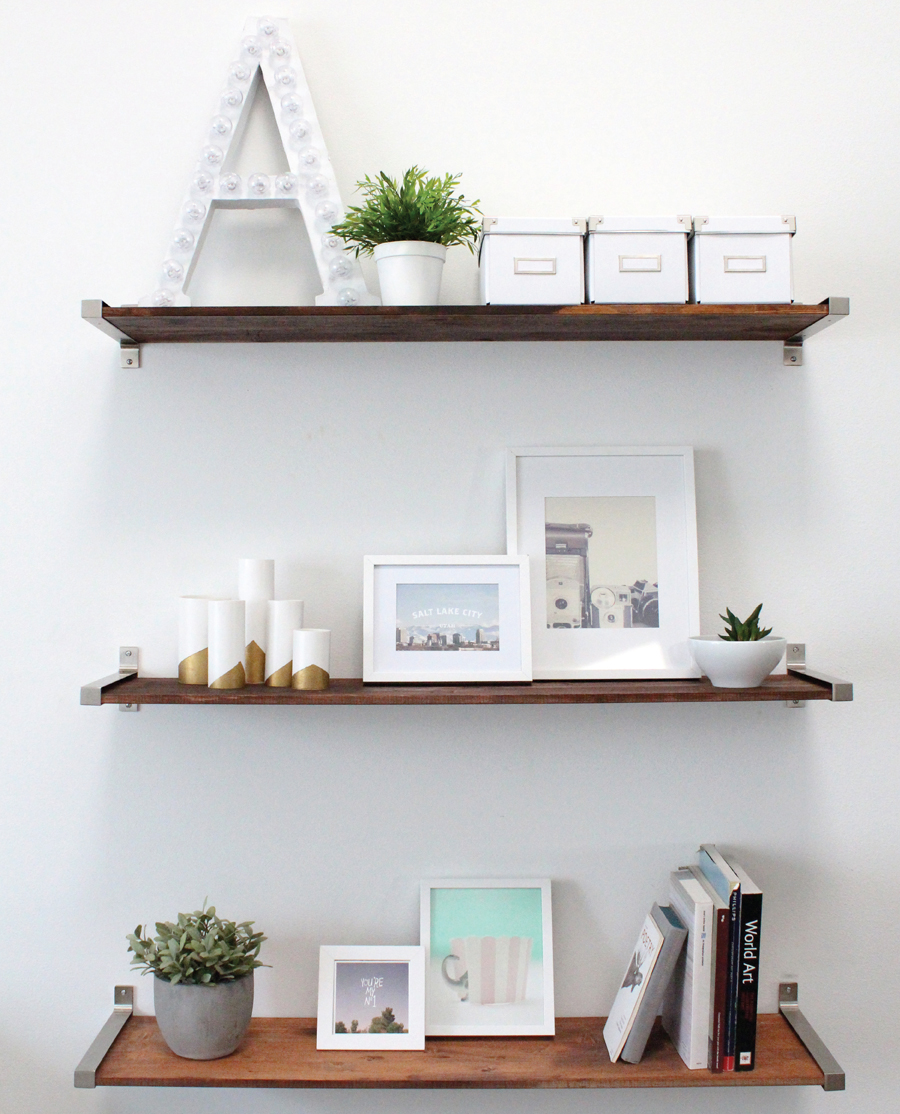
Photo courtesy of Ashley Rose of Sugar & Cloth. www.sugarandcloth.com
BY ASHLEY ROSE

Photo courtesy of Ashley Rose of Sugar & Cloth. www.sugarandcloth.com
ASHLEY ROSE is the editor and founder of Sugar & Cloth, a blog filled with everything you need for DIY-inspired living. You can see her work in places such as O, The Oprah Magazine, Martha Stewart Living, Uppercase, HGTV, and Apartment Therapy. Ashley’s blog was also named a “Top 10 DIY Blog” by Better Homes & Gardens.
MATERIALS
Wood stain in preferred colors (a medium brown works best)
Paintbrush
EKBY shelving brackets
Untreated wooden shelves
Hand towel
INSTRUCTIONS
STEP 1: Using random tools and utensils, like screws, a hammer, sandpaper, or punches, begin marking and scraping the unfinished wood pieces. Use the sandpaper to round out the edges a bit and smooth out any major bumps caused from distressing the wood.
STEP 2: Once the wood is distressed as much as you’d like it to be, brush stain onto the wood, allowing it to dry to the touch in between coats. Apply the second coat only in certain areas, and use the hand towel to blend the edges of the second coat into the first. This will make certain spots a bit darker than others—the variety of colors will give the shelves a reclaimed-wood effect—and make the distressed areas look more interesting. You can also use the IKEA clear glaze finish to seal the wood from water.
STEP 3: Once the stain has dried completely, install the EKBY shelving ends according to the instructions on the package. You’ll definitely want an extra set of hands for this part!
STEP 4: Now that your shelves are installed, decorate them with as many pretties as you’d like, and you’ve got yourself custom distressed wooden shelves for a fraction of the cost!