Easy Projects
Geode Trivet

While most of the projects in this book are quite angular and geometric, this trivet is worked organically from the outside in. Colors are changed at random to create a truly unique piece. Choose colors that work for your home! A crocheted edging finishes off the trivet with added strength.
FINISHED SIZE
14 in. (35.6 cm) in diameter
TOOLS AND MATERIALS
› 20 in. (50.8 cm) square piece of monk’s cloth (24 threads/inch)
› 14 in. (35.6 cm) circular plate
› Adjustable punch needle tool or Oxford Punch Needle #10 Regular to achieve a ¹/₄ in. (0.6 cm) pile height
› Approximately 50 yd. (45.7 m) each of 4 colors chunky weight yarn
› US K (6.5 mm) crochet hook
INSTRUCTIONS
- - - - - - - - - - - - - - - - - - - - - - -
Getting Started
1.Lay plate down on the cloth and trace around.
2. Stretch cloth over desired frame, taking care to not distort the image.
3. To start punching, begin at the outer edge and work slowly toward the center, changing colors as desired. Follow photos for color placement.
Finishing
1. When finished, remove the cloth from the frame and lay flat with the pile side facing upward. Iron with steam to flatten.
2. Using your scissors, trim the base cloth around the design with a ½–1 in. (1.3–2.5 cm) seam allowance all the way around.
3. With a coordinating strand of chunky weight yarn, insert the hook through the monk’s cloth at the base of the trivet. Pick up a loop and single crochet around edge of trivet. Finish off and weave in all ends. Alternatively, fold cloth under and bind to secure.

Diamond Necklace
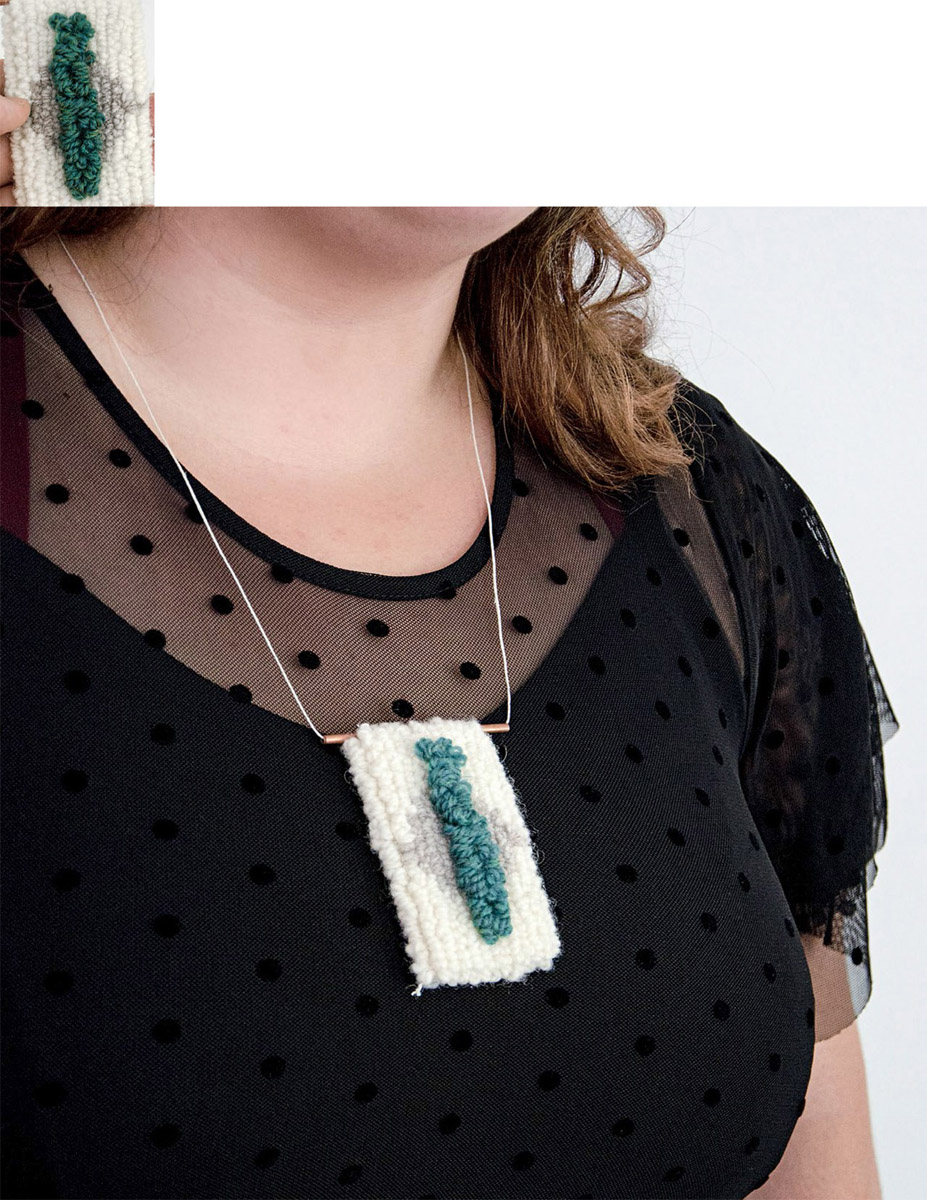
This small, contemporary necklace inspired by miniature tapestries is the perfect addition to any modern wardrobe. The subtle diamond in the background adds dimension and visual interest. Try working with a few different punch needle sizes to create dimension in the project. A small amount of copper piping is used to hang the piece from the hemp cord.
FINISHED SIZE
2.5 ½ 3.75 in. (6.4 ½ 9.5 cm)
TOOLS AND MATERIALS
› 8 in. (20.3 cm) square piece of monk’s cloth (24 threads/inch)
› Pattern template, page 88
› Oxford Punch Needle in sizes #13 and #8 Fine to achieve a ³/₁₆ in. (0.5 cm) loop and ½ in. (1.3 cm) loop, respectively
› Approximately 15 yd. (13.7 m) each of 2 or 3 colors worsted weight yarn
› Scissors
› Sewing needle and thread
› 5 in. (12.7 cm) square piece of felt
› 36 in. (91.4 cm) hemp cording
› Craft glue
› 4 in. (10.2 cm) small copper tube
INSTRUCTIONS
- - - - - - - - - - - - - - - - - - - - - - -
Getting Started
1. Transfer the template design to the cloth using preferred method.
2. Stretch cloth over desired frame, taking care to not distort the image.
3. Using the photo for color reference, punch the background using white and gray with Oxford Punch Needle in size #13. Try to punch in a stacked fashion, keeping the loops as even as possible.
4. Using green and the Oxford Punch Needle in size #8 Fine, punch center of design.
Sewing Up
1. When finished, remove the cloth from the frame and lay flat with the pile side facing upward. Iron with steam to flatten out the curl.
2. Using your scissors, trim the base cloth around the design with a ½–1 in. (1.3–2.5 cm) seam allowance all the way around.
3. Turn the piece over so that the back of the design is now facing you. Fold the seam allowance over onto the back of the piece, making sure that no base cloth is visible from the front. Glue down the folds of the foundation fabric and place a weight on top. Allow to dry for at least 24 hours.
4. To make the backing for your design, cut a piece of craft felt to the size and shape of your finished design. Place the felt on the back of the design to cover the cloth folds.
5. Using whipstitch, sew around the edge of the piece to secure the felt backing to the base cloth, staying as close to the edge of the pile as possible for a clean finish.
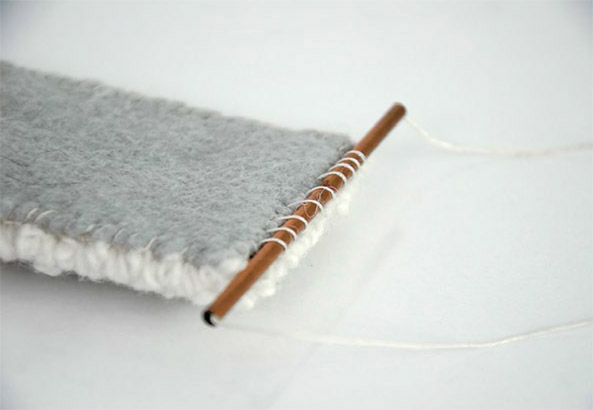
6. Secure copper tube to fabric of punched piece as pictured. Thread hemp cord through copper tube and knot both ends together.
Half Square Rectangle Wall Hanging

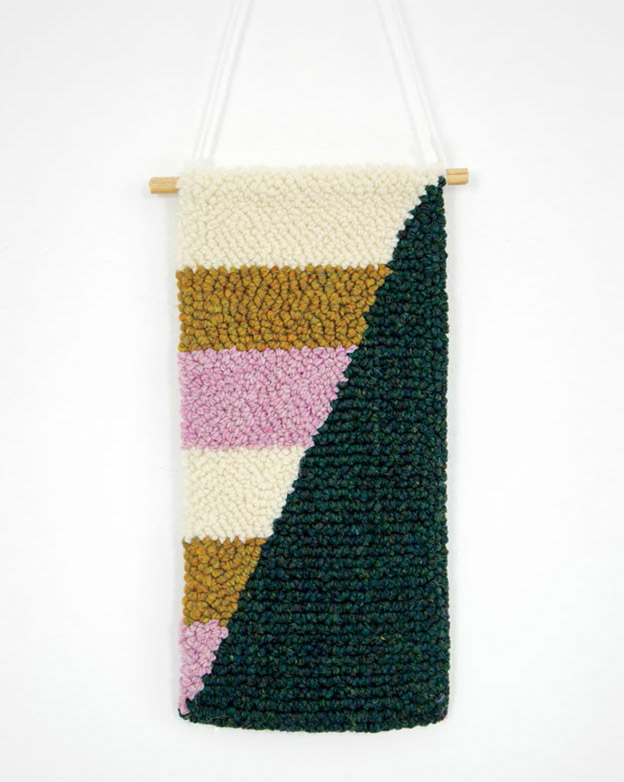
Wall hangings are the perfect way to take your rugs from the floor to the wall, displaying your work for everyone to see. This piece hangs above my desk with several other designs. The smaller angular sections on the left are filled in with the layering bricks style, while the triangular section on the right is filled in using a stacked style. A dowel is sewn to the back for hanging.
FINISHED SIZE
7 ½ 14 in. (17.8 ½ 35.6 cm)
TOOLS AND MATERIALS
› 20 in. (50.8 cm) square piece of monk’s cloth (24 threads/inch)
› Pattern template, page 88
› Oxford Punch Needle in size #10 Regular to achieve a ¹/₄ in. (0.6 cm) pile height
› Approximately 50 yd. (45.7 m) each of 4 colors bulky and worsted weight yarns
› Scissors
› Sewing needle and thread
› 8 in. (17.8 cm) long wooden dowel
INSTRUCTIONS
- - - - - - - - - - - - - - - - - - - - - - -
Getting Started
1. Transfer the template design to the cloth using preferred method.
2. Stretch cloth over desired frame, taking care to not distort the image.
3. To begin punching, work the large triangle section on the right by stacking the loops. Then fill in the remaining sections by using the layered brick technique. Follow photos for color placement.
Finishing
1. When finished, remove the cloth from the frame and lay flat with the pile side facing upward. Iron with steam to flatten.
2. Using your scissors, trim the base cloth around the design with a 2 in. (5.1 cm) seam allowance all the way around.
3. Turn the piece over so that the back of the design is now facing you. Fold the seam once to create a 1 in. (2.5 cm) fold, fold again, pin in place, and bind cloth to back of piece. Directions for binding can be found on page 26.

9-Patch Tote Bag

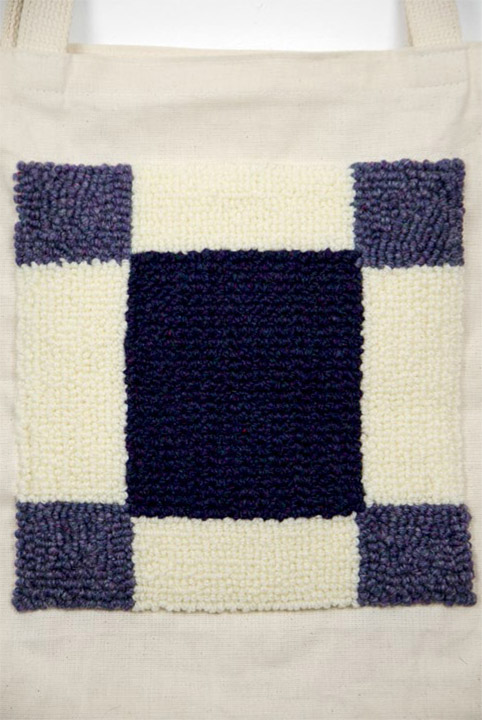
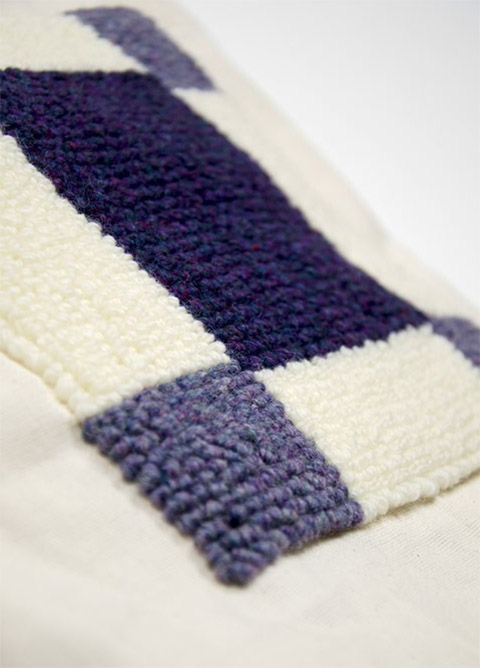
Like the Quarter Triangle Tote Bag (page 53), this 9-Patch Tote is constructed using a 100 percent cotton tote with a woven-in Aida cloth section. Or, if desired, simply punch the design on a square of monk’s cloth, using the pattern template, and attach to the front of a 100 percent cotton tote. This tote is punched using the size #13 Oxford Punch Needle, which creates a slightly longer pile than the size #14.
FINISHED PUNCHED AREA
9 ½ 9 in. (22.9 ½ 22.9 cm)
TOOLS AND MATERIALS
› DMC Aida Cloth Canvas Tote Bag or 14 in. (35.6 cm) square monk’s cloth (24 threads/inch)
› No-Slip Embroidery Hoop
› Pattern template, page 89
› Oxford Punch Needle in size #13 to achieve a ³/₁₆ in. (0.5 cm) pile height
› Approximately 50 yd. (45.7 m) each of 3 colors worsted weight and/or bulky weight yarn
› Scissors
› Glue (optional)
› Sewing needle and thread (if attaching monk’s cloth to a tote)
INSTRUCTIONS
- - - - - - - - - - - - - - - - - - - - - - -
Getting Started
1. Transfer the template design to the cloth using preferred method.
2. Stretch cloth over desired frame, taking care to not distort the image. If stitching directly onto an Aida Cloth Canvas Tote, it is easiest to use an embroidery hoop and to move your work as it progresses.
3. To start punching, first outline each shape in the correct color yarn, and then fill in the interior of each outlined shape. I chose a smaller pile to not weigh down the canvas tote. If using a longer pile, try not to overpack your piece.
Finishing
1. When finished, if using a canvas tote bag, remove the bag from the frame and lay flat with the pile side facing upward. Iron with steam to ease the curl. Trim all loose threads. If desired, apply a small amount of glue to the back of your piece to keep the loops from snagging on items stored in the tote.
2. If punching directly onto the monk’s cloth, remove the cloth from the frame and lay flat with pile side facing upward. Iron with steam to flatten. Trim all loose threads. Bind rug. Hand sew or glue to tote bag.

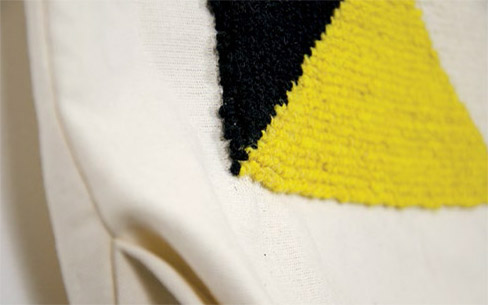
Quarter Triangle Tote Bag
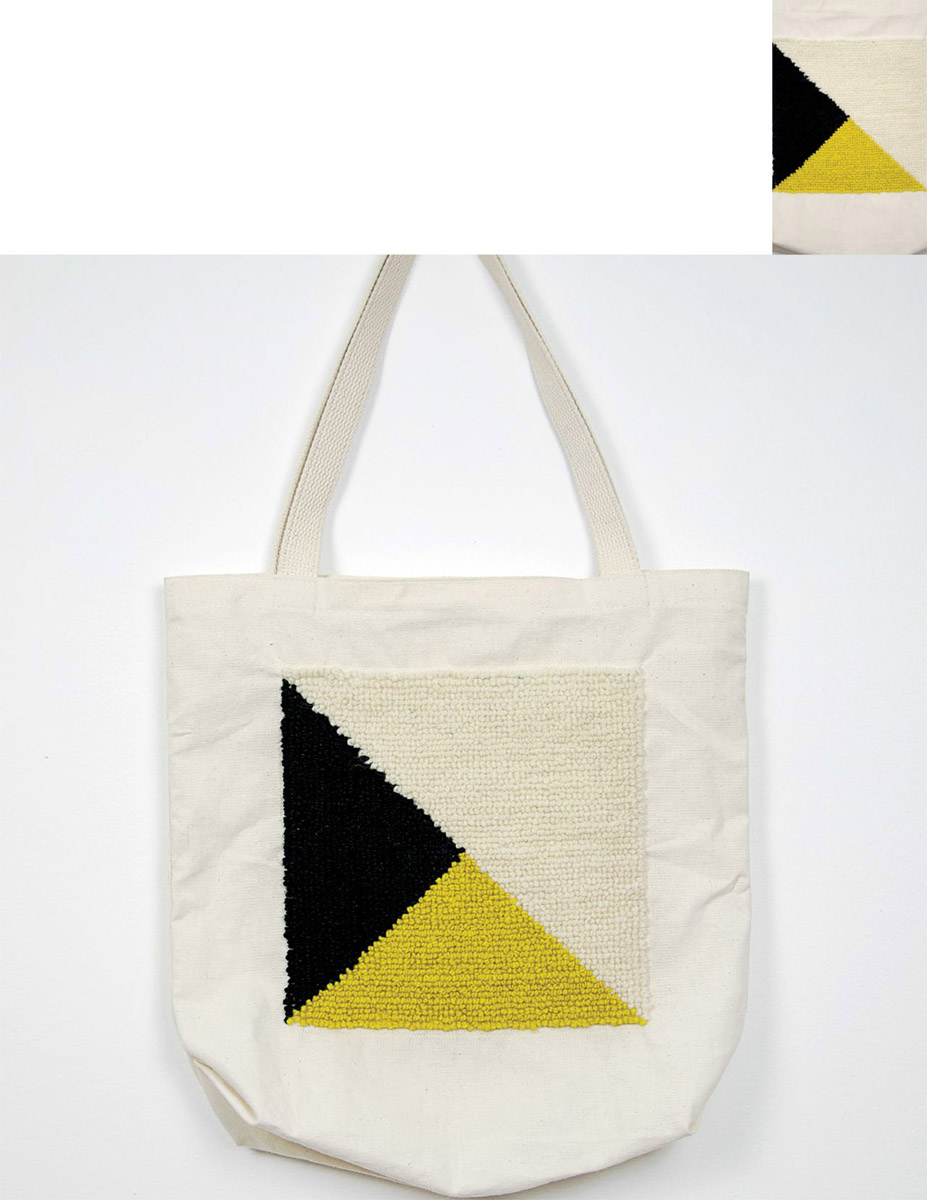
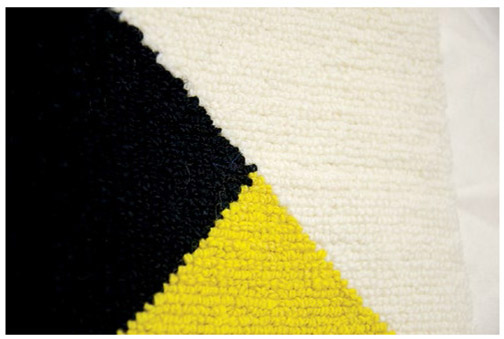
Collecting tote bags has long been a pastime of mine. Wherever I travel around the country, I grab a tote bag or two. This Quarter Triangle Tote is constructed using a 100 percent cotton tote with a woven-in Aida cloth section. If desired, simply punch the design on a square of monk’s cloth, using the pattern template, and attach to the front of a 100 percent cotton tote.
FINISHED PUNCHED AREA
9 ½ 9 in. (22.9 ½ 22.9 cm)
TOOLS AND MATERIALS
› DMC Aida Cloth Canvas Tote Bag or 14 in. (35.6 cm) square monk’s cloth (24 threads/inch)
› No-Slip Embroidery Hoop
› Pattern template, page 90
› Oxford Punch Needle in size #14 to achieve a ¹/₈ in. pile height
› Approximately 50 yd. (45.7 m) each of 3 colors worsted weight yarn
› Scissors
› Glue (optional)
› Sewing needle and thread (if attaching monk’s cloth to a tote)
INSTRUCTIONS
- - - - - - - - - - - - - - - - - - - - - - -
Getting Started
1. Transfer the template design to the cloth using preferred method.
2. Stretch cloth over desired frame, taking care to not distort the image. If stitching directly onto an Aida Cloth Canvas Tote, it is easiest to use an embroidery hoop and to move your work as it progresses.
3. To start punching, first outline each shape in the correct color yarn, and then fill in the interior of each outlined shape. I chose a smaller pile to not weigh down the canvas tote. If using a longer pile, try not to overpack your piece.
Finishing
1. When finished, if using a canvas tote bag, remove the bag from the frame and lay flat with the pile side facing upward. Iron with steam to flatten. Trim all loose threads. If desired, apply a small amount of glue to the back of your piece to keep the loops from snagging on items stored in the tote.
2. If punching directly onto the monk’s cloth, remove the cloth from the frame and lay flat with pile side facing upward. Iron with steam to flatten. Trim all loose threads. Bind rug. Hand sew or glue to tote bag.
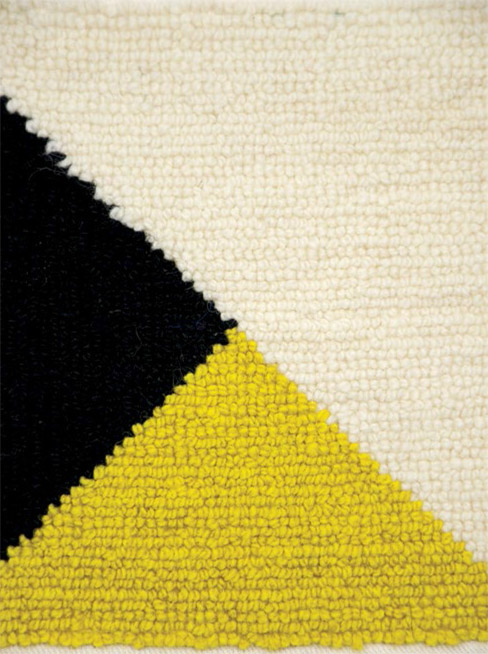

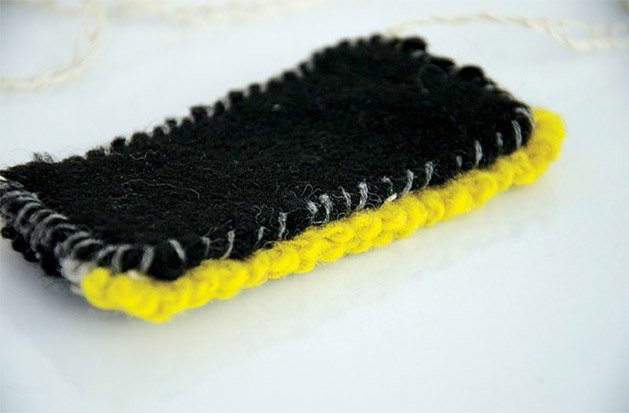
Striped Necklace

Using one punch needle and four colors, this Striped Necklace is quick to punch and easy to finish. Hemp cord is crocheted to create a shorter cord with a touch of handmade. Try making this project in your favorite neutrals or neon colors to create a striking necklace for everyday wear.
FINISHED SIZE
4.5 ½ 2 in. (11.4 ½ 5.1 cm)
TOOLS AND MATERIALS
› 8 in. (20.3 cm) square piece of monk’s cloth (24 threads/inch)
› Pattern template, page 91
› Oxford Punch Needle in size #10 Fine to achieve a ¹/₄ in. (0.6 cm) pile height
› Approximately 15 yd. (13.7 m) each of 4 colors worsted weight yarn
› Scissors
› Sewing needle and thread
› 5 in. (12.7 cm) square piece of felt
› 36 in. (91.4 cm) hemp cording
› Small crochet hook
› Craft glue
INSTRUCTIONS
- - - - - - - - - - - - - - - - - - - - - - -
Getting Started
1. Transfer the template design to the cloth using preferred method.
2. Stretch cloth over desired frame, taking care to not distort the image.
3. Using the photo for color reference, punch the piece in stacked fashion, taking care that the loops remain even and consistent
Finishing
1. When finished, remove the cloth from the frame and lay flat with the pile side facing upward. Iron with steam to flatten out any curl
2. Using your scissors, trim the base cloth around the design with a ½–1 in. (1.3–2.5 cm) seam allowance all the way around
3. Turn the piece over so that the back of the design is now facing you. Fold the seam allowance over onto the back of the piece, making sure that no base cloth is visible from the front. Glue down the folds of the foundation fabric and place a weight on top. Allow to dry for at least 24 hours.
4. To make the backing for your design, cut a piece of craft felt to the size and shape of your finished work. Place the felt on the back of the design to cover the cloth folds.
5. Using whipstitch, sew around the edge of the piece to secure the felt backing to the base cloth, staying as close to the edge of the pile as possible for a clean finish.
6. Secure a suitable length of the hemp cord to either side of the piece. If desired, crochet the length of hemp cord to add a bit of visual interest.
Tufted-Look Pillow
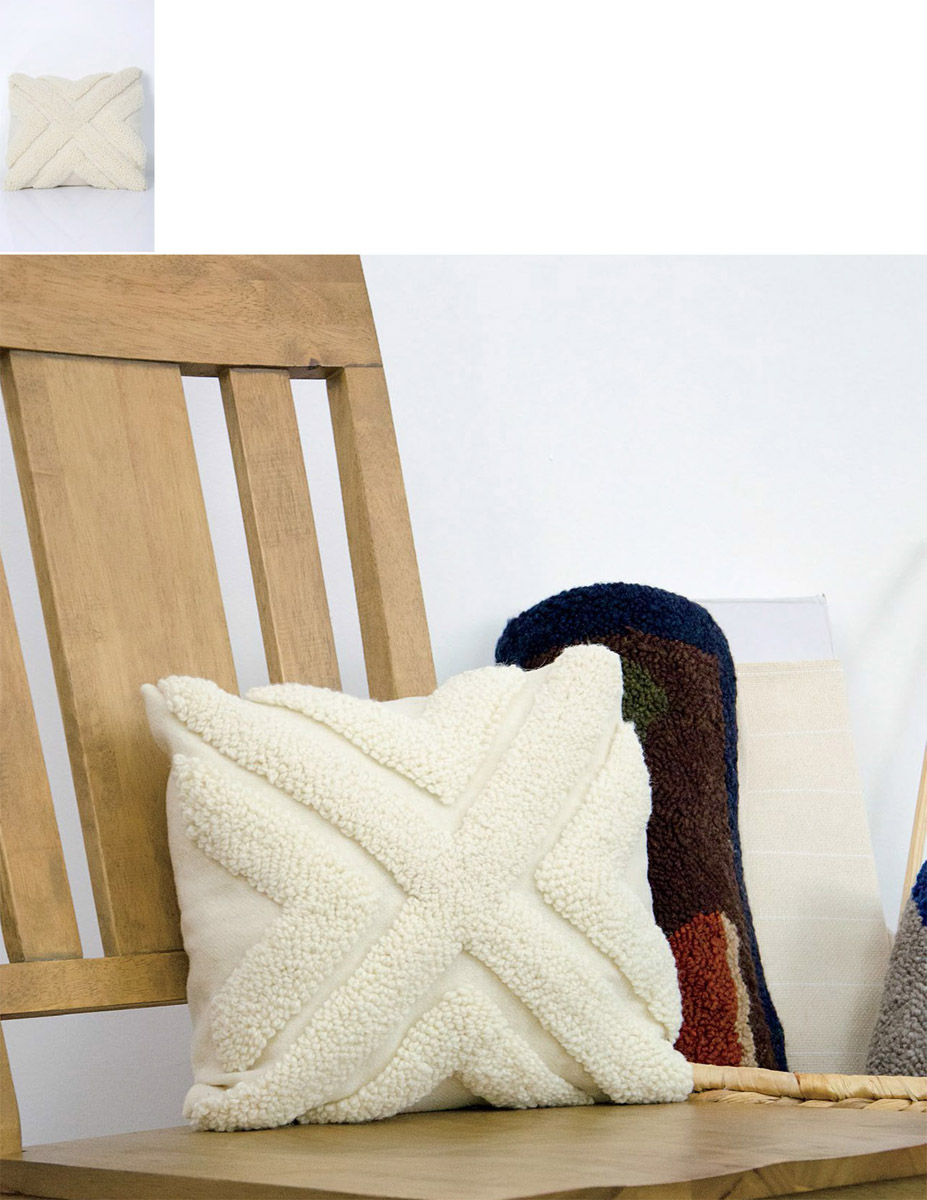
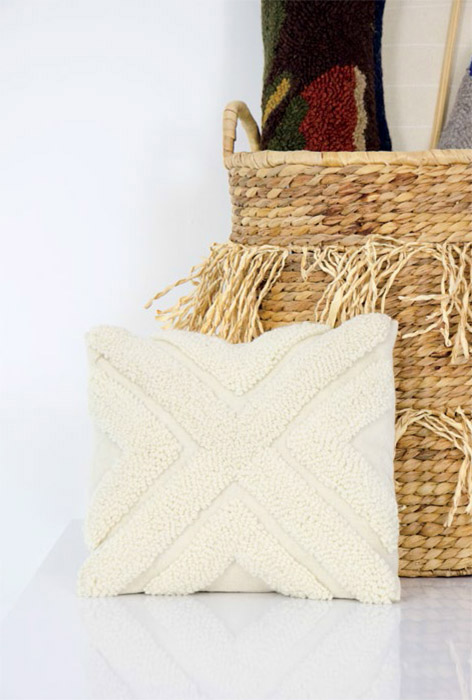
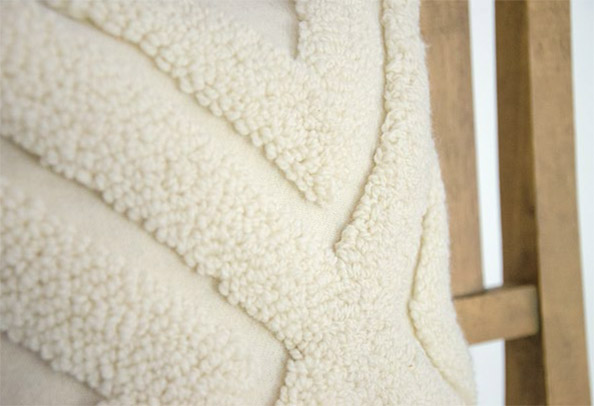
Rug tufting uses a specialty tool to produce one-of-a-kind rugs with long and often uneven piles. This pillow mimics the look and feel of tufting with a longer, Fine punch needle. The pillow is punched directly onto wool. The easy-to-sew finish requires just a small amount of sewing, which can be done by hand or by machine. Wool fabric is my very favorite to punch on, but it does require that you work quickly, as the fabric has a tendency to stretch. This project is best punched on a gripper strip frame or embroidery hoop.
FINISHED SIZE
13 ½ 13 in. (33.0 ½ 33.0 cm)
TOOLS AND MATERIALS
› ½ yd. (0.5 m) piece of white felted wool
› Pattern template, page 91
› Oxford Punch Needle size #8 Fine to achieve a ½ in. (1.3 cm) pile height
› Approximately 220 yd. (201.2 m) of worsted weight yarn in white
› Sewing machine or sewing needle
› Thread to match the felted wool
› 14 in. (35.6 cm) square pillow insert
INSTRUCTIONS
- - - - - - - - - - - - - - - - - - - - - - -
Getting Started
1. Center the design in the middle of the piece of wool. Transfer design using desired method.
2. Stretch fabric over desired frame, taking care to not distort the image.
3. To start punching, thread tool and punch each section; outlining is not necessary. Take care to check the pile height to ensure that consistency is achieved.
Sewing Up
1. When finished, remove the cloth from the frame and lay flat with the pile side facing upward. Iron with steam to flatten.
2. With right side facing, fold ends of fabric to overlap across front of pillow. Pin in place.
3. Using a ½ in. (1.3 cm) seam allowance, sew along top and bottom of pillow cover, taking care to avoid the piles on right side. Trim any excess wool from outside seam.
4. Turn pillow cover inside out; slip in pillow insert.
