
If you want to add an extra personal touch to a present, these three gift tags with popular tropical plant motifs are just what you need. Whether it’s for a birthday, Mother’s Day or to decorate a thank-you gift, your watercolor gift tags will be really eye-catching. Find out how to create them here, in just a few easy steps.


My color palette for this project. See My Materials
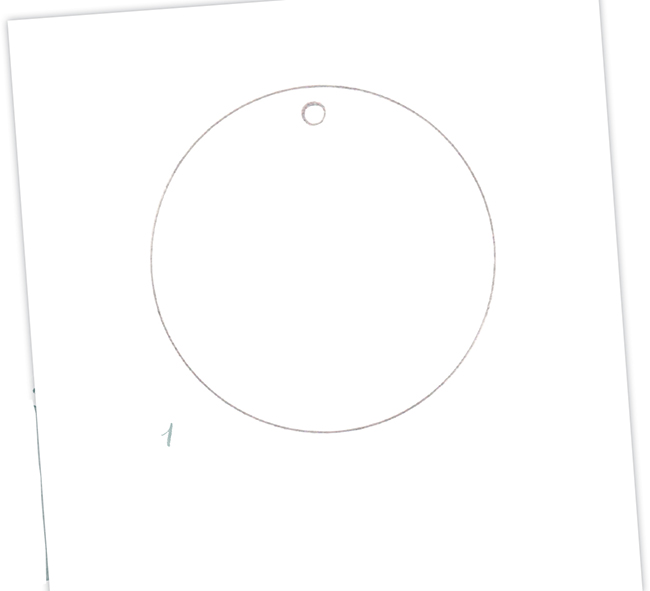
1The leaf shape of the Monstera, or Swiss Cheese plant, fits neatly onto a round tag. To draw a perfect circle for your tag’s outline, use a round glass as a guide: place it on the paper and draw around it with a pencil.
Bear in mind that the colors will also evolve and blend during the drying process. The appearance of the wet paint is not necessarily the end result.
2Now make a simplified sketch of the typical Monstera leaf shape in the center of the circle.

3Apply a light green shade, using a lot of water and very little paint, over the entire leaf. Now dip your brush in a somewhat deeper green and dab it along the outer edge of the leaf. The darker green will begin to spread within the light green and blend with it.

4Last of all, when the paint is completely dry, add the stem of the Monstera leaf in a mid shade of green.

If you would like lighter areas on your plant, dab the still-moist paint that has already been applied with a cloth or nudge it along with a brush dipped in water to the desired point.
1Draw a suitable rectangular tag with a pencil and ruler or set square. Use rounded corners or bevel edges if preferred. My tags measure 31⁄2 x 13⁄4 in (9 x 4.5cm).
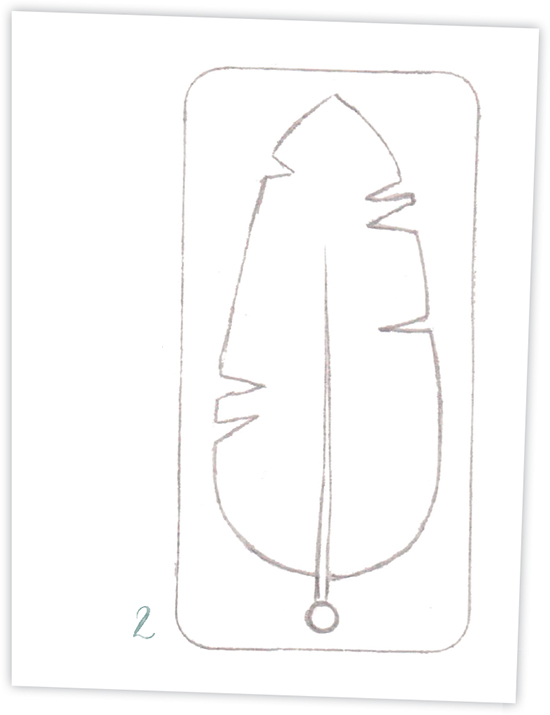
2Sketch the banana leaf, giving it an elongated oval shape that is pointed at the top. Remember to draw in a few randomly distributed slits on the left and right edges, as well as the stem in the middle. The elongated form of the banana leaf should fit neatly into the selected tag format.
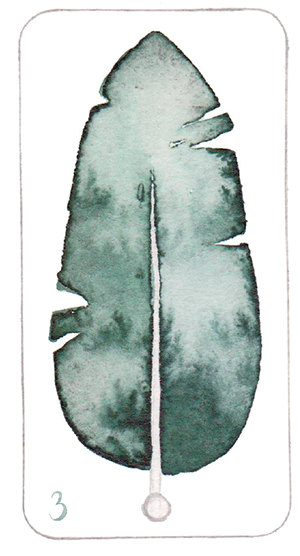
3Mix an appropriate shade of green, using a little paint and a lot of water, and color in the surface of the banana leaf. To produce the light patches, dab the paint already applied with a little water. It will then begin to move and spread in different directions. To create the dark areas of the leaf, mix up a shade with a little water and a lot of paint and dab it onto the relevant areas. Watch how the colors move and interact.
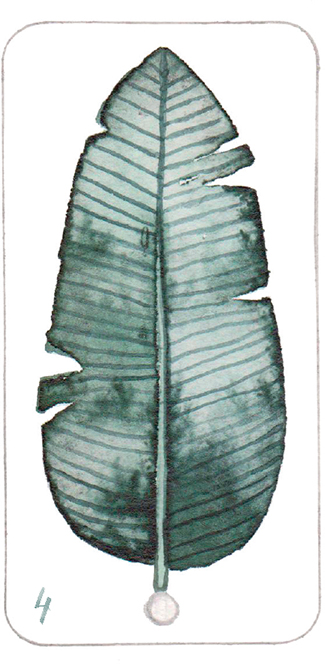
4When the paint has dried completely you can carefully paint in the darker stem and the lines on the banana leaf using a fine round brush.
The right angles on the gift tags turn out best if you use a set square.
1Be creative and think about other shapes that might work for a gift tag. Then draw the outline using a pencil and ruler or set square.
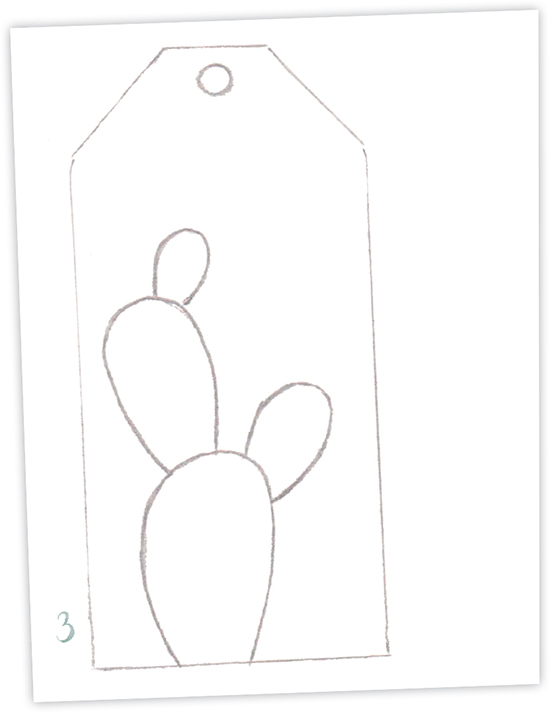
2As the cactus should tower upwards, I decided on an oblong format for my tag so that there would be enough height for the cactus.
3Start by sketching the outlines of the cactus, dividing it into sections.
4Now color in the sections that are not in contact with one another using an appropriate shade of green. Play with the water and the paint by dabbing deep green tones in some places and working with more water elsewhere. When you are pleased with the results, leave to dry.

These botanical tags can be reused to make fantastic and unique little bookmarks.
5Repeat the process described in step 4 for the sections that have not yet been colored.

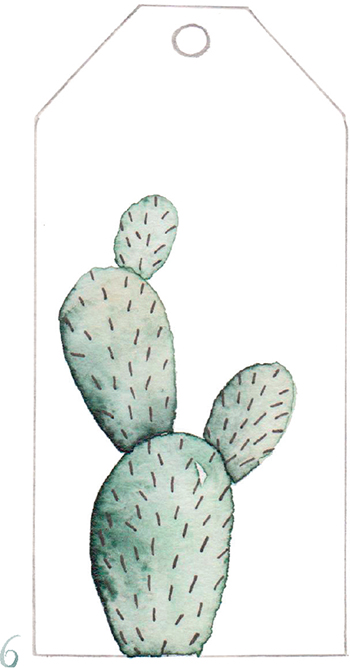
6When everything is dry you can draw regularly spaced spines around the cactus with a black fineliner pen.
You might already have another gift tag at home which you can use as a pattern or stencil for your project.
See the design gallery for more lovely plant motifs