
Who doesn’t long to simply fly away — all on your own and as free as a little bird? Create a charming poster with these two robins to give you a sense of freedom on your wall.


My color palette for this project. See My Materials
1The two robins will fill around half the paper. To be certain of creating a balanced composition, draw some lines to help guide you beforehand. This will make it easier for you to position the birds. Draw two horizontal lines with a pencil to divide the page roughly into thirds. This will give you an idea of the available space for your illustration. Mark the middle of the picture with a vertical line.
I see the bodies of the two birds as slightly oval in shape. This association might help you when you sketch the two robins.
2Sketch the two robins in simplified lines with a pencil, placing them slightly off center at either side of the vertical line, with one slightly higher than the other to increase the dynamic of the image. The robin’s bodies can easily be divided into three color sections — brown, red and blue — which will help later when you add the color. Draw these sections into your sketch. Finally draw in two bare branches on which the two birds are to perch (see tip below), protruding into the image from left and right.
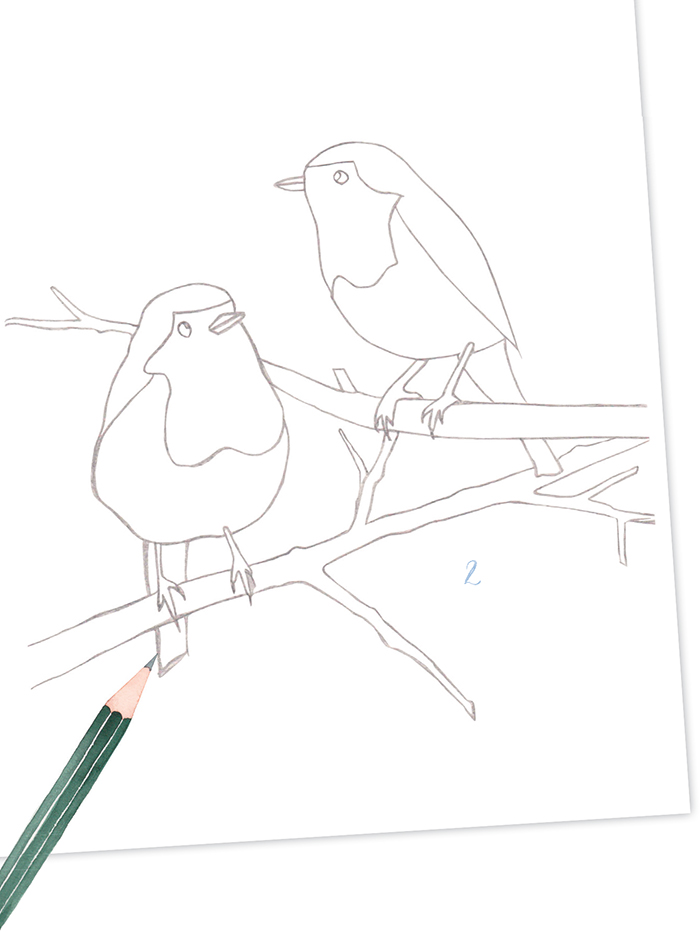
It’s up to you whether you begin by drawing the birds or if you prefer to start with the branches and add the birds afterwards, adjusting their position accordingly. Just decide which way you work best.
3Now you can start to mix and apply the first color. Use Gold Brown and Mahogany Brown for the red breast, adding sufficient water. Clean your brush and absorb a little water with it for the color wash gradations, then dab the appropriate points on the color already applied. Now you can simply wait and see how the color moves over the paper or even help it along by gently pushing the water in the preferred direction with the brush. The legs of the two birds can also be colored in with a dark brown at this stage.
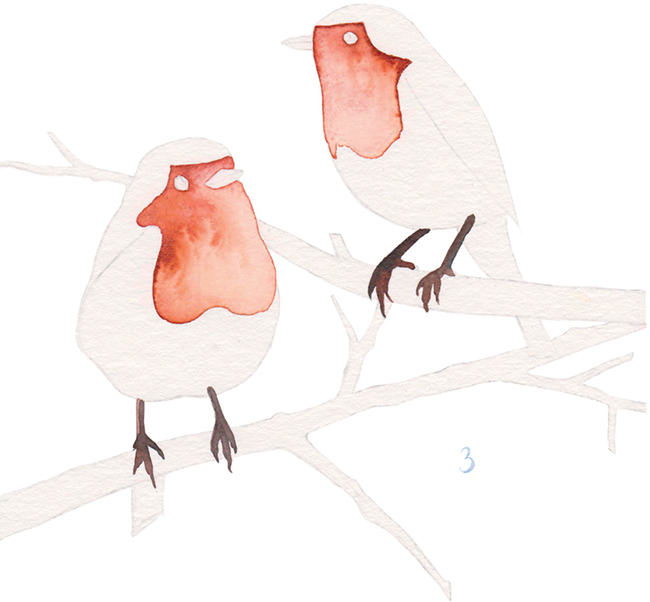
4Using the technique described in step 3, now paint in the lower part of each body with a slightly transparent, well-diluted blue. Leave a clear, narrow gap between the red and blue sections. This will keep the sections separate and prevent the colors from running into each other.

5Now only the third color section of the robin remains to be painted: the top of the head, the back and the tail. Color these as described in steps 3 and 4, using a dark, moderately diluted brown such as Vandyke Brown. When the red section of the robins is dry, you can paint in the eyes and beaks with a thin brush, for example a size 0, using a very concentrated Payne’s Gray that has been diluted using only a very small amount of water. This produces a deep, almost black tone.
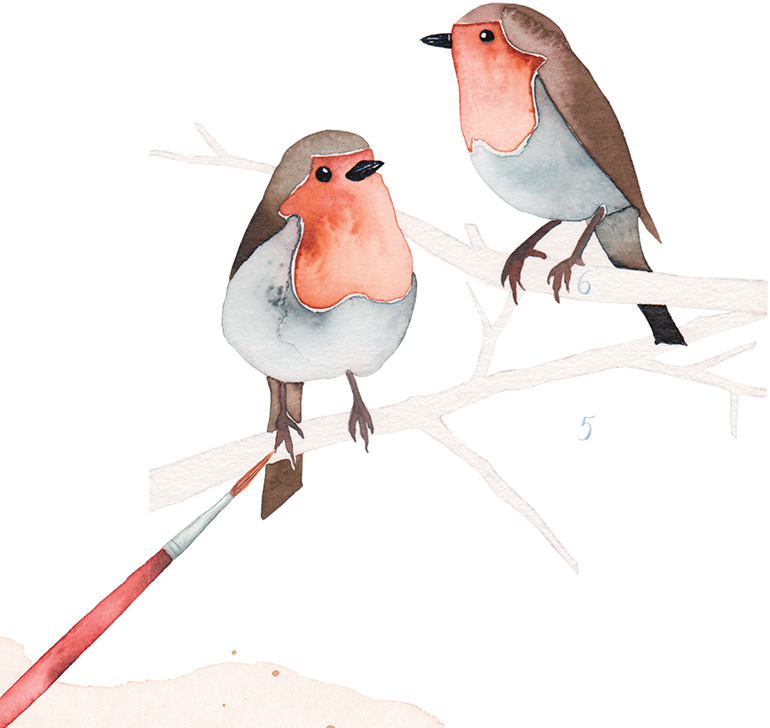
Clean your brush properly before each new shade to avoid unwanted color contamination.
6Finally, paint the branches using a moderately diluted brown. Don’t fill the spaces completely, but leave some areas white. These will give the image dimension and will act as light reflectors, making the picture more lifelike.
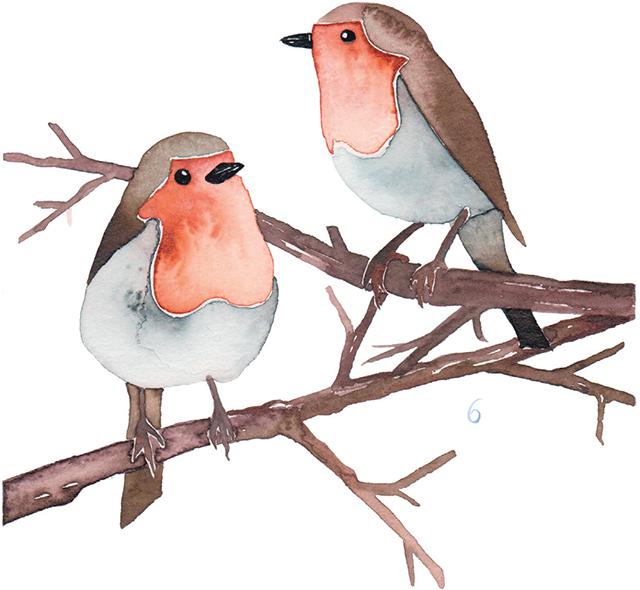
See the design gallery for more delightful bird designs