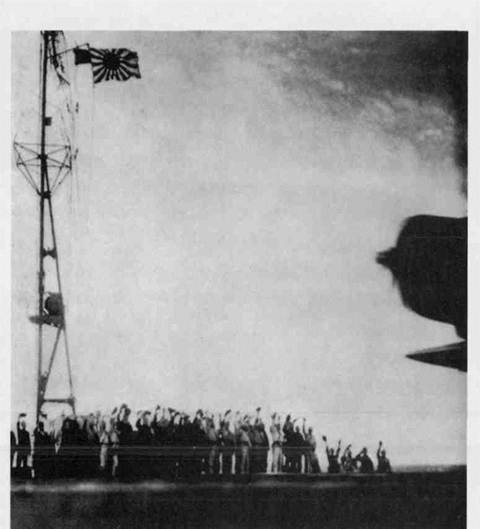

Official U.S. Navy Photo
Japanese crewmen cheer the attacking planes on their way, as they take off in the early-morning light of December 7. Commander Tsukamoto, navigation officer of the carrier Shokaku, decided this was the greatest moment of his life.
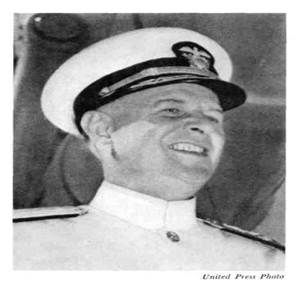
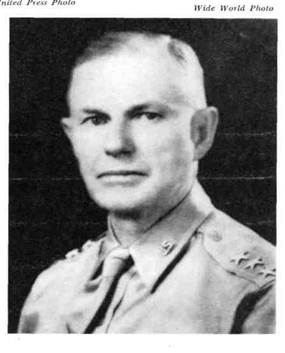
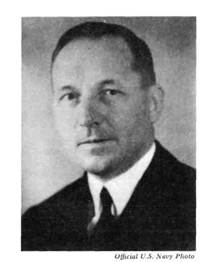
The American commanders who received the attack: at top, Admiral Husband E. Rimmel, commanding the U.S. Pacific Fleet, and, below, Lieut. General Walter C. Short, commanding U.S. Army ground and air forces in Hawaii.
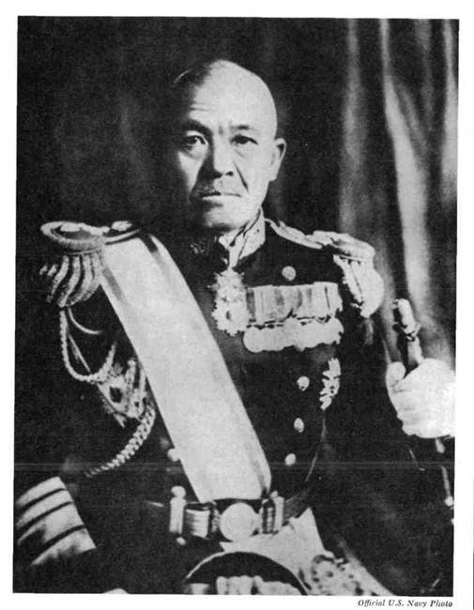
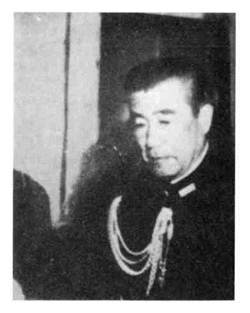
The Japanese commander who delivered the attack: Vice Admiral Chuichi Nagumo.
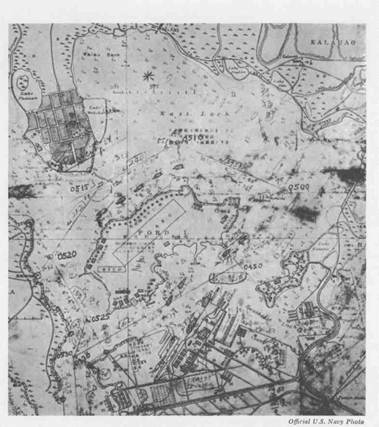
This Japanese chart marks the supposed position of various ships in Pearl Harbor. Although quite inaccurate, it was relied on faithfully — the old target ship Utah, mislabeled the carrier Saratoga, took two torpedoes right away. The proposed course of a Japanese midget sub is plotted around Ford Island, leading to later reports that the map was recovered from one of these subs. But Japanese comments scribbled on the chart — for instance, that the tanks circled at the bottom can be seen “at about five nautical miles” — indicate that it really came from a plane shot down. This is in line with the recollection of General Kendall Fielder, who helped recover the chart.
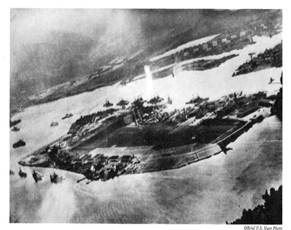
The raid begins. Japanese torpedo plane peels off after direct hit on the Oklahoma … the torpedoed Utah lists to port off the near side of Ford Island … smoke boils up from dive-bombed hangars at extreme right. This and the next two pictures were later captured from the Japanese.
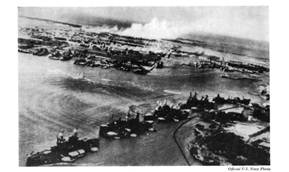
Battleship Row through Japanese eyes. Telltale torpedo tracks lead straight to the listing West Virginia and Oklahoma. Gray smoke across the channel is from the torpedoed Helena; white smoke in the background, from dive-bombing at Hickam Field.
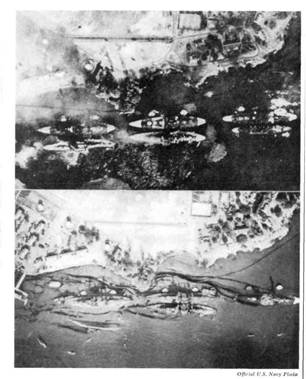
Top, looking straight down on Battleship Row from a Japanese bomber. Oil gushes from the torpedoed Oklahoma and West Virginia. Astern, the Arizona has just been hit by a bomb. The same scene, below, viewed three days later from a U.S. Navy plane. The Oklahoma has turned turtle, the West Virginia is awash, the Arizona blown apart. Fifteen years later oil still seeped from Arizona’s hulk.
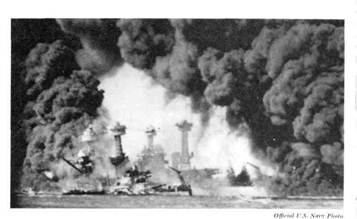
Height of the attack. The West Virginia lies sunk but still upright, thanks to Lieutenant Ricketts’ impromptu counterflooding. Inboard is the Tennessee, less seriously damaged but threatened at the moment by burning oil.
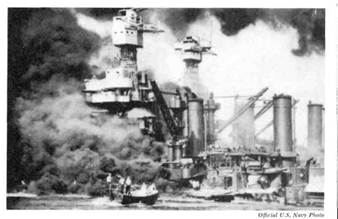
Rescue launch edges in to pick up swimmers from the West Virginia. One survivor needed no such help: Ensign Fowler, the ship’s disbursing officer, pushed off on a raft, using his cash ledger as a paddle.
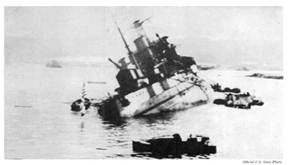
No one ever finished raising the American flag, as the torpedoed Utah rolls over at her berth on the northwest side of Ford Island.
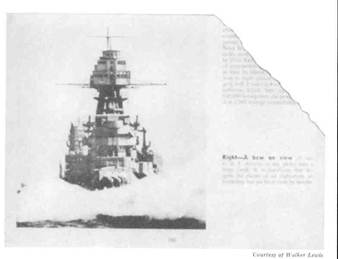
From the Army-Navy game program, November 29, 1941: “despite the claims of air enthusiasts no battleship has yet been sunk by bombs.”

Eight days later — the Arizona exploding from direct bomb hit.
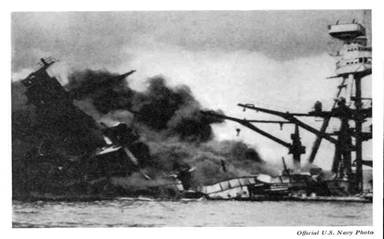
The Arizona burning after the great explosion.
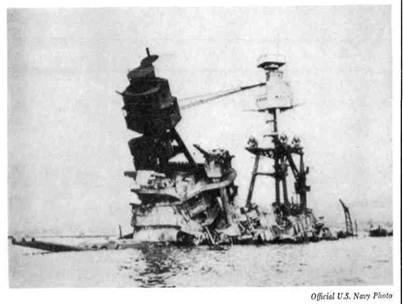
After the attack the shattered Arizona lies, a tomb for 1102 men.
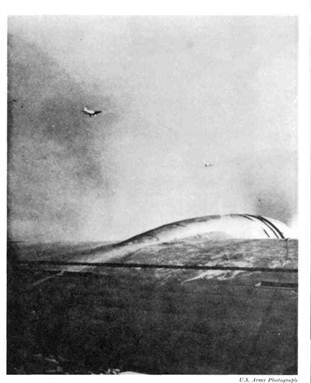
Japanese fighters cruise by one of the unarmed B-17S that arrived from California during the raid. Most of the bombers were attacked, but this one led a charmed life —the enemy pilots apparently thought Staff Sergeant Lee Embree’s camera was a gun and veered away whenever he pointed it at them.
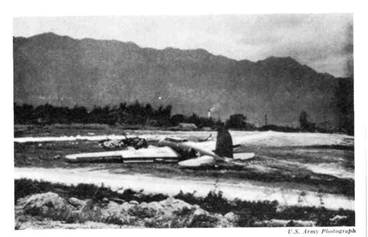
Lieutenant Robert Richards’ H-17 couldn’t make Hickam, ground-looped into tiny Bellows Field across the island.

Captain Ray Swenson’s B-17 was the only one from the Coast destroyed. Japanese bullets set off some flares, which burned the ship in half as it crash-landed at Hickam.
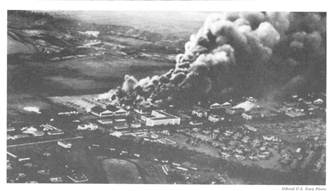
Wheeler Field, viewed from a Japanese plane. The Army fighters are parked in neat rows on the runway to prevent sabotage.
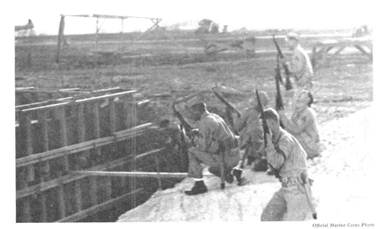
At Ewa Field, Marine ground crews fire back at the raiders with rifles.
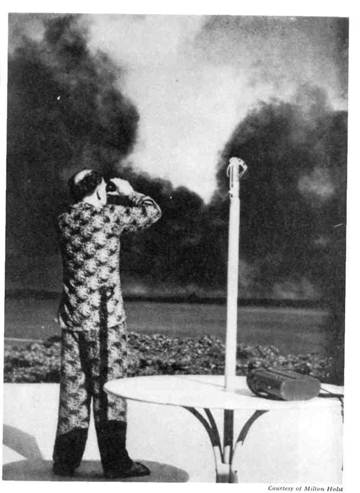
While men grimly fought back at the bases, the average civilian awakened to noise and smoke, gradually shook off his Sunday morning torpor, and tried to grasp what was happening. This local resident investigates the smoke at Kaneohe Naval Air Station.
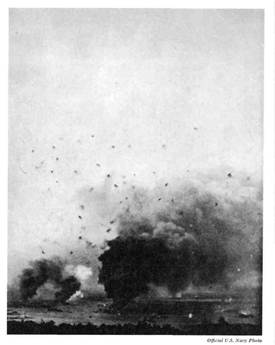
A wall of antiaircraft fire meets the second Japanese attack wave as it arrives over Pearl Harbor.
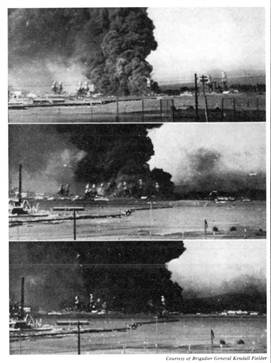
The Nevada starts her famous sortie. At top, she pulls out from her berth at the north end of Battleship Row. In the middle, she glides by the blazing Arizona. At bottom, she heads on down the channel. These pictures are believed never before published.
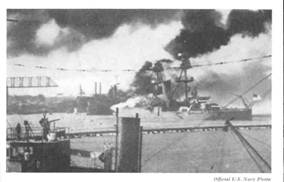
The Nevada ends her sortie aground at Hospital Point. The current has swung her around, so that she now faces back up the channel; but the flag still flies from her fantail — reminding at least one witness of Francis Scott Key and “The Star-Spangled Banner.”
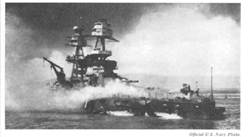
After the raid the Nevada pulled clear of Hospital Point and backed across the harbor, where she is shown beached on the firm sand of Waipio Peninsula.
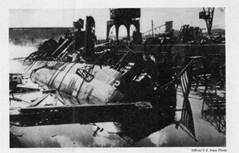
Late in the attack, bombs rained down on the destroyers Cassin and Dowries in Drydock No. 1, wrecking both ships. Some of their machinery was later salvaged.
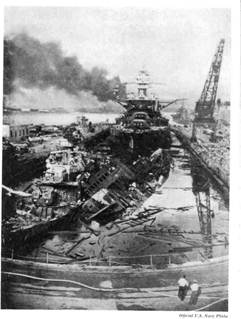
Drydock No. 1 after the raid, showing the Cassin rolled over on the Dowries, with the battleship Pennsylvania just astern. At the right is Crane 51, which civilian yard worker George Walters ran back and forth alongside the Pennsylvania, trying to ward off low-flying planes.
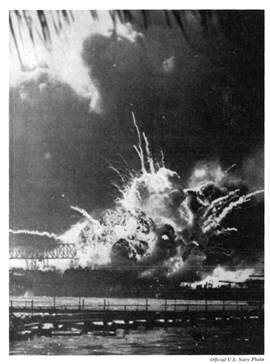
Toward the end of the attack the destroyer Shaw exploded in the floating drydock. Debris sailed through the air, and one five-inch shell arched half a mile across the channel, landing on Ford Island a few feet from where this picture was taken.
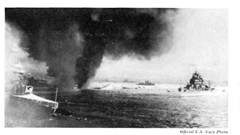
The cruiser St. Louis passes the upturned hull of the Oklahoma, on her way to sea around 9:40 A.M. She was the only large ship to get out during the attack. To the left, burning oil from the Arizona drifts down toward the torpedoed California.
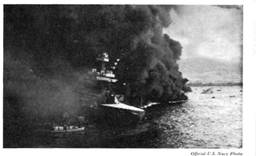
The burning oil engulfs the California’s stern at ten o’clock. “Abandon ship” has just been sounded, and the men are swarming down her side, making their way to Ford Island.

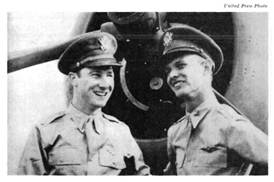
Four American participants: (top left) Captain Mervyn Bennion of the battleship West Virginia, who died on his bridge; (top right) Bandleader Oden McMillan of the battleship Nevada, who led his men in “The Star-Spangled Banner” as the attack began; (below, left to right) Lieutenants Kenneth Taylor and George Welch, who together bagged seven of the eleven planes shot down by Army pilots.

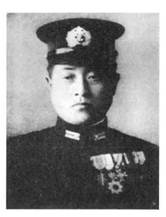
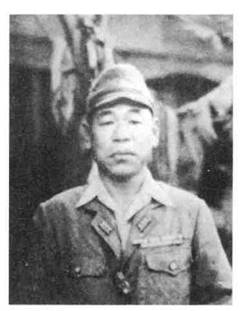
Four Japanese participants: (top left) Commander Mitsuo Fuchida, who led the attacking planes; (top right) Commander Shin-Ichi Shimizu, who organized the necessary supplies: (lower left) Commander Takahisa Amagai, who was flight deck officer on the Hiryu; and (lower right) Rear Admiral Ryunosuke Kusaka, who made a key decision that led to Japanese withdrawal after the raid.

Ten-ten dock after the attack, showing the capsized mine layer Oglala. Her seams were sprung by the torpedo that holed the cruiser Helena (at left), but there are men who still claim that the ancient mine layer really “sank from fright.”

The torpedoed Raleigh. In his successful battle to stay afloat, Captain Simons jettisoned everything movable, wangled extra pumps, stuffed life belts into the leaks, borrowed four pontoons and the lighter that can be seen alongside. Astern is the capsized Utah.
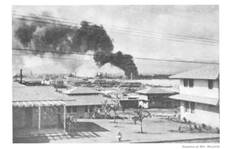
Pearl Harbor from Admiral Kimmel’s lawn. It was here the admiral stood, watching the first blows fall on Battleship Row in the background. Photographed around noon by a neighbor, Mrs. Hall Mayfield.
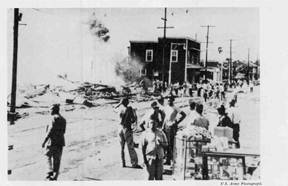
During the attack forty Navy shells, hut only one Japanese bomb, fell on Honolulu proper. This scene shows one of the areas hit by accident.
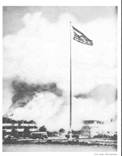
While barracks burn in the background, the American flag — shredded by machine-gun fire — still flies at Hickam.

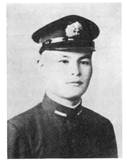
At top, Japanese painting commemorates the heroes of the midget submarine attack. Missing from the picture is Ensign Kazuo Sakamaki, the only member of the group who survived. He beached his sub after the raid and became U. S. Prisoner of War No. 1. Ensign Sakamaki’s photo appears at the left.
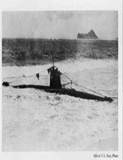
Ensign Sakamaki’s midget sub lies beached off Bellows Field, where it was discovered the morning after the raid.
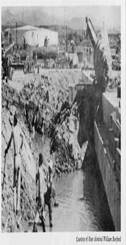
The midget sub rammed by the Monaghan was also recovered. It was eventually dredged up from the harbor bottom and is shown here, about to be used as filling for a new sea wall. The bodies of its two crewmen are still inside.
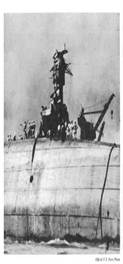
Long after the raid was over, rescuers clambered about the hull of the upturned Oklahoma, cutting through to the crew members trapped inside. Thirty-two men were ultimately pulled out alive — the last some thirty-six hours after the big ship rolled over into the Pearl Harbor mud.