
Optivisors come in several types, but they all perform the same task of magnification.
| Tools and Materials | 1 |
BEFORE YOU BEGIN ANY modelling or painting project, it is important to ensure there is sufficient workspace and the work area is both well lit and comfortable. The lighting should be appropriate for both building kits and painting: using several easily positioned lamps, such as anglepoise, rather than overhead lighting is recommended. Even with good positional lighting, small-scale modelling and the painting of fine details can take their toll on the eyes. A good solution is to use an opti-visor, available in various forms and prices. Looked after, this will be an invaluable investment.
A chair that provides adequate support to minimize slouching and prevent both neck and back pain is essential. The modeller may be engrossed in their work and sitting in the same position for many hours, so a chair that is both comfortable and practical is important and makes the process of modelling more enjoyable and less of a chore. Chairs designed for use in businesses can be bought from commercial office suppliers at reasonable prices.
Finally, the work area should be well organized with everything that is needed in easy reach: after all, spending time looking for something is time taken away from the fun part.
LIGHTBULBS
Warm white lightbulbs cast a light with a yellowish hue and this will affect the perception of any paint colours being used. Daylight bulbs are better as they cast a pure white light that makes it easier to see colours as well as details. They have a colour-rendering index (CRI), the measure of a light source’s ability to render colours faithfully, of around 80 per cent. Full spectrum lightbulbs, which offer a light as close as possible to natural daylight, have a CRI of around 96 per cent, and are the best choice but they are more expensive.
Safety cannot be overlooked. Eye protection is vital when cutting something that may, at any moment, fly into the air. Safety glasses do not cost much and so it might be worth having more than one pair to hand.
When using aerosols and airbrushing, or working with anything that creates dust, such as sanding, always wear a good quality mask. This should not be a dust mask but a proper respirator mask with filters, which can be purchased at any good high street DIY store. Dust masks are fine for keeping larger dust particles at bay, but when using an airbrush or aerosol with solvents or similar a good respirator is essential. Make sure that your work area is also well ventilated.

Optivisors come in several types, but they all perform the same task of magnification.
A good-sized cutting mat is important: it protects the surface underneath as well as prolonging the life of the blade being used. For any type of modelling you will need a few basic tools, starting with a good quality knife. Exacto make fine modelling knives and scalpels, and have a wide range of blades that are both very sharp and strong. A good set of small files is also needed; these are relatively inexpensive and can be found in most model shops as well as online. A couple of pairs of wire cutters are handy to have. These come in two sizes: the larger ones are suitable for cutting wire, for example, to make antennas for vehicles, and the smaller ones are good for removing large plastic parts from sprues. A set of tweezers is handy to have for lifting and positioning small parts, as well as the handling of other tricky jobs.

A small but useful selection of tools: files, scissors, an emery board and a craft knife with a handle that can also hold a razor saw blade.
A Dremel, or similar hand-held powered multitool, is highly recommended as it can be used for cutting, sanding, polishing and other tasks. With the circular cutting disc attached, it is possible to remove the finest details of a model without harming it. It is an investment purchase but will soon prove to be an invaluable tool.

A Dremel hand-held cordless power tool. This two-speed model is capable of performing tasks that need precision, such as removing excess resin from models.
It is useful to have a selection of different thicknesses of plasticard at hand. These can be used for basing and conversions, as well as for making items such as stowage boxes for vehicles. Wire, of various diameters, also has many uses, for example making antennas. Both plasticard and wire can be bought from local model shops or on-line.

Two ‘must have’ items are a selection of plasticard and a cutting mat.
A selection of clamps is useful for holding parts together while glue sets. A pin vice, available in various sizes, also comes in very handy when drilling out delicate areas such as hands on figures and gun barrels on vehicles. Because they are hand turned, as well as being very accurate, they do not create any heat and so will not melt plastic. They take a variety of drill bits designed for hobby use, from the finest to the largest, and the bonus is they are inexpensive.

Clamps are invaluable when joining two parts together that need to be held while the adhesive sets.
Miliput and Green Stuff are two-part putties that once mixed in the correct amounts (50-50) can be used for conversions, adding detail, filling gaps and making accessories such as bedrolls, blankets, sandbags, etc. Always have at least one of these products to hand – it will come in handy. They can be bought either on-line or from any good model shop. In addition, there are plastic putties and fillers that are created for use specifically with plastic kits. These are manufactured by the main plastic kit companies.
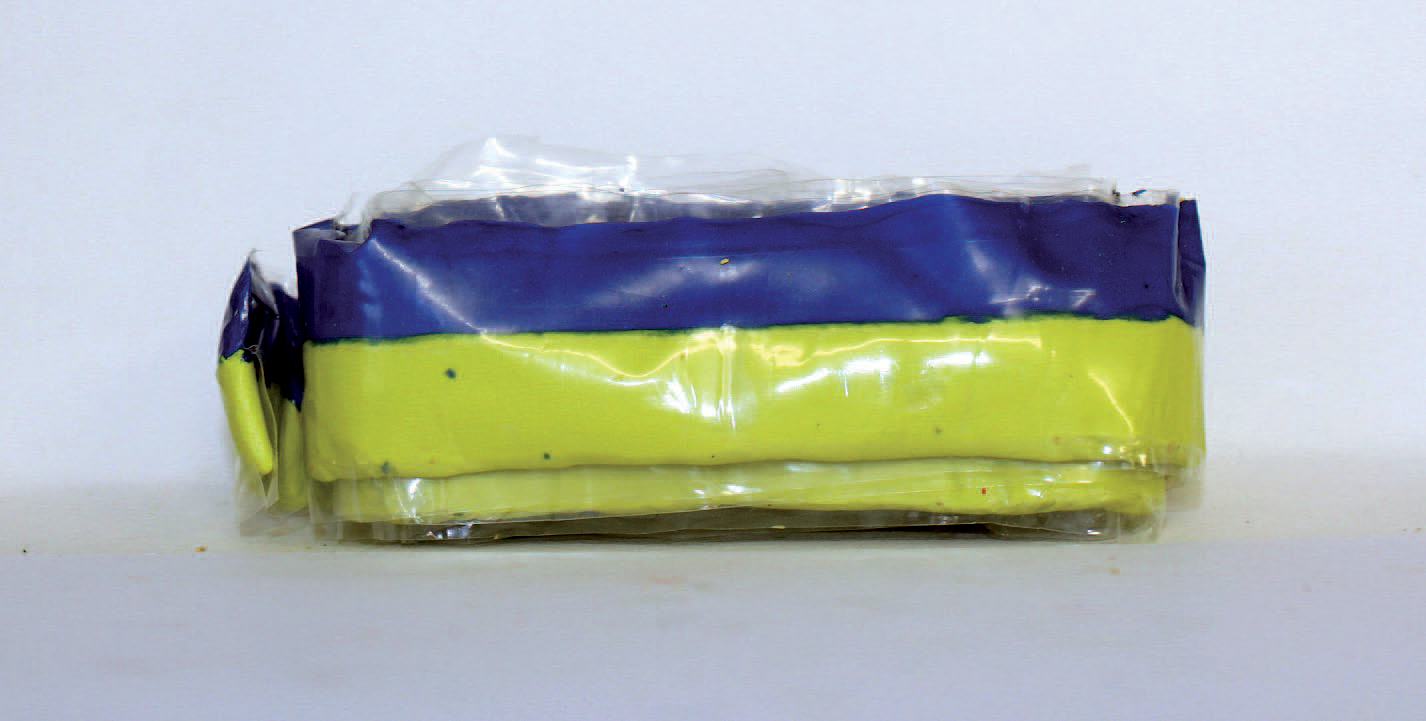
Green Stuff is a two-part epoxy putty in yellow and blue that turns green when mixed together in equal amounts.
A wide variety of adhesives is available. PVA glue, widely available from both craft and DIY shops, is used in modelling and wargaming for scenic work on both figure and vehicle and weapon bases. Cyanoacrylate, otherwise known as ‘superglue’, is commonly used for bonding both resin and metal with ease. Care should be taken when using it as it will also bond skin and should be kept well away from the mouth and eyes. It is available from a host of outlets and as such is a readily available, very useful glue. The traditional and perhaps most widely used glue in modelling is polystyrene cement, which is made by several companies and is available in a variety of types, the most useful one being a liquid that is sold in a glass jar and comes with its own applicator, either a needle or brush.
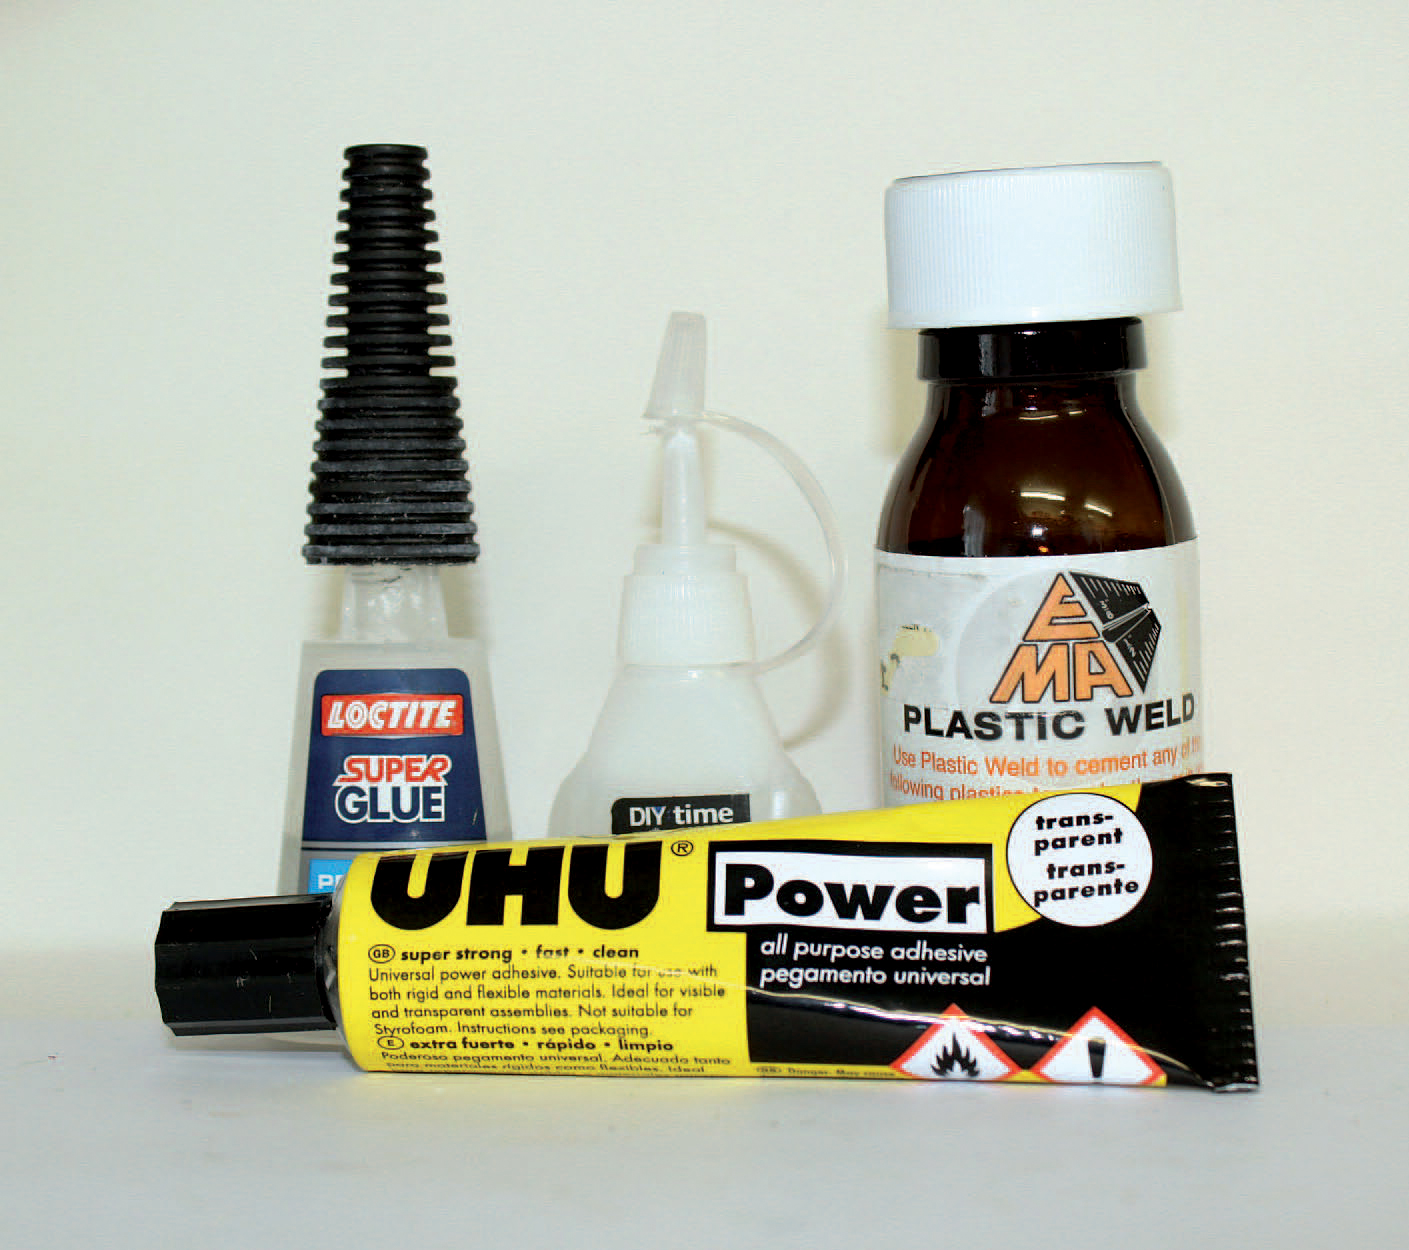
A small selection of adhesives.
Paint is best stored in racks, which can be bought from any good hobby shop or online.
Acrylic paints can be used for painting figures, vehicles or aircraft. There is now much more choice of colours and brands than even ten years ago. Vallejo paints are highly recommended for their ease of use and colour range. These are well complemented by AK Interactive paints, which are available in a vast range of colours for figures, vehicles, aircraft and even naval vessels. They have introduced new paint sets that span several periods. Even a basic set will provide the main colours required and is a good starting point. These are the two brands of paint that feature most in this book, although alternative brands are available; Humbrol, for example, also make a good range of military-themed colours.

A paint storage rack ensures that colours can be easily located when they are required.

Tamiya thinner for use with Tamiya paints: a bottle this size will go a very long way.
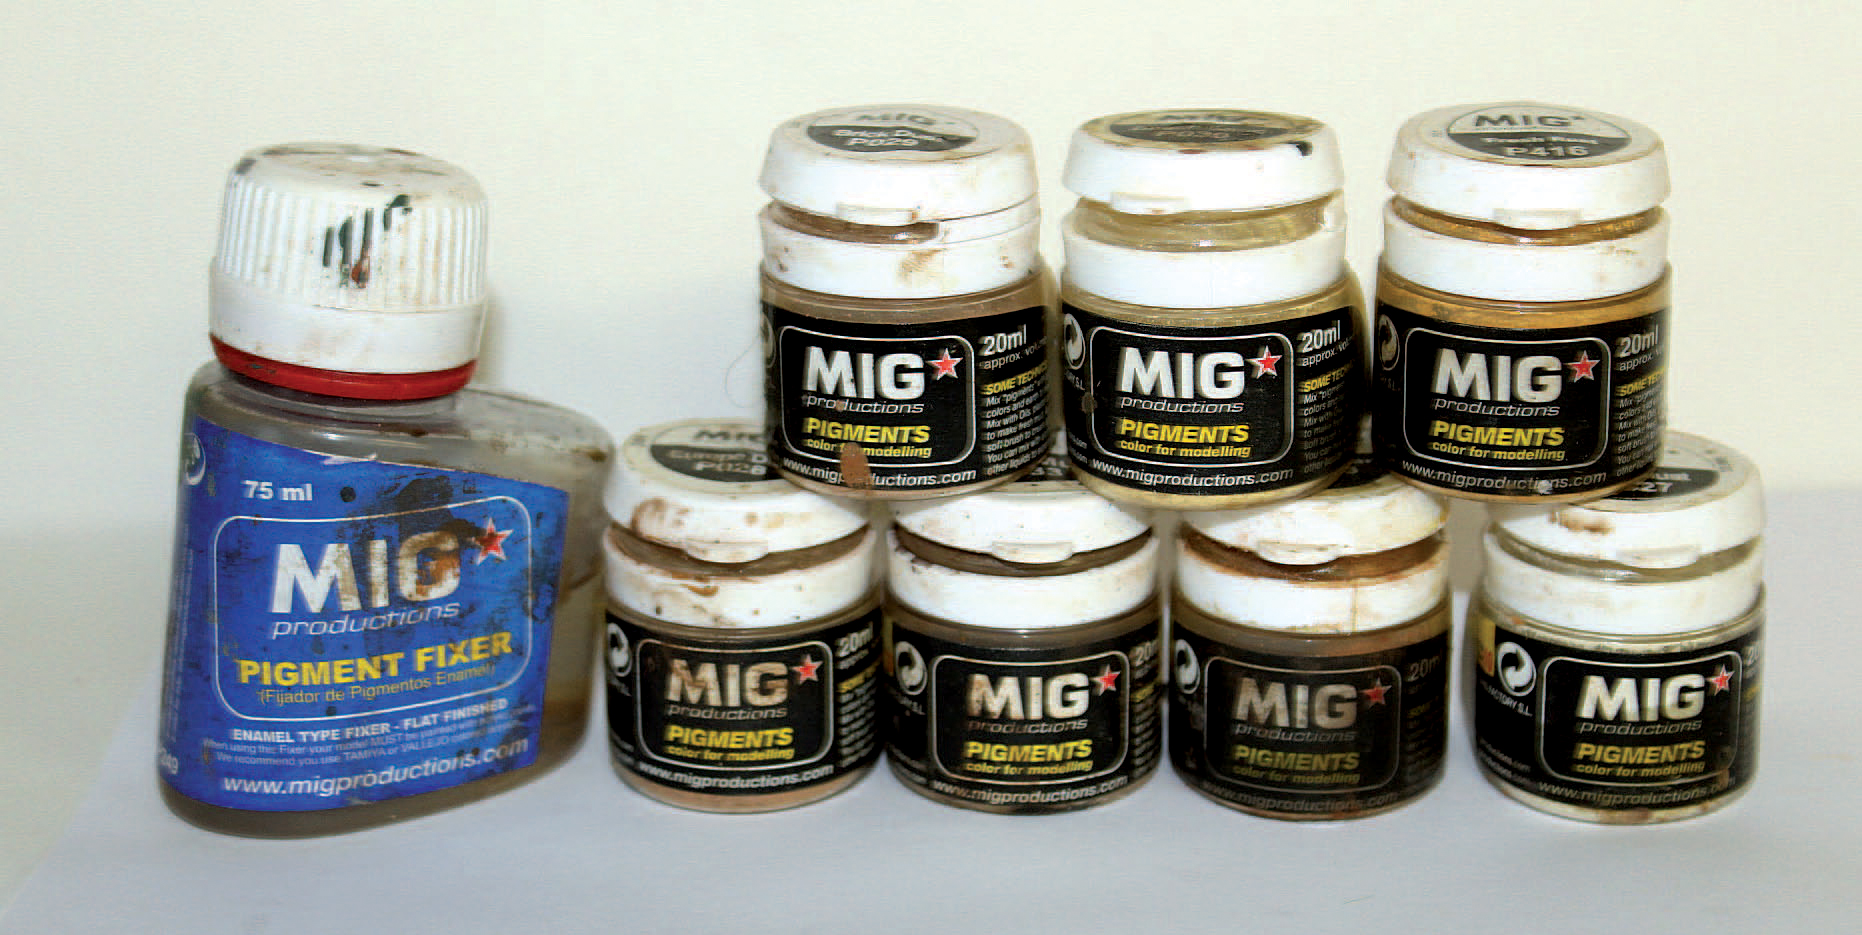
A small selection of MIG pigments.
The advantage of acrylic paint is that it dries quickly, has little or no odour and the brushes and equipment used can be cleaned with water. The use of a good quality acrylic thinner is helpful for thinning paint so that it can be used in airbrushes. Tamiya acrylic thinner is recommended.
Weathering powders are pigments in powder form that, when applied to a model, can create the effects of dust, rust, mud, soot and so on. They were initially manufactured by Mig Jimenez, whose superb AMMO range of weathering powders now gives the modeller a wealth of choice as to their desired finish. From replicating the effects of winter conditions or the harsh, arid desert of the Middle East, weathering powders help to achieve the appropriate finish.
Paintbrushes come in many shapes and types, from synthetic to high-end natural hair, from size 0000 (smallest) to size 6 (largest), and with a wide range of prices. Natural hair brushes in size 00, 0, 1, 2 are recommended: 00 and 0 for detailed work, size 1 and 2 for larger areas. Whatever type of brush you opt for these four sizes are ideal to start with. Just make sure that when you go to buy any brush you check that the bristles maintain a good point. If they fail to do so this could seriously impair your work and affect the overall finish. Even if you intend to airbrush your vehicles, you will still find a flat brush useful as this can be used for applying paint as well as achieving various effects such as dry brushing, which will be covered later.

Pointed brushes are used for detailed work. Dry brushes are used for dry brushing and applying filters. Cleaning them well after use will extend their life.
There are many good makes of airbrush available, such as Aztek, Sotar, Badger and Iwata. Before you commit to one, do try out different brands as some may suit your painting style better than others. Buy the best model you can afford, along with a separate compressor. An inexpensive airbrush that uses compressed air can look like a good option, but they are, in fact, a false economy as they provide an inconsistent pressure that has a negative impact on the final result. Once purchased take the time to master your airbrush, this tool will transform the finish of your models.
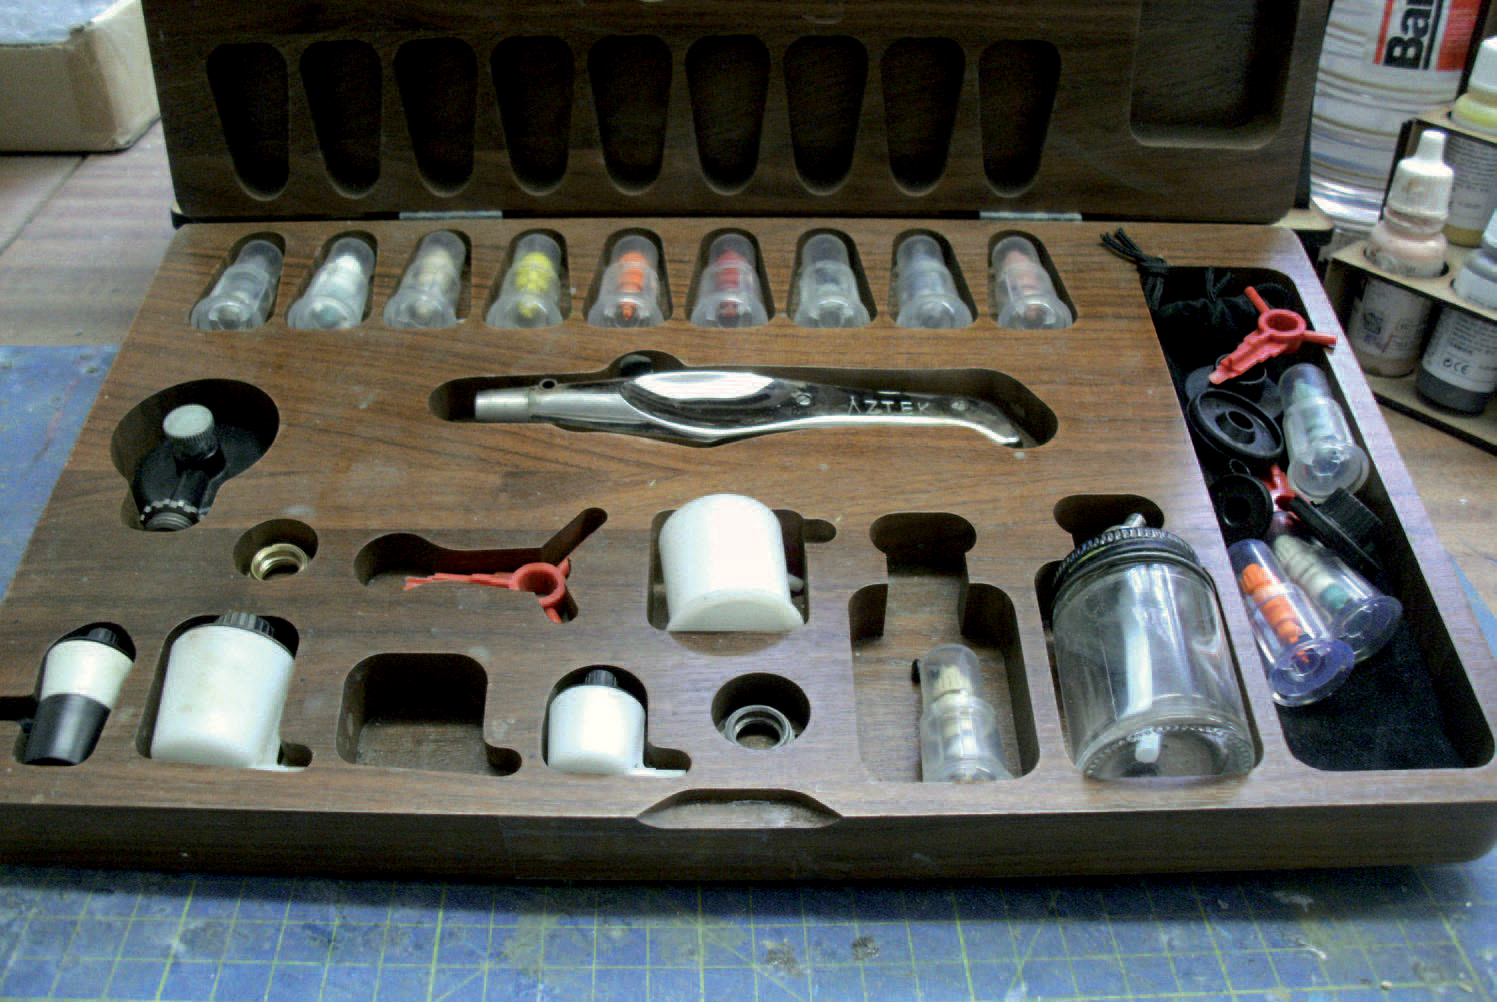
Using an airbrush will transform a painted finish.
When used for either wargaming or for display, it is aesthetically pleasing to stage a figure or model on a well-executed scenic base. In addition to the equipment and materials already covered, there are a few things that are specifically needed for making bases or ‘basing’. A sandy and/or rocky terrain can be created using dry builders’ sand with dry cat litter to give extra texture. A realistic effect can then be achieved by painting this.
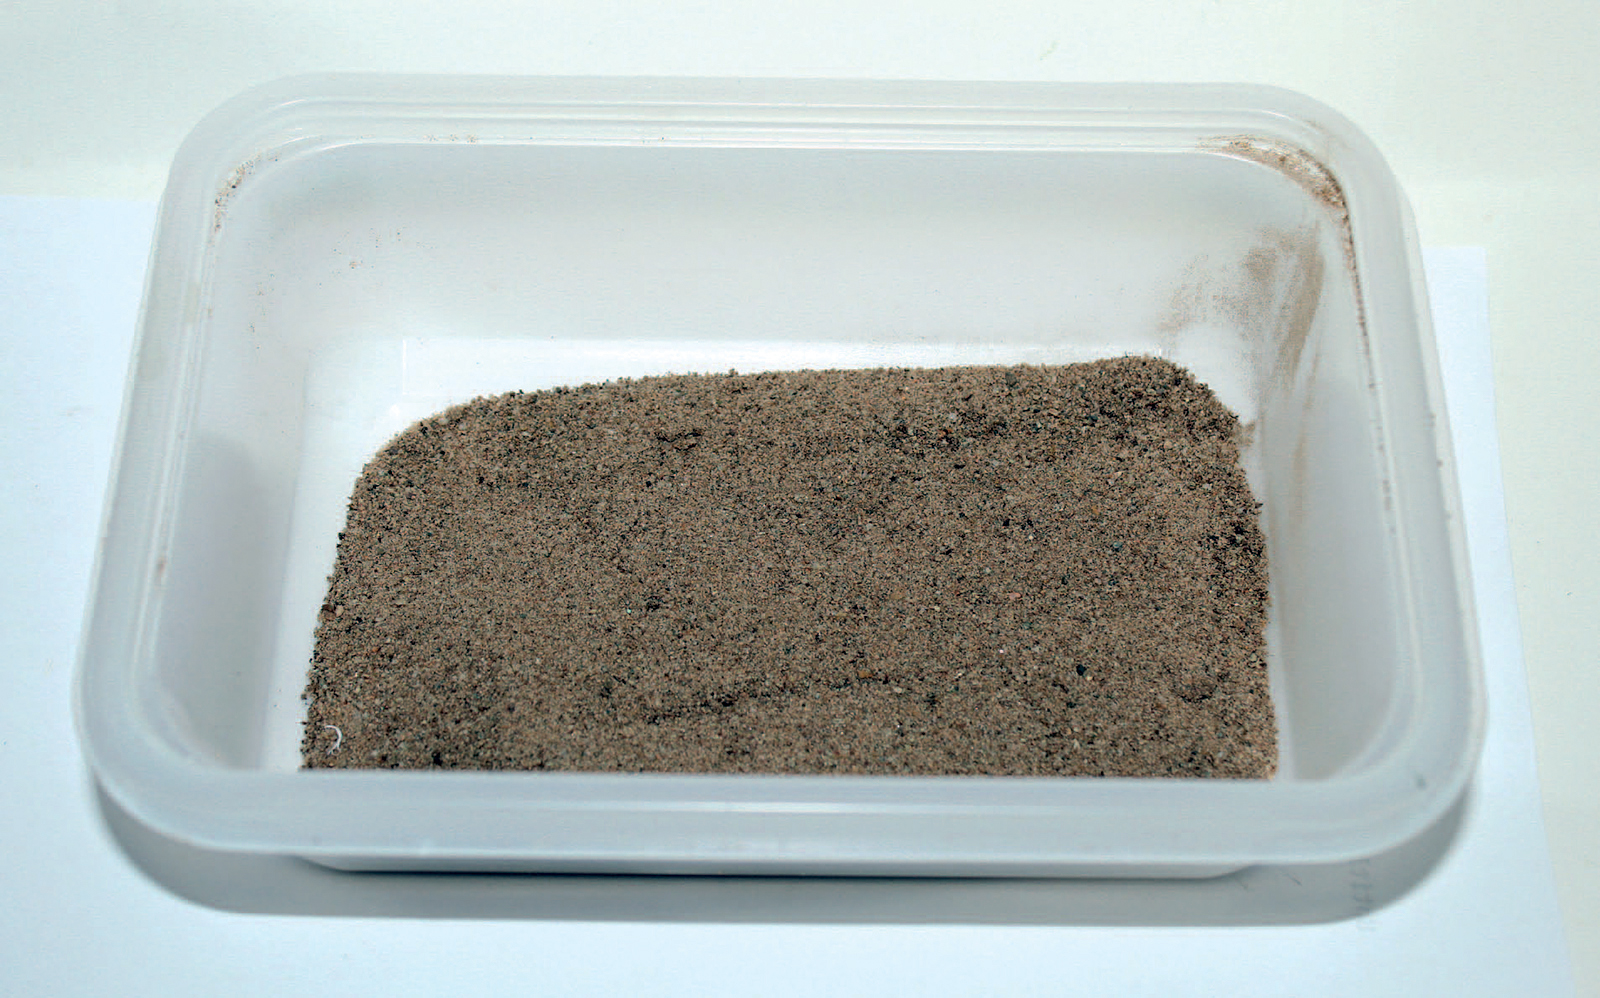
Dried builders’ sand for use during basing.
Once painted and highlighted, it is possible to add some grass, shrubs, flowers and small bushes. Static grass is good for achieving all-over coverage and comes in a variety of shades. It can be purchased from model shops and the internet. ‘Tufts’ of static grass can be used to create tall grass and small shrubs: these come in various sizes, heights and colours. Some even come with flowers of various colours, helping to add a little splash of colour to an otherwise drab scene.
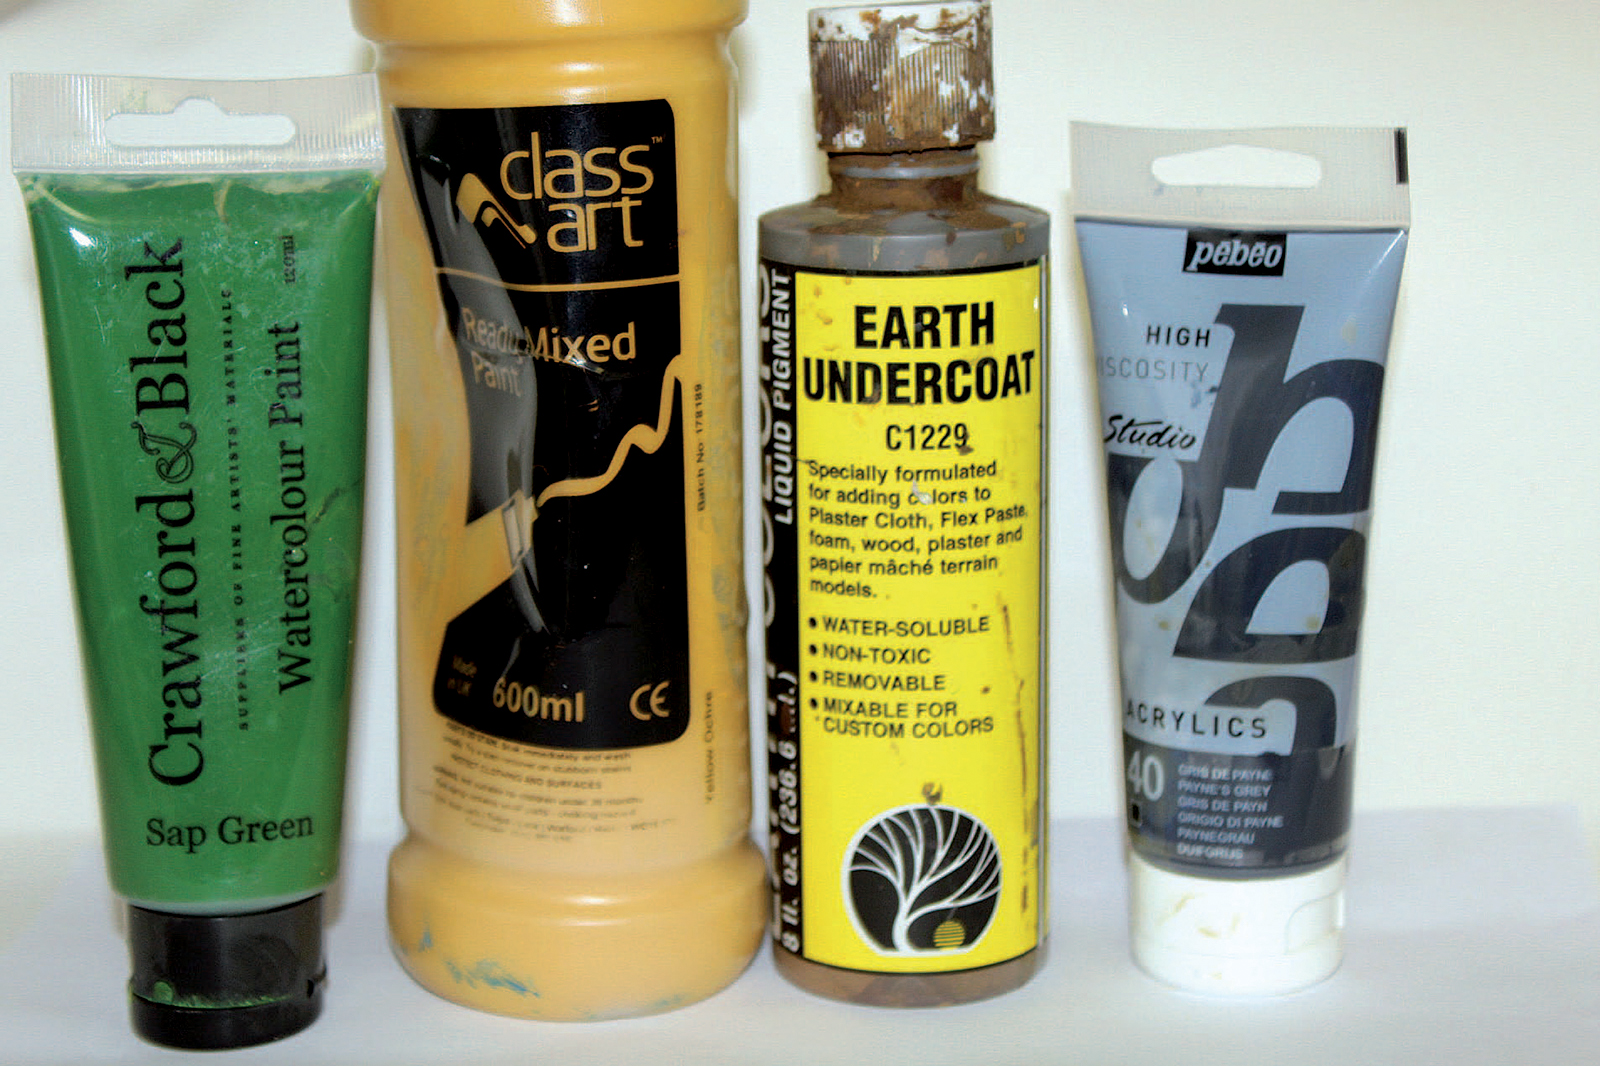
Inexpensive paints, such as these, are ideal for creating paint effects on bases.
Small twigs taken from the garden and dried can also be used to add interest. The only limit is your imagination when it comes to scenic work. Small bricks can be very easily created for urban environments by cutting matchsticks to size and dying them with paint to the appropriate colour. If thin mahogany hardwood is used it is not even necessary to dye it.
This is a guide to the equipment required for modelling. If your budget is tight, start with just a few basic tools and a selection of brushes. You may not need everything listed above to begin with, but as your skills and confidence develop you will soon be using all the items and more.
A QUESTION OF SCALE
During the course of this book the reader will notice that there are frequent mentions of both figure size and scale. Wargames figures tend to be made to a certain height, such as 6mm tall, 20mm tall, 25mm tall and 28mm tall. Other sizes are available, but this book uses 20mm and 28mm tall figures. Larger figures (1:35 and 1:32 scale) are not really wargames figures, but are designed to complement vehicles of the same scale, so they are categorized by scale rather than height.
This is where some confusion creeps in. The main reason for categorizing wargames figures by height in millimetres and not by a set scale is that wargames figures are seen as playing pieces rather than scale models.
Categorizing wargames figures by height helps the customer to keep their collection consistent; 20mm figures, for example, will be roughly the same height even if purchased from a variety of different manufacturers.
Models, such as those produced by Airfix, are created to accurate scales so that multiple kits and figures can be incorporated together with all the elements at the appropriate size. At 1:72 scale (4.233mm to the foot), a figure of a modern man would stand 24.3 mm tall. This is a popular scale for aircraft modelling and is now widely used for the production of vehicle kits as well. 1:76 scale is a slightly smaller size (4.011mm to the foot) that is nearer to true 20mm wargames figures. This scale, also referred to as ‘OO’ scale, was first used for model railways and has subsequently been used to produce other models, such as the Milicast kits used in this book.
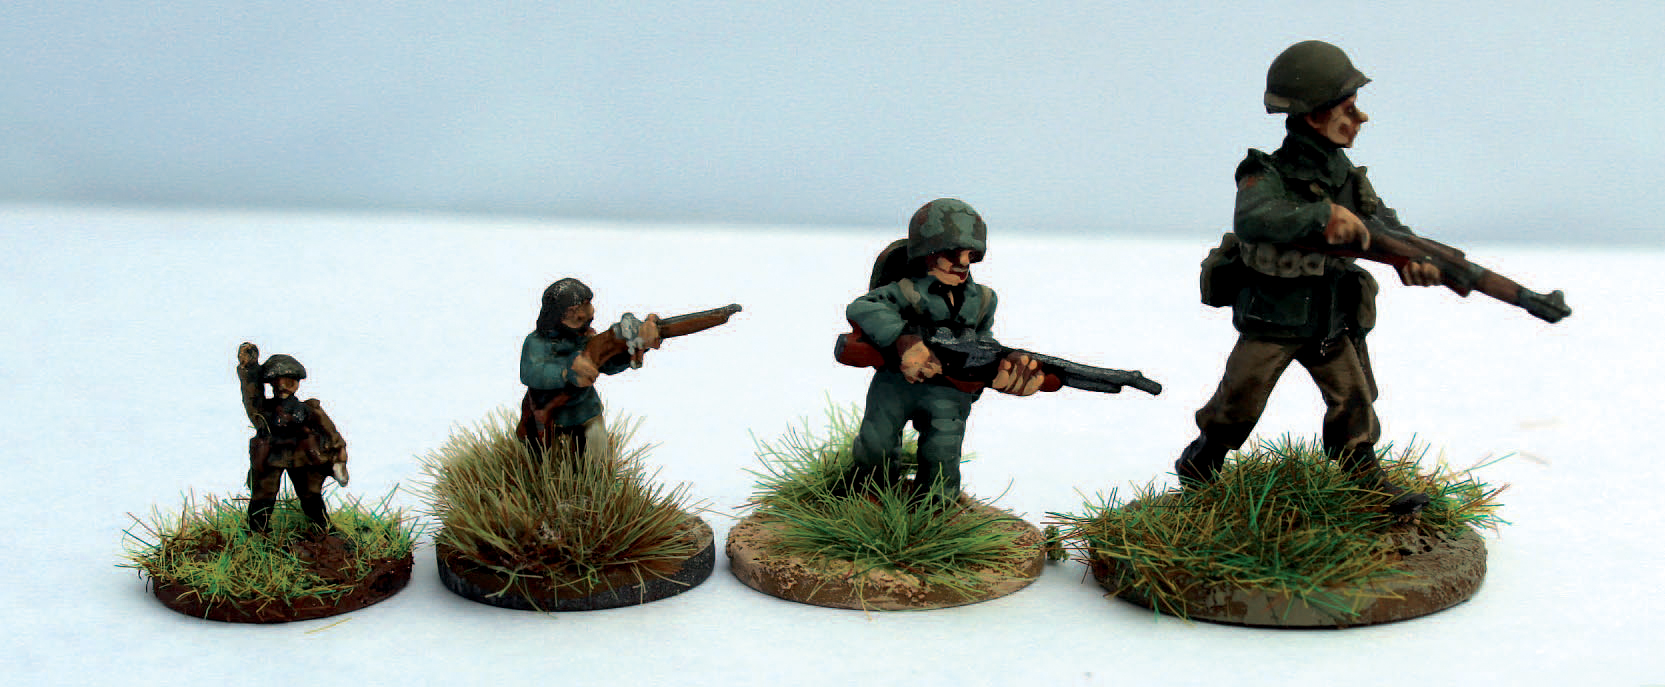
A comparison of figures commonly used in modelling and for wargames. From the left, in ascending order: 10mm tall, 15mm tall, 20mm tall and 28mm tall.