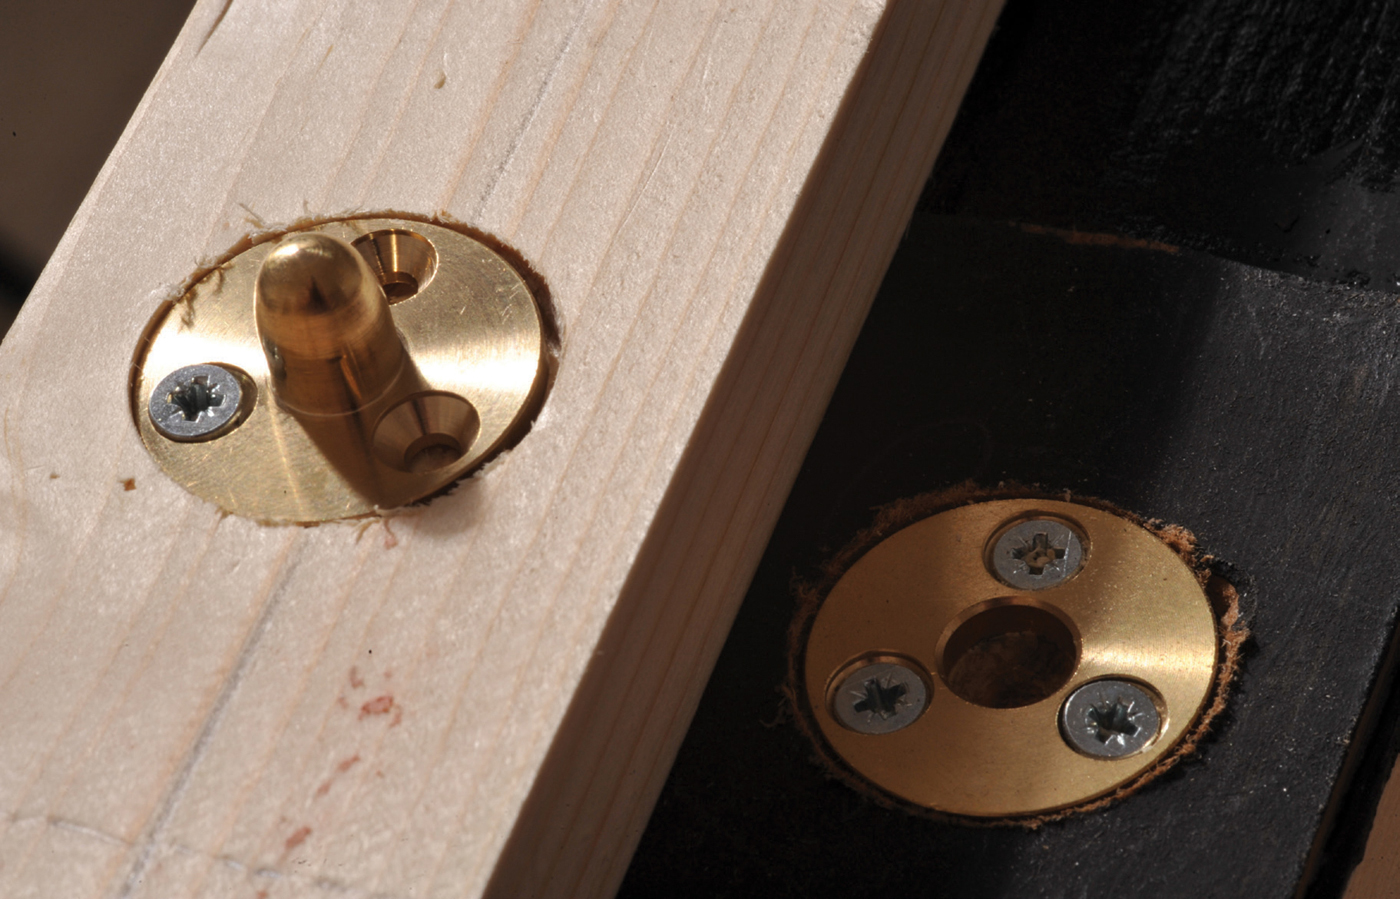
Male and female dowels.
Apart from the very smallest of layouts, it is almost certain that you will be using more than one board. There is a temptation, if the layout is an almost permanent fixture, to make it out of one continuous board, or at least several boards permanently fixed to each other and perhaps to a wall. I always caution against this as it usually causes major problems when rooms are required for other purposes, or decoration is required. It is far easier to have a couple of smaller boards that can be stored or moved and then connected together again.
There are always fears that the joins will not line up properly and that they will be a constant source of problems and derailments. If the work is done carefully and properly in the first place, joins will not create any greater risk of problems than any other part of the track. In the previous chapter 1 explained how to install male and female patternmakers’ dowels. These dowels will repeatedly align the two or more baseboards accurately. Patternmakers’ dowels are expensive, but worth every penny in terms of guaranteed accuracy. I would go as far as to say that they were essential in joining baseboards. You can buy cheaper brass dowels, but these are nowhere near as rigidly fixed as proper pattern-makers’ dowels. Others will use wooden dowel pegs going into corresponding holes, but these have problems with wear over time. Using such cheaper versions leads to the myth that joining boards is difficult. Pattern-makers’ dowels are accurate, with any slackness being measured in millionths of a centimetre.
Male and female dowels.
As well as ensuring that boards meet together accurately, you need to lock them together. Some people just bolt baseboards together and rely on the bolt to provide an accurate register and a way of holding the board together. You can just make holes in the wood or, as described earlier, you can insert metal rods in the two frames. Using just bolts or bolts and rods means that when the bolts are slid into position you have to manually line up the track each time, both vertically and horizontally. The variation will only be minute but it will be sufficient to derail a loco or carriages. Over time the wood will wear and the holes will very slowly enlarge, to make the alignment process even more difficult. Even using metal rods to preserve the accuracy of the hole, still leaves a little ‘slack’, which needs to be adjusted on each occasion.
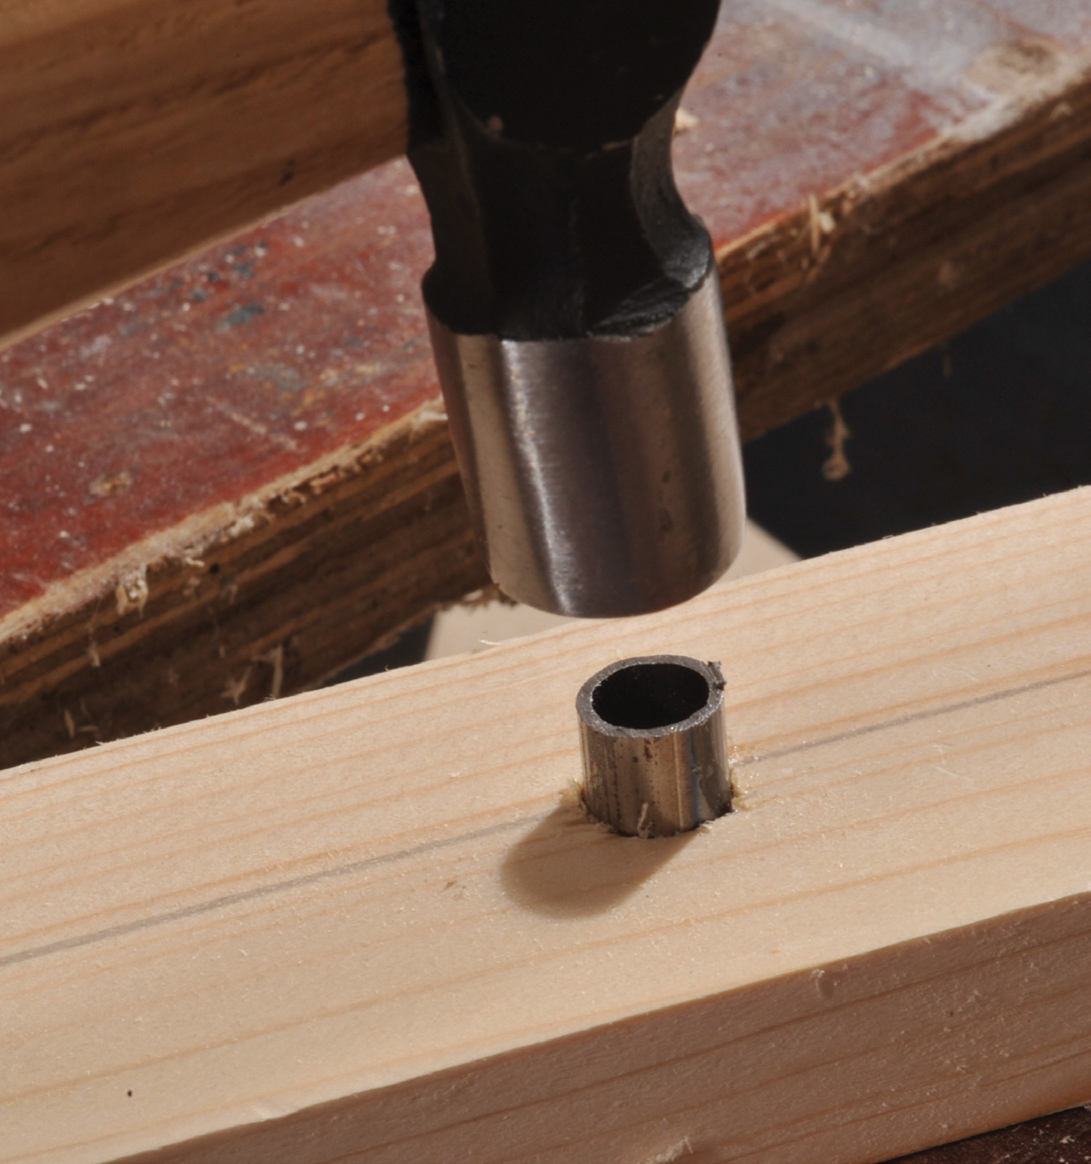
Metal tube being inserted into a frame to prevent wear when inserting bolts.
Fixing boards together with bolts does require you to fiddle underneath both boards to attach wing nuts to the bolts. For older railway modellers this can be a little problematic and it is possible to catch some of the wires in the process, so it is probably not the best solution. Bolts have the advantage that everything is hidden and out of reach of tiny fingers at shows.
In running through the construction sequence, I have already explained how to join two or more boards together using bolts. The remainder of this chapter deals with other methods of joining boards.
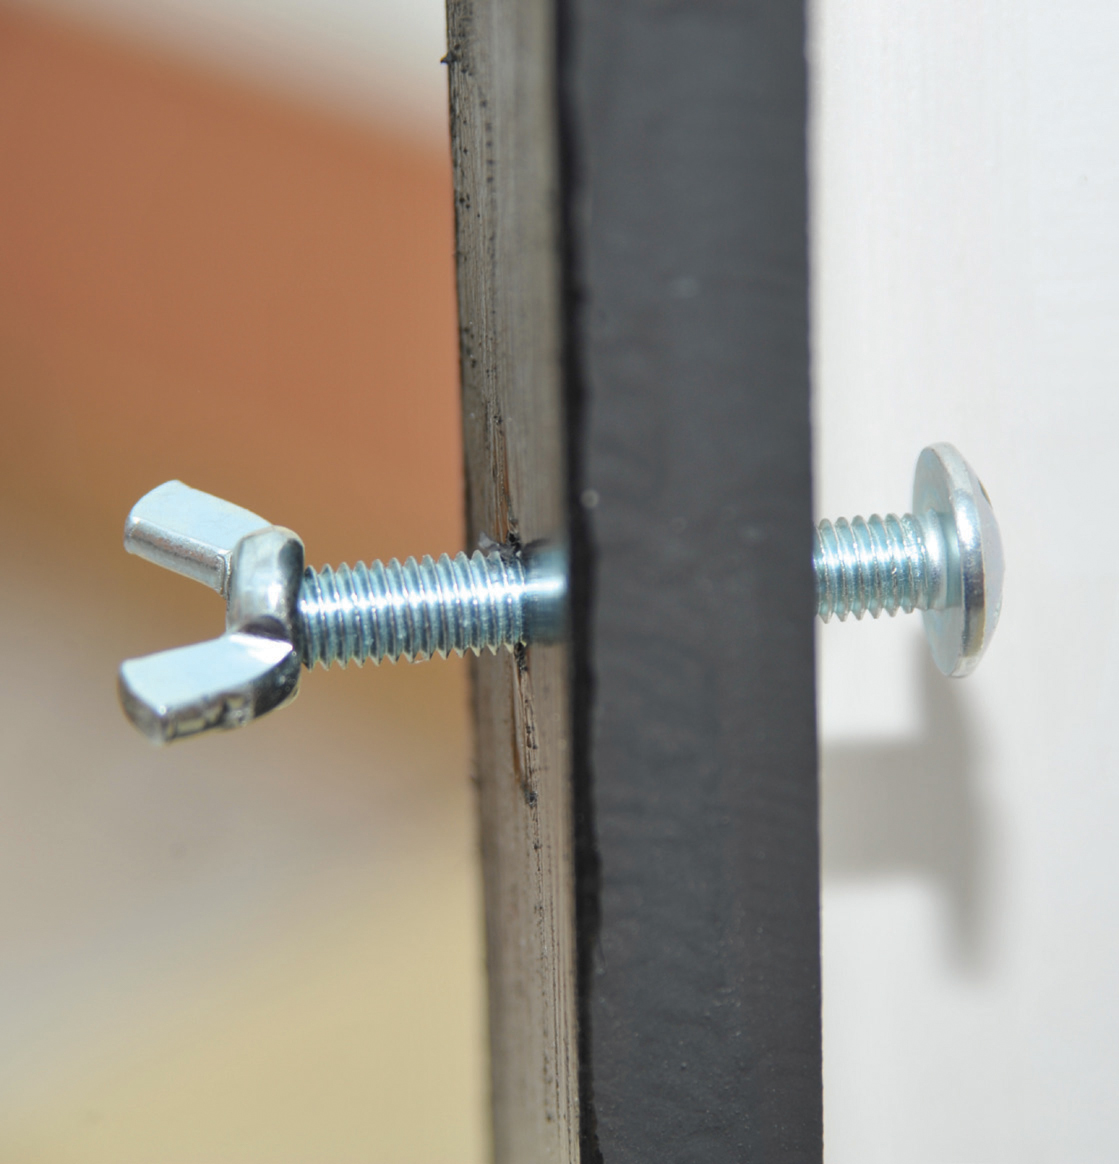
Bolt and wing nut used to hold boards together.
Hinges with loose pins are available from most DIY stores. To attach these, first ensure that the dowels are fully engaged, and then, using wood clamps, lock the two boards together. When you are happy that they are totally in line with each other, just screw the hinge vertically across the joint. When you want to separate the two boards, just tap out the centre pin. You will probably need a nail, narrower than the pin, to allow you to push the pin up and remove it. It is more practical to find a local metal worker and get him to add a ‘T’-piece to the top of the pin to make it easier to pull out.
Hinges have the disadvantage that the remaining rings that hold the pin protrude beyond the edge of the board and must be allowed for when packing away. It also means that you cannot fasten anything totally flat to the front or back of the frame. I often fasten a sloping information board to the front of my layout when at exhibitions. Hinges have the advantage that you do not have to go under the board to make the connection. One of the big disadvantages is ensuring that the pin does not get lost when removed!
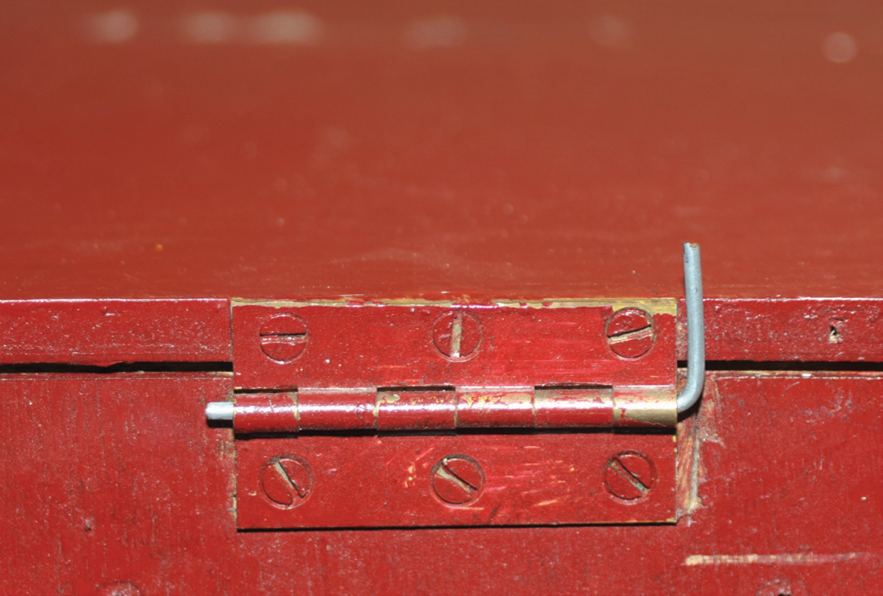
Hinge with removable pin. The normal hinge pin has been removed and a bent rod has been inserted. This makes for easier removal when separating boards.
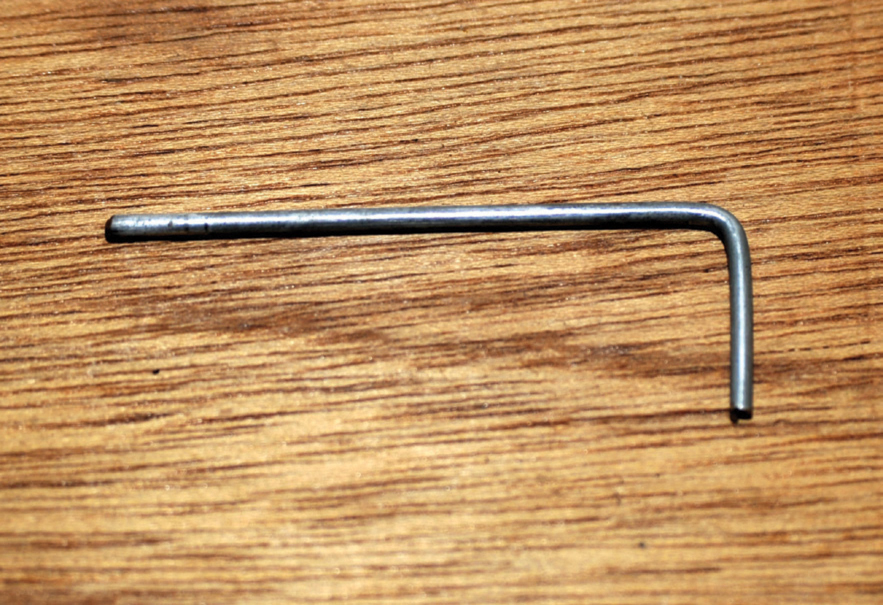
The pin – which is so easy to lose.
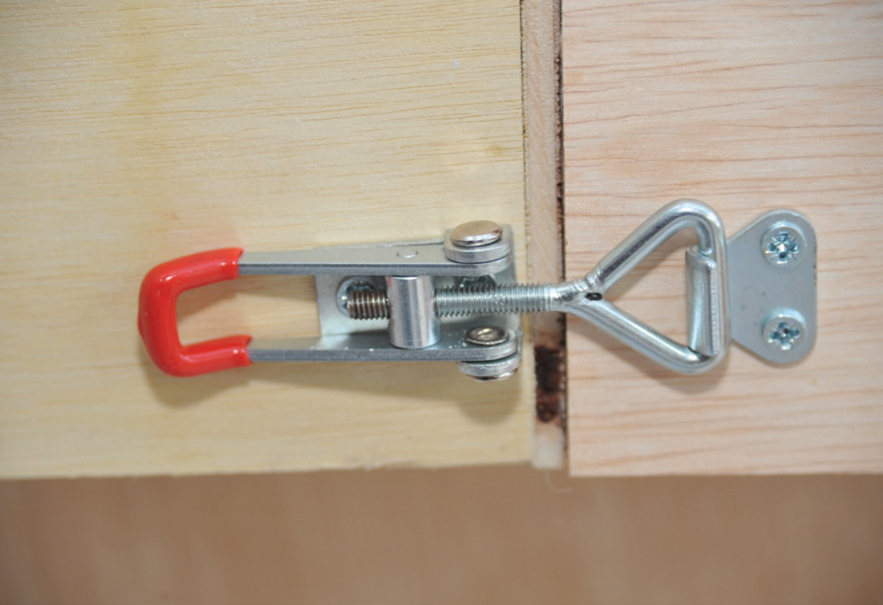
Toggle catches are, however, easier to fasten and to undo than hinges. It is better to pay a little more and get good quality toggle catches, as the hasp in some of the cheaper ones can stretch slightly, thus making the connection less solid. The best toggle catches are adjustable ones where the tension can be varied. This is by far the best method, with no parts to get lost, no fiddling underneath to join baseboards together and the ability to adjust the tension.
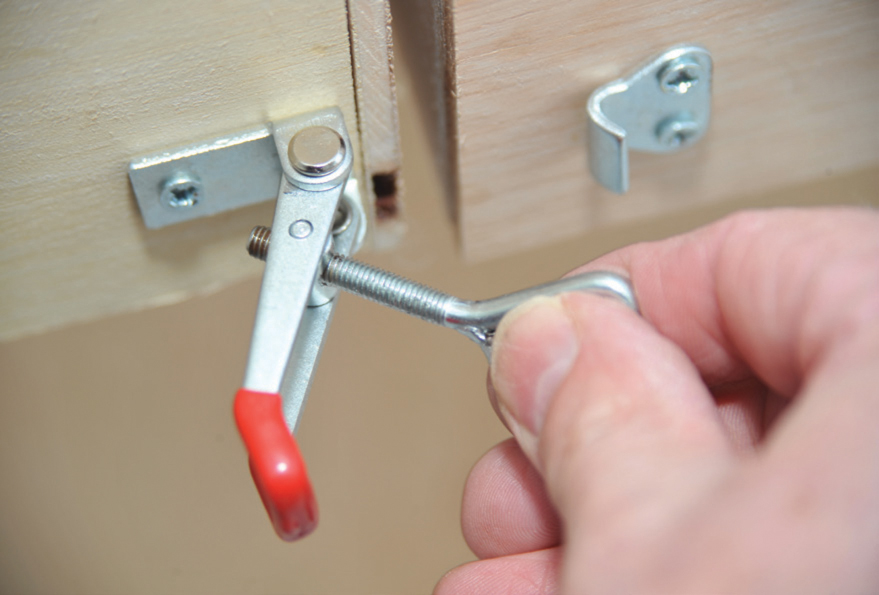
Adjusting a toggle clamp.
The tracks on multiple baseboards have, of necessity, to be absolutely in line and level with the ends of the boards. It is important that the last few sleepers are very well fixed and that ends are protected. The last part of each rail can be soldered to a screw inserted into the frame of the baseboard, or you can solder the track to a ‘paxolin’ strip to strengthen the end. It is also possible to obtain shaped foam, which is often used as protection for high-quality doors and window frames. It is usually blue in colour and will stretch over the end of a board to protect each end in transit. A simple alternative is a length of wood and a simple clamp fitted over each end when the boards are being transported. The transport cases, which fit in my car, have a slot cut in them to protect the rail ends.
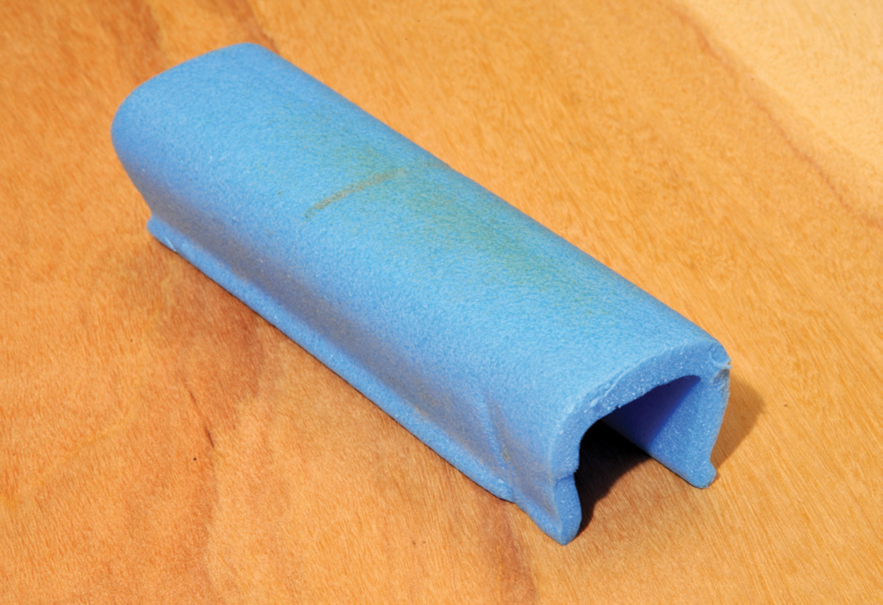
Door protector strip obtained from a builders’ merchant.
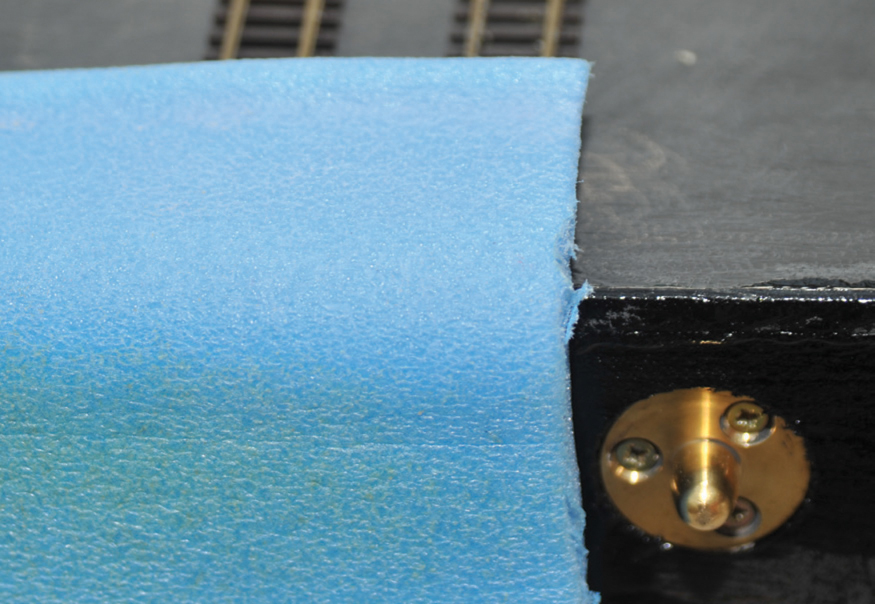
Door protector strip on end of layout to protect rail ends.
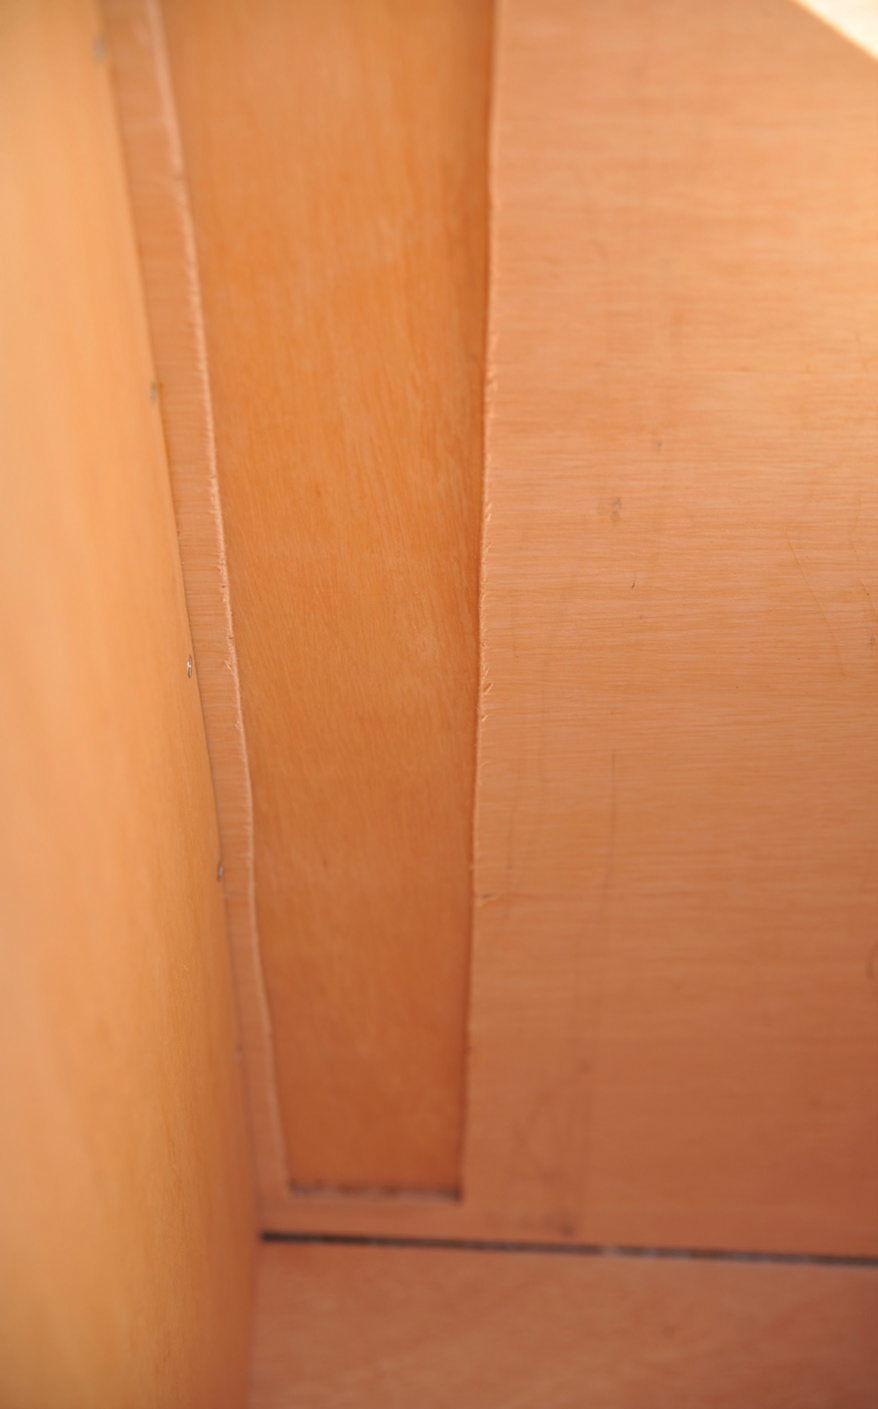
Cut-out in my transport box to protect rails. The baseboard rests against the inner layers of plywood and automatically locates the track within the recessed area.