Commercial workshop. Note the patterns on the wall (the curves are for helix construction). MODEL RAILWAY SOLUTIONS, POOLE, DORSET
If you feel that you are not up to making your own baseboards from start to finish, there are a variety of commercial options. Obviously, there are companies who will make your baseboard from scratch to finish, and will even design and install a fully wired layout, just ready for you to ‘plug and play’, but there are others who will do some of the more difficult work for you and leave you to complete the rest yourself. There are some obstacles in doing this and I have devoted this chapter to dealing with these problems and to producing a finished baseboard.
Commercial organizations geared to making baseboards have fully equipped workshops and have standard pattern jigs for use for different sizes. This all makes construction more accurate and more reliable, but quality comes at a price. A birch board approximately 600mm (24in) by 1,200mm (48in) will be around the eighty pound mark.
The most time-consuming and more complicated part of constructing a baseboard is undoubtedly its sub-frame. It is possible to purchase high-quality frames, cross-members and spines as a kit and then put it together yourself and purchase your own baseboard top. This has the advantage, over doing it yourself, that all the sub-frame is cut to exacting standards with cross-halving joints so accurate that they have to be knocked together with a mallet. With a commercial frame, you make up the spine and cross-members prior to making up the outer frame. The spine and the cross-members are glued before being locked into position. When fixing cross-members and the spine it is essential that they are laid on a hard, level, flat surface before putting any pressure on the strips of wood, otherwise they could either split or be out of true. It is then a matter of making up the four butt-jointed plywood strips to make up the outer frame. These are glued and pinned through pre-drilled holes, and then the spine and cross-members fit into pre-cut slots in the frame panels. Again, it is purely a matter of gluing and pinning into pre-drilled holes.
Commercial workshop. Note the patterns on the wall (the curves are for helix construction). MODEL RAILWAY SOLUTIONS, POOLE, DORSET

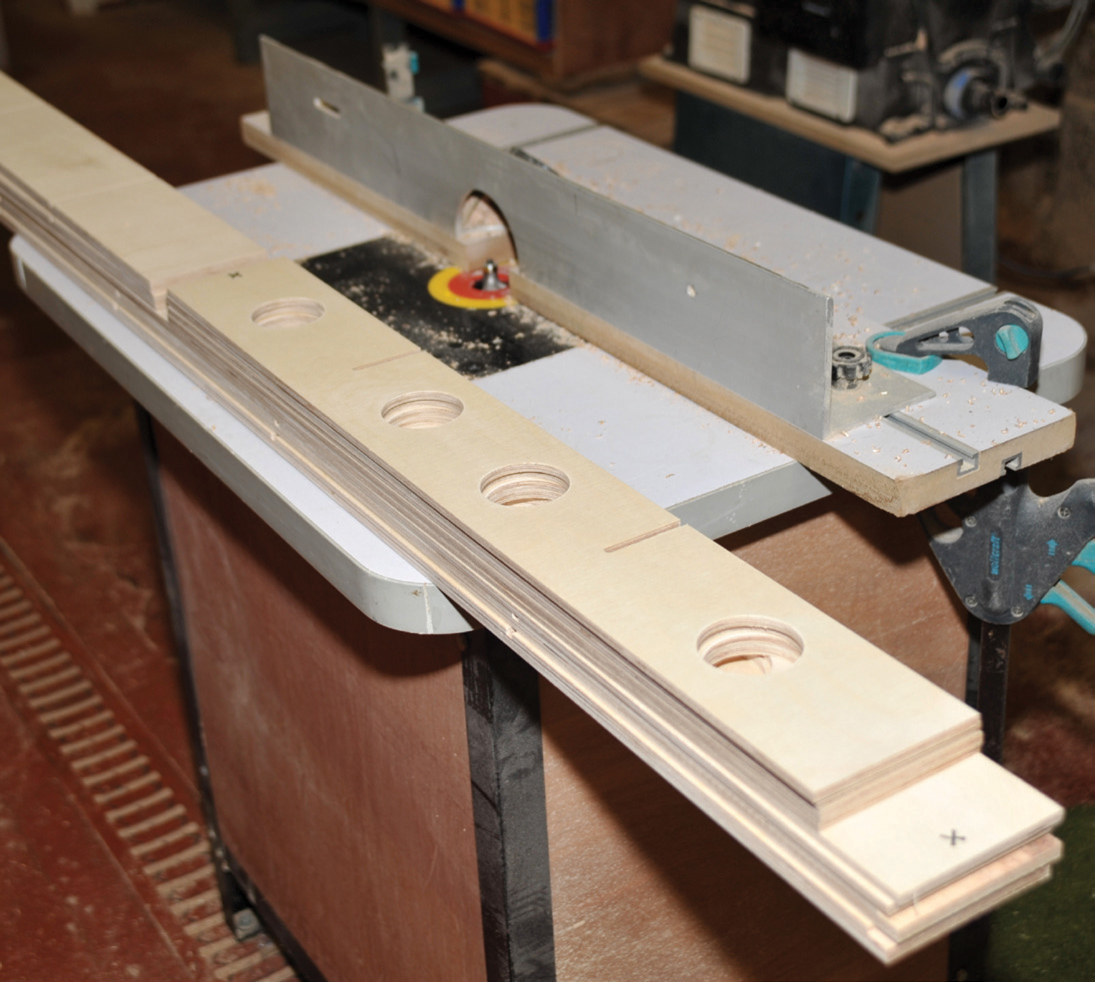
Cross-members showing the routed slits, where the boards cross over and the holes, which both reduce weight and provide a facility for the wires to pass along the underside of the baseboard.

Pushing the cross-members and spine together. The fit is so snug that a tap with a mallet (only at tap!) is required to ensure the tops are level. To avoid breaking any of the cross-members or the spine, this must be done on a hard, flat surface.

Slotting the cross-members together.

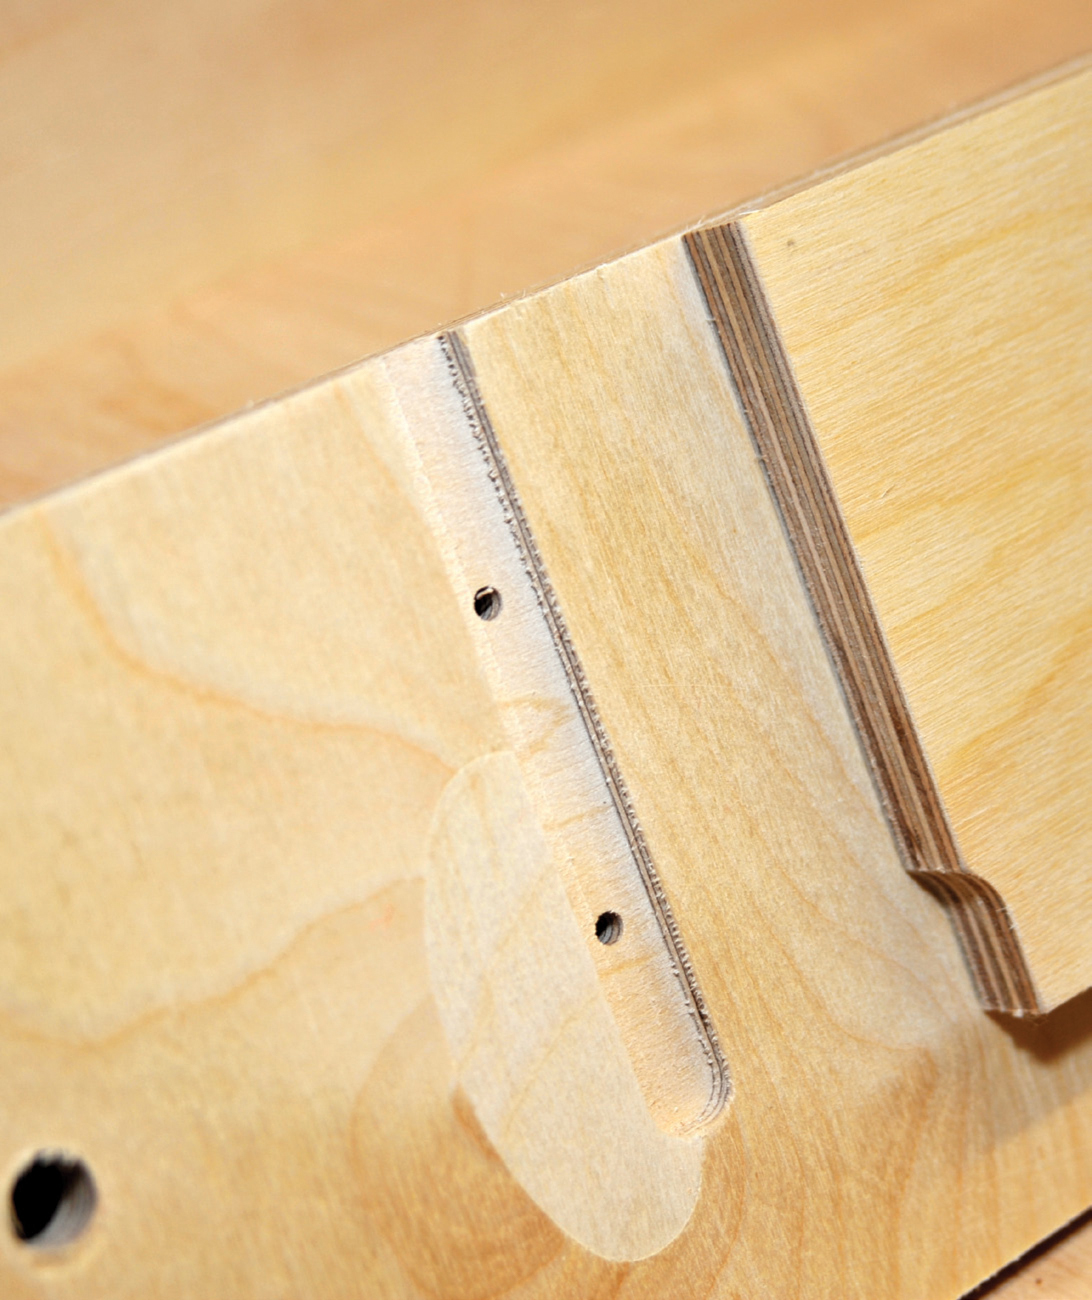
The slit in the frame ready for the cross-member to be glued into place. Note the holes for pin nails.
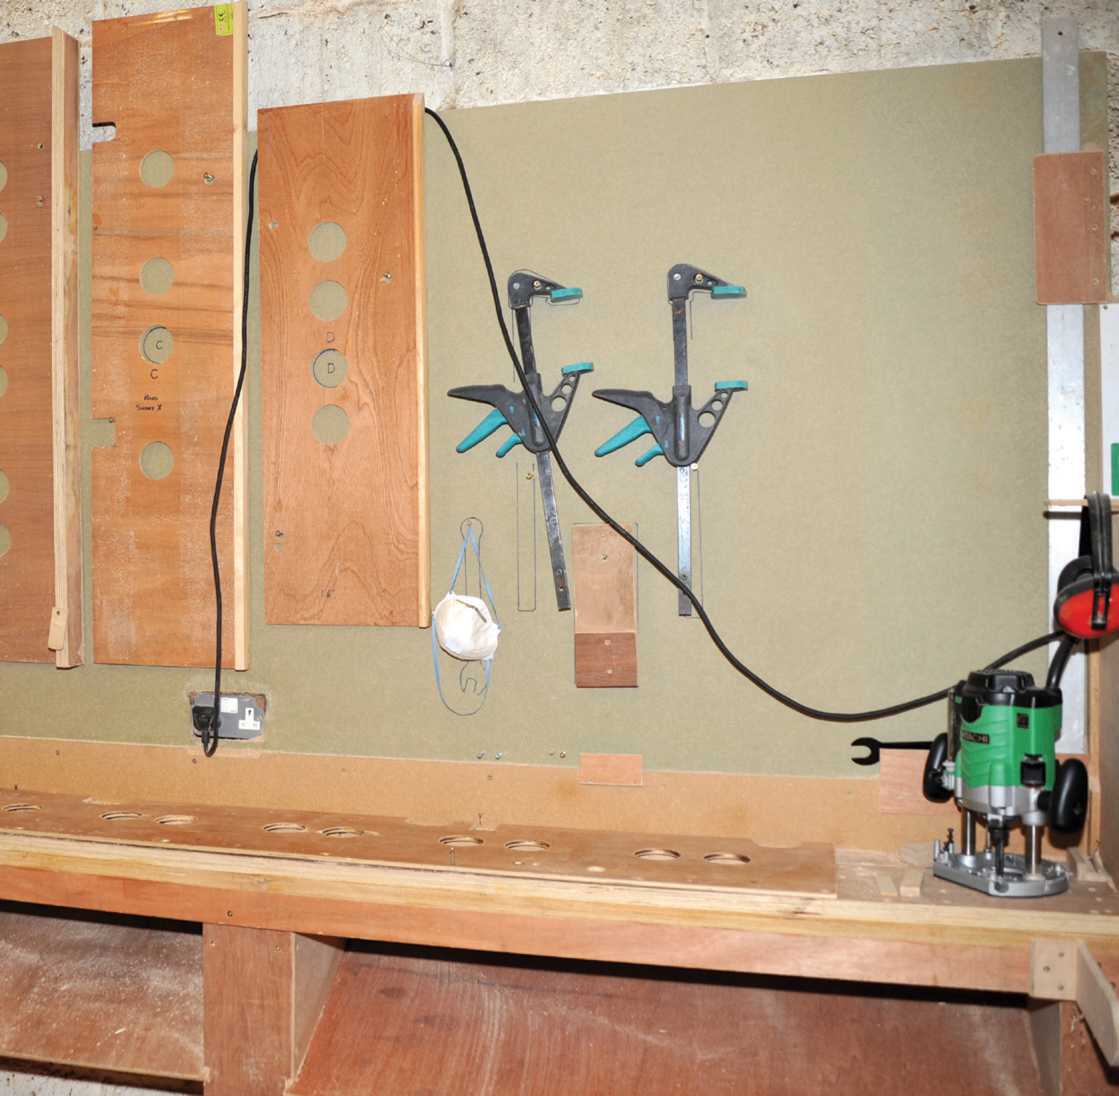
Cross-member patterns on the wall and on the workbench alongside the router.
You can either purchase the baseboard top from the same supplier or you can have a top cut from standard plywood sheets by your local DIY shop, as described earlier. Fastening the top and the frame to each other needs care. You need to glue the edge of the frame and then line one of the long sides up with the frame and make sure that each end is level. Once you have it correctly lined up, pin each corner and also pin the centre (making sure it is flush with the edge). The next stage is to adjust the frame to line up with the other corners and the other long edge. If you have had the top cut correctly, it will be purely a matter of easing the cross-members, frame and spine into a perfect rectangle. There is always ‘give’ in such a frame until it is fixed to the top. Do not fix it just as it stands if it is not 100 per cent aligned. If you trim the top to match the unadjusted frame, your board will not be rectangular and the resulting finished boards will not join up correctly, as one board will be slightly skew. It is best to complete the whole process in one go, from making up the frame and cross-members to fitting the top. As with the homemade version, it will need sanding down and varnishing. Sanding will be minimal, as commercial kits or completed boards come ready sanded and some manufacturers say that the wood is sufficiently resilient to damp that sealing it is not necessary.
The biggest problem is that the spine and cross-members fit in pre-determined positions and unless you pay for specialist cutting, you will have to design the position of points, etc., so that they do not clash with the supports underneath the baseboard top, rather than moving the supports to meet the track design. Some manufacturers will align cross-members to meet your needs, but this is likely to cost extra.
Some companies supply the baseboard in kit form, where you have to put it together, as described above, whilst others make up the baseboard complete with its top and supply it as a readymade unit. Different suppliers use different qualities of wood. The best is multiple-layer birch wood; however, as might be expected, this is by far the most expensive. Cheaper plywood has fewer layers.
The two suppliers I have visited both have a range of different quality materials, which will allow some reduction in price. Some suppliers suggest that one method of fixing cross-members, with partial slots, gives better adhesion contacts than just straight pinning and gluing, as suggested by another. In truth, probably both are so similar that it is actually their cutting system that affects the decision. Routers, for example, are circular and therefore cannot cut a 90-degree ended slot, whereas making a complete slot from side to side allows the router to extract a complete slice of the frame. If the glue contact is not 100 per cent, the strength of the frame will be weakened. In fact the actual effect on the strength of a baseboard in normal use is absolutely minimal between either of the systems or purely butt-jointing the cross-members yourself.

A lap corner joint in high-quality beech plywood. The lap joint ensures a 90-degree corner and two gluing surfaces. ELITE BASEBOARDS

The baseboard top. Note that it is routed out to take the cross-members and provide a good joint between board and frame.
The side frame routed part way to accommodate the cross-member. Note the shape of the cross-member to match the cut.
If you are on a tight budget, you need to take care when costing out your options. Kits are usually split into frame, baseboard top, legs and cross-supports, and the overall cost of a board can be much higher than at first thought. The production standards are excellent and do represent good value for money and save you a deal of time and effort, as well as giving you an excellent board.
Full view of routed top.

Cut-out holes for dowels at different heights and bolt holes for joining boards.

Both are exactly level and flush at the top.

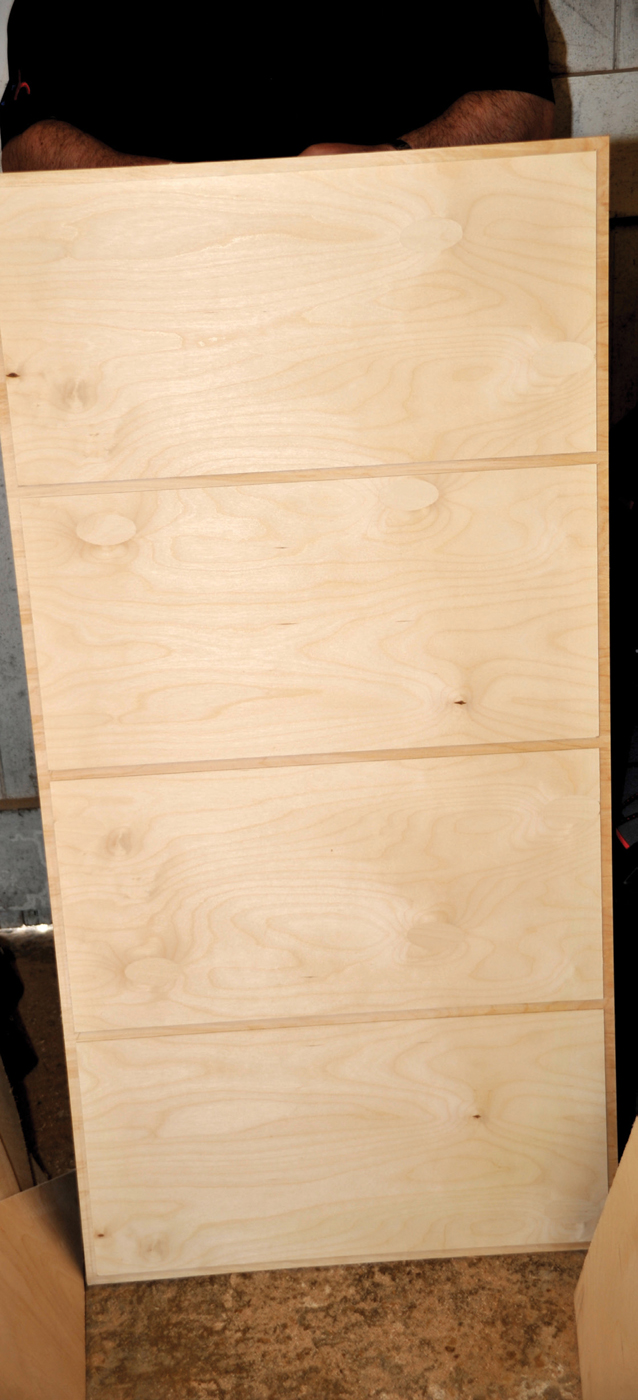
The finished baseboard – ready to be shipped to a waiting customer.
Buying anything second-hand is always a risk and that risk is totally yours. When I first started in model railways, I purchased a second-hand loco at a show and after a few hours of running it stopped. The cost of replacement of the offending parts was almost as much as the cost of a new loco; since then I have always purchased new locos, but I have purchased many second-hand wagons and coaches, because I can thoroughly check these before purchase.
There are many board-based layouts offered on eBay but you are buying almost blind. You have to remember that someone is disposing of a layout for a reason. It could be a valid reason, but it could be that the layout has many dry joints or that some of the points have intermittent faults, which will cause you no end of headaches, or it could be that an amateur woodworker is working in his garden shed making up cheaply priced passable boards on a part-time basis.
The main points against buying second-hand are that you lose the whole joy of designing and constructing your own layout. You also lose the detailed knowledge of how the wiring has been connected and why it has been set up in a particular way. If you have to replace a point, you have a considerable amount of work to insert a new point or piece of track and to then match the ballast into a seamless join.
The main things to look for are the type and quality of the baseboard top and its frame. You also need to check that it is not warped and that it is level. If the baseboard has a track, you need to check the appearance of the wiring. Is it clearly and cleanly wired or do the wires hang down and look a jumble? If the wiring is fairly tatty or the baseboard looks rough, you are probably buying trouble. If possible, see it in operation before you buy and compare the cost you are paying against the cost of a new layout. It needs to be well over 50 per cent cheaper to make a second-hand purchase worth considering.
Some modellers seem to thrive on buying secondhand equipment, locos, etc., on the internet, finding faults and then buying replacement parts to correct the problem. The result is often that they are paying nearly as much as would have been the cost new, but still they continue to buy in this way.
The advantages are that you have a ready-to-run track and scenery, you don’t have to plan a layout, as someone has done the work for you, and you do not pay as much for it as a newly constructed layout. The choice is yours – but beware!