Filler and plastic filler spatula.
No matter how accurate your construction work and how well your layout is prepared, the style and quality of the final product will be the one thing that projects your image in the minds of the viewers of your layout. It is, therefore, essential that you spend time on the final processes of your baseboard construction. All too often there is a desire to push on to get the track laid and to have an operating layout, but you should only start this task when all the filling, sanding and painting are complete.
There will be a multitude of countersunk screw holes on the baseboard top. All of these need filling with a quality wood-filler, which needs to be worked into each screw hole. Using cheap filler will result in it falling out at some time in the future, so it is best to buy a good one rather than a cheap one. After all you will not need a great deal of filler to cover every indentation.
Filler and plastic filler spatula.
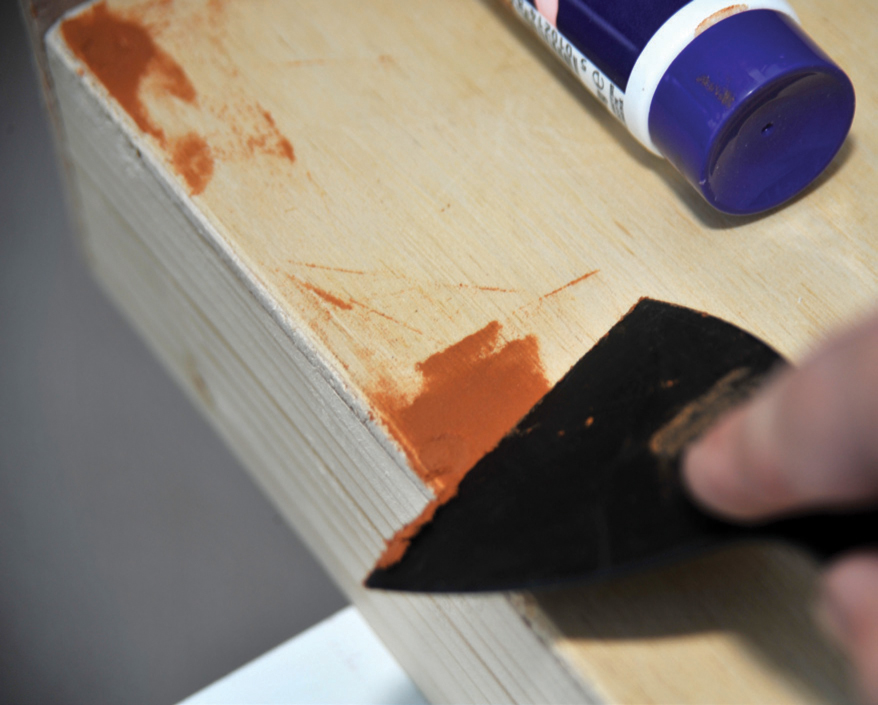
Use a wide spatula to fill in screw holes on a baseboard top.
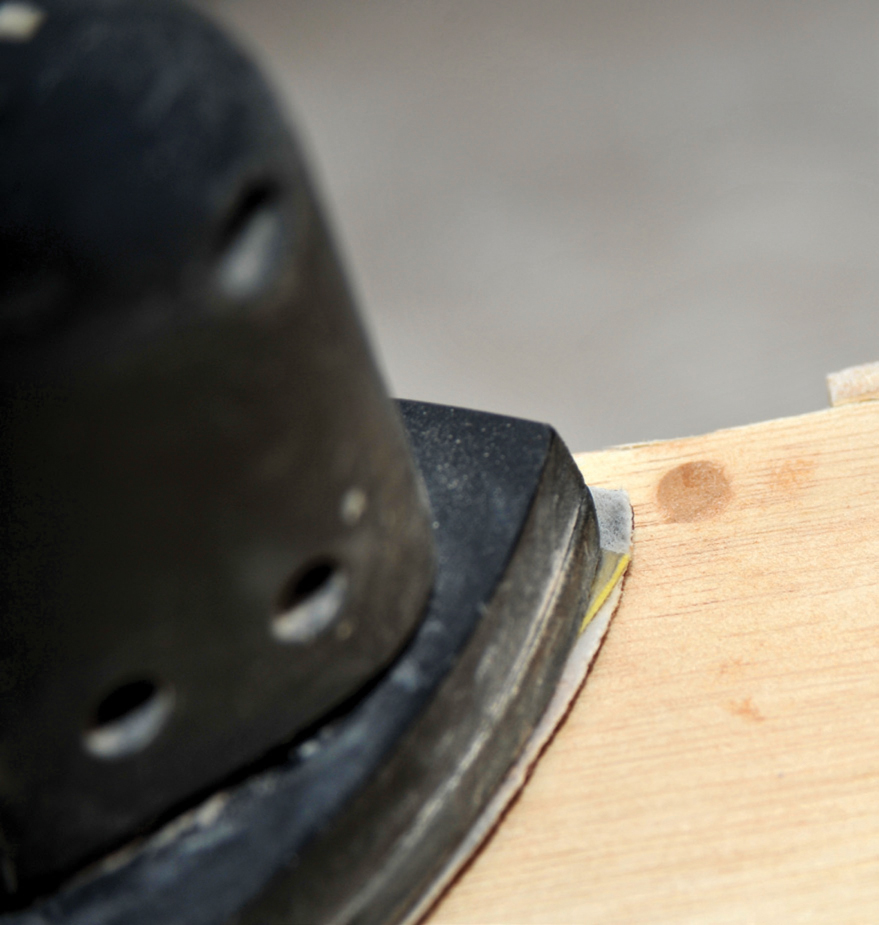
Every part of the wooden structure should be sanded down with fine-grade sandpaper. This can either be achieved with a power sander or by hand with sheet sandpaper and a cork (or other) block.All parts, from the bottom of the leg to the top of the backboard, should be finished as smooth as possible before proceeding further.
When completed, all the dust should be removed. A powerful vacuum with a brush attachment is one way. The brush is most important as it will drag out any loose dust that just a vacuum leaves behind. A more effective way, if you have one, is to use a garden leaf-blower, without its collection bag. Obviously this needs to be done outside, as otherwise you will spread the dust everywhere.
The whole board needs to be either painted or varnished. The baseboard top needs to be coated in an earth colour, so that any chips or loss of scatter from the baseboard does not reveal a white patch. As you are probably laying scatter and track, you will be wetting the baseboard with varying quantities of water, so you need to seal the wood before any water is able to soak in and damage the surface. If you paint the baseboard top in a dark matt colour, you may, of course, obliterate the track markings that you previously marked out in pencil. If you used a sharp knife to mark the track position, these cuts should still be visible through the paint. You should still have the cut-out track plan, so it is not a difficult task to remark the position of each of the tracks if they do become obliterated.
The edges of the board need to be finished in a gloss in order to make the whole board more visually attractive and to protect the wood from grease through constant handling. I always prefer to use black gloss, but a regional railway colour is also appropriate. Use masking tape to create the straight edge when painting two different colours.
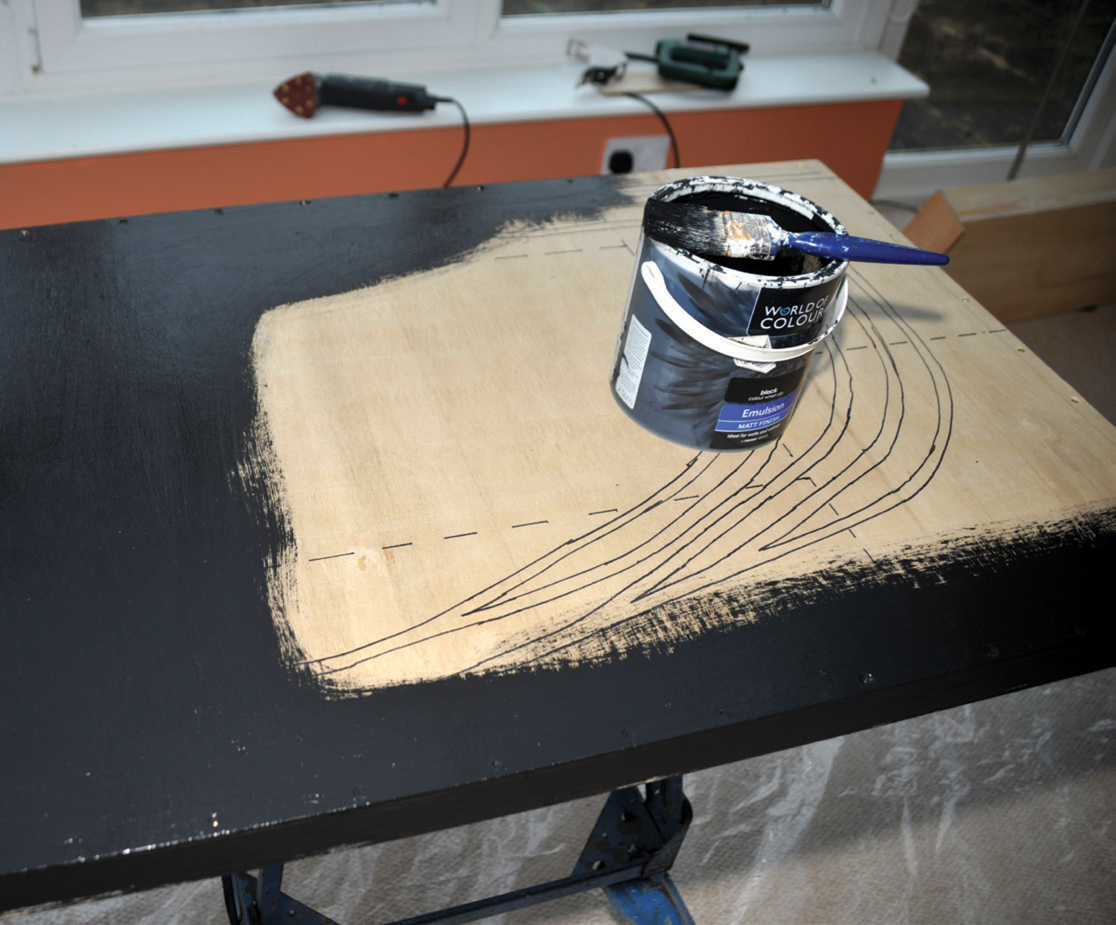
Painting the baseboard top will, with some paints, obliterate the track plan.
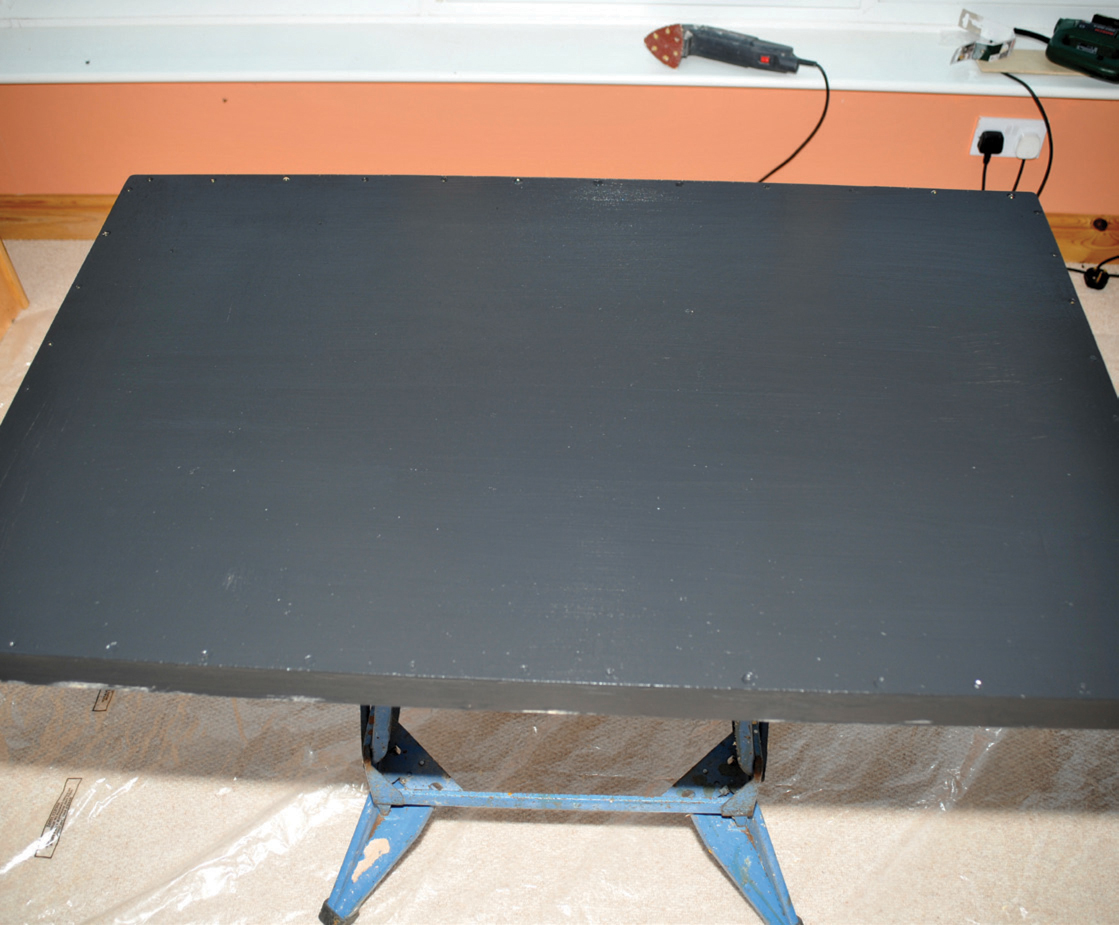
A completely covered board.
The underside of the board also needs painting. I prefer to use white or at least a very light colour – it makes the wiring stand out more clearly.
All of this will take time and cannot be rushed. You can only paint one side of your board at a time and you will need to allow plenty of drying time, especially for leg sockets and other removable parts. You need to allow about seven days for everything to be hard dry.

Masking tape provides a straight edge when joining different colours.
The white underside of a board. A white or light-coloured underside makes any subsequent wiring stand out and circuit information can be written directly on to the baseboard, rather than on a tag on the wire, which will come off or get ripped.
Whilst all your legs will be the same length, there will be occasions where you need some adjustment and it is best to fit height adjusters at the beginning. The easiest type screw to the side of the leg and are adjusted by using a screw driver on the adjusting thread.
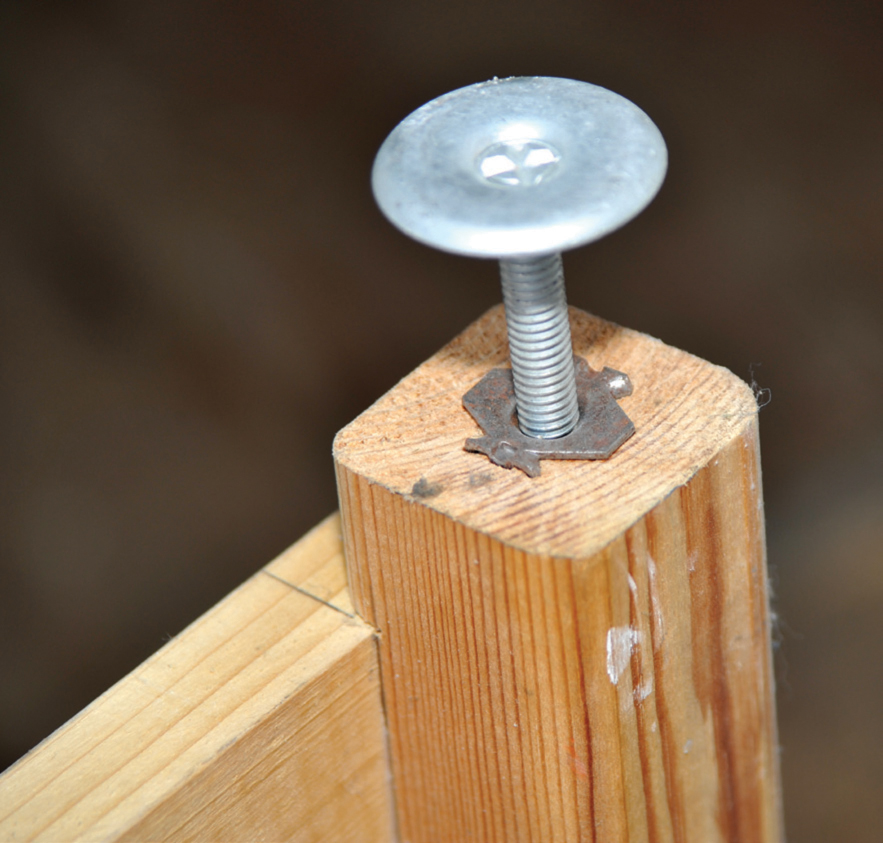
An alternative height adjuster, which has to be drilled and screwed into the centre of the foot of the leg.