When you submit your app to the App Store, you need to create an archive. This archive will also be used for internal and external testing, which we will address shortly. When your archive is complete, you will upload it to the App Store. Let's create an archive now:
- Open Xcode, select the project, and enter the following information:
-
- Under Identity, update the Version and Build numbers to 1.1 and 2, respectively.
- Under Signing, ensure Automatically manage signing is checked.
- Under Signing, select Team.
- For minor builds, you want to increment your Version number by 0.1 and your Build number by 1. In some instances, developers make their Version numbers three digits (for example, 1.1.2). This is all based on your business and how you want to handle Version numbers. If you are performing a major update, then you typically increment your Version number by 1:

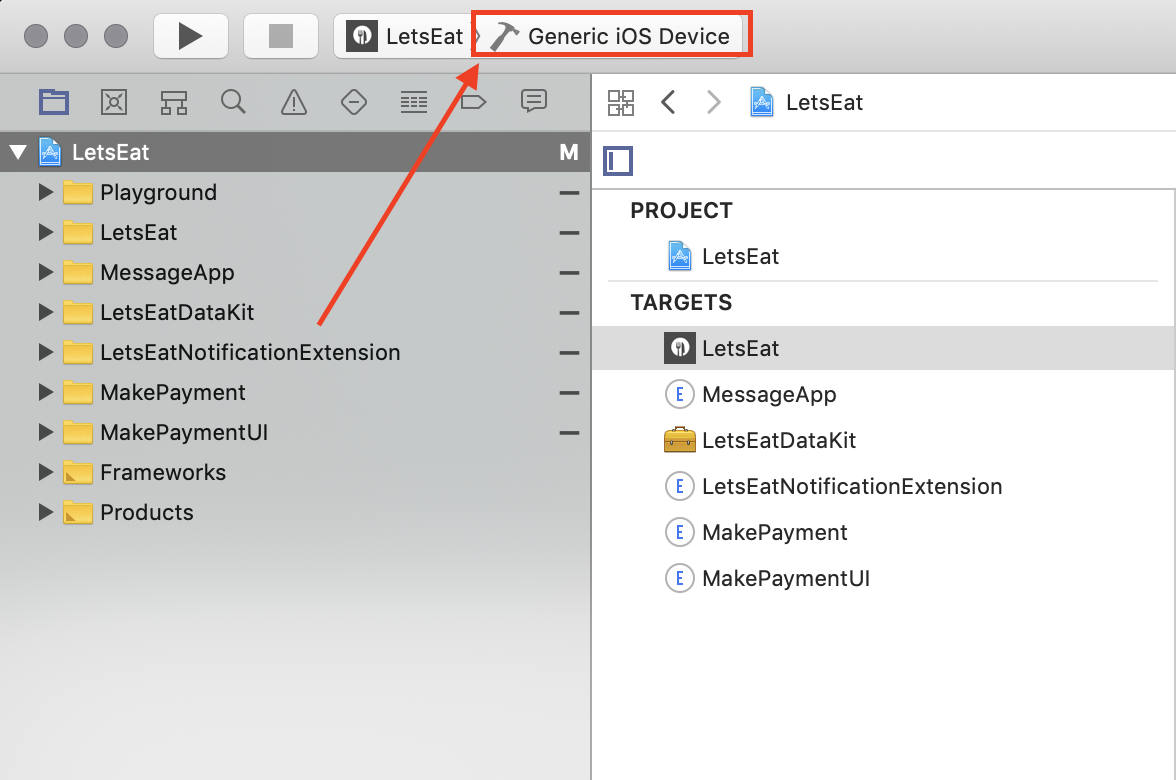
- Select Generic iOS Device as the build destination:
- Update your Info.plist by adding ITSAppUsesNonExemptEncryption, making its type Boolean, and setting its value to NO. The value should be NO unless you are using some special encryption. Since our app does not have special encryption, we will set our value to NO.
- Select Product | Archive:

- On the Archives tab on the screen that appears, select your Development Team and then hit Choose:

- Your IPA file will now be created, so now click Upload:

- You will see uploading begin, as shown in the following screenshot:

- Then, when your upload is successful, you will see the following:

- You will receive an email when your app is either approved or rejected. If rejected, once you fix the issues, you can resubmit it in the same manner by updating the archive and following the steps laid out previously.