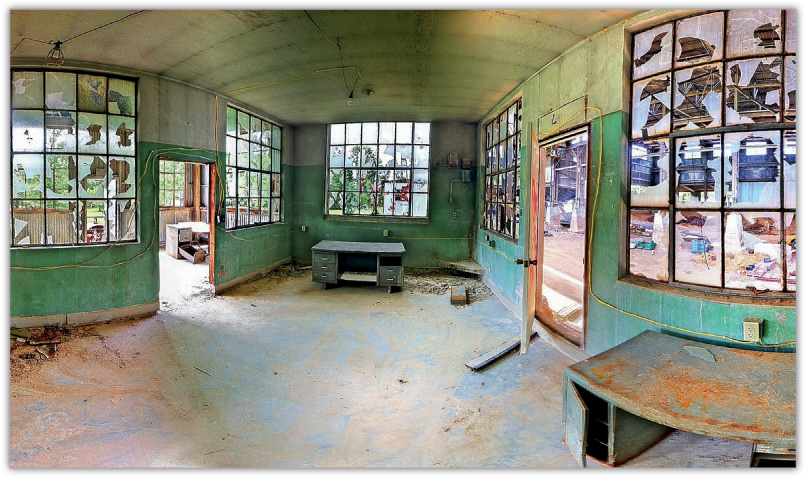

Stone Quarry Sawmill
This tutorial poses the challenge of getting proper exposures for the brighter areas outside the windows and darker areas inside a building. After completing this tutorial, you’ll be able to create a high dynamic range (HDR) image comprised of multiple pairs of light and dark images stitched together to create an image with a wide-angle perspective, great exposure for both light and dark areas, and vibrant color throughout the image.
 Tripod with iPhone tripod holder bracket
 Bracket Mode
 True HDR
 AutoStitch Panorama
 Photoforge
 Image Blender
 Dynamic Light
I captured this image at the site of an abandoned stone quarry sawmill near Bloomington, Indiana. After attending Indiana University and falling in love with Bloomington, I spent a number of years living there. It was impossible to be a part of the Bloomington community without being aware of the impact of the limestone quarries that surrounded the city then.
In 1979 the movie Breaking Away romanticized the “cutter” culture. This abandoned site is the kind of place one of the fathers in the movie would have worked. All that remains of this site today is the huge iron frame building, scattered rusting equipment, and this business office where the men punched their time cards and picked up their paychecks. I wanted to convey a sense of the history of this place by capturing both the layout and detail of the office and a sense of the work areas outside the doors and windows.
 Step 1: Shooting the Images with Bracket Mode
I use a tripod with an iPhone bracket (available at www.iphone-tripodholder.com) to get the best results with Bracket Mode. It is possible to get decent results handheld, but whenever possible I like to use a tripod to reduce camera movement. Bracket Mode takes two shots with each click of the shutter button: one overexposed and one underexposed image. These image pairs are later used to produce HDR images. Because this is an HDR and stitched image, there is no true before image. Figure 1 is one of the 39 original photos used in the final image. Notice how it’s an overexposed piece of the final whole.
|1|
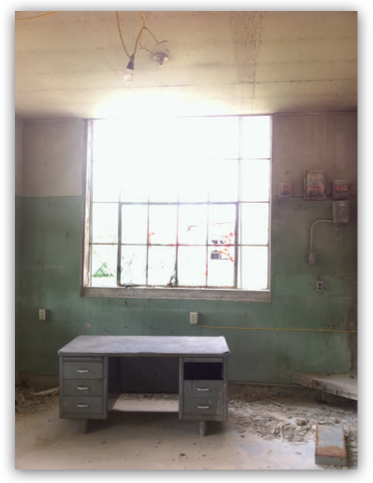
One of the images in the panoramic sequence before processing
To create a multi-stitched image, I take as many Bracket Mode shots as needed to capture the entire scene. I usually start in the lower left corner of the scene with the camera held vertically and take repeated Bracket Mode shots, and I overlap each shot by 30 to 50 percent. I generally follow an S pattern, up the left side of the scene, then down to the bottom, then up to the top, and so on until I have captured the entire scene. The finished image in this tutorial is made up of 39 pairs of images (78 individual shots). It’s important to go beyond the scene’s boundaries to ensure that you don’t lose part of the image you want to keep when you stitch and crop. I’ve lost a lot of church steeples by not extending my capture area well beyond the boundaries of what I wanted in the scene! I like to set Bracket Mode’s Auto-Save feature to Yes because it speeds up the shooting process—a good thing when this many images are involved |2|.
|2|
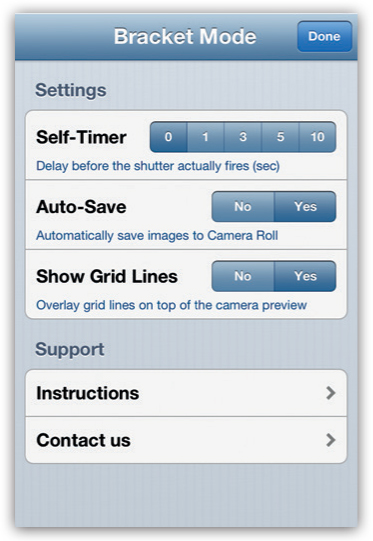
Settings screen showing Auto-Save selected
 Step 2: Processing with True HDR
Before I process with True HDR, I set the preferred HDR mode to Enhanced for more vivid colors |3|.
|3|
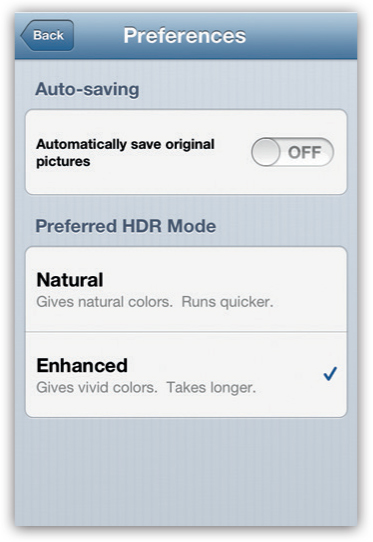
Settings screen showing Enhanced selected
I used True HDR to process each light and dark image pair. I selected Choose Pictures from the main menu |4| and navigated to the camera roll to access an image pair. Then I followed the prompts and selected the light and dark shot of the same image and pressed Merge |5|. I waited briefly while True HDR combined the two images and then displayed the merged image |6|. At this point I could have chosen to make adjustments using the sliders, but I didn’t because I’m going to be blending 39 pairs of images and I wanted them to all have the same processing. I waited to make these adjustments.
|4|
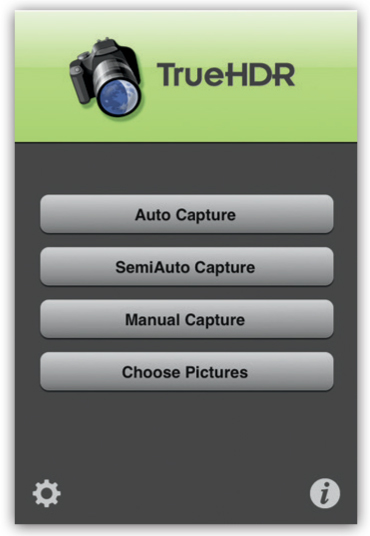
True HDR menu screen
|5|
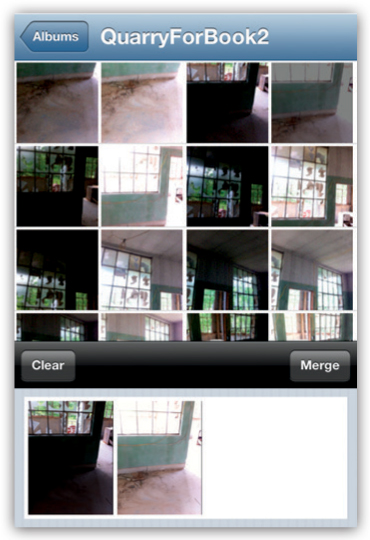
True HDR with two images in the tray and the Merge button visible
|6|
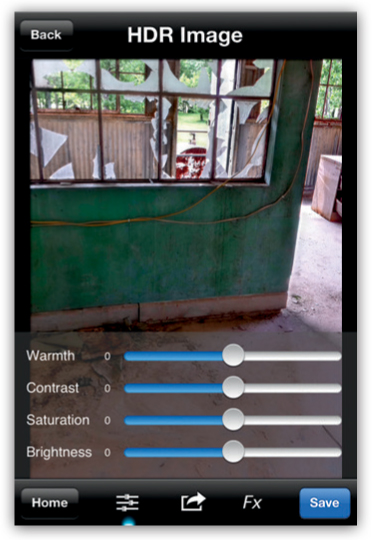
True HDR merged image with slider bars
I saved the result and repeated the process for the remaining 38 image pairs, which resulted in 39 True HDR images in my camera roll that were ready for the next step |7|.
|7|
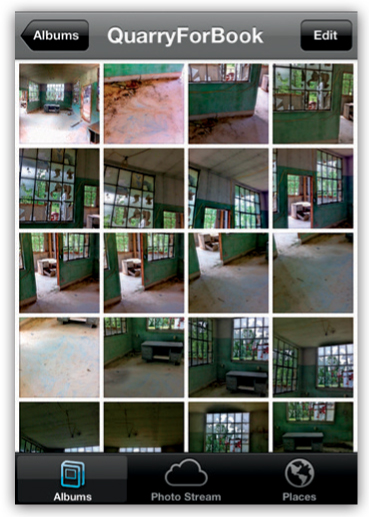
HDR images to be stitched
 Step 3: Using AutoStitch Panorama to Stitch the Images Together
I wanted to use AutoStitch Panorama’s maximum quality settings for the best possible result. The two AutoStitch Panorama settings to adjust are Resolution and Blending. I set resolution to Advanced, 100 %, and 18MP, and I set Blending to Standard |8|. With these settings, I’ve stitched as many as 72 images. If the processing bogs down or if the application crashes while performing a stitch, I reduce the quality settings until the app performs.
|8|
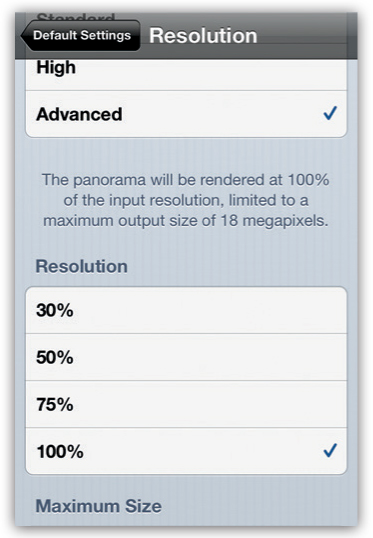
AutoStitch Panorama’s default setting
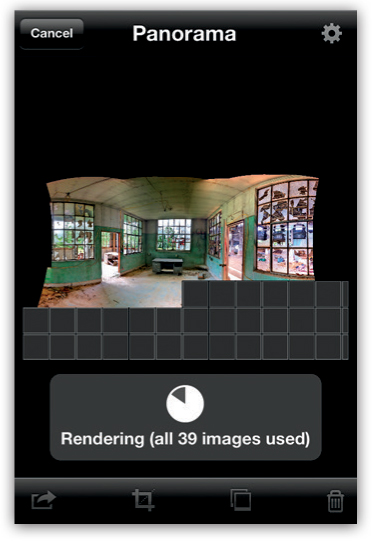
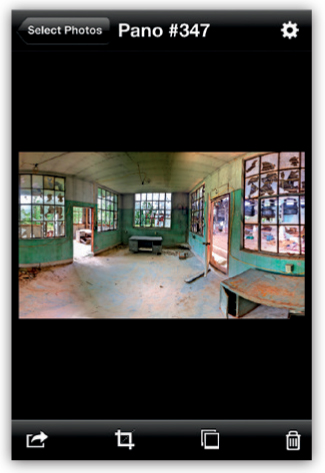
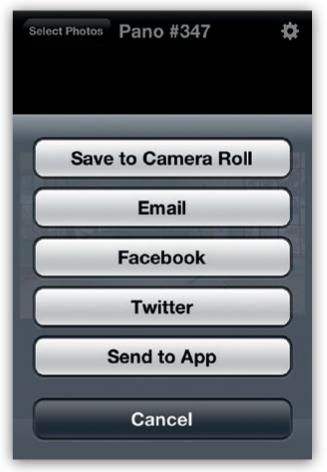
I chose Select Photos from the main menu and selected the camera roll (or album containing the images I wanted to stitch). I touched each of the images I wanted to stitch. A green check mark indicates that the image has been selected. After I had selected all my images, I pressed the Stitch button and waited as the app prepared the images |9–13|.
|9|

|11|

|12|
|13|
 Step 4: Using Photoforge to Sharpen and Emboss
Next, I imported the image into Photo-forge, selected Unsharpen Mask from the Funnel icon, and set the sliders as shown in figure 14. I barely moved the Radius slider to avoid oversharpening. I then saved the sharpened image in Original resolution |15|.
|14|
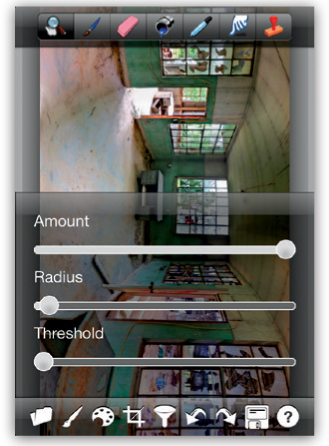
Unsharpen Mask sliders
|15|
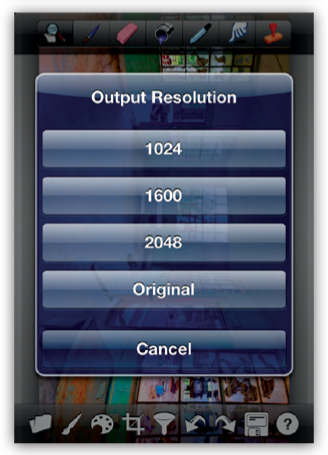
Original resolution
Still in Photoforge, I selected the Emboss filter from the Funnel icon |16|.
|16|
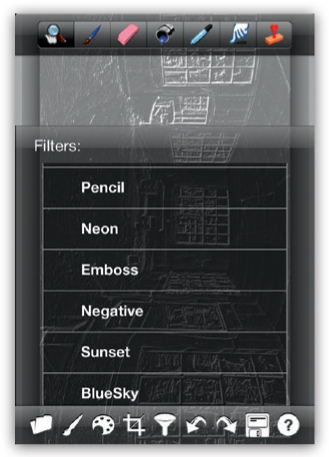
Emboss filter
I saved the embossed image in Original resolution.
 Step 5: Blending Images to Bring Out Details
I then used Image Blender to blend the sharpened image with the embossed version to accentuate the details. In Image Blender I clicked the selector at the lower left to load the image I sharpened in Photoforge in step 4. In the lower right selector, I loaded the embossed image that I sharpened in step 4 |17|.
|17|
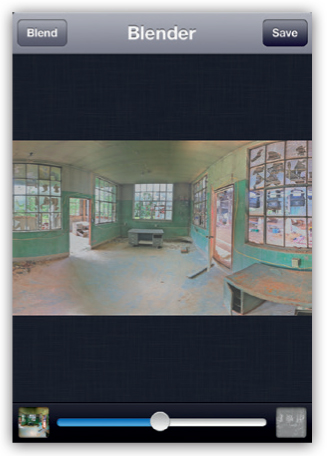
Images selected in Image Blender
I selected the Overlay blend mode, moved the slider all the way to the right, and saved the resulting image to the camera roll |18 and 19|.
|18|
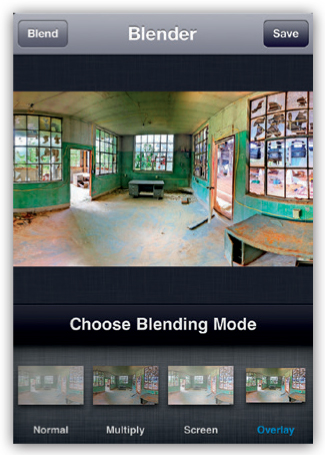
Overlay blend mode in Image Blender
|19|
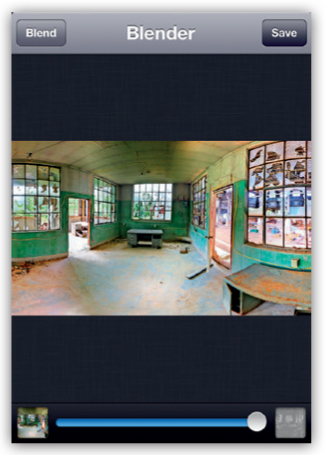
Overlay blend mode slider at 100 %, or all the way to the right, in Image Blender
 Step 6: Applying the Orton Filter in Dynamic Light
I then opened Dynamic Light and loaded the blended image from step 5. I selected Fx and chose the Orton filter |20|. I adjusted the light so the image did not appear too dark—about 25 on the dial—and saved the image |21|.
|20|
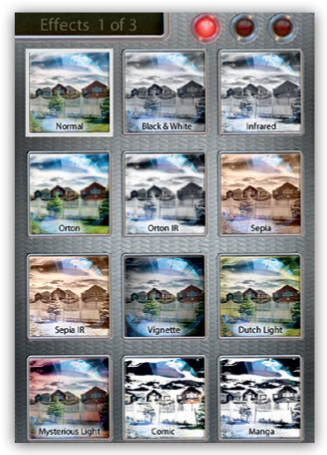
Orton filter
|21|
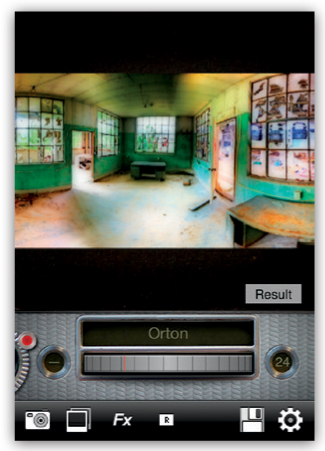
Orton dial
 Step 7: Using Image Blender to Tone Down the Orton Effect
The Orton effect alone can be too soft and unnatural. I like to tone it down by blending it with an earlier version of the image.
Returning to Image Blender, I used the lower left selector to load the Orton filtered image from step 6. With the lower right selector, I loaded the blended image from step 5 |22|.
|22|
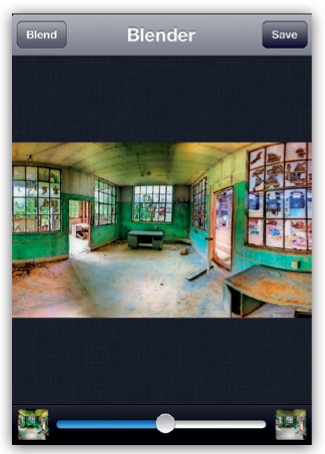
Images selected in Image Blender
I selected the Normal blend mode, moved the slider to about 20 %, and saved the image |23 and 24|.
|23|
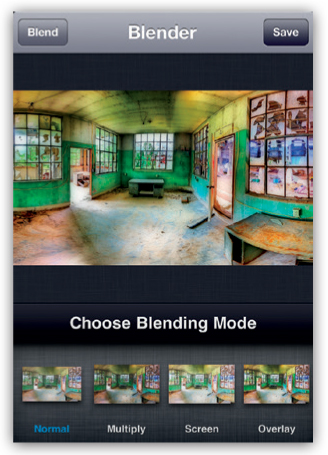
Normal blend mode in Image Blender
|24|
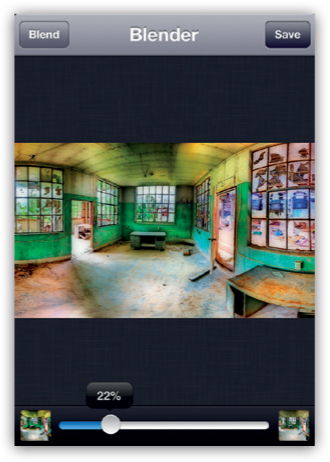
Normal blend mode slider at 22 % in Image Blender
You can see the final image at the beginning of this tutorial. Notice that some of the richness and tone from the Orton effect has been retained without over softening the image.
I used Bracket Mode to capture 39 pairs of light and dark shots that make up the complete scene. Next I combined each light and dark pair, one pair at a time, with True HDR. I then loaded the 39 True HDR images into AutoStitch Panorama to create a vertical and horizontal panorama of the scene. Although it’s possible to skip the rather time-consuming True HDR step and simply load all 39 pairs of light and dark Bracket Mode images into AutoStitch Panorama for a decent result, I find that performing the HDR step before stitching often yields a more satisfying color balance and is worth the extra effort.
Rad Drew
Photography has been a part of Rad’s life for as long as he can remember. He shot all through high school and college and worked intermittently as a photojournalist after earning a BA in journalism from Indiana University, Bloomington. In 2010 Rad discovered the iPhone, which completely transformed how he sees and thinks about photography. Rad’s images have appeared in a number of exhibitions, including the LA Mobile Arts Festival, Mobile Photography Awards, and several Darkroom Gallery shows juried by Dan Burkholder. His self-published book, In Good Light, Images of the Circle City, is available on Blurb. http://totallyradimages.blogspot.com