
Rest
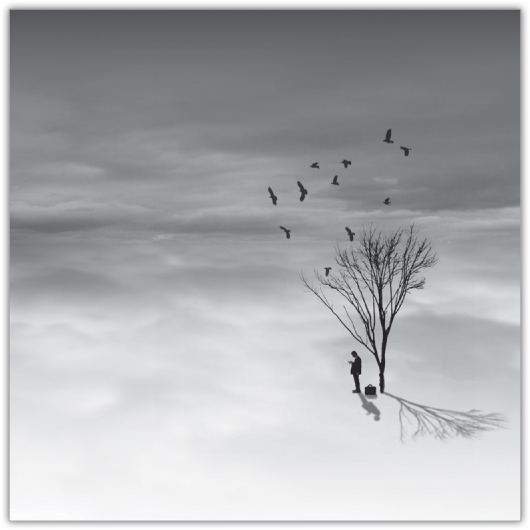
In this tutorial you’ll learn how to create a surreal photomontage, convert an image to black-and-white, create realistic shadows, and use layering, blending, and masking techniques.
 Photo Clip
 Photo fx
 FX Photo Studio
 Iris Photo Suite (iPhone version)
 Filterstorm
I began by visualizing the image I wished to create based on photos in my camera roll while I developed my concept for the final piece, the colors to be used, and the processes I would employ. I received inspiration for this piece at the very moment when I saw the person in the image standing on a train platform. The concept for this image was born from the words “We are seeking a place of peace, people... Rest.” I imagined a scene in which a person was resting under a tree, which I see as a place of peacefulness, emphasized by the presence of birds. To extend the idea of rest and peacefulness, I added a vast space all around the subjects.
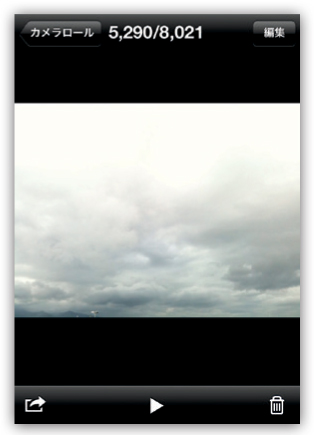
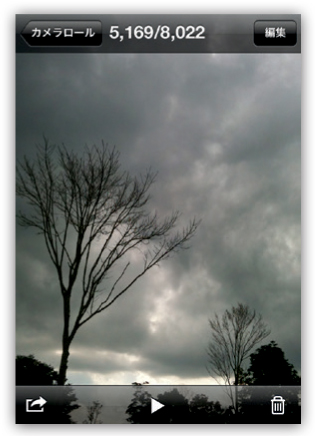
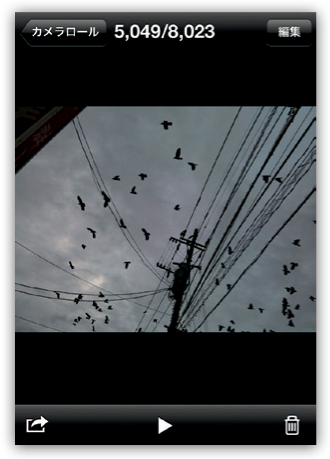
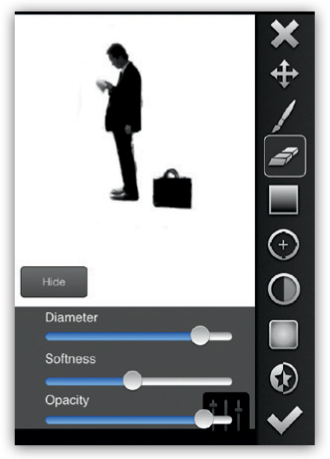
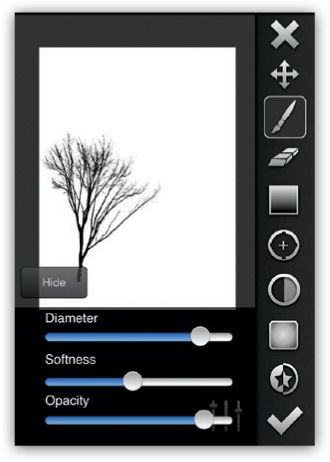
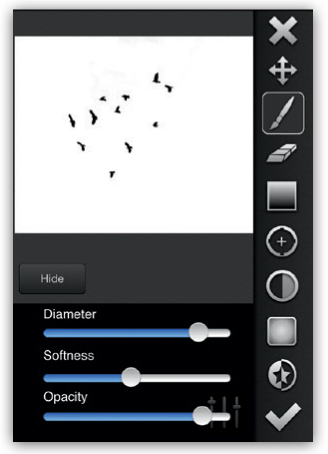
For this particular piece, the fundamental premise was to first fully compose the final image in my head. I then selected the four photos that would allow me to achieve my desired result. The next steps involved combining the sky (background), the man, the tree, and the birds as shown in figures 1 through 4.
|1|
|2|
|3|

|4|
 Step 1: Creating the Background
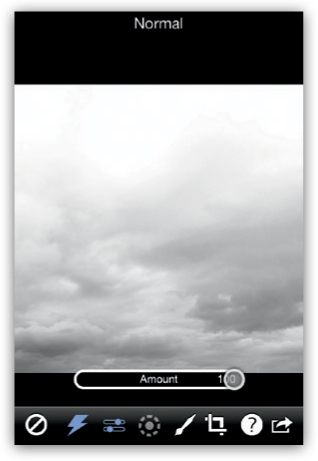
In Photo Clip I cropped the photo of the sky to a square format (1:1) and adjusted its position. I then opened the cropped photo in Photo fx, converted it to black-and-white, adjusted the tones, and saved it back to my camera roll. Still in Photo fx, I flipped the photo vertically and saved it as a second file. Next I opened the flipped image in FX Photo Studio and applied the Explosion blur filter to give the clouds a sense of motion |5|.
|5|
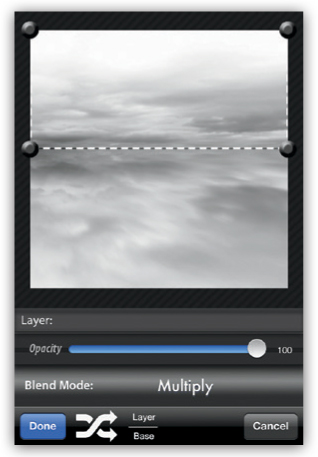
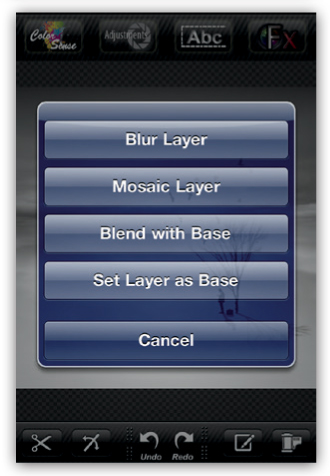
In Iris Photo Suite I opened the two edited versions of the file and combined them with the Multiply blend mode in the app’s Layers tool. To introduce a sense of perspective, I set the opacity for the lower half at 50 percent to alter its tone and create a difference between it and the upper half. I then selected Mask Over Base and tweaked the horizon to make it appear more natural |6|.
|6|
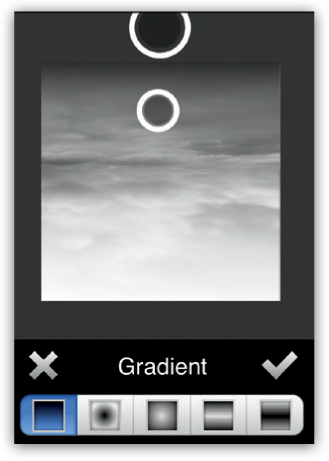
In Filterstorm I applied a black gradient to the upper half of the image and a white gradient to the lower half. Doing so added a shadow tone to the upper and lower halves of the sky |7|. The result was a background with the depth and breadth I sought. This completed my preparation of the background.
|7|
 Step 2: Processing the Man, Birds, and Tree
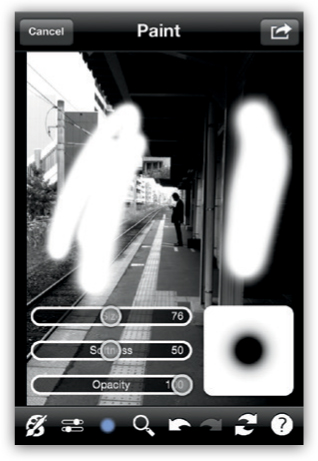
In Photo fx I converted the three photos containing the man, tree, and birds to black-and-white. I then adjusted the tones in Photo fx to increase the contrast of black and white. I adjusted the tones for each image and used the Paint tool in Photo fx to white out all of the areas except for the ones I wanted to incorporate into my piece. Photo fx doesn’t offer enough control to mask out the finer details, so I performed that part of the process in Filterstorm |8–11|.
|8|
|9|
|10|
|11|
 Step 3: Compositing the Tree and Background
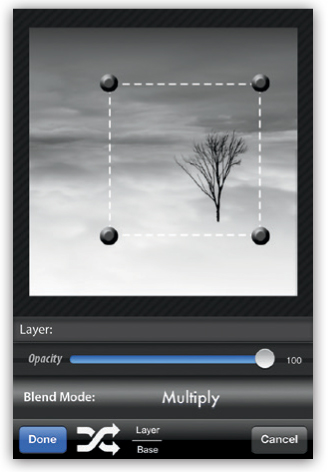
I opened the background image from step 2 in Iris Photo Suite, went to the Layers tool, and selected it as the base image. I blended the image with the tree image from step 3 using the Multiply blend mode while carefully positioning the tree to maintain the overall balance of the composition |12|.
|12|
 Step 4: Creating the Shadow of the Tree
I vertically flipped the image of the tree from step 3 and added a slight amount of blur in FX Photo Studio. I then adjusted the angle in Photo Clip. When that was done, I returned to Iris Photo Suite, positioned the image on the background, and used the Multiply blend mode with a setting of 50 percent opacity to create the tree’s shadow |13–15|.
|13|
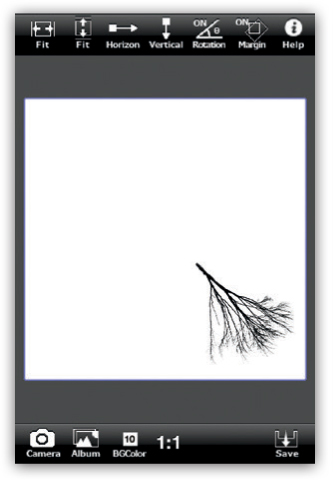
|14|
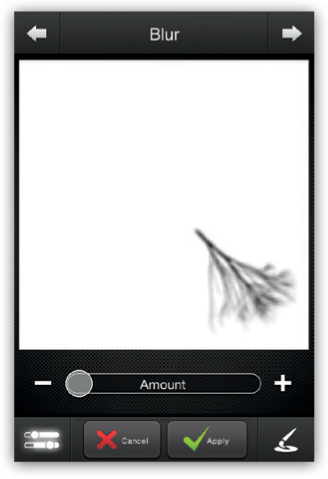
|15|

 Step 5: Adding the Man and Birds
In the same fashion as with the tree in step 4, I used the Layer tool and Multiply blend mode in Laminar to position and add the man and the birds to the background. I then used the same technique as in step 4 to create and add the man’s shadow |16 and 17|.
|16|
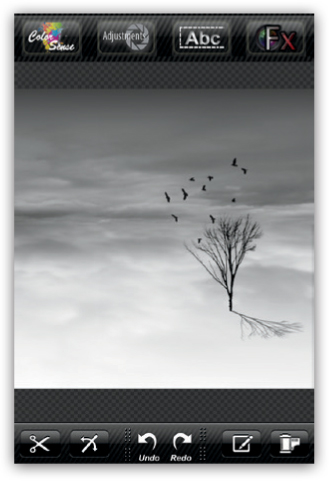
|17|
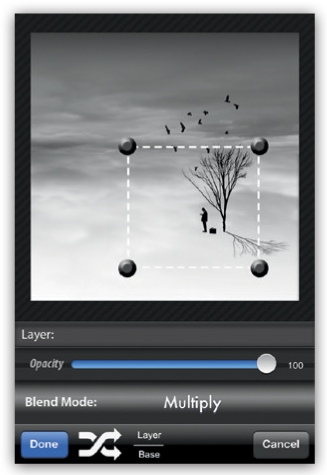
 Step 6: Making Final Adjustments
Working in Photo fx, I completed the piece by applying fine adjustments to compensate for the neutral black-and-white tones |18|.
|18|
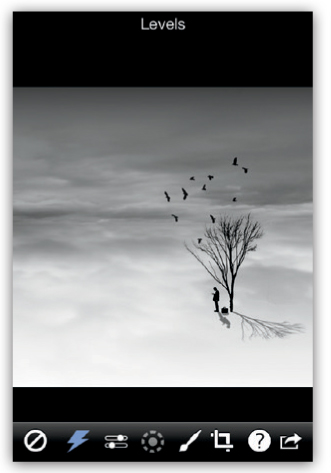
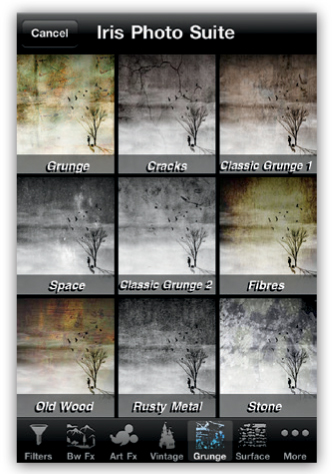
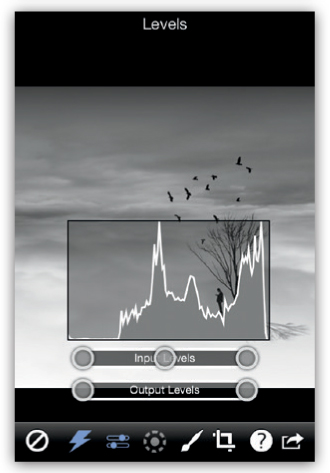
I use Iris Photo Suite because it has a great compositing function to blend images together. It is also a great tool for blending the various textures that I have gathered over time. There are many built-in preset textures with strengths that can be individually adjusted. Additionally, the app makes it easy to adjust color intensities or even replace colors altogether using the ColorSense button. Iris Photo Suite also has all the classic image adjustment tools, including highlights and shadows, histogram, RGB color balance, selective color, and noise reduction. Overall, it’s an excellent, multifaceted app |19 and 20|.
|19|
|20|
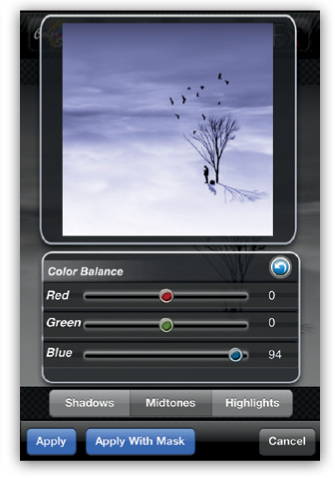
In this tutorial I explained how I merged an idea with images from my camera roll. I showed how to crop an image to a square, convert it to black-and-white, add blur, flip an image, blend and mask elements onto different layers, apply black-and-white gradations to add depth, and make final tonal adjustments to harmonize the overall scene |21 and 22|.
|21|
|22|

Souichi works as a graphic designer in advertising. He discovered iPhoneography on Facebook and Flickr a few years ago, at about the same time that he bought an iPhone 3GS. Although he had no prior experience as a photographer, he had worked with photographs as part of his career in graphics. His work has been exhibited in Spain (La Huelva, 2012), The Netherlands, and California, and has been featured in showcases and interviews on a number of iPhoneography websites. www.flickr.com/photos/sfurusho