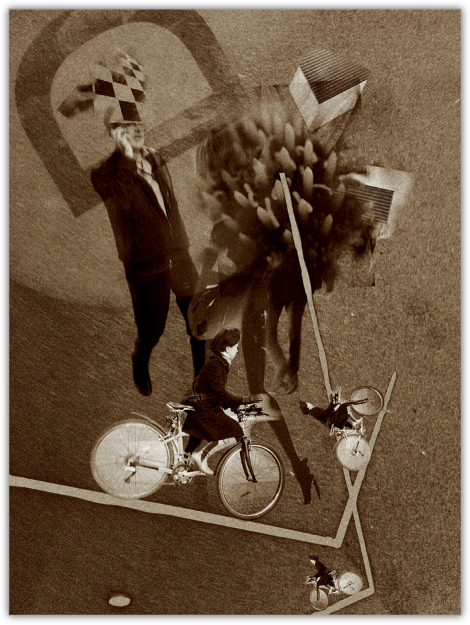

Dissipatas Lineas
My goal was to produce a piece that transmitted a feeling of the dadaist/surrealist works from the 1930s, based on elements from different pictures I had taken in previous weeks.
In this tutorial you’ll learn how to mask, blend, and juxtapose images and parts of images, including preparing them for use in a collage by turning them into black-and-white images, and finally adjusting the lighting and contrast.
 Noir Photo
 Juxtaposer
 Image Blender
 PhotoCopier
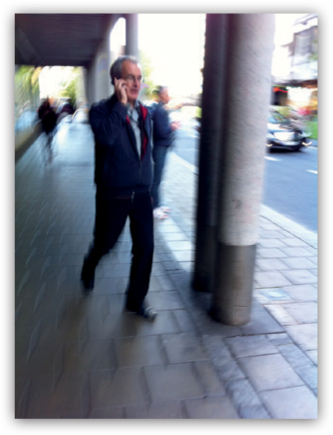
This image started with a picture I took of a man walking down the street and talking on his phone. When I took the picture I knew how I would like to use the image, as I previously had with a businessman for a series of images called The Business Man. In that series I used the outlines and postures of men and placed them in various surreal settings.
My work is heavily influenced by dadaism/surrealism, especially the paranoid-critical method, where you lose yourself in delirious, irrational associations and interpretations.
I seldom have a finished and composed scene in my mind when I start working with a picture. My images usually start with one figure or element that I isolate and add to a neutral background or canvas. From there I add and test different elements and pieces of images in a stream-of-consciousness process, and I evaluate the graphical and compositional qualities as I go along until I am pleased with the result.
 Step 1: Converting the Image to Black-and-White
I find that features are more prominent in a black-and-white picture, compared to the same image in color. Since black-and-white images have a special graphical quality, I usually convert my pictures from color to black-and-white with Noir Photo before I use them in a composite work.
Figure 1 shows the original shot of the man walking down the street.
|1|
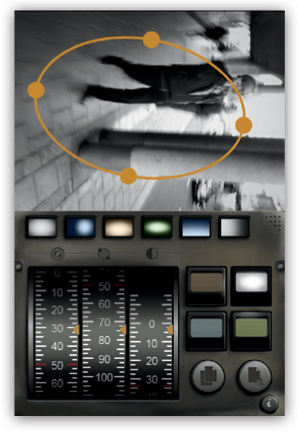
I used Noir Photo to convert the original picture to black-and-white to highlight the figure and make it easier to mask him out in the next step. Figure 2 shows the conversion to black and white in Noir Photo.
|2|
I also converted two other images that make up this particular piece to black-and-white |3 and 4|.
|3|
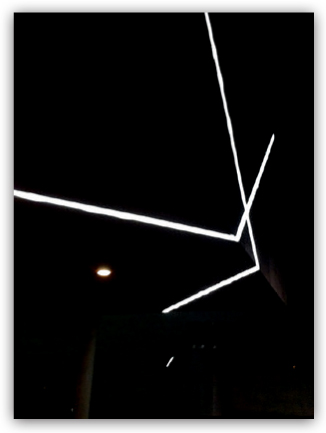
|4|
 Step 2: Juxtaposing the Main Character on the Background
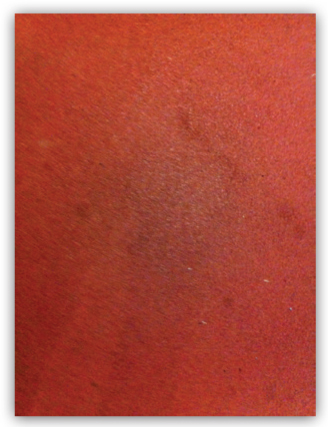
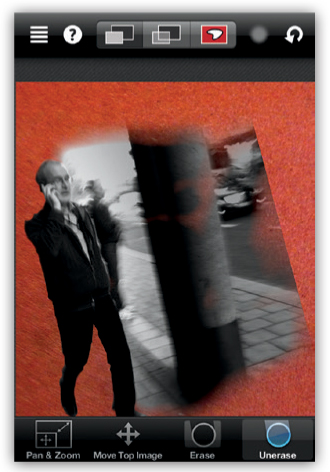
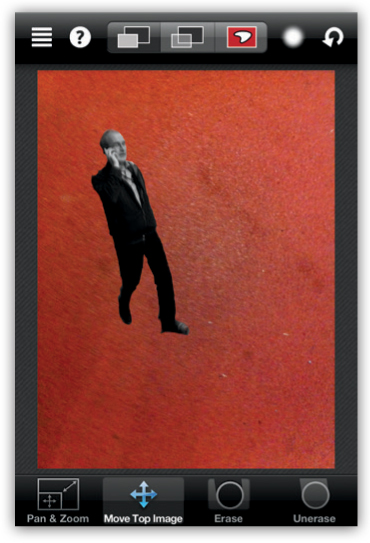
I decided to use an image of a playground surface as the background in this piece because the structure and the subtle differences in the lighting created an interesting texture |5|. I used Juxtaposer to open the image of the playground as my base image, and I opened the black-and-white image of the walking man as my top image. I used the masking tool—I almost exclusively use the soft brush—to isolate the man from the background and position him in the top left quadrant |6 and 7|.
|5|
|6|
|7|
 Step 3: Juxtaposing New Elements in the Scene
I continued to use Juxtaposer and the same masking procedure to add different elements to the composition.
When I want to add a new element in Juxtaposer, I tap the menu in the top left corner and select Load/Add > Add/Replace. If I want to continue building a collage, I choose the Add Top Image option. The other option, Replace Top Image, will remove the masked image and allow me to start over with a clean background.
Juxtaposer then presents me with three choices: taking a photo, adding an image from my library (which I can then mask), or loading a saved stamp, meaning that I can add an image that I have previously masked and saved as a stamp by choosing Save > Save masked top image as stamp. In this piece I used two previously saved stamps. I masked and positioned the other images especially for this piece. Figure 8 shows a composite of several elements that I added to the composition.
|8|
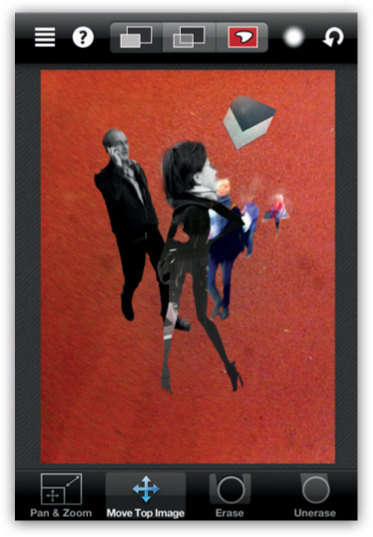
Juxtaposer also has an option to save the work session. I often use this feature whenever I test different compositional arrangements. It allows me to return to an earlier stage if I am not pleased with where the piece is headed.
 Step 4: Using Image Blender to Add More Elements
I wanted to add a few more elements to the image, but since Juxtaposer does not let you adjust the opacity or use blend modes to create different effects, I shifted to Image Blender.
I selected the result of the Juxtaposer process as my base image. I chose a picture of a flower from my iPhone library as the second image, then I selected the Overlay blend mode and adjusted the opacity slider. I also had the option to Copy, Switch, or Flatten by pressing and holding the image screen. Figure 9 shows the main Image Blender screen, with the image from Juxtaposer and the first blended image. When I was satisfied, I flattened the image by pressing it and choosing the Flatten option.
|9|
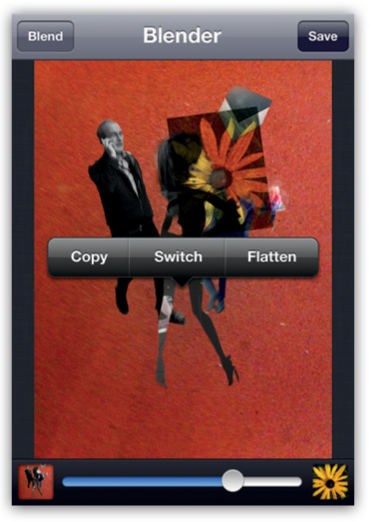
I then added another image of a flower from my archives. This time I used the Mask option, which I accessed by tapping the image. I masked out the parts of the flower I did not want and used the soft brush and the pinch and zoom feature to get an accurate result. Figure 10 shows the mask screen with the soft brush selected.
|10|

After I confirmed the masking (here I used the Normal blend mode), I flattened the image again. Finally, I added part of an image of a chessboard, which I masked in the same way as before. I used the Normal blend mode and adjusted the opacity until I got the result I wanted. The result can be seen in figure 11.
|11|
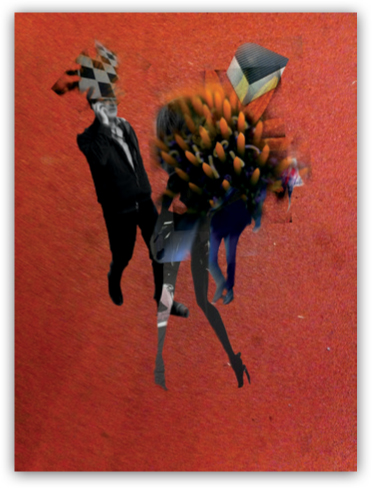
 Step 5: Making a Quick Side Trip Back to Juxtaposer
I was not happy with the way the group of people looked in the overall composition, so I returned to Juxtaposer. I used one of the stamps from step 3 and covered the parts of the image that were still visible to the right of the flowers, as can be seen in figure 12.
|12|
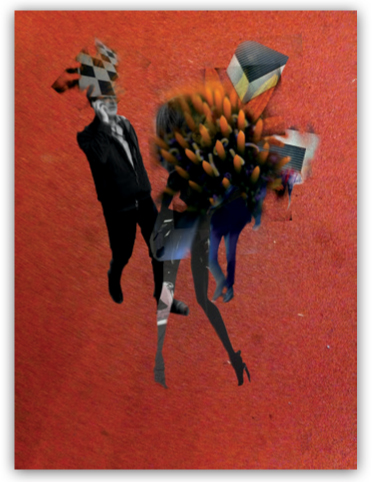
 Step 6: Using Image Blender to Add Several More Elements
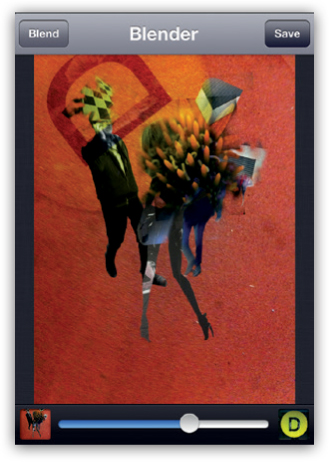
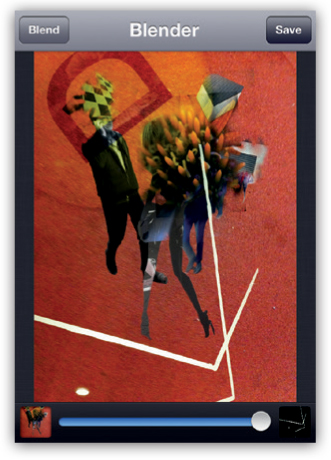
I returned to Image Blender and added two more elements: a letter D along with the Overlay blending mode to mask the dark edges of the image; and some light trails that I had converted to black-and-white in Noir Photo |13 and 14|. I used the Screen blending mode and flattened the image between each step.
|13|
|14|
 Step 7: Making a Final Return to Juxtaposer
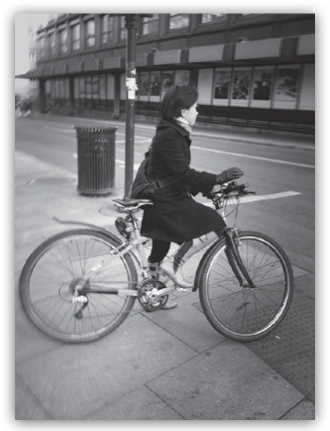
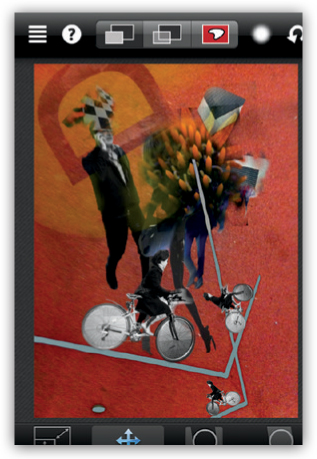
I was still not happy with the overall composition, so I returned to Juxtaposer. I used the result from Image Blender as my base image, and I masked and stamped in a female cyclist three times |15|. I experimented with orientation and placement of the cyclist along the lines made by the light trails.
|15|
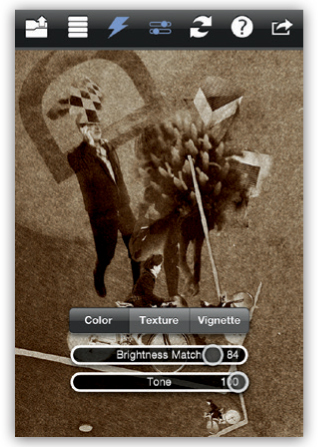
 Step 8: Adding a Finishing Touch in PhotoCopier
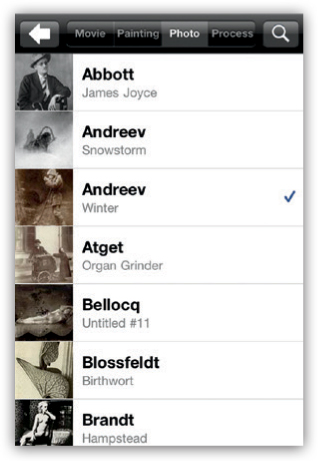
After the last round of modifications in Juxtaposer, I was pleased with the composition, but the colors were too bright and varied to convey the mood I was aiming for. I imported the image into PhotoCopier to fix it. I often use this app to get an overall coherent finish. I experimented with different filters and ended up choosing the Andreev: Winter filter, which can be found under the Photo tab |16|. I adjusted the settings to taste and saved the final image |17|.
|16|
|17|
My images are always a compilation, or collage, of different images. The most important advantage of Juxtaposer is that it allows me to turn bits and pieces of pictures from my archive into stamps, which I can save and reuse in several compositions. I find this feature particularly interesting when I work with a series of images that have the same theme.
Because the app is solely a juxtaposing tool, no blend modes are provided. Working with Juxtaposer is similar to doing traditional collage construction. I find that the masking brush offers a lot of control, which makes it possible to get precise results. In addition, because my image-making process is based on trying out different combinations of pieces of images, the option to save sessions is very useful. Opening saved sessions gives me the opportunity to go back and start over if I am not happy with where a particular process takes me.
My work is never based on a vision of the finished image. In this tutorial you learned how to use Juxtaposer and Image Blender to work with bits and pieces of different images to intuitively develop a collage by experimenting. This included using PhotoCopier to create a stylistically coherent final result.
Johnny Eckó (squarepixel)

Johnny was educated as a multimedia designer and specializes in video editing and production and photography, and he is also a composer. His iPhone work is immediately recognizable because of how it conveys a strange humor and incorporates a mix of organic elements with machine parts. It bears more than a passing reference to the early 20th century dada movement and the sci-fi motifs of the 1950s and 1960s. Johnny’s work has been exhibited in Norway, Russia, and at the 2012 LA Mobile Arts Festival. www.flickr.com/photos/squarepixel