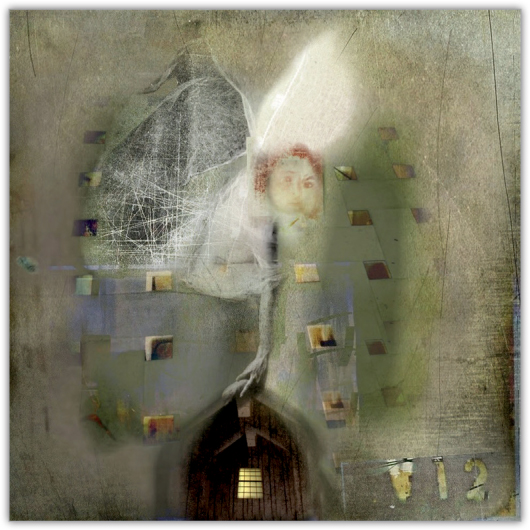

Watchful
Using your images as a palette for color, shapes, and forms, you will learn to combine parts of your photographs to create an entirely new piece of art. With Image Blender and Juxtaposer, you will mask, blend, and create layers and build on a background using only your imagination.
 ScratchCam FX
 Hipstamatic
 Image Blender
 Juxtaposer
 Snapseed
 Thicket: Classic
I approach my work in one of two ways: sometimes I begin with a single image of a landscape or a person and build from there; or, as in this tutorial, I create a canvas of a single textured color and build the piece with other images that I use as a palette for colors, forms, and textures. I don’t plan or know the end result. I make decisions in the moment and rely not only on my intuition, but also on my underlying knowledge of composition and color.
 Step 1: Creating the Background
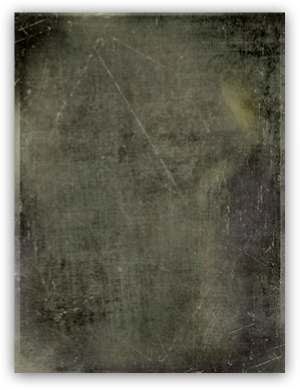
After I blended several images to create a solid color background, I brought my image into ScratchCam FX, where I created more textures and smoothed the edges to make an inspiring canvas to work on |1|.
|1|
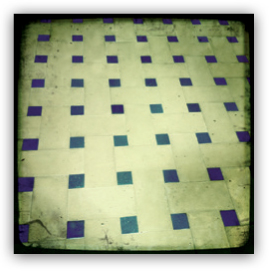
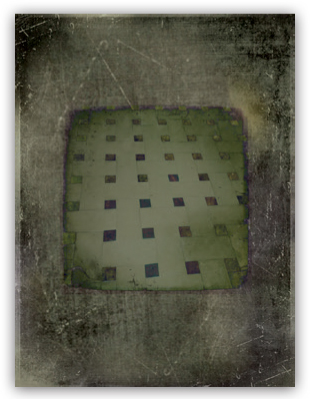
I decided to add a shot that I took with Hipstamatic of a tile floor, so I brought it into Image Blender to play with it |2|.
|2|
With 18 options, Image Blender is a wonderful app for creating a variety of opacities |3|. I initially chose Hard Light and then Difference, then I combined the two images. I flattened them, and then added smaller cutout images into the squares. I continued to play with Image Blender until I got a finished result I liked, with the tiled piece on top of the background |4|.
|3|
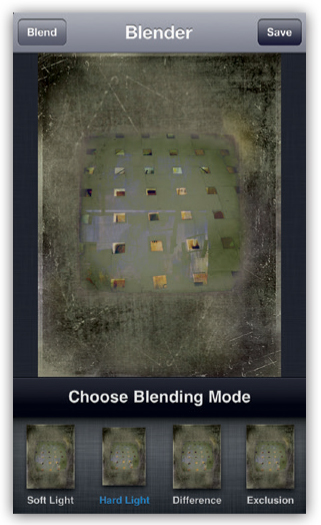
|4|
 Step 2: Creating the Foreground Elements
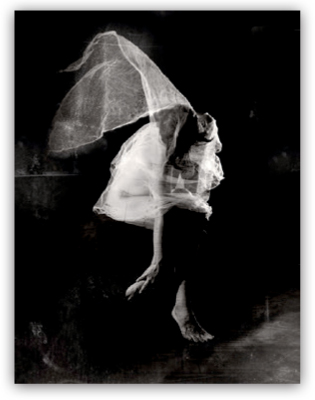
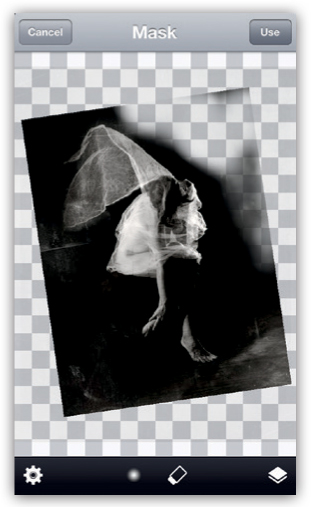
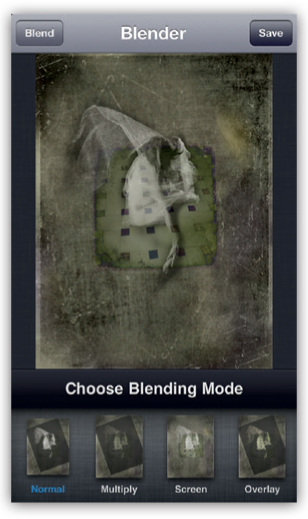
I wanted to bring in something figurative and decided to grab an image from my Nude series |5|. I brought the picture into Juxtaposer and erased the parts of the image I did not want |6|. Then I used Image Blender to place the image in the center of the background |7|.
|5|
|6|
|7|
I brought the image into Snapseed to crop it to square format |8|.
|8|
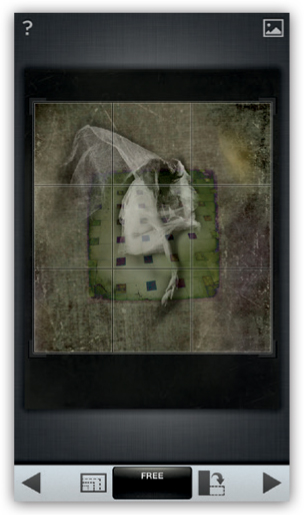
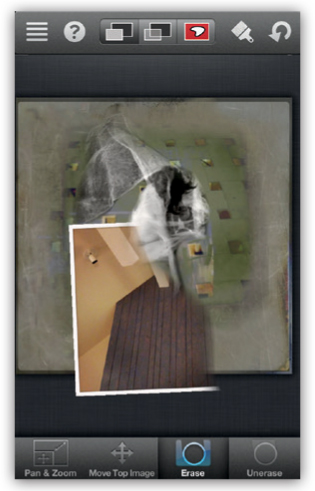
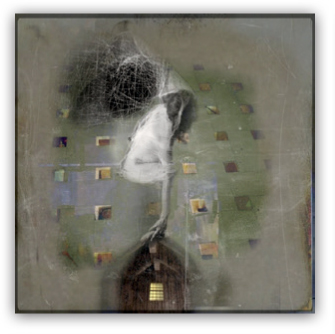
Next I decided that the image needed some kind of structure on the bottom to ground it, so I added a picture that I took in a room |9|. In Image Blender I erased the parts of the image I didn’t need with the Mask feature, and I chose a blend mode that I liked |10|.
|9|

|10|
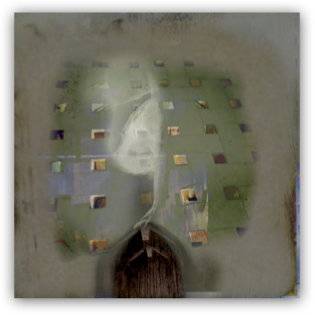
I added windows from another image to the house structure on the bottom to give it a bit more depth. I also brought the image into ScratchCam FX to see if adding texture would smooth over the sharper edges |11|. I then added a window (which was taken from another image) to the bottom of the wall structure to add a bit more depth in a step that is not shown here.
|11|
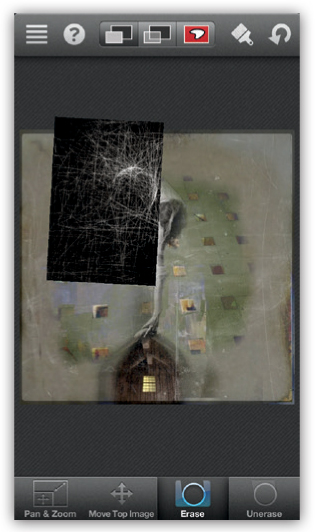
I wanted to add more texture to the fabric over the woman’s head, so I used Juxtaposer to open an image I had made in Thicket: Classic, and I masked the parts I didn’t want |12|.
|12|
 Step 3: Adding the Final Touches
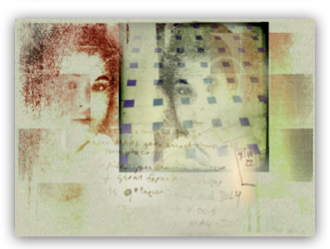
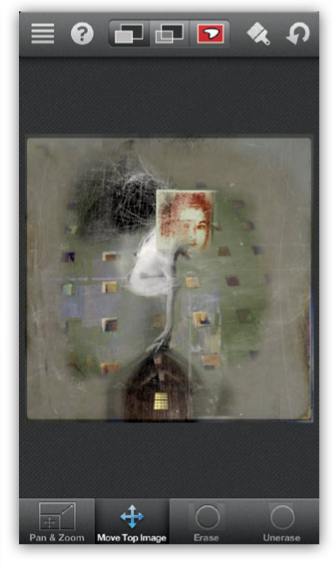
I reviewed my work so far and felt that the image was incomplete and needed something more |13|. I decided that the woman needed a face. I had previously created an image of a woman |14|. I loved the shape of her face and decided to use the red version to add more color to my image. When I originally created the image, I saved the red face as a stamp in Juxtaposer, so I opened my image in Juxtaposer and applied the stamp to it |15|.
|13|
|14|
|15|
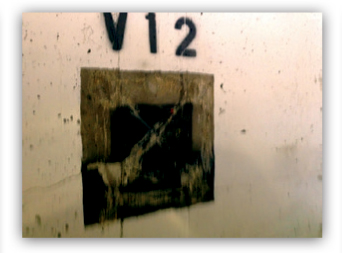
I had also taken a picture of the characters V12 in a parking garage and decided to add them to the image |16|. I used Image Blender to layer in the image and place it on the bottom right of the final image.
|16|
I then incorporated a flower into my image, which is a closeup I had taken of some printed fabric |17|. I blended the flower image into my final piece until there was a white area above the woman’s head and over the V12 in the lower corner |18|.
|17|
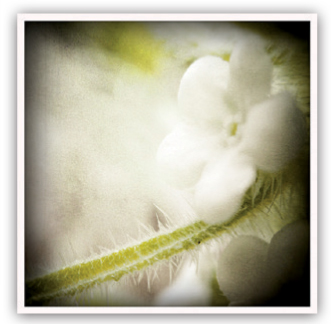
|18|
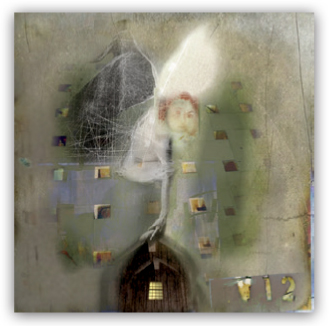
I then brought the completed image into ScratchCam FX to soften the edges and add more texture, but I didn’t like the result |19|.
|19|
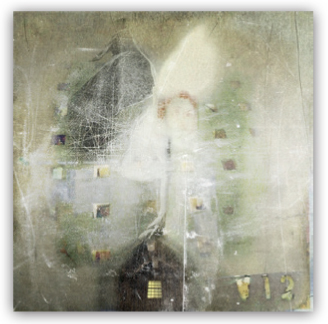
Because I found the image at the top to be too much, I opened the last two versions of my image in Juxtaposer, where I erased much of the white texture to produce the final image.
Juxtaposer is probably my favorite app. It’s one of the first apps I learned and is very user friendly. It allows you to save a layer as a stamp to be used again in other images. Juxtaposer saves the entire layer and the cutout so you can use other image components with the stamp. You can lightly erase the foreground elements to create a subtle blending effect. I consistently use previously created images when I build a new piece, so this functionality is invaluable for my work.
Starting with a simple background is often a provocative way to begin a new imaginative piece. It will inspire the creative spirit in you and, by focusing on just a few apps like Image Blender and Juxtaposer, you can learn to crop, blend, mask, and texture a few images into a final and very personal painting. Spontaneity is important, as you are trusting your instincts, quieting your internal critic, and learning to be free.
Karen Divine (kdivineboulder)
Karen Divine was introduced to photography in the early 1970s and went on to study painting, drawing, and alternative photographic processes. She discovered the iPhone in 2011. She tells her stories by compositing seemingly random images and watching them evolve. Karen has won numerous awards, including Discovery of the Year (International Photography Awards), First Place in the Florida Museum of Photographic Arts, Eyephonegraphy #3 in Madrid, WPGA Pollux Award First Place, and the Center for Fine Art Photography. Karen teaches creative iPhone classes and taught at the Santa Fe Workshops in March 2013. www.karendivinephotography.com