DRAWING TUTORIAL
BUILDINGS
By learning to draw standard elements, like windows and doors, you’ll be able to create a huge variety of building styles, from flat facades to three-dimensional scenes!
FACADES
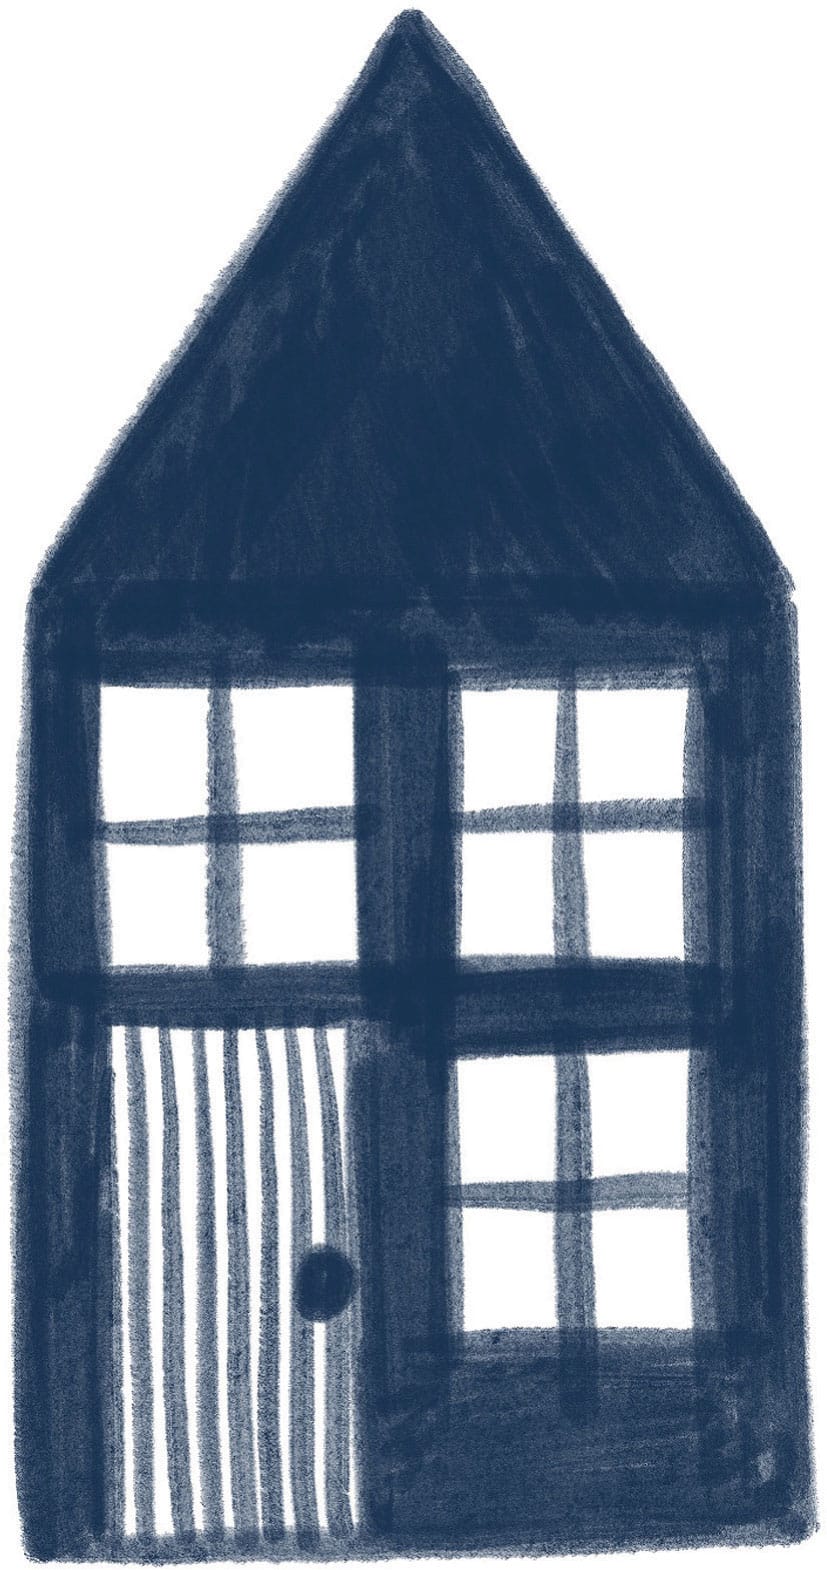
Let’s begin by studying the facade of a house. The flat front offers a good starting point for learning the shapes that make up buildings. The simplest type of house consists of a squat rectangle topped with a triangle and more rectangles for the windows and door.
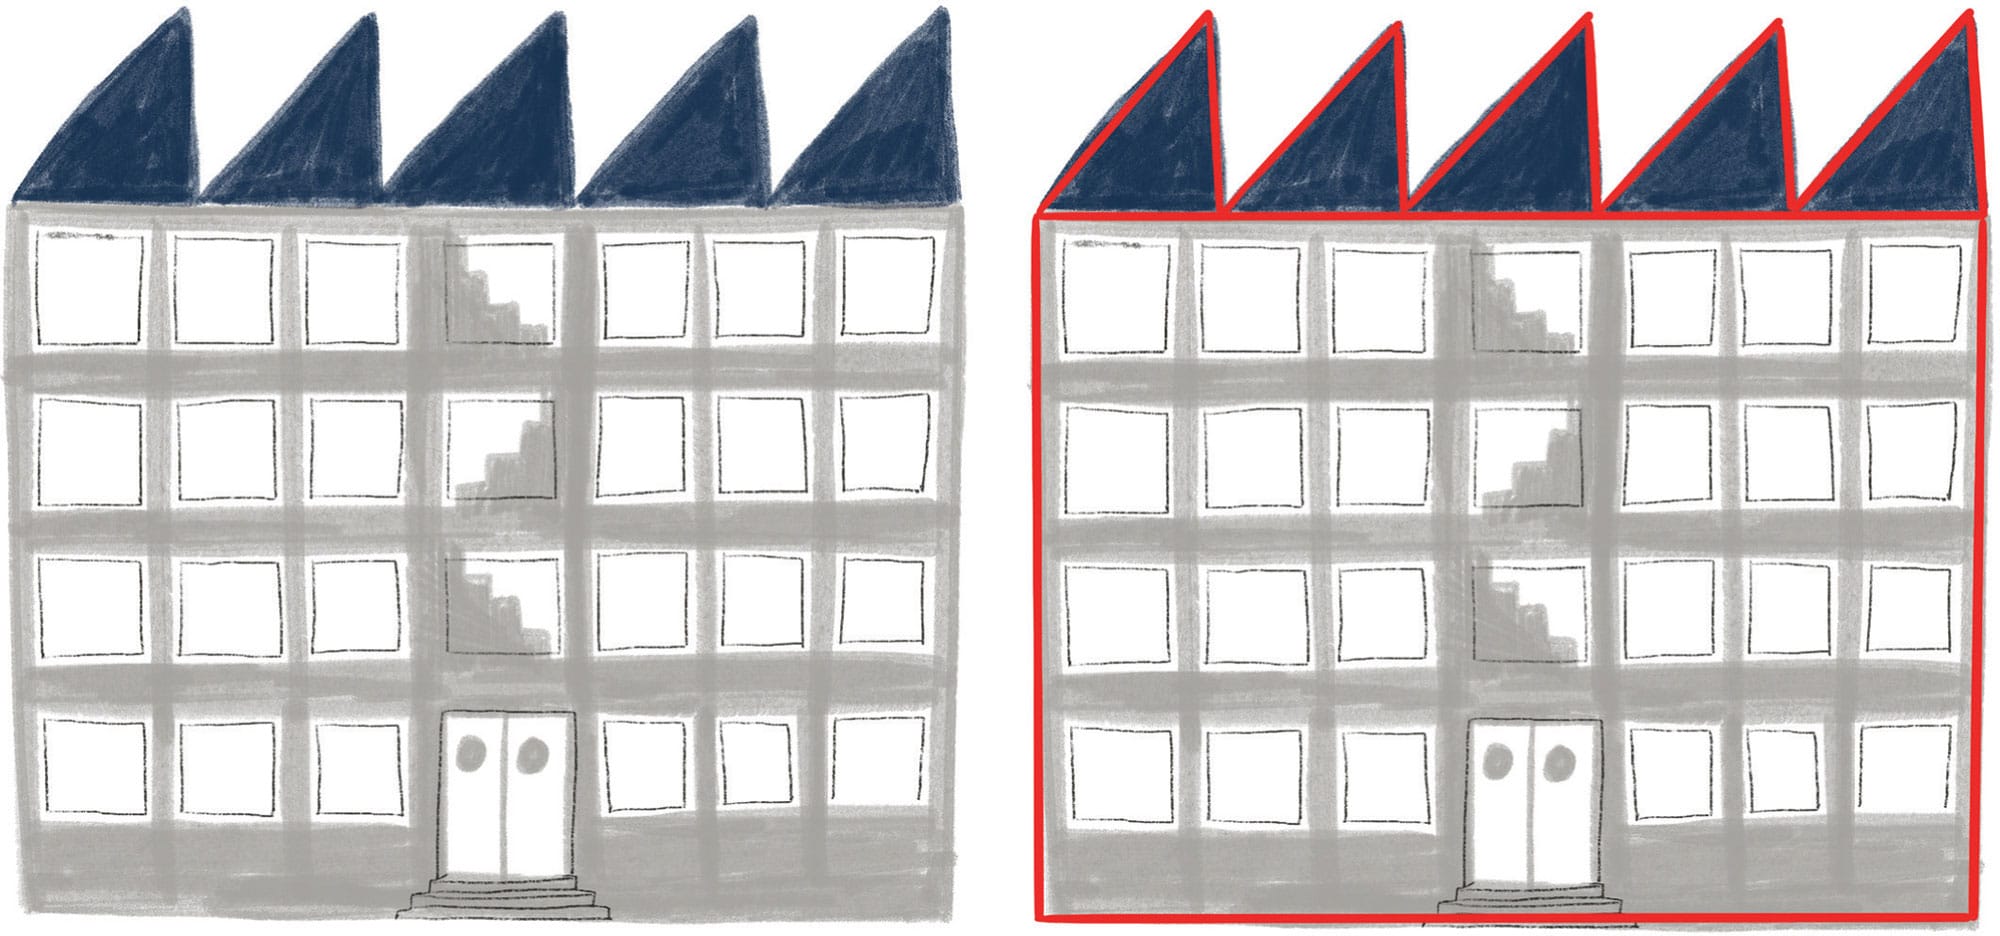
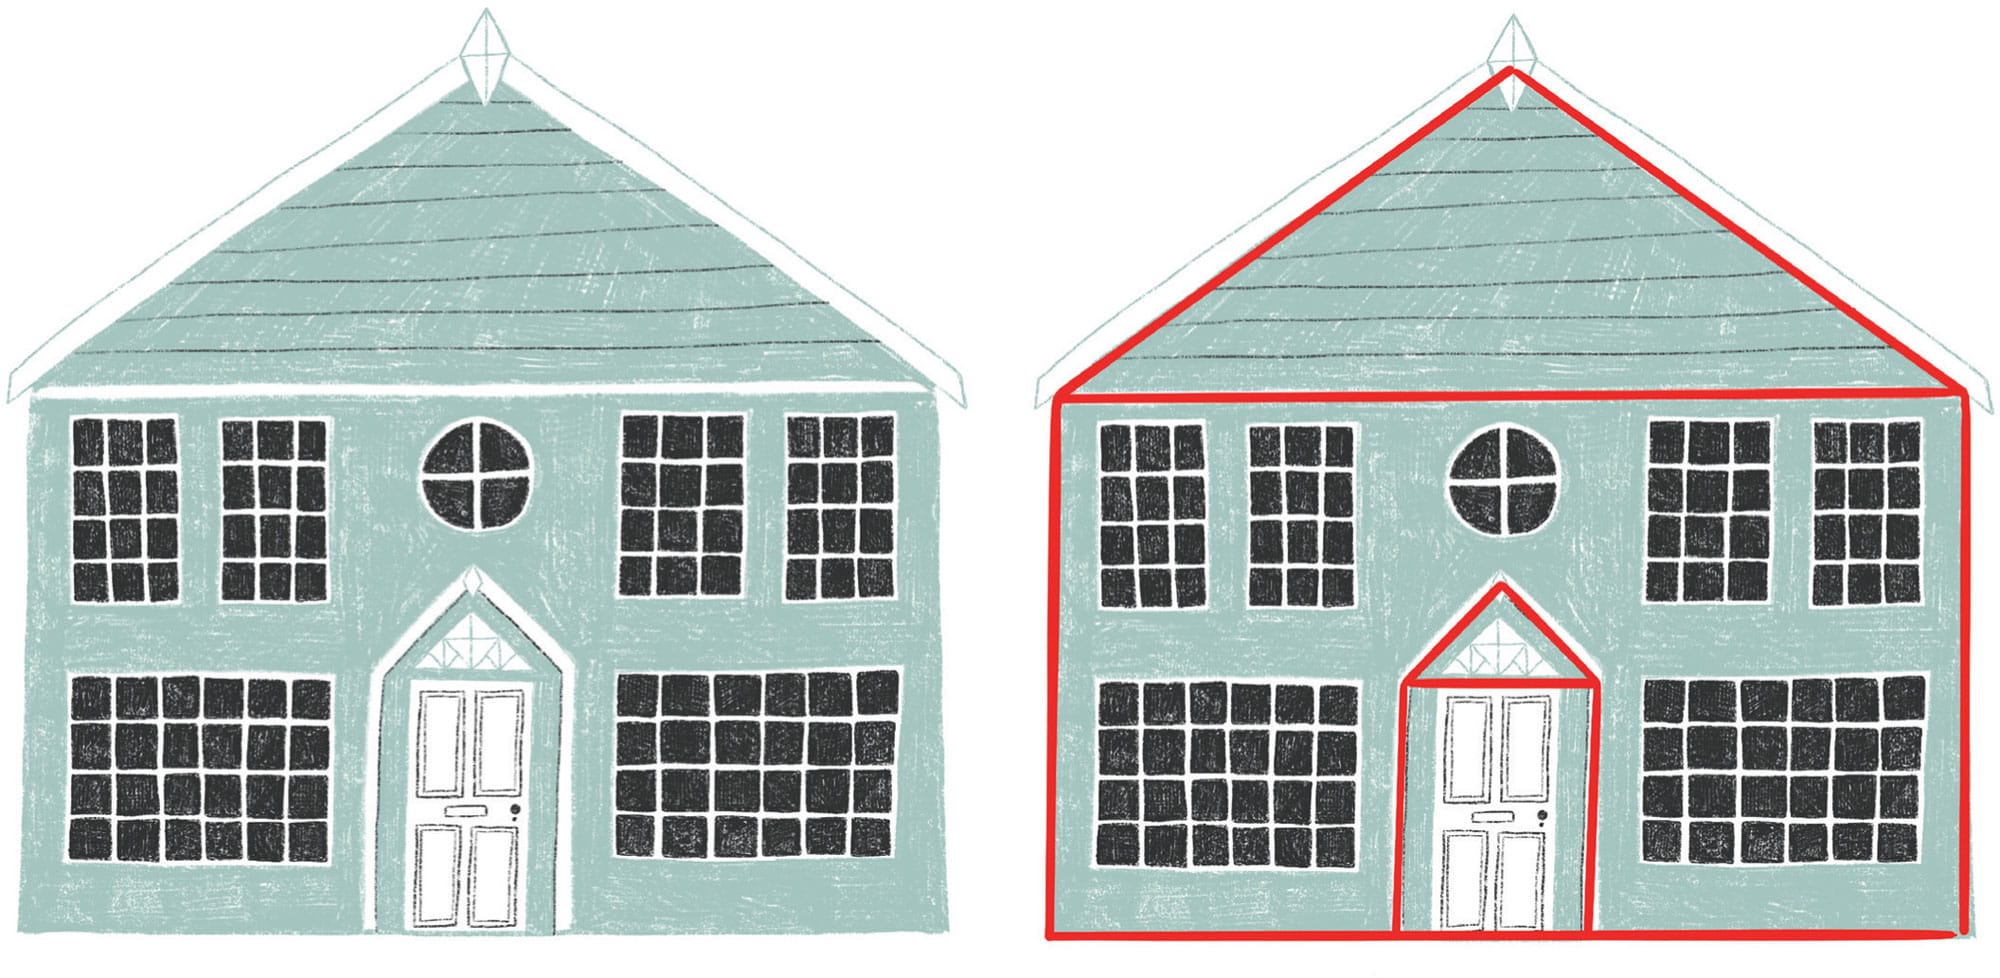
Here are a few more buildings. Notice that each consists of common shapes, which are highlighted in red. Additional details are added afterward.


These buildings look a little more complicated, but I drew them using triangles and rectangles!
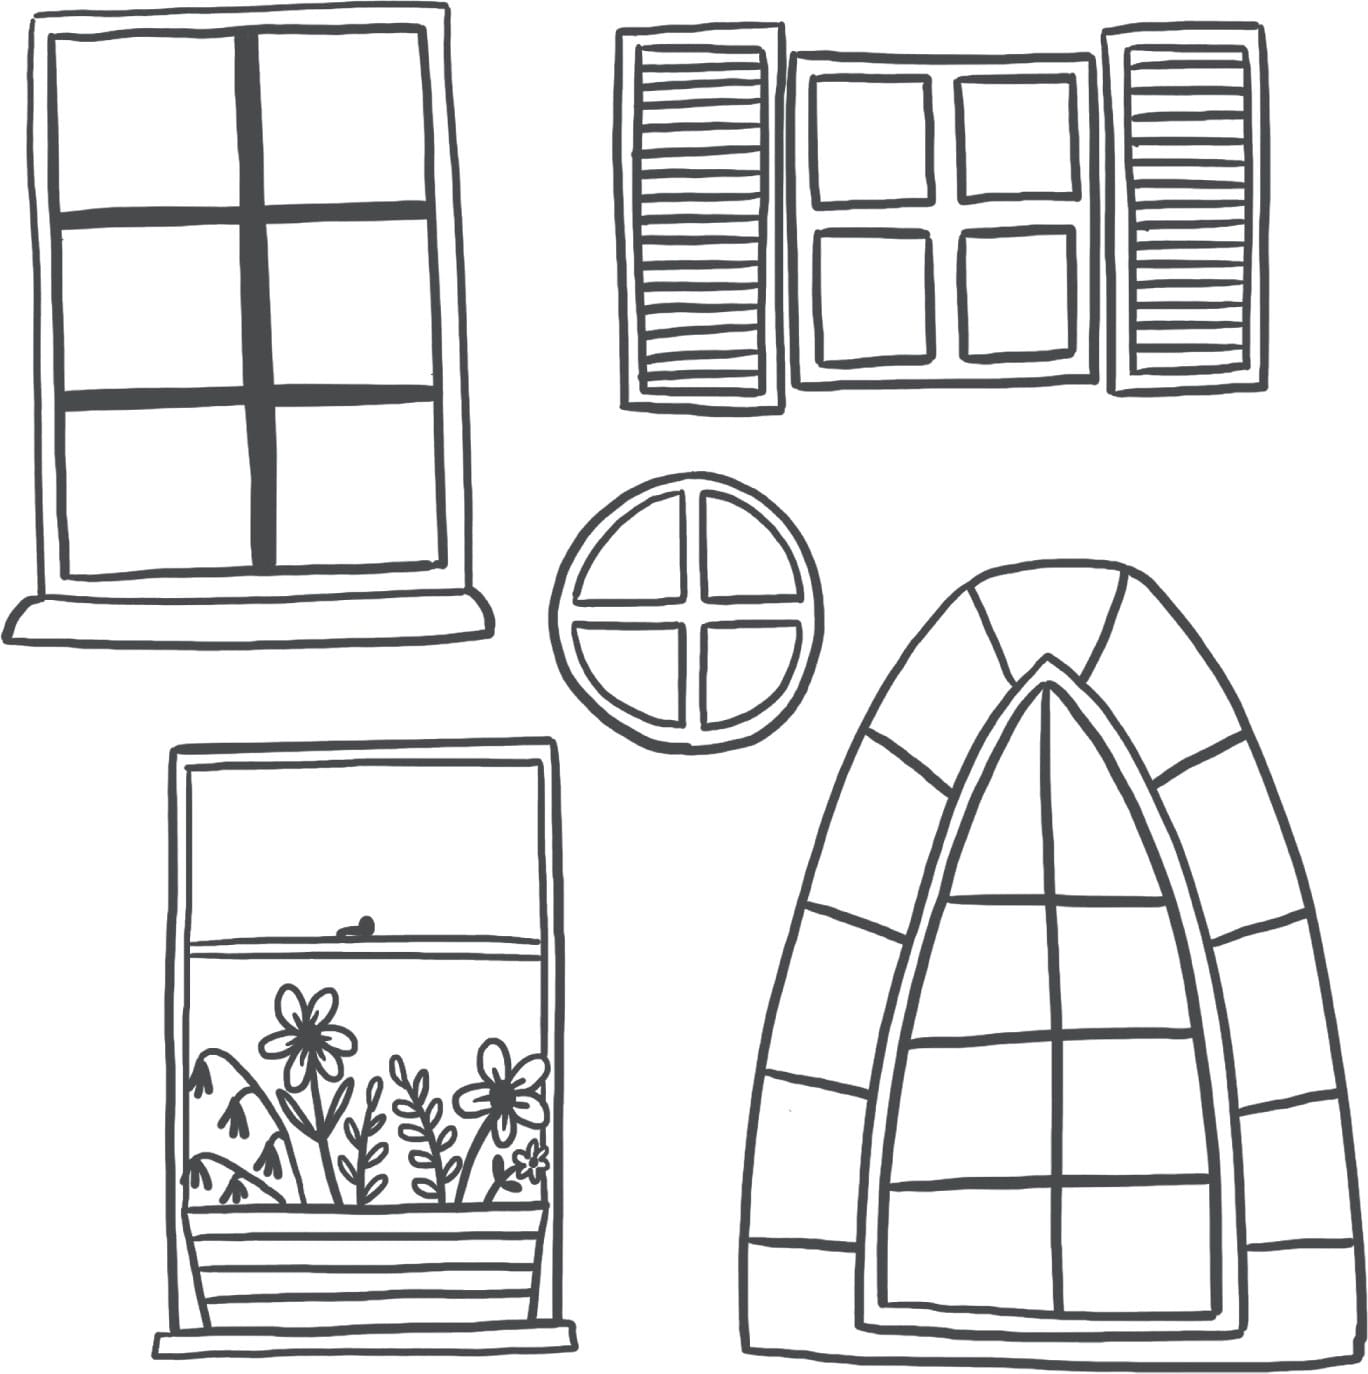
Here are some examples of doors and windows that you may want to add to your structures.
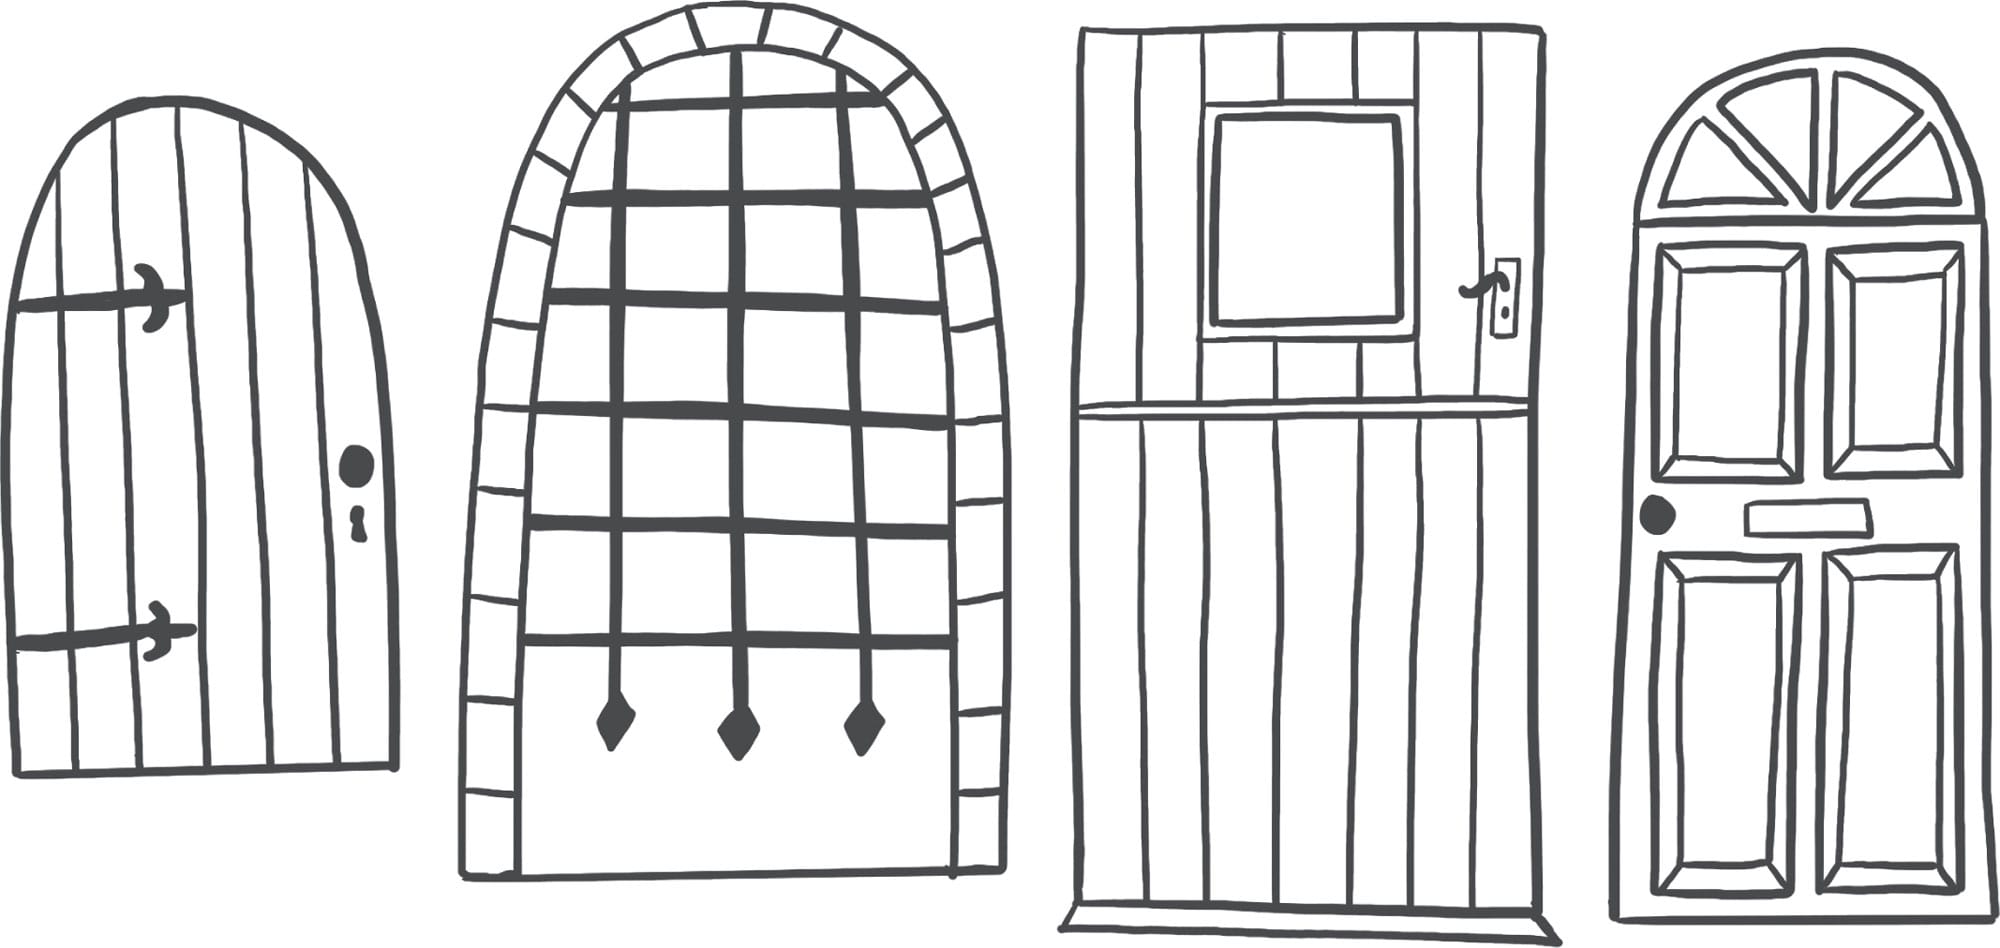
THREE-DIMENSIONAL BUILDINGS
Drawing a building in 3D takes a little practice, but having some knowledge of perspective, or the illusion of three-dimensionality, will make it much easier. To start, let’s learn about vanishing points, or where parallel lines converge in a work of art. Vanishing points help create perspective in a drawing.
ONE-POINT PERSPECTIVE
One-point perspective uses a single vanishing point to show depth in a drawing. You can use one-point perspective to draw a house from the front.
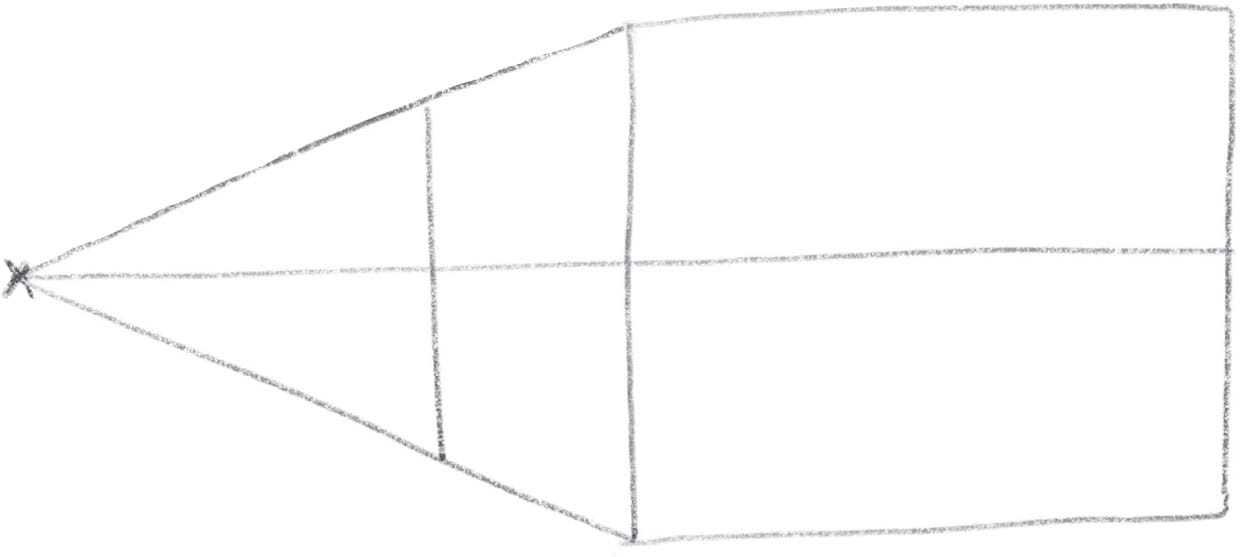
Draw a horizon line and mark a vanishing point on the left side.

Sketch out the front of the house to the right of the vanishing point, with half of the house below the horizon line and half above it. Draw lines connecting the vanishing point to the top- and bottom-left corners of the building. To mark the back of the house, draw a vertical line.
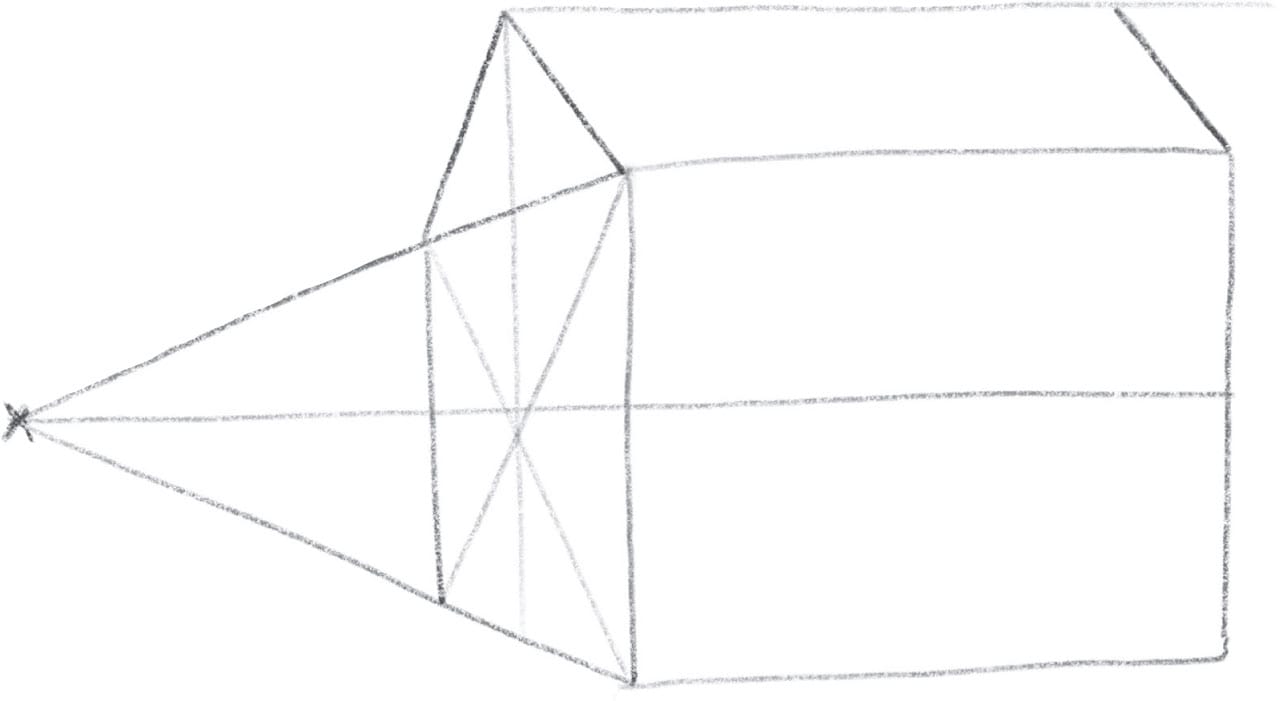
Add an “X” to the house, with a line going through it. This provides a middle point so that you know where to draw the lines for the roof. Then draw the rest of the roof.
Add windows. Because this drawing also features a side view of the structure, you will need to draw the sides of the windows and other openings as well. To do this, lightly add lines from the window’s top-right and bottom-right corners to the vanishing point. Draw lines to indicate the depth of the window.
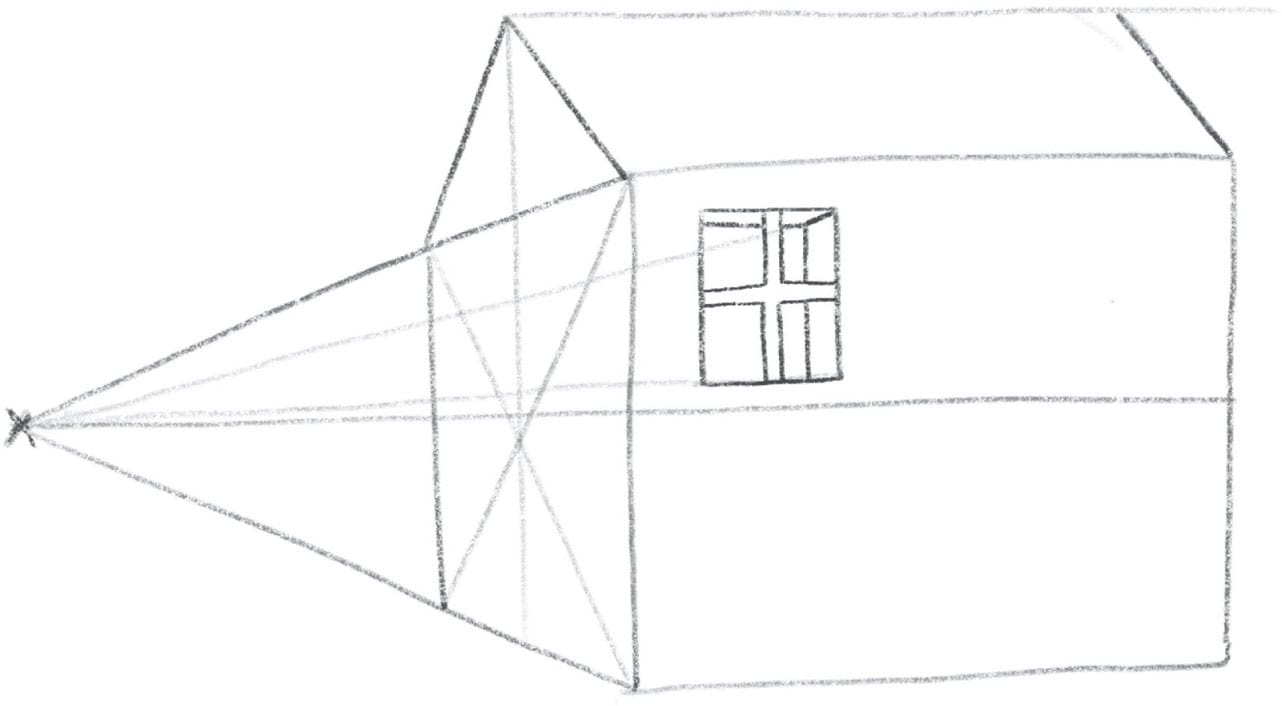
Fill in the window openings.
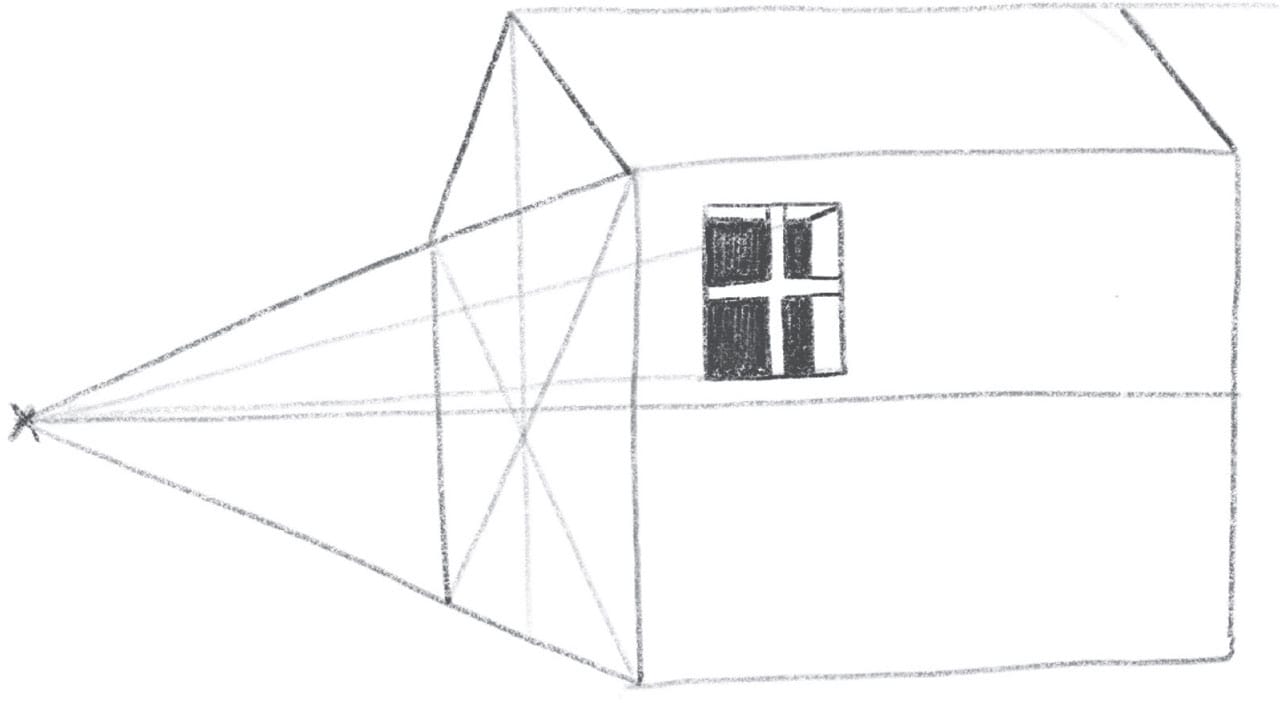
Add more windows, a door, and details to the house.
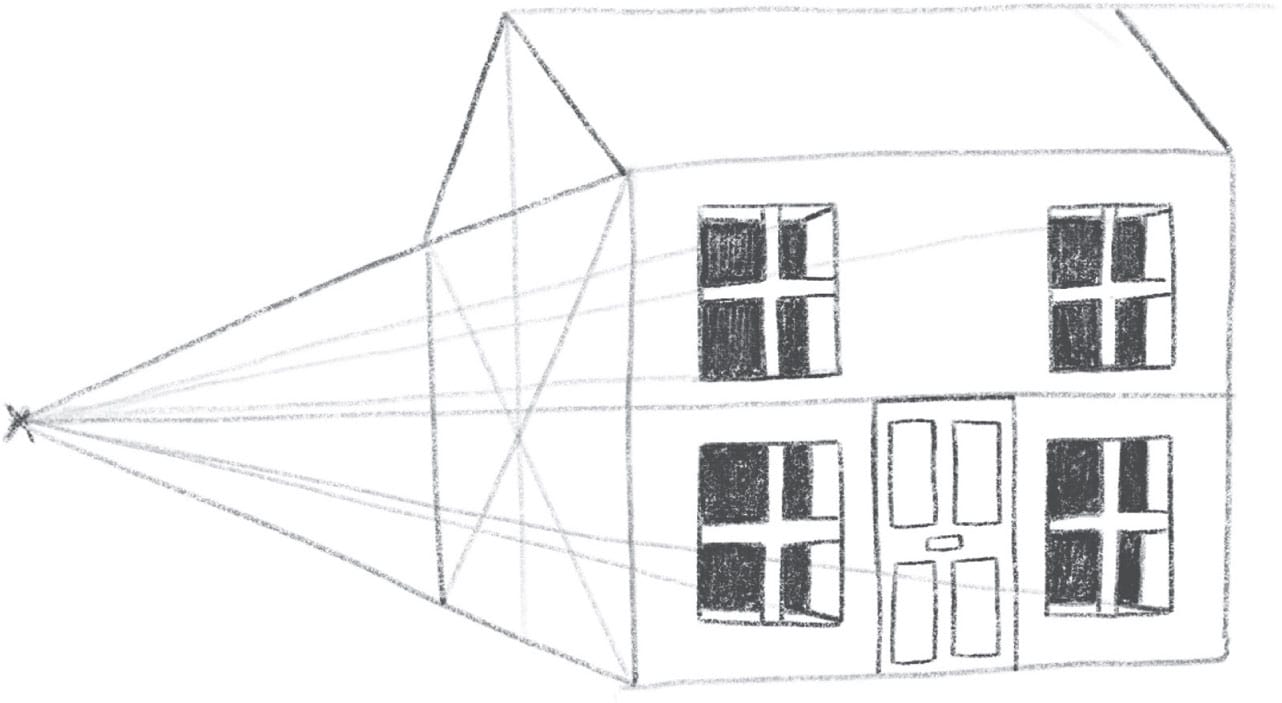
To finish your drawing, darken the outside lines and erase your guidelines.
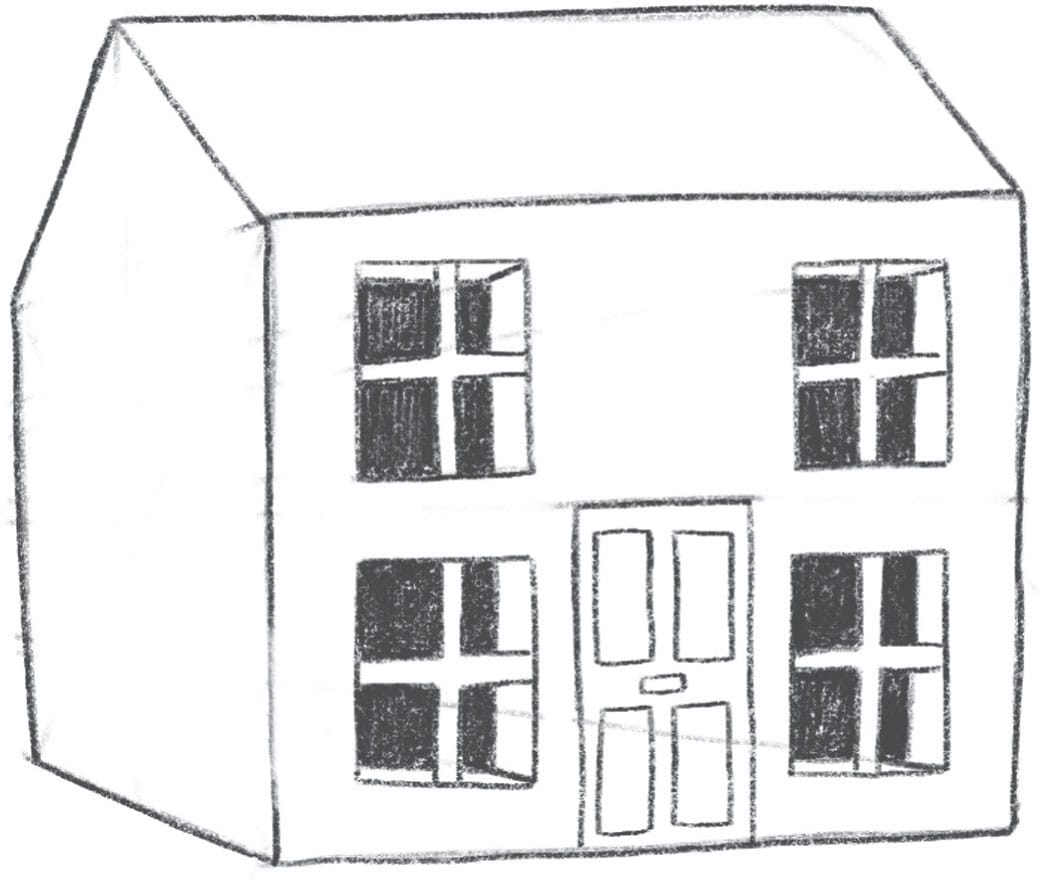
TWO-POINT PERSPECTIVE
Two-point perspective is similar to one-point perspective, except that there are two vanishing points along the horizon line. You can use two-point perspective to draw a house from a three-quarters angle.
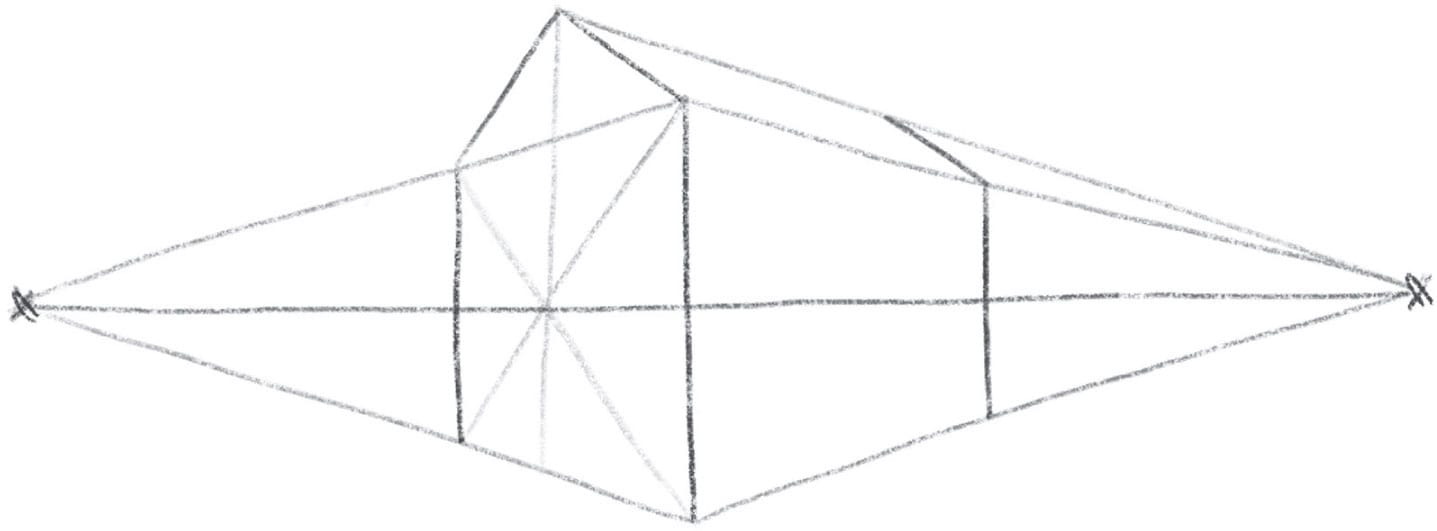
To draw a house using two-point perspective, again start with a horizon line, but this time place vanishing points at both ends of the line. Draw a vertical line in the center. This will form the corner of the house.

Create the side of the house by drawing diagonal guidelines to the vanishing points, and then add vertical lines. Make the line on the left slightly longer than the right one.

Draw an “X” with a line through it, and then a pitched roof on top of the house.
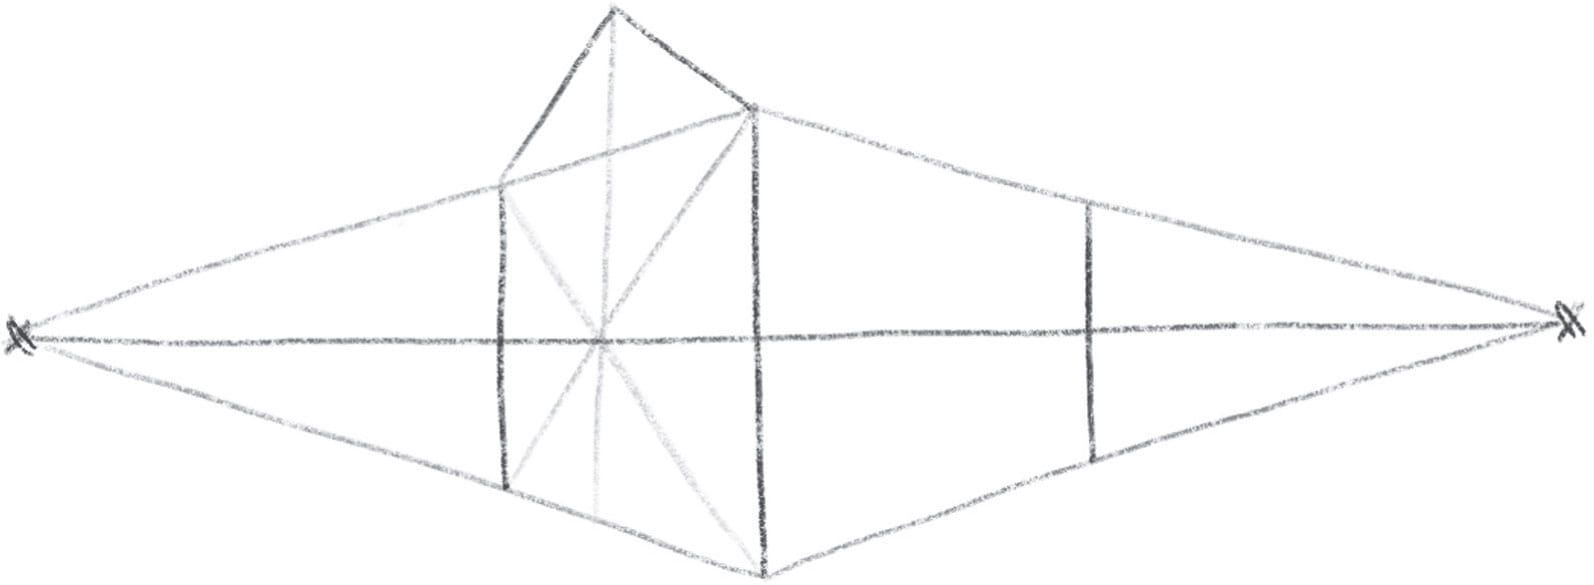
Complete the roof of the house by drawing a line from the top of the pitched roof to the vanishing point on the right, as well as a line to indicate the angle of the roof.
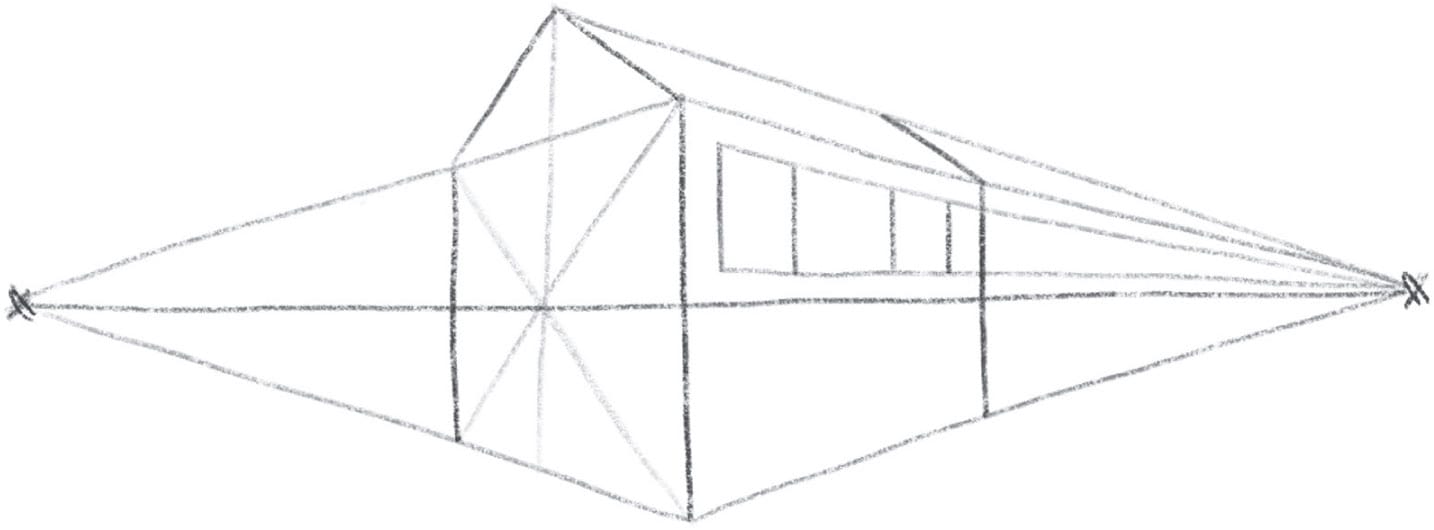
Add windows to the house using lines that meet at the vanishing point on the right, plus vertical lines through the windows.
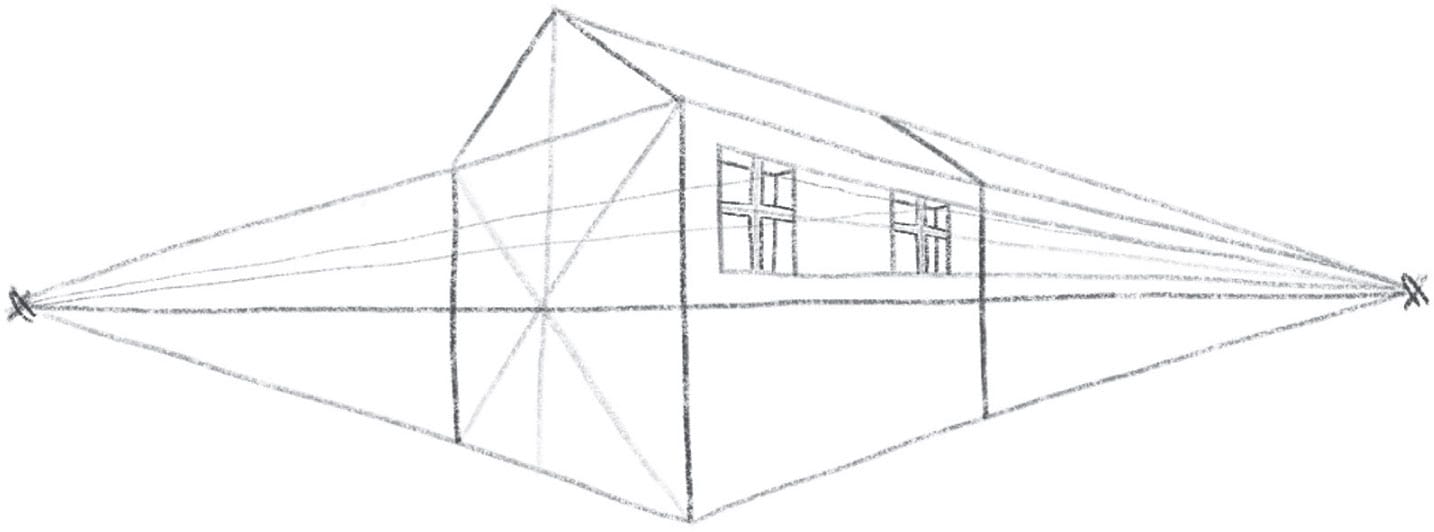
Draw guidelines from the right sides of the windows to the vanishing point on the left. Use these lines to form the interior frames of the windows and to add depth. Also add guidelines from the inside corners of the windows to the right vanishing point.
Add more windows to the house, plus a door. Then darken the windows’ interiors.
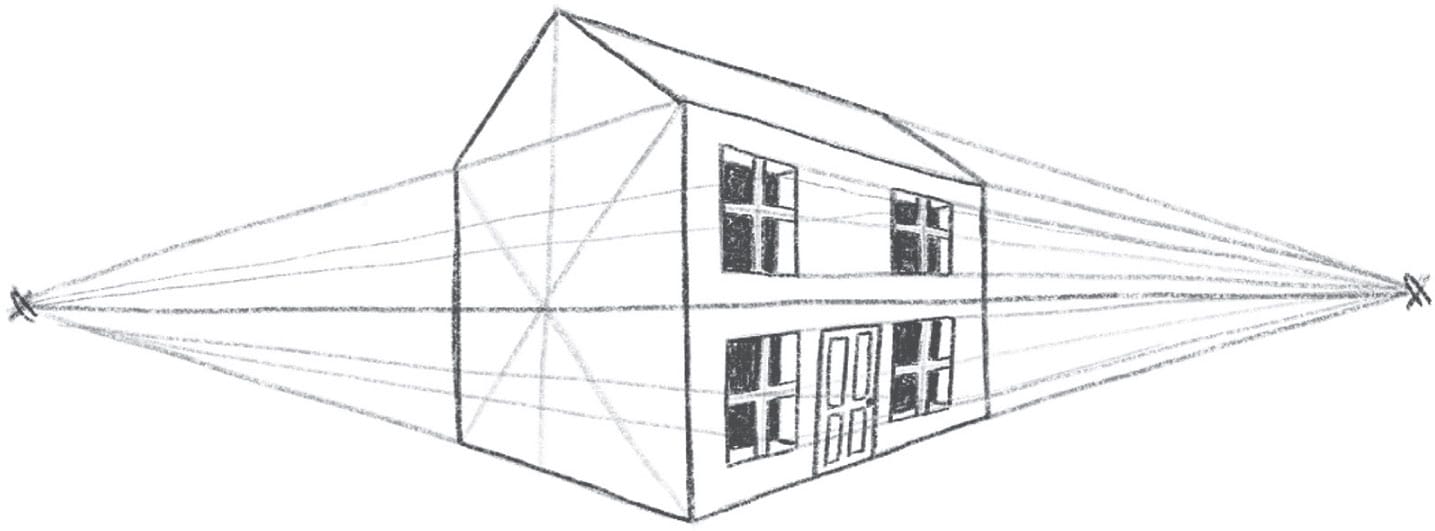
Erase your guidelines and color in the house!
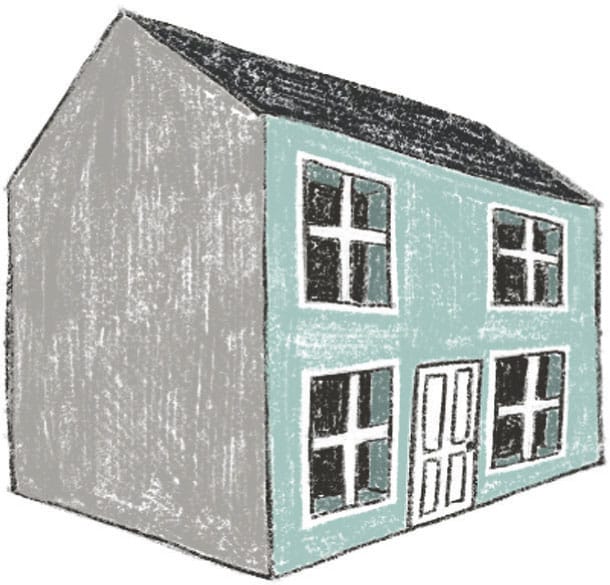
By following one- and two-point perspectives, you can draw houses from any angle. Draw multiple houses to create a street!
