CHAPTER 4
BUILDING AND CUSTOMIZING YOUR SURVIVAL HOME
Now that you have created a blueprint for your home, decided the number of floors, and chosen the style (if any) you’d like to use, you can begin building! Once your basic build is done, you can add and remove parts and blocks for detailing and realism. But start with your walls, floors, and ceilings.
1. Build up all your walls.
For windows, leave spaces or fill them in with a temporary block, like dirt, so that you don’t have to break and recreate glass panes. I’ve used blue wool here.

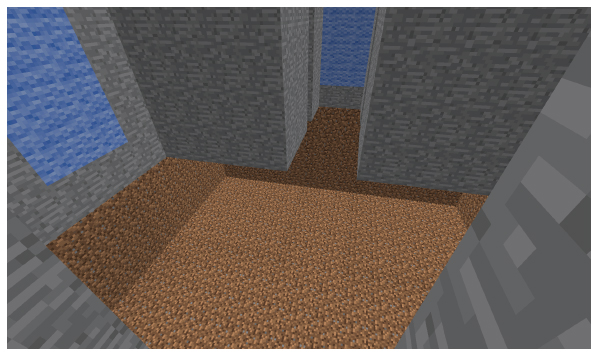
2. Dig out space for a basement.
If you want a basement, dig out at least 3 or 4 blocks deep. Place floor blocks. Replace the blocks underneath the blueprint walls with your basement wall blocks. Place a staircase to reach the ground floor or, when you fill out your ground floor in the next step, leave a hole for a ladder. Here, I’ve dug a massive basement to use for storage.
3. Fill out your floor.
Fill in your ground floor and add staircases or ladders to get to your basement, if you have one. Here, I’ve kept a hole for a ladder, and for the floor I’ve used the light birch wood and colored wool for carpet. Minecraft’s carpet blocks are nice, but you can’t put objects on top of carpet, so they are better used for open spaces where you won’t place any furniture or objects like chests.
4. Build your upper stories.
If you have two or more stories, place the stairs up to this floor, fill out the floor, and place exterior walls for the second floor. Repeat for additional levels.
5. Add interior doors to rooms.
If you want doors to your rooms, add them. However, doors can be time-consuming to open and shut, and they require more building materials. You might want to have just having 1- or 2-block-wide entryways, if that works with your design.
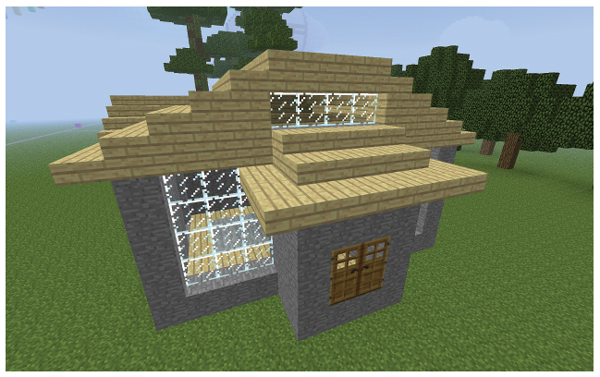
6. Put a roof on your house.
There are many types of roof styles you can use. See chapter 7 for more roofing ideas. Here, I am building several low-pitched gabled roofs. Gabled roofs are sloped along two sides. Along the back section, the roof runs from left to right.
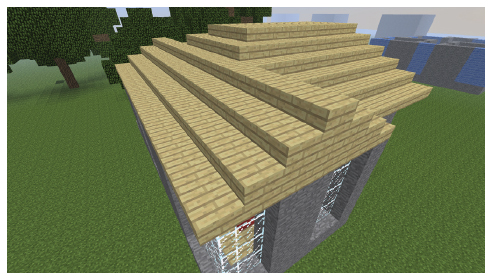
Atop the front section, the gable roof runs from front to back. I’ve adjusted it to have a flatter top. Over the entranceway, I’ve placed a hipped roof, sloping in at each exposed side. To create the shallow rise of all the roofs, I’ve used slabs of birch wood instead of full blocks. There was enough space to add clerestory windows (high windows, above eye-level) over the entranceway roof.
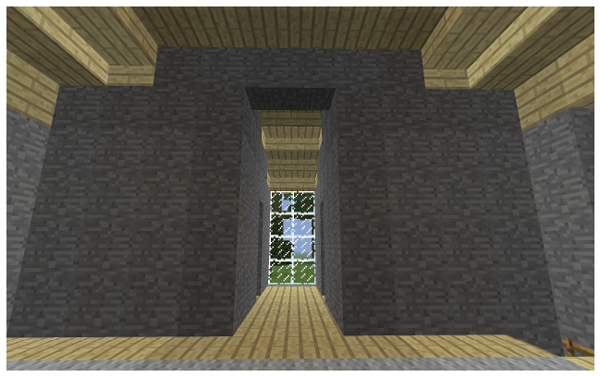
Check the inside of your roof. You may want to make sure your ceilings are flat and that walls meet the roof, especially if you’ve used slabs instead of full blocks. Here, because I want an open feeling, I’ve extended the stone walls as high as they can go to the roof and filled in any extra half spaces with birch slabs.
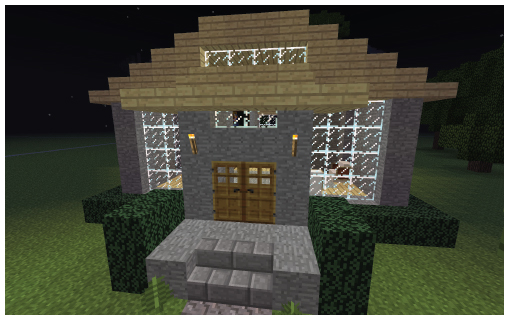
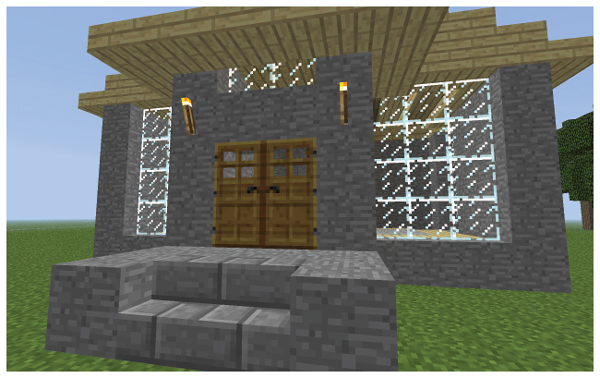
7. Finish the entranceway.
Here, I’ve added steps, extended a block from the door, added torches, and used stone blocks at each side of the steps. I’ve also found room above the door for some more clerestory windows.
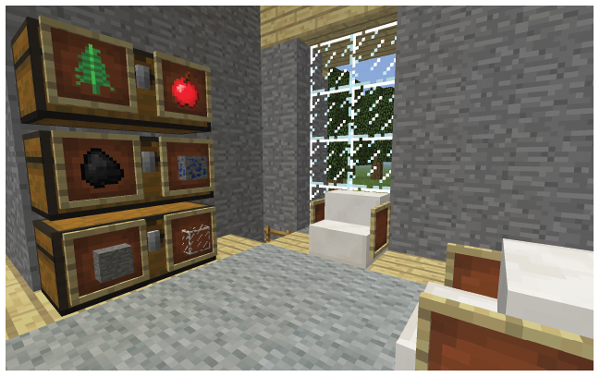
8. Decorate the interior.
In a small survival house, there’s often not enough space for large furniture pieces, and you need most of the space for chests, furnaces, and a crafting table. Here, I’ve added some chairs made of white quartz, with item frames for arms. I’ve also placed item frames on chests as labels. The frame items show what’s inside each chest.
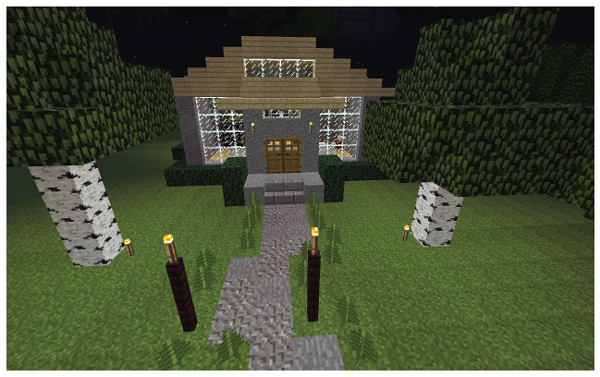
9. Add landscaping.
Your house or building can look pretty bare if you don’t do some minimal landscaping. A great easy look is to add leaf blocks around the bottom of the house as edging. Here, I’ve added leaf blocks around the foundation of the house and two birch trees with torches to light them. The path is made of gravel and stone for a textured effect and edged with ferns. Two fence posts hold torches for extra light.