This demonstration is a front view of a man wearing blue jeans. With the left leg angled, the right leg supports most of the body’s weight. Note that the right foot is under the waist and not off to the side. Use a value scale to make sure you are using a full range of lights and darks in your drawing. The light source is from the upper right, causing the left sides of the pant legs to be shadowed.
10" × 8" (25cm × 20cm) medium-texture drawing paper
2B graphite pencil
kneaded eraser
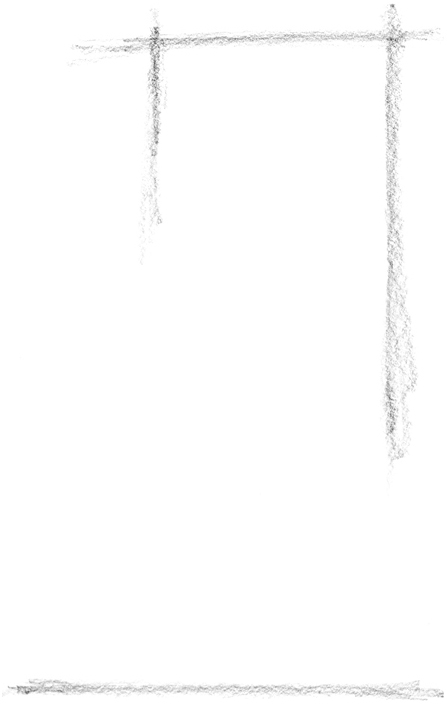
With a 2B pencil, sketch horizontal lines for the pants’ waist and shoe bottoms. Sketch vertical lines to mark the width of the waist.
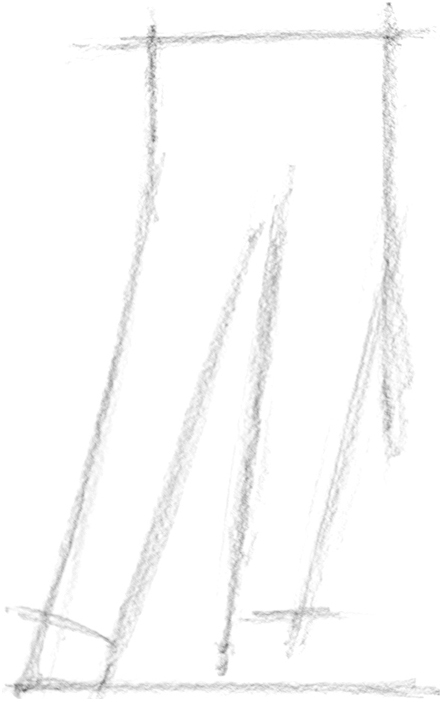
Sketch lines for the outer shapes of the pant legs. Notice how both legs are angled.

Develop the previously sketched form to include some of the forms of the folds.
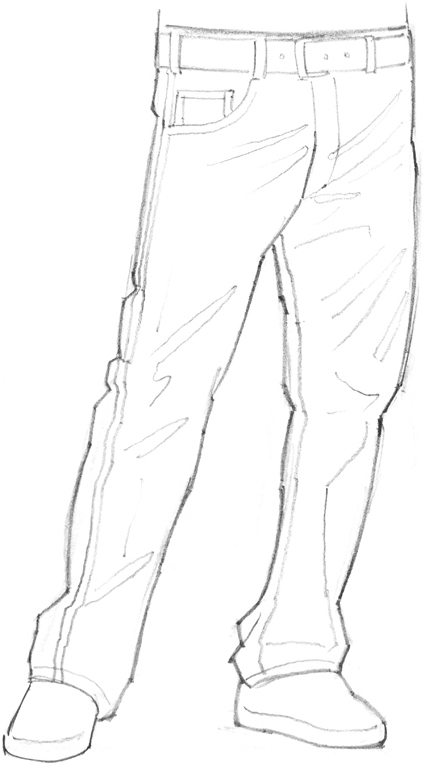
Add details to the structure including the belt and folds. Erase unwanted lines.

With a 2B pencil, add the light and middle values, darkening the left sides of the pant legs.
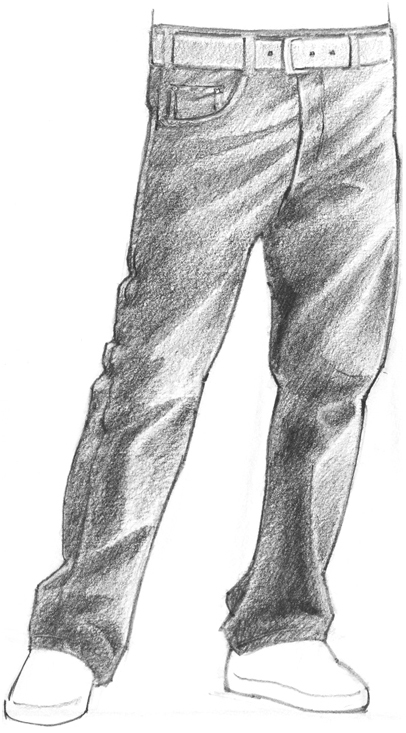
Compete the drawing with the darks and details and by removing some of the graphite with a kneaded eraser to create highlights. Date the back of the drawing.