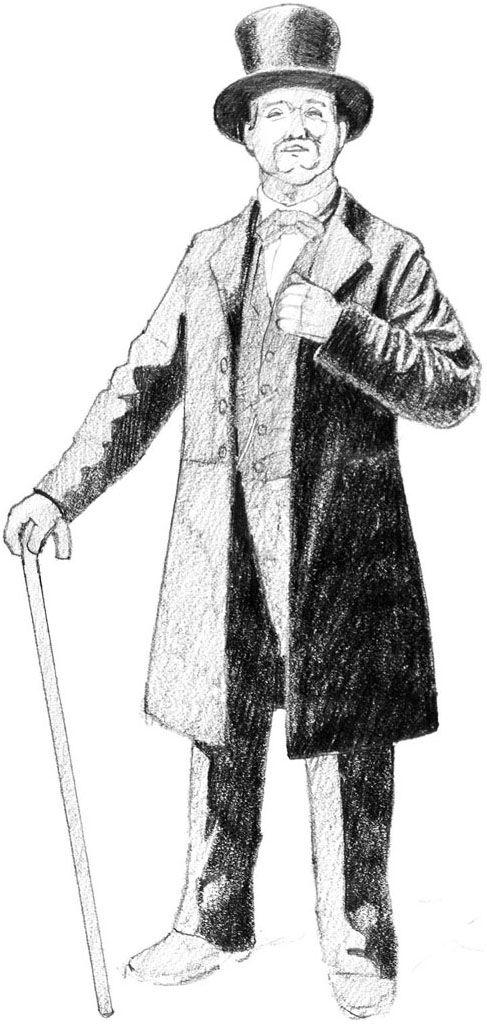
For the structural sketch of this subject, first proportion the figure fully clothed, then sketch in the body that is supporting those clothes. This will ensure proper placement and proportions of the features.
As for the balance of the figure, the weight is equally distributed to both legs so that the centerline rests between his feet.
The light source is coming from the upper left and noticeably affects the hat, face, coat and pants.
Remember to use a slip sheet (see Glossary) to rest your hand on while drawing to prevent smearing the graphite on the paper surface.
Paper: 12" × 9" (30cm × 23cm) medium-texture drawing paper
Pencils: 2B graphite, 6B graphite, 8B graphite
Other Supplies: kneaded eraser
Optional Supplies: 12" × 9" (30cm × 23cm) fine- or medium-texture sketch paper, lightbox or transfer paper, straightedge, tracing paper
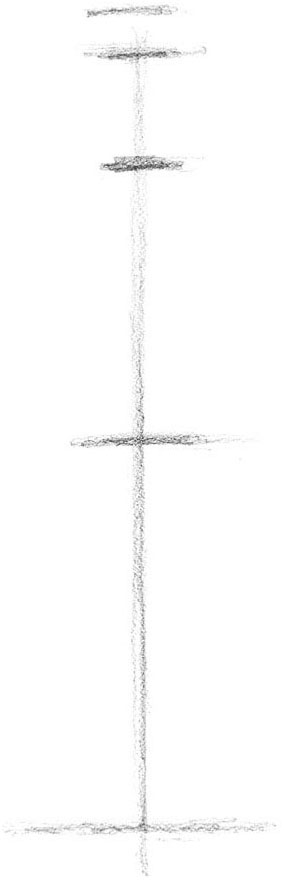
Using a 2B pencil, sketch short horizontal lines for the top of the hat and a baseline where the heels of the shoes rest. Sketch a line for the chin and a line for the top of the head, which is hidden by the hat. Sketch a centerline halfway between the top of the head and the baseline. The legs will be sketched in between the centerline and the baseline. Add a vertical line as the line of balance.

Sketch an oval for the shape of the head. Sketch a horizontal line for the top of the shoulders and vertical lines for the width of the torso.
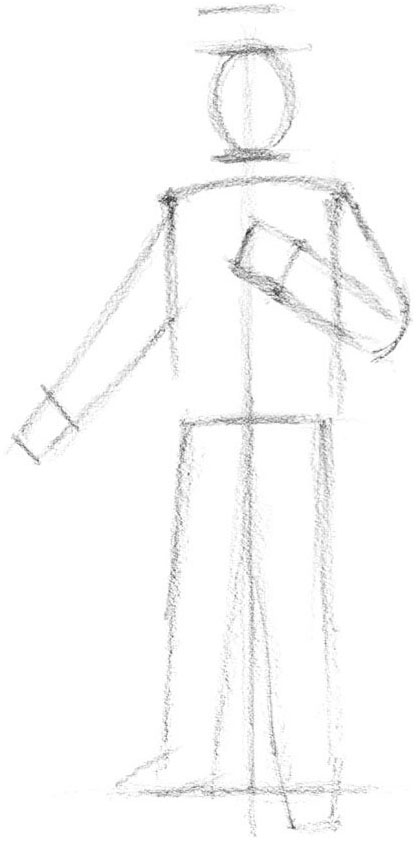
Continuing with the 2B pencil, sketch basic shapes. Add the arms and hands with attention to the angles of the arms and the placement of the hands. Add the legs and feet to the bottom half of the figure in a similar manner.

Sketch some of the form of the body, including the neck, arms, hands, knees and legs.

Develop the form of the hat, coat and pants. Add lines for the cane, which you can sketch in using a straightedge.
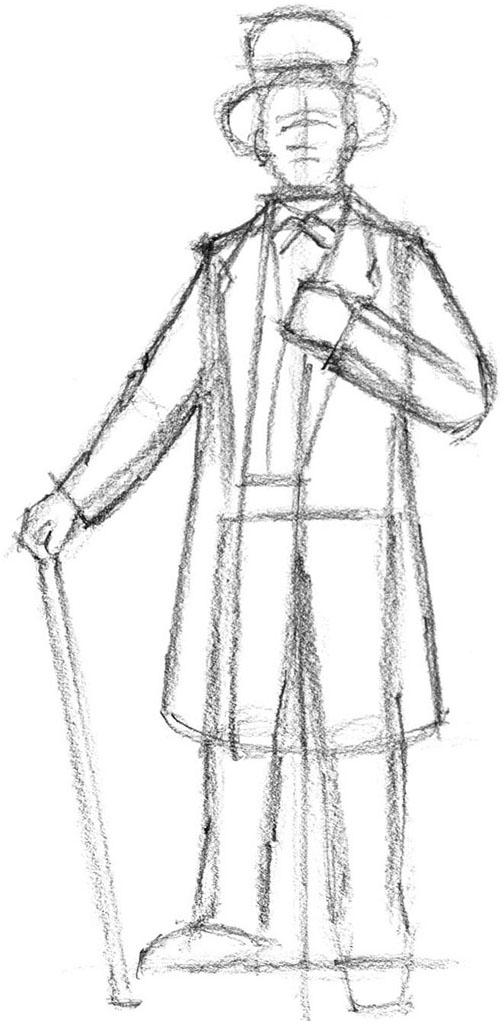
Start adding details throughout the sketch, including lines for the features of the face and refining the forms of the clothes.
Throughout these demonstrations, continue working with the pencil described in the previous steps unless another pencil is suggested.

With a 2B pencil, continue adding details including folds and shadow lines. Erase unwanted lines if working directly on the drawing paper. If you are working on sketch paper, trace or transfer the image onto drawing paper, omitting unwanted lines. Add lines for the cast shadow of the figure at the lower right of the scene.
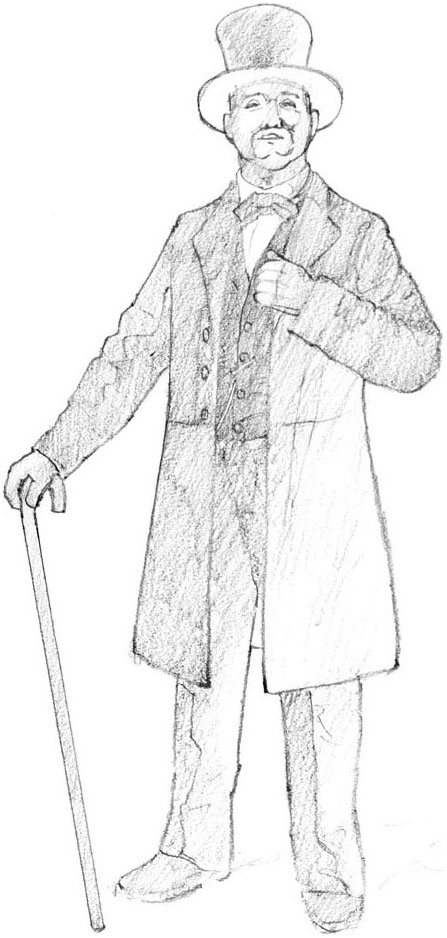
With a 2B pencil, add the light and middle values throughout the drawing. Avoid going too dark at this stage or you may lose the detail and fold lines underneath the applied pencil strokes.
With an 8B pencil, add the dark, shadowed regions. Where one form may become lost because it is in front of an equally dark form, consider lightening an edge. You can do this to the edge of the hat brim and also the sleeve that is in front of the coat.
Remember to put your value scale to use by comparing the values on the value scale with that of your subject and also to your drawing so that you will create a realistic-looking masterpiece.

Professor Albion
Graphite pencil on drawing paper
12" × 9" (30cm × 23cm)
With a 6B pencil, add the darks and details throughout the drawing. If needed, make adjustments by lightening some areas with the kneaded eraser. Sign the front of your drawing and write the date on the back.