The light source for this scene is coming from the upper right, casting a shadow from the figure to the lower left. The figure is in perspective with the viewer looking slightly down at a three-quarter view at the girl. A child’s proportions are different from an adult’s proportions. Notice that her head is larger in comparison to the body.
Paper: 12" × 9" (30cm × 23cm) medium-texture drawing paper
Pencils: 2B graphite, 6B graphite
Other Supplies: kneaded eraser
Optional Supplies: 12" × 9" (30cm × 23cm) medium-texture sketch paper, lightbox or transfer paper

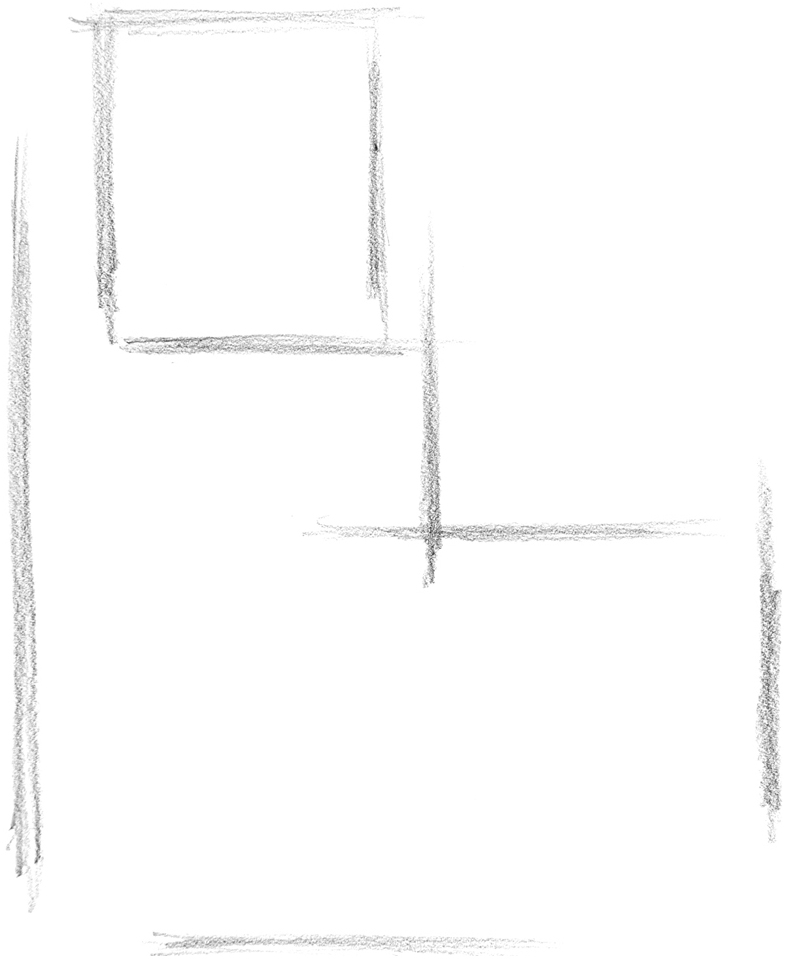
With a 2B pencil, sketch horizontal lines for the placement of the top of the head, lower knee, chin and distant forearm. Sketch vertical lines for the width of the head, lines for the width of the arms and a line for the distant knee.

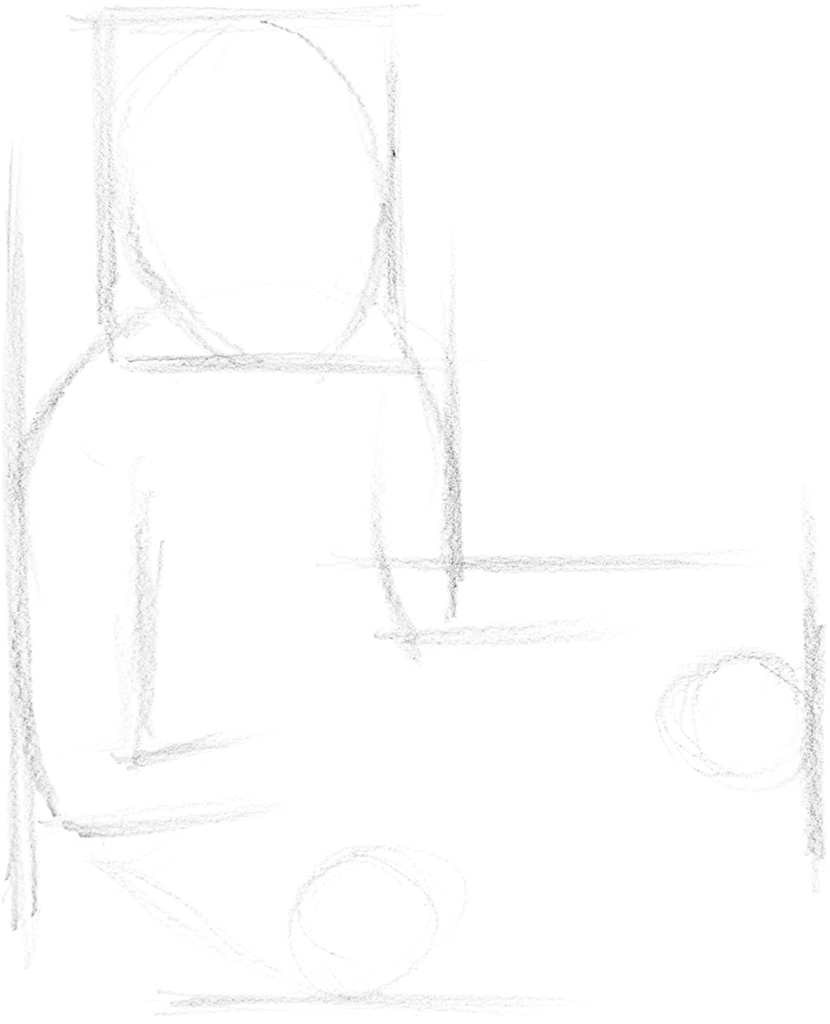
Sketch the basic forms of the head, shoulders, arms and circles for the knees.

Continuing with a 2B pencil, sketch the basic forms of the legs around the knees and angled lines for the foundational form of the book.

Sketch the forms of the hair, hands and foot. Sketch the basic forms of the clothes.

Sketch lines for the placement of the facial features, fingers and toes. Sketch lines for the folds of the clothing and the book and its pages.

Refine the overall form and add the details including the facial features.

With a 2B pencil, add more details to the hair and folds. Erase any unwanted lines if working directly on the drawing paper. If you used sketch paper for your structural sketch, trace or transfer the image onto drawing paper omitting any unwanted lines.

With a 2B pencil, add the lighter values. For this drawing, the only areas to be kept white are the sides of the pages of the book.

Gradually darken the contours of the figure by adding the middle values.

With a 6B pencil, begin to add the dark regions such as the recesses of the folds and other shadowed areas.

Reading Time
Graphite pencil on drawing paper
12" × 9" (30cm × 23cm)
Add final darks, details and adjustments with 2B and 6B pencils. Use a kneaded eraser to lighten any areas that need adjusting, including highlights to the hair and clothes. Sign the front of the drawing and write the date on the back.