
The graceful stature and pose of a ballet dancer is a natural subject for figure drawing. Most of the weight of the figure rests on the distant leg, with the forward leg counterbalancing the extended arm. The most dominant light source illuminating the subject is directed from the upper left.
Paper: 12" × 9" (30cm × 23cm) medium-texture drawing paper
Pencils: 2B graphite
Other Supplies: kneaded eraser
Optional Supplies: 12" × 9" (30cm × 23cm) medium-texture sketch paper, lightbox or transfer paper

With a 2B pencil, sketch a vertical line that will be the balance line of the figure that extends from the pit of the neck to the arch of the distant foot. Sketch the shape of the head left of the balance line. The head takes on the shape of a circle because it is tilted back. Sketch short horizontal lines for the placement of the pit of the neck and also for the bottom of the distant foot along the balance line.
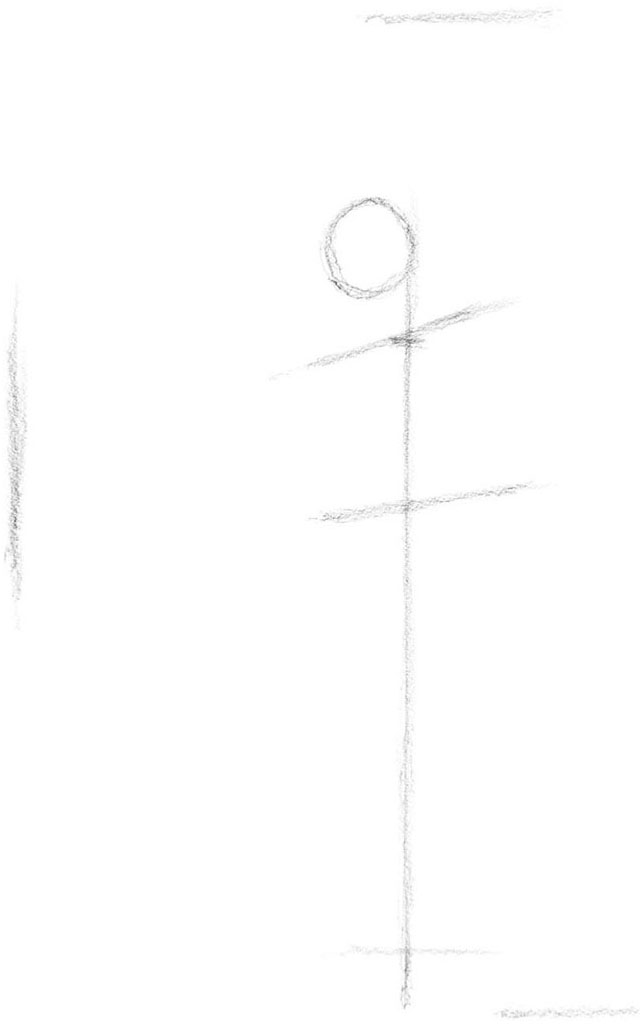
Sketch an angled line for the tilted shoulders and another line for the hips, which are also tilted but not as much as the shoulders. Sketch lines to place the farthest extension of the arms. Another line is added for the farthest extension of the forward leg.
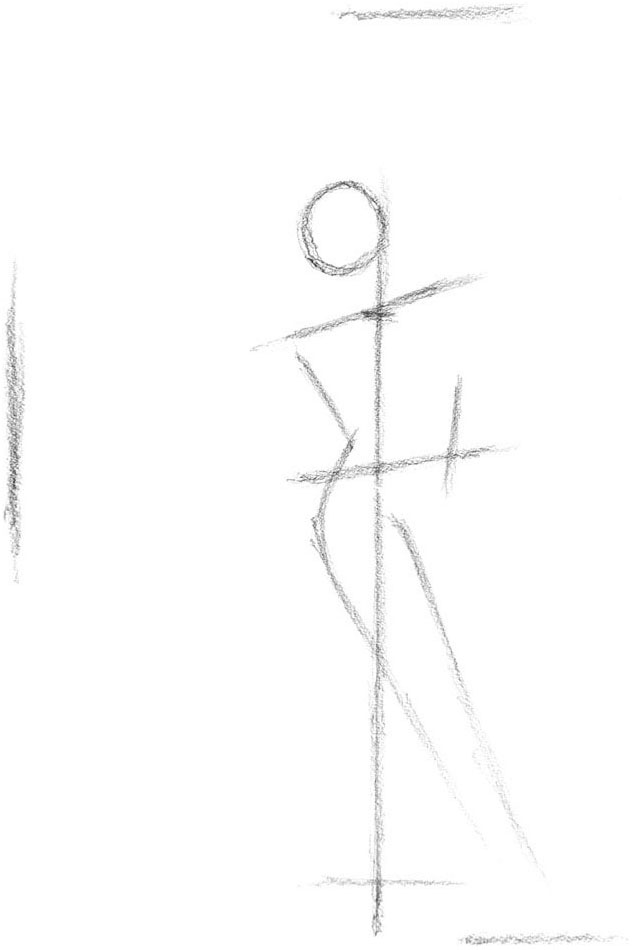
Continuing with a 2B pencil, sketch the shape of the torso, and notice the angles and forms of the lines that make up the left side and forward leg of the figure.

Sketch the basic forms of the arms and the distant leg. Add lines for the neck and chest.

Sketch ellipses as the basic forms of the hands and feet. Add circles and ellipses for the placement of the elbows, knees and ankles. Add a curved up-and-down line to indicate the center of the front torso along with a diagonal line for the chest. Sketch lines to indicate the placement of the facial features.

Develop the overall form and begin adding details including facial features and clothes.
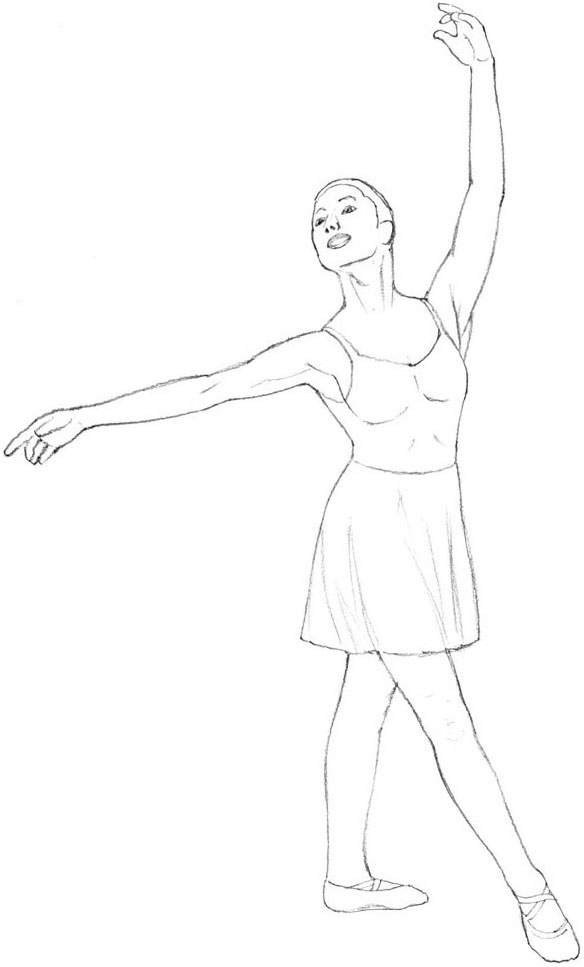
If working directly on the drawing paper, erase the unwanted lines. If working on sketch paper, use a 2B pencil to trace or transfer the image onto drawing paper, leaving out unwanted lines.
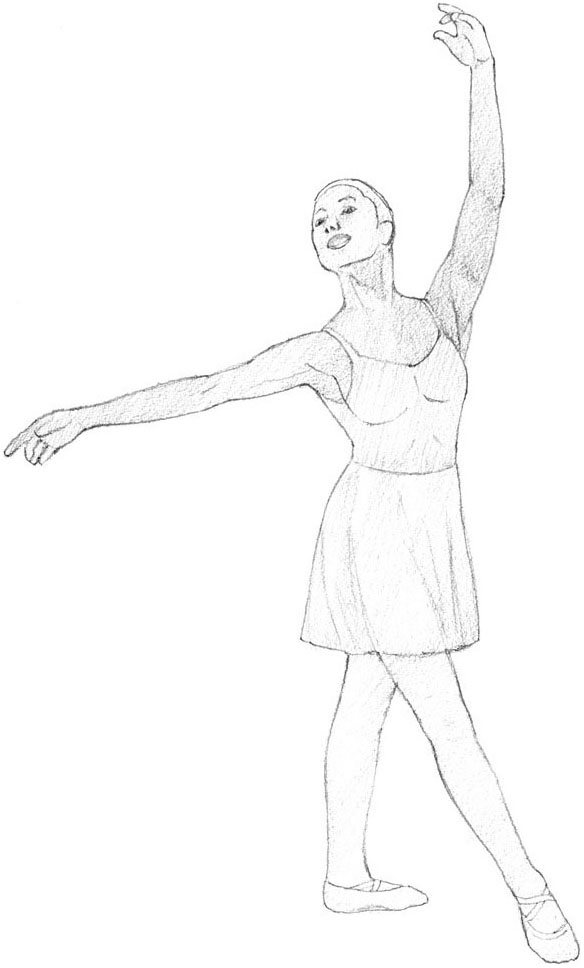
With a 2B pencil, add the lighter values over the entire figure.
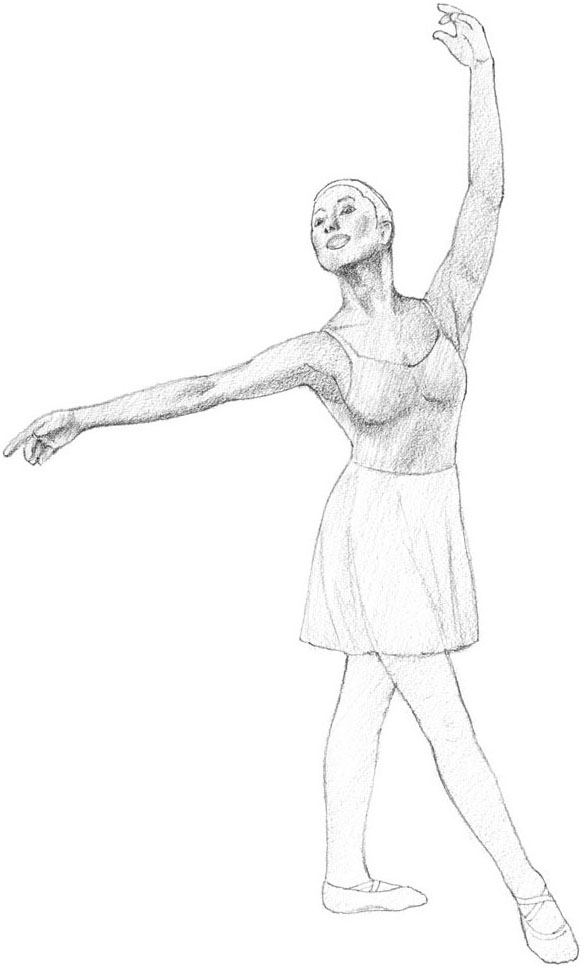
Continue to use a 2B pencil to gradually add more values over the previous values to develop the forms and shadows.

Continue building up the values with attention to their subtle changes and differences, remembering the light source is coming from the upper left.

Ballet Dancer
Graphite pencil on drawing paper
12" × 9" (30cm × 23cm)
With a 2B pencil, add the darks and details throughout including the hair and cast shadows on the floor at the lower right. With a kneaded eraser, lift graphite from any areas to be lightened. Sign the front and write the date on the back of the drawing.