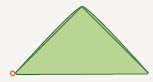
Designed by Michael G. LaFosse
This bead is simple to fold and quick to form, which is great if you are making dozens of beads, perhaps for a craft fair or bazaar. This simplicity allows the use of a wide range of papers. The Triangle Bead may be transformed into several new bead shapes that we call “morphs.” We have named these morphs: Triangle, Barrel, Teardrop, Blossom, Flattened Barrel, and Lantern Beads.
Make beads of any size by using different size squares. The wet-folded beads shape nicely when the paper is first back-coated with starch paste or methylcellulose paste applied between the two layers (see page 68).
Two-inch (5-cm) squares will produce beads approximately 1½ inches (3.8 cm) long.
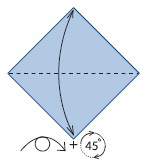
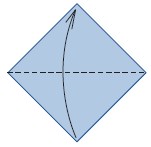
1. Begin with the display side facing up. Valley-fold in half, bottom corner to top. Unfold. Turn over and rotate 45 degrees.
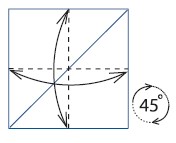
2. Valley-fold in half, edge to edge, both ways, unfolding after each. Rotate 45 degrees.
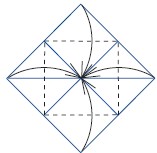
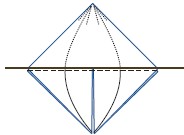
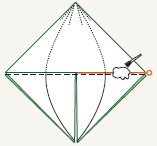
3. Valley-fold each corner to meet in the middle, where the creases intersect.
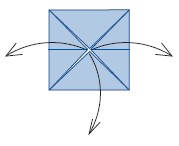
4. Unfold all but the top corner flap.
5. Use the existing mountain and valley creases to collapse the model, mountain-folding the left and right corners in half and moving them to the bottom corner.
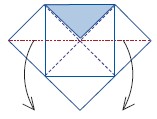
6. Turn over, left to right.
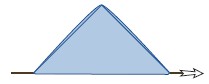
7. Valley-fold the bottom corner to the top.
8. Place a narrow metal rod or wire horizontally across the middle. Valley-fold the two triangular flaps over the rod and tuck them into the pocket.
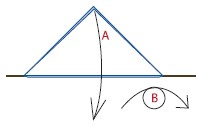
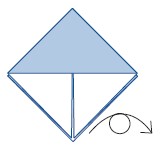
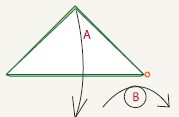
9. (A) Move the triangular flap down. (B) Turn over, left to right.
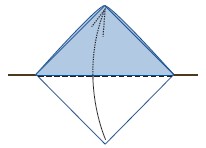
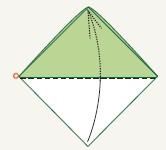
10. Tuck the triangular flap into the pocket.
11. The completed Triangle Bead. Remove the rod when ready to string.

12. Use a needle to guide string through the bead.

13. Triangle Bead on necklace string.
Eye Pin Variation
1. An eye pin may be pasted in place at step 8. If necessary, trim the length of the eye pin to fit the bead. Valley-fold the two triangular flaps over the eye pin and tuck them into the pocket.
2. (A) Move the triangular flap down. (B) Turn over, left to right.
3. Tuck the triangular flap into the pocket.
4. The completed Triangle Bead with eye pin.
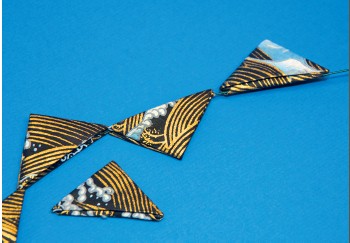
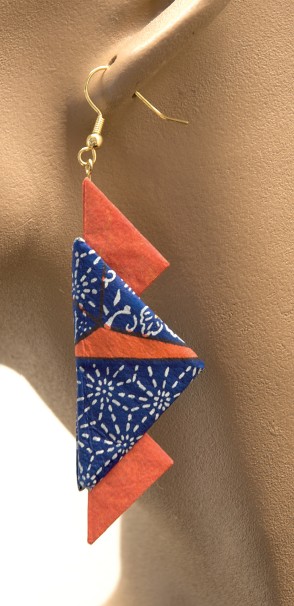
Triangle Beads drying on a wire.