Perform the following steps:
- Open the Nessus Web Client.
- Log in to the Nessus Web Client with the user details created during installation.
- Follow the steps from the Selecting a compliance scan policy recipe.
- Navigate to the Credentials tab and select SSH credentials to be entered, as it is a Ubuntu test system. Select password-based authentication and fill in the Username and Password (unsafe!) fields, as shown here:

If you have remote root login disabled in any Linux system, you can log in as a low privilege user and elevate to root privilege, as Nessus provides an Elevate privileges with option. All you have to do is select Root from the drop-down menu and enter the root password. Nessus will log in as the low-privilege user and run an su command in the background to log in using root:

- Now navigate to the Plugins tab and enable only the plugins required for this scan—as mentioned earlier in the book, this reduces scan time and provides quicker results:

- Then save the policy, as shown here:
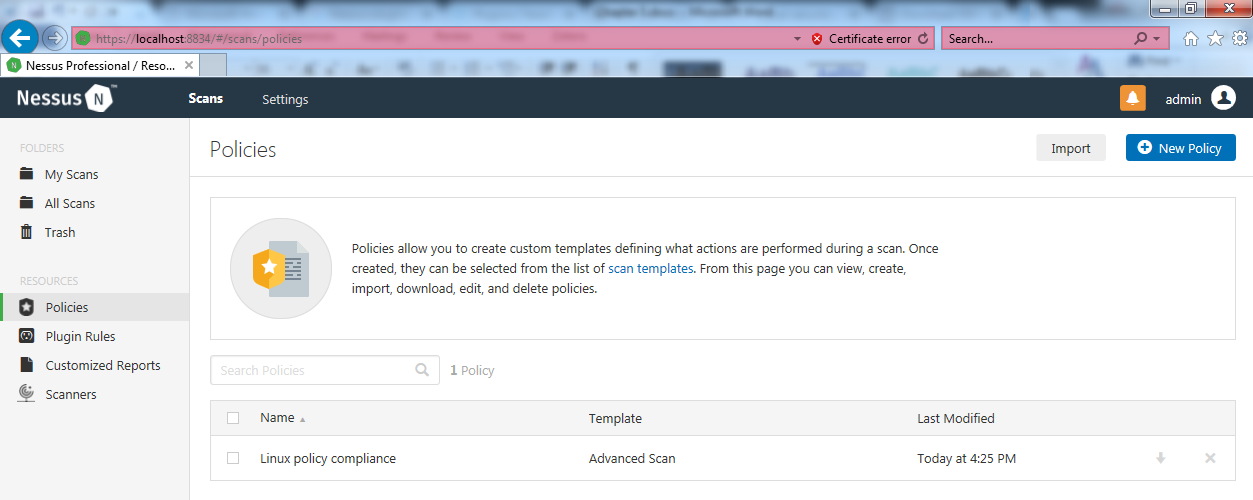
- Navigate to Scans and select New Scan, and click on User Defined on the Scan Templates screen to find the Linux compliance scan policy you have created:

Select the Policy and enter the required details, such as the name, description, and target list. To identify the IP address of the test system, run the ifconfig command:
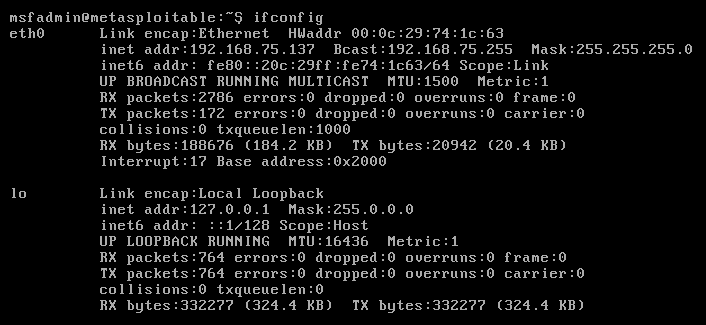
- Enter the 192.168.75.137 IP address and select Launch from the drop-down menu:
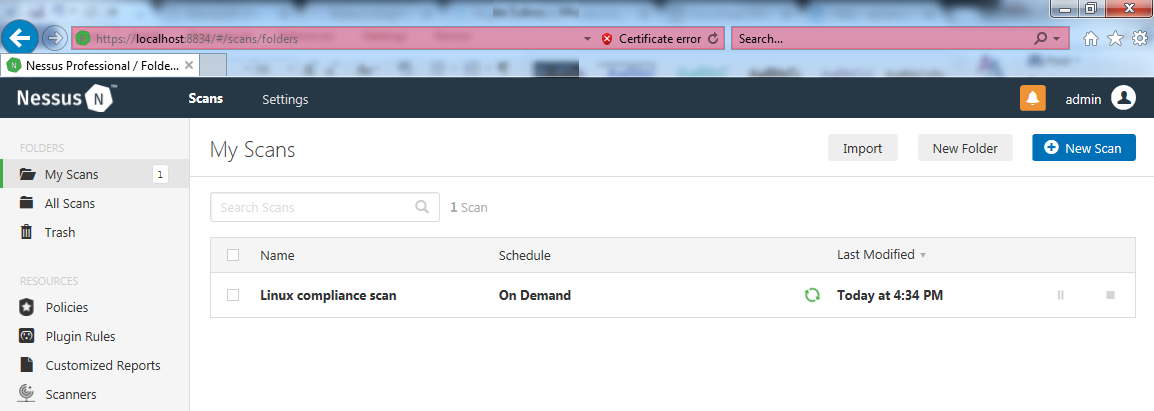
- Once the scan is completed, open the scan by clicking on it as follows:

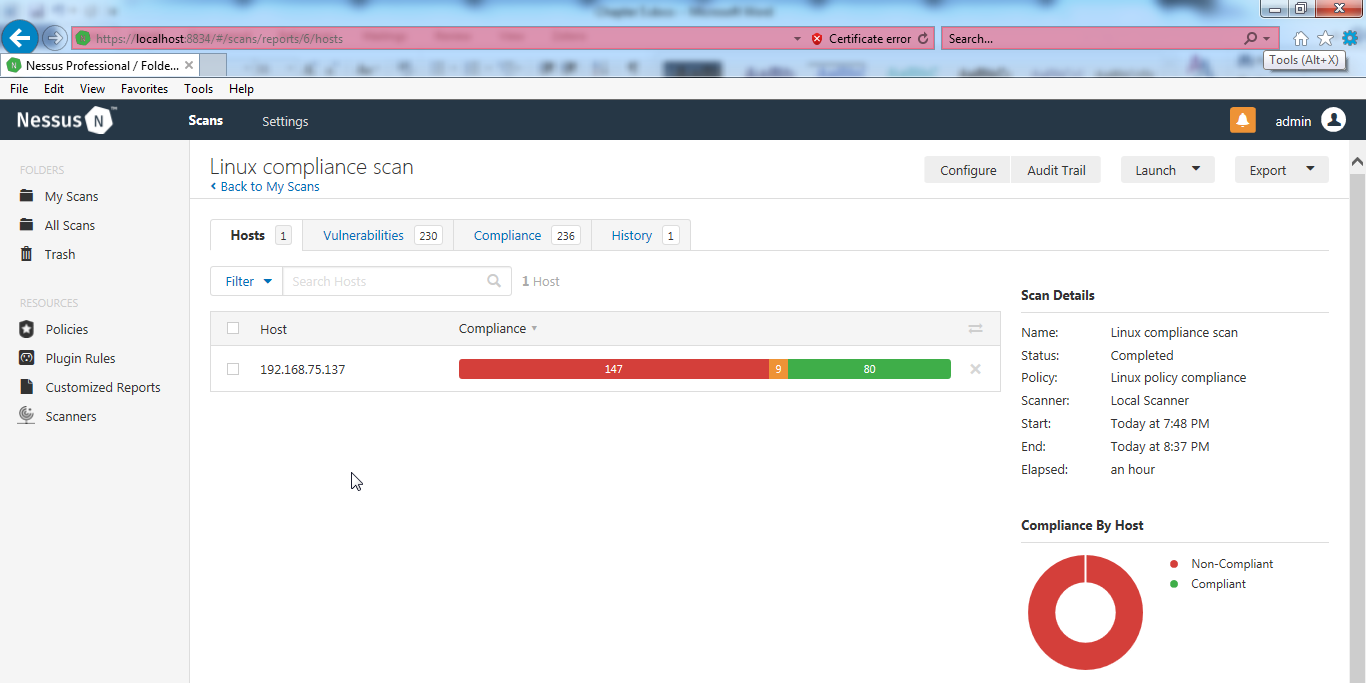
There are four tabs that should appear once you open the results:
- Hosts
- Vulnerabilities
- Compliance
- History
These tabs are shown in the following screenshot:
Navigate to the Vulnerabilities column. This will display the patches that are missing in the remote Ubuntu host:
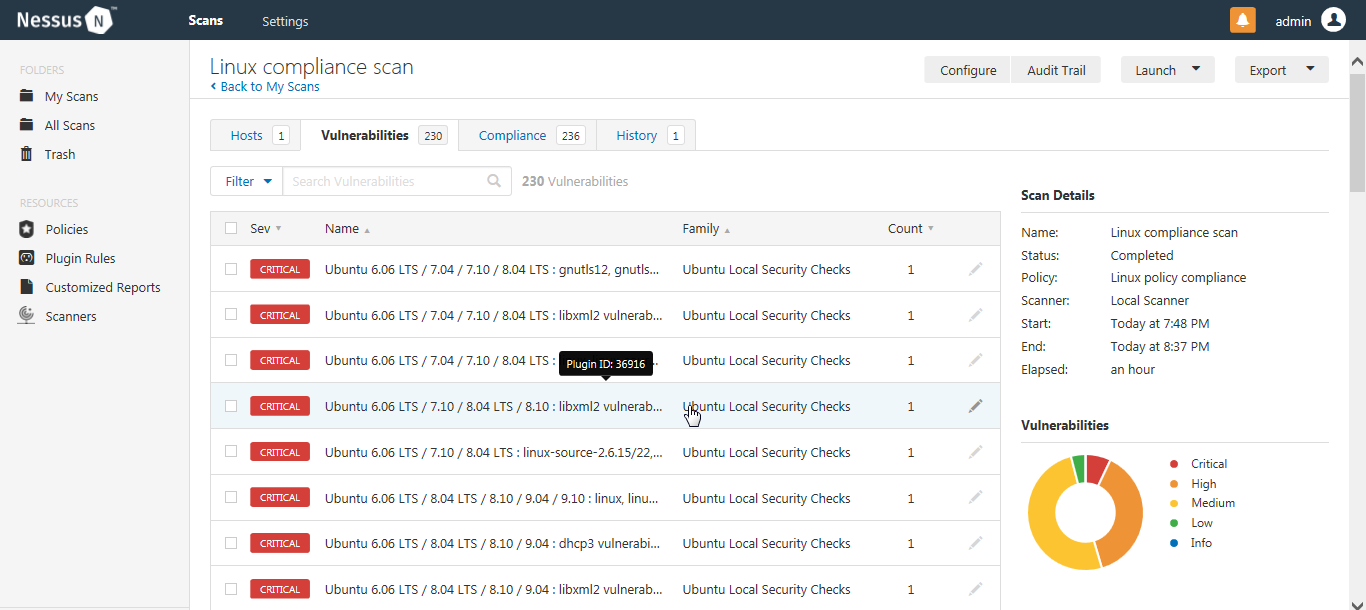
Each vulnerability, as listed by Nessus, consists of the following sections, with additional plugin details to help a user understand the vulnerability better and mitigate by applying the recommended solution:
- Description
- Solution
- See also
- Output
- Port
- Host

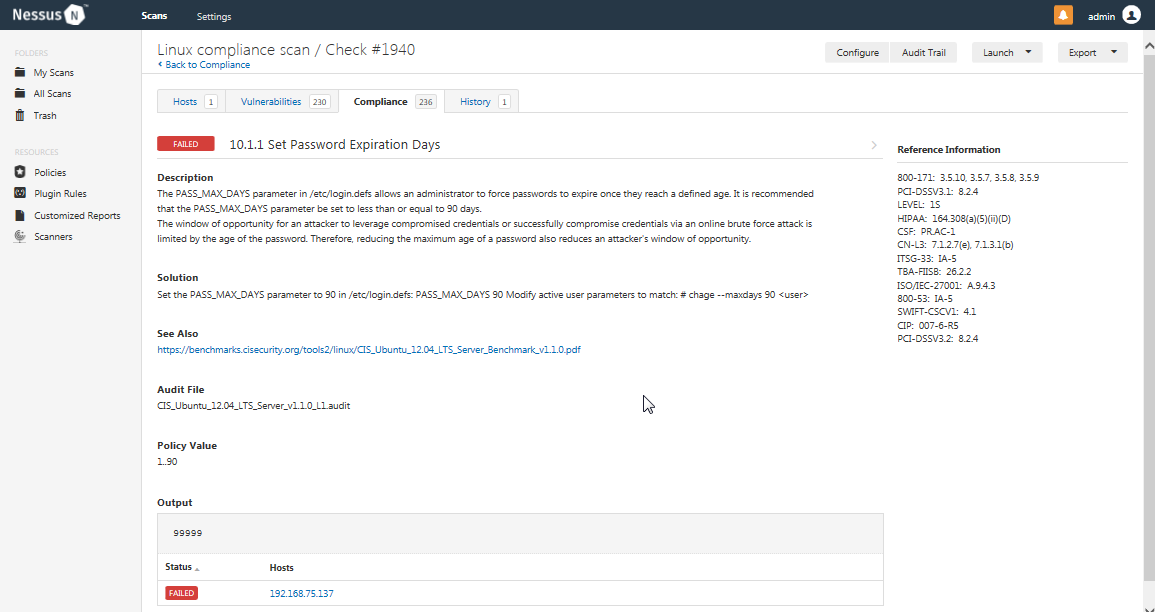
Navigate to the Compliance tab to check the gaps in the configuration from the CIS benchmark audit file used:
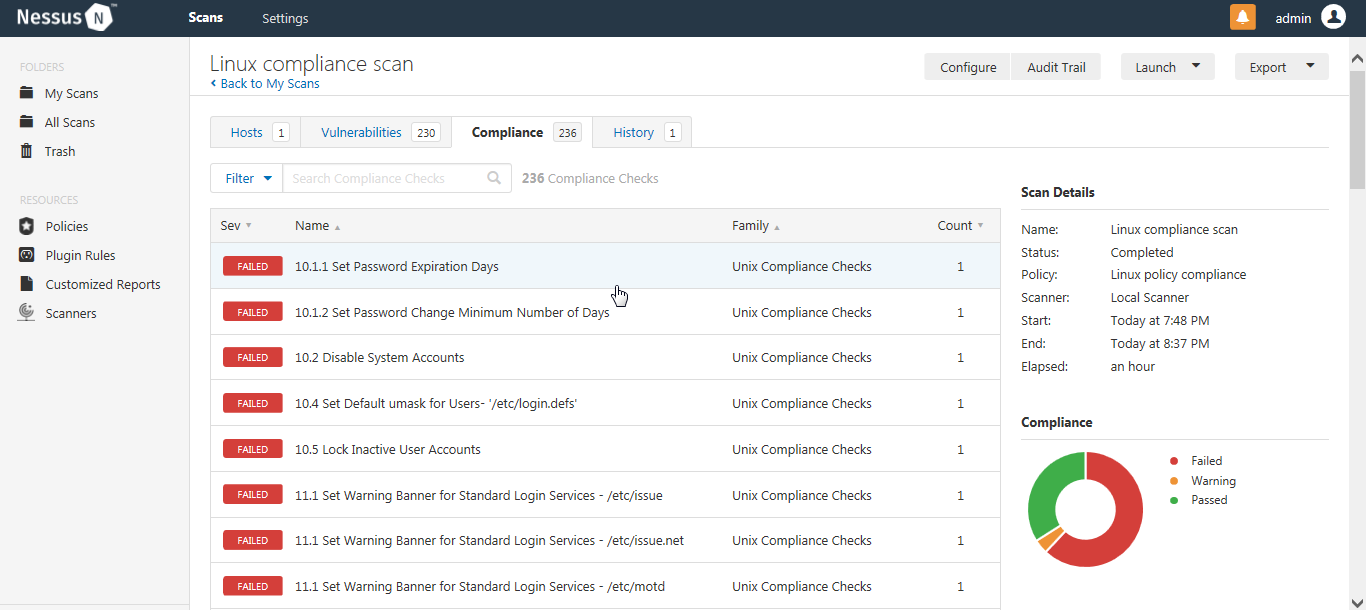
Each compliance consists of the following sections and reference information to help the user understand the gap between the baseline and current configuration:
- Description
- Solution
- See also
- Output
- Audit file
- Policy value
- Port
- Host
The major difference between the vulnerability scan and the compliance scan is the ratings. Results for the vulnerability scan are reported in terms of their severity: high, medium, low, and informational risk, based on multiple factors including CVSS score and ease of exploitation. By contrast, in a compliance scan, the observations are reported as failed, warning, and passed, where passed means the configuration is secure, and failed points toward a gap in the configuration.