Perform the following steps:
- Open Notepad++ or any text editor.
- In order to create a Windows check for a custom item, we need to begin and end the check with the custom_item tag:
<custom_item>


</custom_item>
- Now, we need to identify the required metadata attributes and define them. In this case, we will go with description and info:
<custom_item>


 description: "Free disk space in system partition#C drive"
 info: "Powershell command will output the free space available on C drive"


</custom_item>
- Now, we need to define the type of check we need to perform. Nessus executes all the NASL windows commands on PowerShell, and so the type of the check would be AUDIT_POWERSHELL:
<custom_item>


type: AUDIT_POWERSHELL
 description: "Free disk space in system partition#C drive"
 info       : "Powershell command will output the free space available on C drive"


</custom_item>
- Now, we need to define the value type and value data, which are supported by the check. In this case, we will go with policy type and set 0 to MAX:
<custom_item>


type: AUDIT_POWERSHELL
 description: "Free disk space in system partition#C drive"
 info       : "Powershell command will output the free space available on C drive"
 value_type: POLICY_TEXT
 value_data: "[0..MAX]"


</custom_item>
- Now, we need to pass the command to be executed by PowerShell to obtain free space in the C drive:
<custom_item>


 type: AUDIT_POWERSHELL
 description: "Free disk space in system partition#C drive"
 info       : "Powershell command will output the free space available on C drive"
 value_type: POLICY_TEXT
 value_data: "[0..MAX]"
 powershell_args   : 'Get-PSDrive C | Select-Object Free'


</custom_item>
- As we are not passing encoded commands to PowerShell, we need to define the same with the ps_encoded_args attribute:
<custom_item>


 type: AUDIT_POWERSHELL
 description: "Free disk space in system partition#C drive"
 info       : "Powershell command will output the free space available on C drive"
 value_type: POLICY_TEXT
 value_data: "[0..MAX]"
 powershell_args   : 'Get-PSDrive C | Select-Object Free'
 ps_encoded_args: NO


</custom_item>
- As it does not require any refining and the output of the command will suffice so that we know how much free space we have, we will also define the only_show_cmd_output: YES attribute:
<custom_item>


 type: AUDIT_POWERSHELL
 description: "Free disk space in system partition#C drive"
 info       : "Powershell command will output the free space available on C drive"
 value_type: POLICY_TEXT
 value_data: "[0..MAX]"
 powershell_args   : 'Get-PSDrive C | Select-Object Free'
 ps_encoded_args: NO
 only_show_cmd_output: YES


</custom_item>
As we have seen that all the audit files start and end with check_type, we enclose the preceding code in the same:
<check_type:"windows" version:"2">
<custom_item>


 type: AUDIT_POWERSHELL
 description: "Free disk space in system partition#C drive"
 info       : "Powershell command will output the free space available on C drive"
 value_type: POLICY_TEXT
 value_data: "[0..MAX]"
 powershell_args   : 'Get-PSDrive C | Select-Object Free'
 ps_encoded_args: NO
 only_show_cmd_output: YES


</custom_item>
</check_type>
- Save the file with the extension .audit onto your system and log in to Nessus using the credentials created during installation:

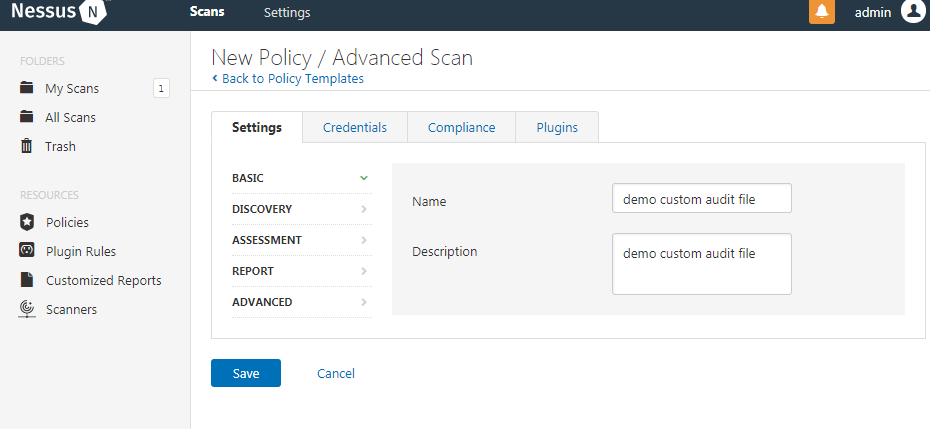
- Open the Policy tab and click on Create new policy using advanced scan template. Fill in the required details such as the policy name and description:
- Navigate to the Compliance section and search the custom windows in the filter compliance search bar:
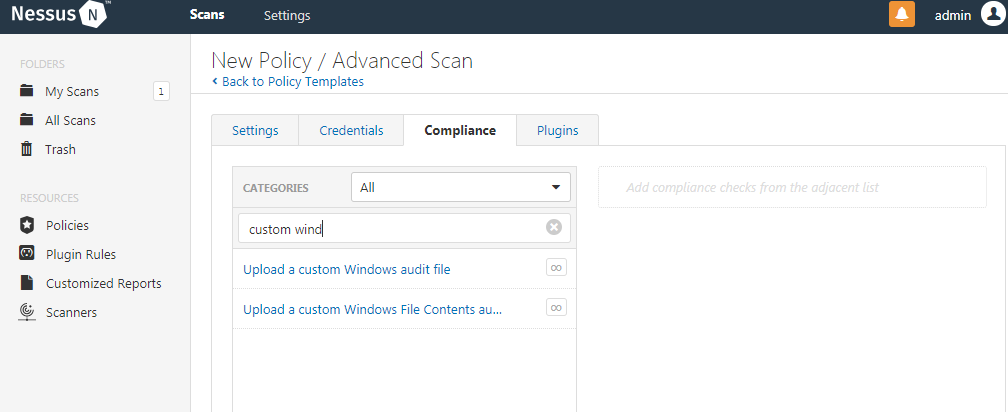
- Select the Upload a custom Windows audit file option:

- Click on Add File and upload the audit file you have created:

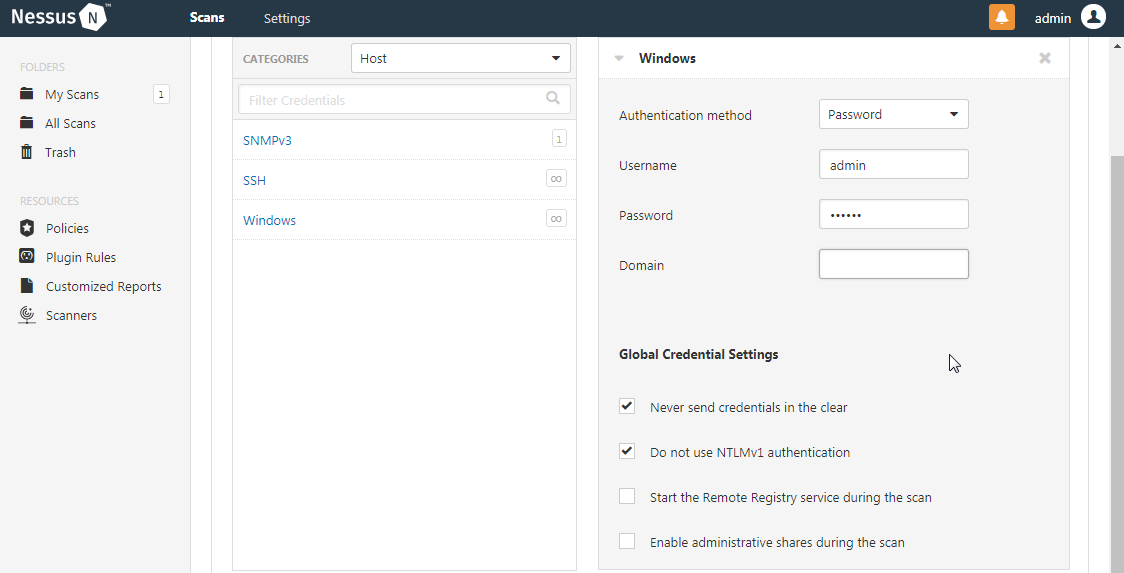
- In order to perform a compliance audit, you will have to enter the Windows credentials. Navigate to the credentials section and click on the Windows option:
- Save the policy and navigate to the My scans page to create a new scan.
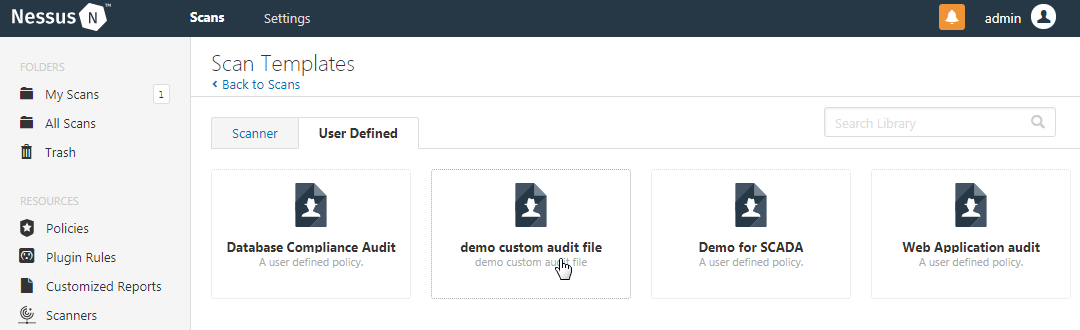
- Navigate to the User Defined policy section and select the custom Windows audit policy that we created:
- Fill in the required details such as the scan name and affected host, and launch the scan:
