Once you are ready, let's get started! First, open up Qt Creator and create a new Qt Widgets Application project. After that, open up the project (.pro) file and add in the following text to enable the modules:
QT += core gui webengine webenginewidgets
If you didn't install the MSVC component (on Windows) or the Qt WebEngine component, error messages will appear at this point if you are trying to build the project. Please run the Qt installer again if that's the case.
Next, open up mainwindow.h and add the following header files:
#ifndef MAINWINDOW_H
#define MAINWINDOW_H

#include <QMainWindow>
#include <QWebEngineView>
After that, open up mainwindow.h and add the following code:
private:
   Ui::MainWindow *ui;
   QWebEngineView* webview;
Then, add the following code:
MainWindow::MainWindow(QWidget *parent) :
   QMainWindow(parent),
   ui(new Ui::MainWindow)
{
   ui->setupUi(this);

   webview = new QWebEngineView(ui->centralWidget);
   webview->load(QUrl("http://www.kloena.com"));
}
Build and run the program now and you should see the following result:

It's actually that simple. You have now successfully placed a web view on your application!
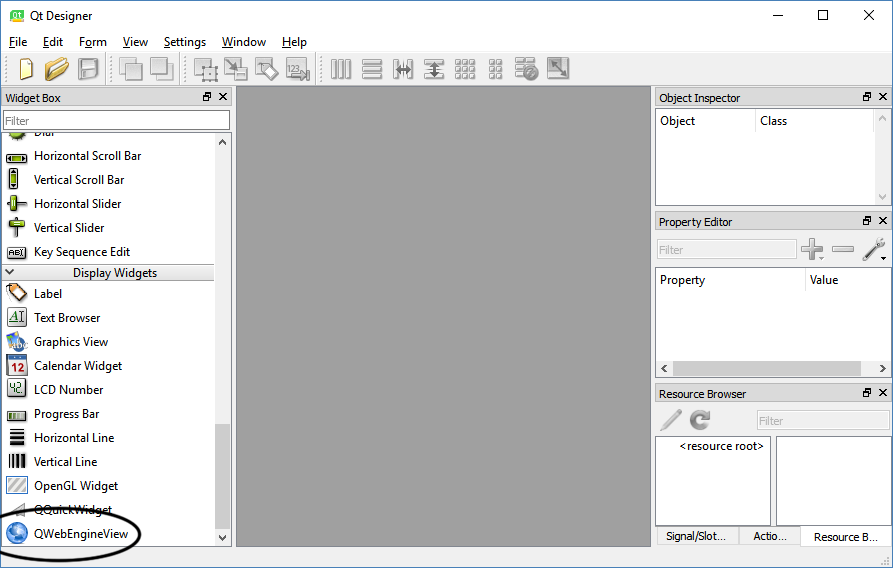
The reason why we're writing C++ code to create the web view is that the default Qt Designer used by the Qt Creator doesn't have web view in the widget box. The preceding code simply creates the QWebEngineView object, sets its parent object (in this case, the central widget), and sets the URL of the web page before showing the web view widget. If you want to use Qt Designer to place a web engine view on your UI, you must run the standalone Qt Designer located in your Qt installation directory. For example, if you're running Windows, it's located in C:QtQt5.10.25.10.2msvc2017_64bin. Please note that it's located in the directory with the compiler name that supports the web engine: