Again, for this example, we will create a new Qt Widget Application. After that, open up mainwindow.ui and add a menu bar to the main window. Then, add the following options to the menu bar:
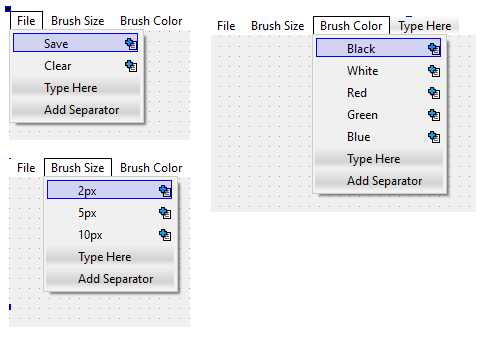
We have three menu items on the menu bar—File, Brush Size, and Brush Color. Under the File menu are functions for saving the canvas into a bitmap file, as well as clearing the entire canvas. The Brush Size category contains different options for the brush size; last but not least, the Brush Color category contains several options for setting the brush color.
You can go for something more paint-like or Photoshop-like for the GUI design, but we will use this for now for the sake of simplicity.
Once you're done with all that, open up mainwindow.h and add the following headers on top:
#include <QMainWindow>
#include <QPainter>
#include <QMouseEvent>
#include <QFileDialog>
After that, we also declare a few virtual functions, like so:
public:
    explicit MainWindow(QWidget *parent = 0);
    ~MainWindow();
    virtual void mousePressEvent(QMouseEvent *event);
    virtual void mouseMoveEvent(QMouseEvent *event);
    virtual void mouseReleaseEvent(QMouseEvent *event);
    virtual void paintEvent(QPaintEvent *event);
    virtual void resizeEvent(QResizeEvent *event);
Besides the paintEvent() function which we used in the previous example, we can also add a few more for handling mouse events and window resize events. Then, we also add the following variables to our MainWindow class:
private:
    Ui::MainWindow *ui;
    QImage image;
    bool drawing;
    QPoint lastPoint;
    int brushSize;
    QColor brushColor;
After that, let's open up mainwindow.cpp and start with the class constructor:
MainWindow::MainWindow(QWidget *parent) :
    QMainWindow(parent),
    ui(new Ui::MainWindow)
{
    ui->setupUi(this);

    image = QImage(this->size(), QImage::Format_RGB32);
    image.fill(Qt::white);

    drawing = false;
    brushColor = Qt::black;
    brushSize = 2;
}
We need to first create a QImage object, which acts as the canvas, and set its size to match our window size. Then, we set the default brush color to black and its default size to 2. After that, we will look at each of the event handlers and how they work.
First, let's take a look at the paintEvent() function, which we also used in the vector graphics, example. This time, all it does is call QPainter::drawImage() and render the QImage object (our image buffer) on top of our main window:
void MainWindow::paintEvent(QPaintEvent *event)
{
    QPainter canvasPainter(this);
    canvasPainter.drawImage(this->rect(), image, image.rect());
}
Next, we will look at the resizeEvent() function, which gets triggered whenever the main window is being resized by the user. To avoid image stretching, we must resize our image buffer to match the new window size. This can be achieved by creating a new QImage object and setting its size the same as the resized main window, then copying the previous QImage's pixel information and placing it at the exact same spot on the new image buffer.
This means that your image will be cropped if the window size is smaller than the drawing, but at least the canvas will not be stretched and distort the image when the window is resized. Let's take a look at the code:
void MainWindow::resizeEvent(QResizeEvent *event)
{
    QImage newImage(event->size(), QImage::Format_RGB32);
    newImage.fill(qRgb(255, 255, 255));

    QPainter painter(&newImage);
    painter.drawImage(QPoint(0, 0), image);
    image = newImage;
}
Next, we will look at the mouse event handlers, which we use to apply colors on the canvas. First, the mousePressEvent() function, which will be triggered when we start pressing our mouse button (left mouse button in this case). We are still not drawing anything at this point, but set the drawing Boolean to true and save our cursor position to the lastPoint variable:
void MainWindow::mousePressEvent(QMouseEvent *event)
{
    if (event->button() == Qt::LeftButton)
    {
        drawing = true;
        lastPoint = event->pos();
    }
}
Then, here is the mouseMoveEvent() function, which will be called when the mouse cursor is moved:
void MainWindow::mouseMoveEvent(QMouseEvent *event)
{
    if ((event->buttons() & Qt::LeftButton) && drawing)
    {
        QPainter painter(&image);
        painter.setPen(QPen(brushColor, brushSize, Qt::SolidLine,
        Qt::RoundCap, Qt::RoundJoin));
        painter.drawLine(lastPoint, event->pos());

        lastPoint = event->pos();
        this->update();
    }
}
In the preceding code, we check if indeed we are moving the mouse while holding the left mouse button. If we are, then we draw a line from the previous cursor position to our current cursor position. Then, we save the current cursor position to the lastPoint variable and call update() to notify Qt to trigger the paintEvent() function.
Finally, when we release the left mouse button, the mouseReleaseEvent() will be called. We simply set the drawing variable to false, and we're done:
void MainWindow::mouseReleaseEvent(QMouseEvent *event)
{
    if (event->button() == Qt::LeftButton)
    {
        drawing = false;
    }
}
If we build the program and run it now, we should be able to start drawing something on our little paint program:
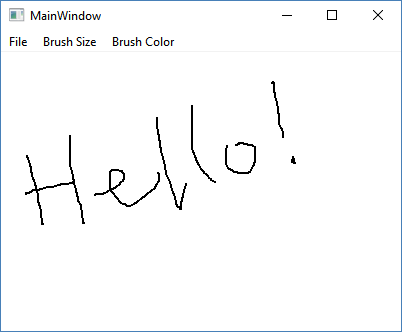
Even though we can draw something now, it's all the same brush size and with the same color all the time. That's a little boring! Let's right-click on each of the options on the Brush Size category in the main menu and select Go to slot..., then pick the triggered() option and then press OK. Qt will then create the slot functions accordingly for us, and what we need to do within these functions is basically change the brushSize variable, like so:
void MainWindow::on_action2px_triggered()
{
    brushSize = 2;
}

void MainWindow::on_action5px_triggered()
{
    brushSize = 5;
}

void MainWindow::on_action10px_triggered()
{
    brushSize = 10;
}
The same goes for all the options under the Brush Color category. This time, we set the brushColor variable accordingly:
void MainWindow::on_actionBlack_triggered()
{
    brushColor = Qt::black;
}

void MainWindow::on_actionWhite_triggered()
{
    brushColor = Qt::white;
}

void MainWindow::on_actionRed_triggered()
{
    brushColor = Qt::red;
}

void MainWindow::on_actionGreen_triggered()
{
    brushColor = Qt::green;
}

void MainWindow::on_actionBlue_triggered()
{
    brushColor = Qt::blue;
}
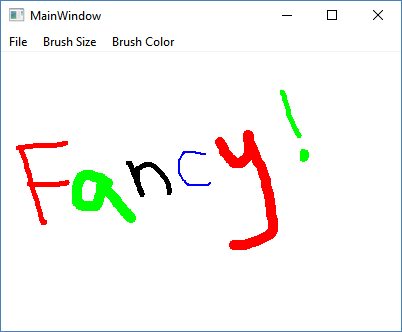
If you build and run the program again, you will be able to draw your images with a variety of settings for your brush:
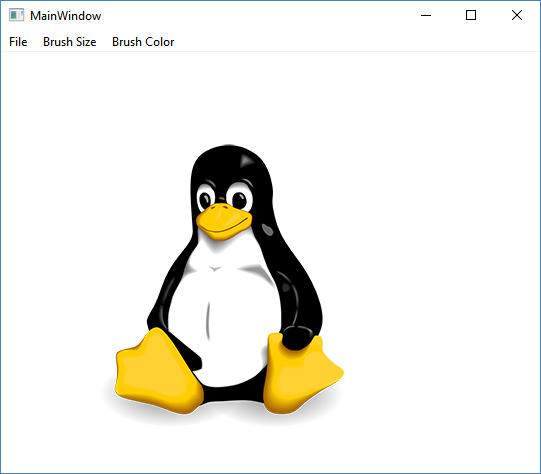
Other than that, we can also add an existing bitmap image to our canvas so that we can draw on top of it. Let's say I have a penguin image in the form of a PNG image (called tux.png), we can then add the following code to the class constructor:
MainWindow::MainWindow(QWidget *parent) :
    QMainWindow(parent),
    ui(new Ui::MainWindow)
{
    ui->setupUi(this);

    image = QImage(this->size(), QImage::Format_RGB32);
    image.fill(Qt::white);

    QImage tux;
    tux.load(qApp->applicationDirPath() + "/tux.png");
    QPainter painter(&image);
    painter.drawImage(QPoint(100, 100), tux);

    drawing = false;
    brushColor = Qt::black;
    brushSize = 2;
}
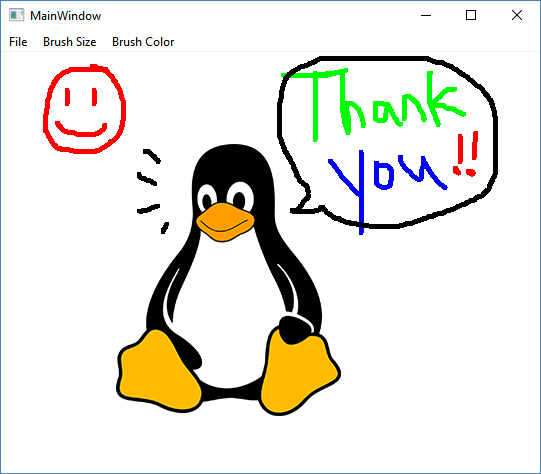
The preceding code basically opens up the image file and moves it to position 100 x 100 before drawing the image onto our image buffer. Now we can see a penguin on the canvas whenever we start the program:
Next, we will look at the Clear option under File. When the user clicks on this option on the menu bar, we use the following code to clear the entire canvas (including the penguin) and start all over again:
void MainWindow::on_actionClear_triggered()
{
    image.fill(Qt::white);
    this->update();
}
Finally, when the user clicks on the Save option under File, we open up a file dialog and let the users save their artwork into a bitmap file. In the following code, we filter out the image formats and only allow the users to save PNG and JPEG formats:
void MainWindow::on_actionSave_triggered()
{
    QString filePath = QFileDialog::getSaveFileName(this, "Save Image", "", "PNG (*.png);;JPEG (*.jpg *.jpeg);;All files (*.*)");

    if (filePath == "")
        return;

    image.save(filePath);
}
That's it, we have successfully created a simple paint program from scratch using Qt! You may even combine the knowledge learned from this chapter with the previous chapter to create an online collaborative whiteboard! The only limitation is your creativity. Lastly, I would like to say thank you to all the readers for creating the following masterpiece, using our newly created paint program: