About the Recipes
Why Paleo Treats?
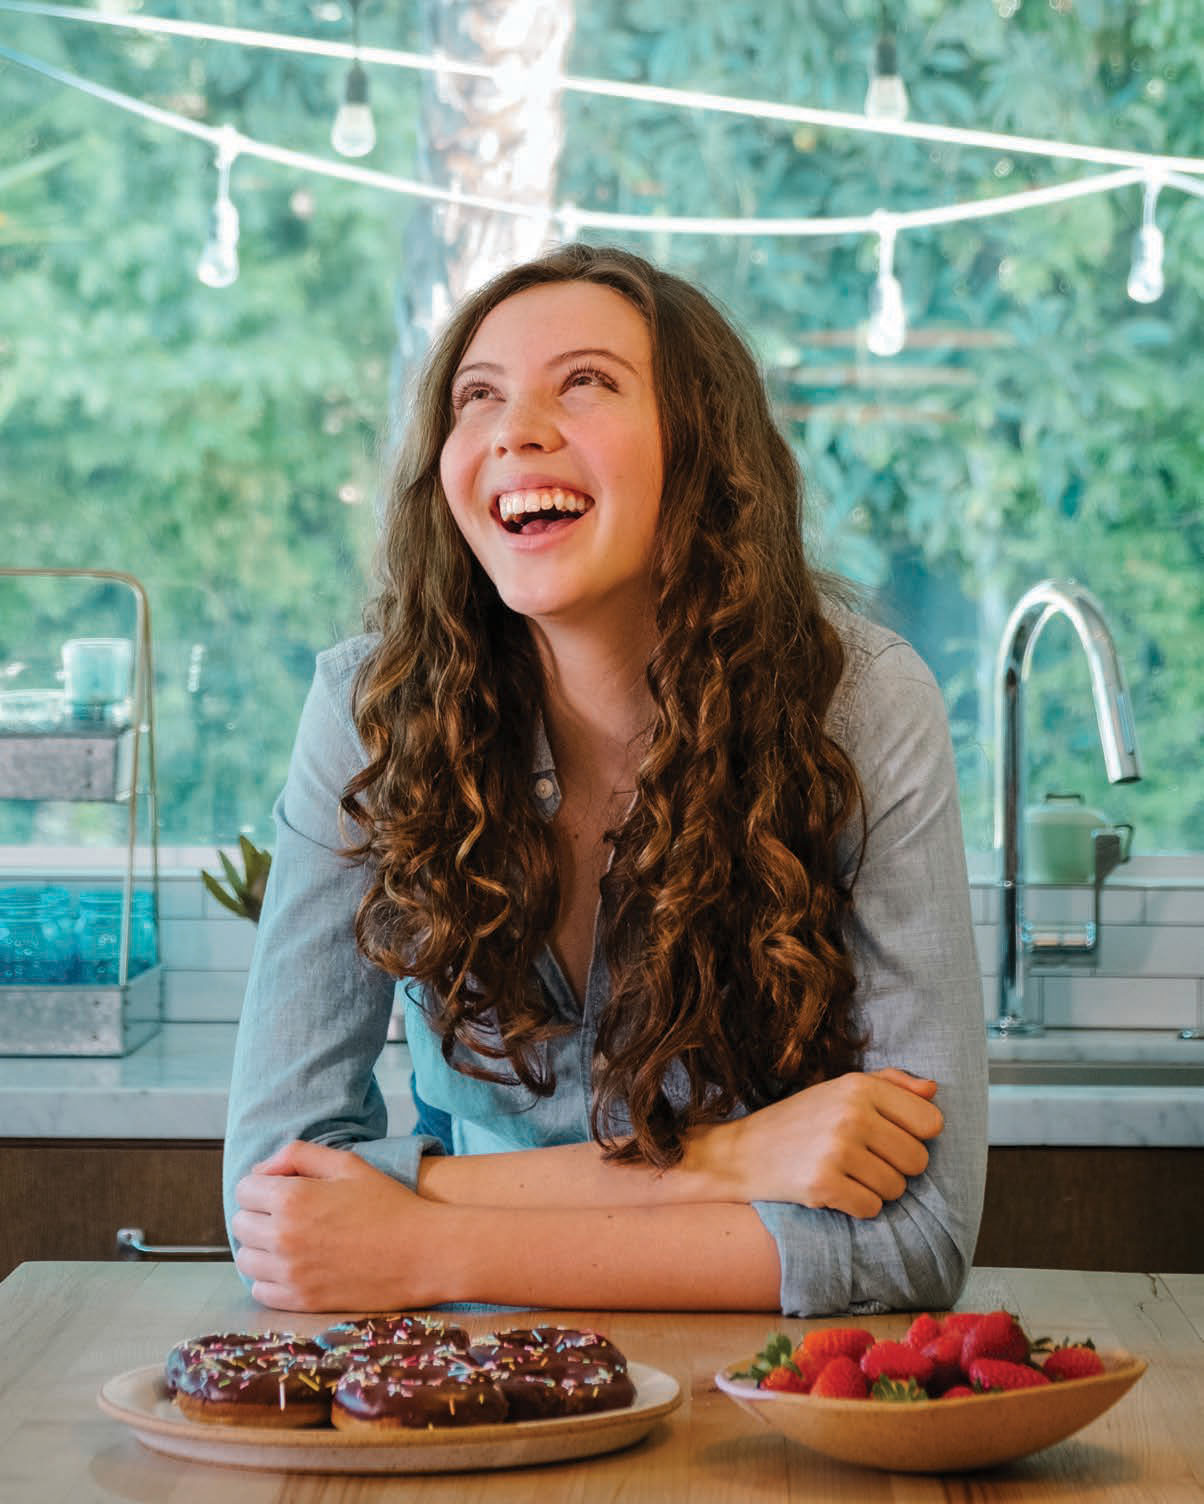
I am a firm believer in dessert. Dessert is delicious, but it’s also special. When we share dessert with people we love, we bond and create memories. I don’t recall much from when I was five, but I vividly remember the pink-and-purple castle cake my mom and I made for my birthday!
Treats have brought so much joy into my life. I want to share that joy with you. So this book is filled with forty-five treat recipes—from muffins, to cakes, to cookies, to the ultimate fudgy brownies.
Sadly, treats don’t always agree with our bodies. Most are loaded with sugar, which can cause a host of serious health problems. It can also make us feel lousy. It gets us wired, then we crash. And sugar is extremely addictive. Consuming it only makes us want more and more. We can never get enough.
Most baked goods are also made with wheat—and its gluten—which causes health problems for lots of people. Gluten can mess with all different parts of the body, from the gut to the brain. Many of us are just recently learning about this connection.
With Paleo treats, we avoid these problems! Paleo means that all these recipes are free of grains (including gluten), dairy, legumes, and refined sweeteners. They’re also low in sugar and high in protein and fat.
Speaking of fat, something needs to be said once and for all: fat doesn’t make us fat. For decades fat has been mistakenly blamed for weight gain, heart issues, and other problems. But thanks to mounting scientific evidence, the low-fat diet myth of the last century is finally being debunked. Unfortunately, a lot of people, including many doctors, still stick to the outdated claims against fat. (If you’re interested in reading about the exciting developments in science involving fat, sugar, and other food topics, see the resources section at the end of this book.)
When I started baking Paleo treats, I was amazed. They actually made me feel good. Eating a hunk of Paleo lemon cake made me feel energetic and also satisfied. Energetic—from cake! This is because the recipes—using ingredients such as almond flour, coconut oil, and eggs—are high in fat and protein, which fuel our bodies and leave us feeling good.
Even more surprising, Paleo treats taste delicious. They are not just similar to but better than the ones I ate in the gluten days. They’re moist and fluffy, not dry. They’re flavorful. My friends who are used to regular baked goods agree that these treats taste incredible. By comparison, the conventional treats I used to eat were actually pretty tasteless, since their flavors were masked by all the sugar. Paleo treats have very little sugar, so they open up a whole world of complex and delicious flavors.
I can’t tell you how happy it makes me to share these recipes with you. Whether you’re skeptical about baking without grains or you’ve been Paleo for years or maybe you’ve never baked a cake in your life, I encourage you to try these. You’ll see how good a cupcake can be, and how good you can feel after eating two … or three!
Baking Tidbits and Tips
Baking has become one of my favorite things in life, but not for the reasons you may think. Yes, it has obvious rewards! But my favorite part is actually the process.
Getting in the kitchen and cooking up something sweet is a relaxing, almost meditative experience. It provides a calming break from my busy life. It also has become one of my favorite ways to practice self-care. It’s nice when someone else cooks for us. But there’s nothing more comforting than taking the time to make ourselves a batch of muffins, then eating them straight out of the oven.
Above all, baking is creative. With the right ingredients, you can bake just about anything your heart desires. So feel free to use these recipes as starting points. Get messy in the kitchen. Get covered in (almond) flour. Play with flavors. Would a sprinkle of flaky sea salt taste good here? Or a handful of walnuts add a nice crunch there? Experiment.
As you bake these recipes, or create your own, don’t be hard on yourself if you totally mess up. I can’t tell you how many times I’ve set out to make marshmallows but instead ended up crying, covered in chunks of some weird gooey substance. Okay, it was three times. But I’m learning to detach from the results of my baking; the process is what matters. So you burned your muffins. Did you have fun making them? That’s all that matters! (Plus, burned cookies can actually taste pretty good.) Let yourself mess up as much as you need to; it will only make you a better baker.
Here are some baking tips I’ve learned over the years. I hope they help you feel more confident jumping into the recipes that await.
 Study your recipe. Read through the list of ingredients and instructions before starting. Make sure you have all the ingredients and equipment on hand. There’s nothing worse than realizing halfway through a recipe that you’re all out of baking soda!
Choose the middle. Always bake using the middle rack of your oven.
Preheat your oven. Every recipe tells you when to preheat your oven. Preheat it right when the recipe says to—don’t wait until later!
Oven temperatures vary. A cake that needs to bake for thirty minutes in my oven may only need twenty-eight in yours. The best solution is to keep a close eye on your treats, so they don’t burn. I recommend peeking through your oven window about five minutes before the recipe says to take them out. (Try not to open the oven door while the treats are baking, as it can deflate them.)
Double boiler DIY. Some recipes call for a double boiler, which is a special type of pan that cooks ingredients slowly and evenly. It’s easy to recreate a double boiler at home. Here’s how:
1. Fill a medium saucepan with about 1½ inches of water.
2. Put a heatproof bowl on top of the saucepan. It shouldn’t touch the water.
3. Place the ingredients in the bowl as instructed in the recipe.
4. Turn the stove onto medium-high heat so that the water in the saucepan boils. Cook your ingredients in the upper half as instructed.
Parchment paper 101. Many recipes say to “line a baking dish with parchment paper.” To do that: Tear off a large piece of parchment paper. Place your baking dish on top of the sheet. Using scissors, cut four squares off the sheet of parchment, each at the corner of the dish. Place the parchment paper inside the baking dish, so that the four flaps go up and over the sides. Trim off any extra parchment from the flaps.
Egg-cellent baking. Always let your eggs sit out on the counter before baking, so they can reach room temperature. Adding cold eggs to your batter might cause some ingredients to solidify.
Keep clean. If you’re messy like me, always wear an apron or some old clothes!
Guide to Recipe Icons
All recipes in this book are gluten-free, grain-free, dairy-free, and refined sugar-free. Additional allergy and diet markings are as follows:
 Egg-Free.
 Sugar-Free.
 Vegan. Contains no animal products.
 Nut-Free. Contains no tree nuts (except for coconut, which the FDA currently defines as a tree nut).