Week 13
Elmer's Glue Crackle
BY CLAUDINE HELLMUTH | from Collage Discovery Workshop: Beyond the Unexpected

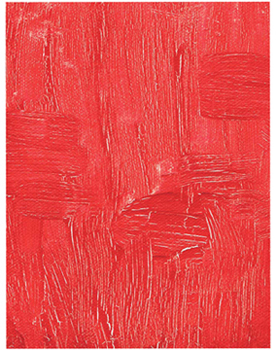
This week, you'll learn to create amazing crackled paint simply using Elmer's Glue-All. The best part about this technique is that you can use it on any surface you like. Incorporate your newly crackled items into your art as backgounds or dimensional elements, or even liven-up some dull furniture!
Materials
 sheet of paper
 1″ (25mm) brush
 water
water
 Elmer's Glue-All
 acrylic paint
 optional: heat gun

1. Spread the glue
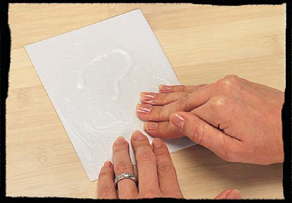
Drizzle just enough glue onto the paper to have enough to smear around. Using your fingers, spread the glue over the surface until it is just tacky. I like it to be nice and smooth with no “grains” of glue.

2. Paint over the glue
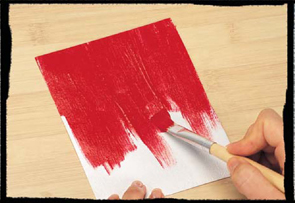
Using a brush and a touch of water, apply acrylic paint over the glue. If you keep your strokes in one direction, the crackle will all be in one direction. Try changing directions when painting to see what effects you get. Be careful not to overwork the paint.

3. Dry the paint
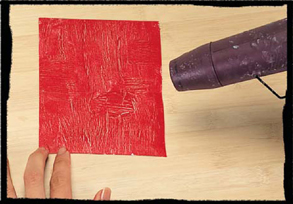
Take your heat gun and apply heat to the paint-and-glue surface and watch as crackles appear! (You can also allow it to air dry.)