Week 27
Gel Skin
BY DARLENE OLIVIA MCELROY AND SANDRA DURAN WILSON | from Image Transfer Workshop
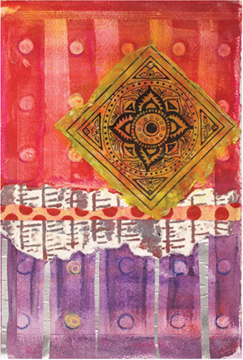
Artwork by Sandra
Duran Wilson
Use your paintbrush this week to create a gel skin for an image transfer. Gel skins can be made using toner-based or magazine images. You can use a black-and-white image, then paint the back of the gel skin to add color and texture to your finished artwork.
Materials
 toner-based or magazine image
 scissors
 background surface
 soft gel (gloss)
 paintbrush
 sandpaper
 spray bottle with water
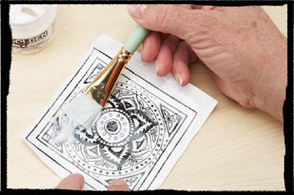
1. Prepare the image
Choose a toner-based or magazine image. Using scissors, cut the image to the desired size. Using a paintbrush, apply a soft gel to the image. Let the gel dry. Add 2–3 more layers of the soft gel, allowing each layer to dry thoroughly (the gel will become clear when it is completely dry).
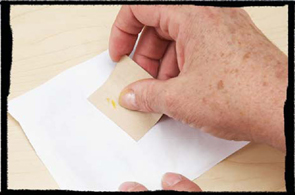
2. Sand the backing
Let the final layer of soft gel dry thoroughly, which could take overnight or longer. Using sandpaper, gently roughen the back of the image.
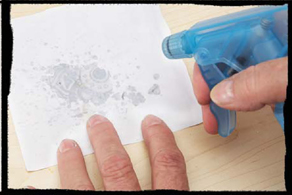
3. Moisten the backing
Using a spray bottle with water, moisten the back of the image.
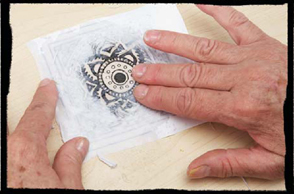
4. Rub off the backing
Using your fingers, rub off the paper backing.
Tip
 If there is too much paper on the back, let it dry completely, and repeat Steps 3 and 4 until all of the paper is removed. You can also use some clear polymer medium to make the paper backing more transparent.
 The skin has an edge when pasted down that can be minimized with additional gels and mediums; or, if you prefer, you can play up the edge in the artwork.
 Using soft gel (gloss) will keep your images clear even with two to three layers of gel. You can alter the finish by applying a satin or matte varnish as your final coat.
 If copying the image, it will be reproduced backwards. The image can be flipped using the setting on the copy machine.